
Ready to elevate your accessory game? This chic Free Crochet Super Strap Bag Pattern is not only stylish but also incredibly functional, making it the perfect addition to your daily routine. Whether you’re heading to the farmer’s market, off to class, or just running errands, this pattern delivers a blend of creativity and practicality that every crochet enthusiast will adore.
Crafted from soft yet sturdy cotton yarn, this super strap bag boasts a trendy slouchy design that’s both eye-catching and practical. With a unique thermal stitch that reinforces the straps, you can confidently carry your essentials without worry. Customize the size to suit your needs—create everything from a compact crossbody to a spacious tote—and don’t shy away from personal touches like colorful beads or playful tassels. This bag marries beauty with utility, ensuring it’s as delightful to make as it is to use.
Don’t be intimidated if you’re new to crochet—this pattern is designed to be beginner-friendly, complete with clear instructions to guide you along the way. The vibe is relaxed and fun, perfect for a cozy afternoon of crafting. So grab your hook and yarn, and let’s create a stunning bag that reflects your personal style and meets your everyday needs!
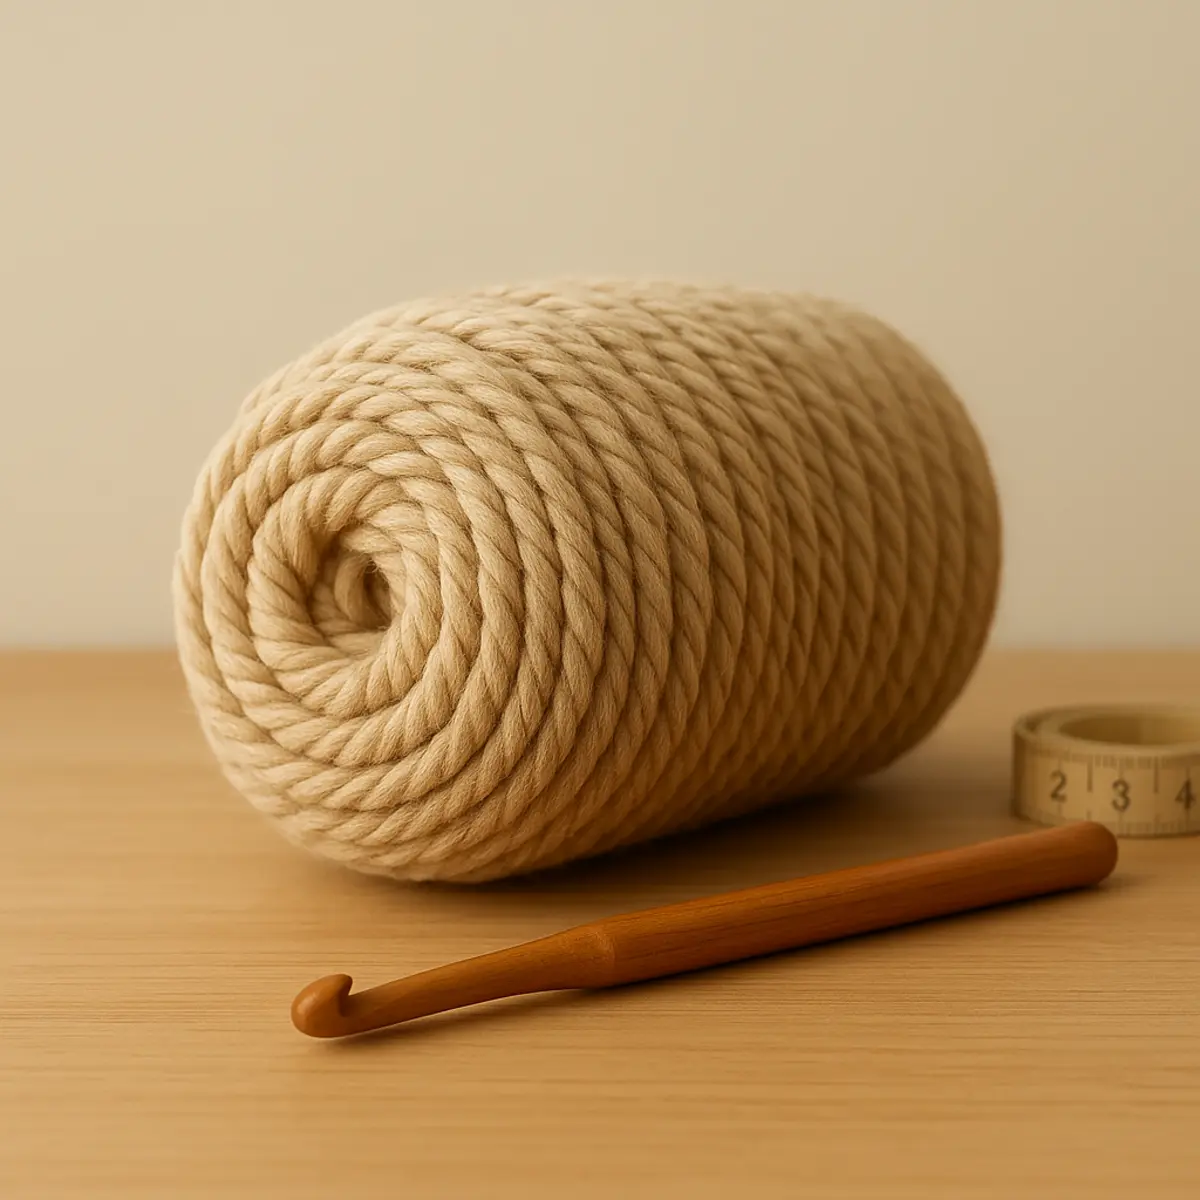
This perfect free crochet super strap bag pattern for daily use combines style and functionality, making it an ideal project for beginners and crochet enthusiasts alike. Crafted from light (3) cotton yarn and utilizing a 5mm hook, the pattern guides you through creating a slouchy yet robust bag with durable thermal-stitched straps, customizable to your preferred size and style, whether as a tote or crossbody. With step-by-step instructions, this article encourages your creativity, enabling you to add personal touches like beads or tassels, culminating in a chic accessory perfect for errands, classes, or leisurely outings!
Materials Needed
Before diving into your beautiful new crochet project, it’s essential to gather the right materials to ensure a smooth and enjoyable crafting experience. For our Perfect Free Crochet Super Strap Bag, you’ll need a combination of quality yarn and the right tools for the best results. Let’s get started on your supply list!
- Yarn: Light (3) cotton yarn. This weight offers both softness and durability, making it perfect for a sturdy yet chic bag that can withstand daily use.
- Crochet Hook: 5mm (Size 7). A hook of this size is ideal for working with light cotton yarn, providing a comfortable tension that contributes to the strength of the finished bag.
- Stitch Markers: Optional. These handy tools can help you mark your increases and keep track of your stitches, ensuring an even and accurate shape for your bag.
- Measuring Tape: Optional. This tool can be useful for checking dimensions and making adjustments to ensure your bag meets your desired size.
- Scissors: For cutting yarn. A good pair of scissors will help you finish off your project neatly and efficiently.
Pro Tip: If you wish to substitute yarn, look for another light cotton yarn that maintains a similar gauge of 16 double crochets x 10 rows equals 4 inches square. Pay attention to the weight to ensure your bag retains its shape and durability.
Abbreviations
This pattern is written in standard US terms, which is the most commonly used terminology in crochet patterns.
- ch: Chain
- dc: Double Crochet
- hdc: Half Double Crochet – a stitch that is taller than single crochet but shorter than double crochet, created by yarn over, pulling through all three loops on the hook.
- inc: Increase – adding stitches to widen a piece, typically done by crocheting two stitches into one stitch.
- sc: Single Crochet
- sl st: Slip Stitch – a technique used to join or finish off your work without adding bulk.
- thermal stitch: A sturdy stitch worked into the back loop and the loop from the row below, adding thickness and durability to the strap.
- dec: Decrease – a technique used to reduce the stitch count, usually by crocheting two stitches together.
Foundation Row
Start by creating a slip knot on your crochet hook. This will be the starting point for your foundation chain.
- Chain 20: Create your foundation chain. This determines the base length of your bag. Feel free to customize based on your desired size.
Expected Result: Your chain should measure approximately 5 inches in length.
Creating the Base
Next, we will build the base of the bag which provides structure and stability.
- Row 1 (Base): After chaining 20 stitches, chain 2 additional stitches (this acts as your turning chain). Skip the first two chains from the hook, and make 2 double crochets into the third chain. Continue double crocheting into each stitch until you reach the last stitch.
- In the last stitch, make 4 double crochets to create a rounded corner.
- Rotate your work and crochet double crochets into the remaining side of the chains. At the opposite end, end with 2 double crochets into the last stitch.
- Finish this row by joining with a slip stitch to the top of the initial chain 2.
Expected Result: You should have formed a rectangular base with a rounded corner, giving the base a solid structure.
Expanding the Base
Now, we’ll expand the base for a larger bag that accommodates your needs.
- Rows 2-4: Chain 2 and make increases at the rounded corners by adding 2 double crochets into each increase stitch from the previous row.
- Crochet evenly across the flat sections. Repeat this process for a total of four rows or until you reach your desired base size.
Professional Tip: For larger bags, you can increase the number of rows. Always multiply increases by two for each row.
Expected Result: After finishing these rows, your base will measure approximately 10 inches by 8 inches.
Building the Sides
We will now transition into the sides of the bag to give it depth.
- Row 1 (Sides Begin): Chain 2, then work double crochets into each stitch around the bag without any increases or decreases. Continue this process until the height of the bag meets your requirements.
Professional Tip: For a medium-sized bag, aim for a height of about 10 inches.
Expected Result: You should have formed a cylinder shape that elevates from the base.
Creating the Slouch Effect
To add a stylish slouch effect to your bag, we need to mark sections.
- Divide the Bag: Count the total number of stitches around the edge of the bag and use stitch markers to divide the bag into four equal sections.
- Slouch Rows: To begin one side of the slouch section, chain 1 and make half double crochets into the marked stitches. Alternate rows by using half double crochets at the edges, and double crochets in the middle stitches, skipping the first stitch of each row.
- Repeat the slouch rows until you reach your desired strap width.
Professional Tip: For a wider strap, add more slouch rows. Aim for a strap width of about 2-3 inches.
Expected Result: A relaxed and slouchy effect should be visible around the top edge of your bag.
Creating the Strap
To ensure your straps are strong and sturdy, we will use the thermal stitch.
- Thermal Stitch (For Sturdy Strap): Chain 1 and work your stitches into the back loop and the loop from the row below for added thickness.
- Continue thermal stitching until the strap reaches half the desired length (approximately 10 inches).
Expected Result: The straps should appear thick and durable, ready to support the weight of your bag.
Joining Straps
Finally, we will need to secure the strap pieces together.
- Use Slip Stitches: To join two strap pieces together securely, use slip stitches and ensure that the stitches are aligned for a solid hold.
Professional Tip: Be sure to stretch the straps gently to help retain shape during measurements.
Expected Result: The straps will be firmly attached to the bag, ensuring they can withstand weight without breaking.
Customization Ideas
Make your bag unique by adding personal touches.
- Add decorations such as beads, tassels, or appliqués for a fun touch.
- Convert styles by using shorter straps for a tote and longer straps for crossbody bags.
Congratulations! You’ve successfully created a stylish and functional slouchy hobo bag that’s perfect for everyday use. With its sturdy cotton yarn and thermal-stitched straps, your bag is ready to accompany you on all your adventures.
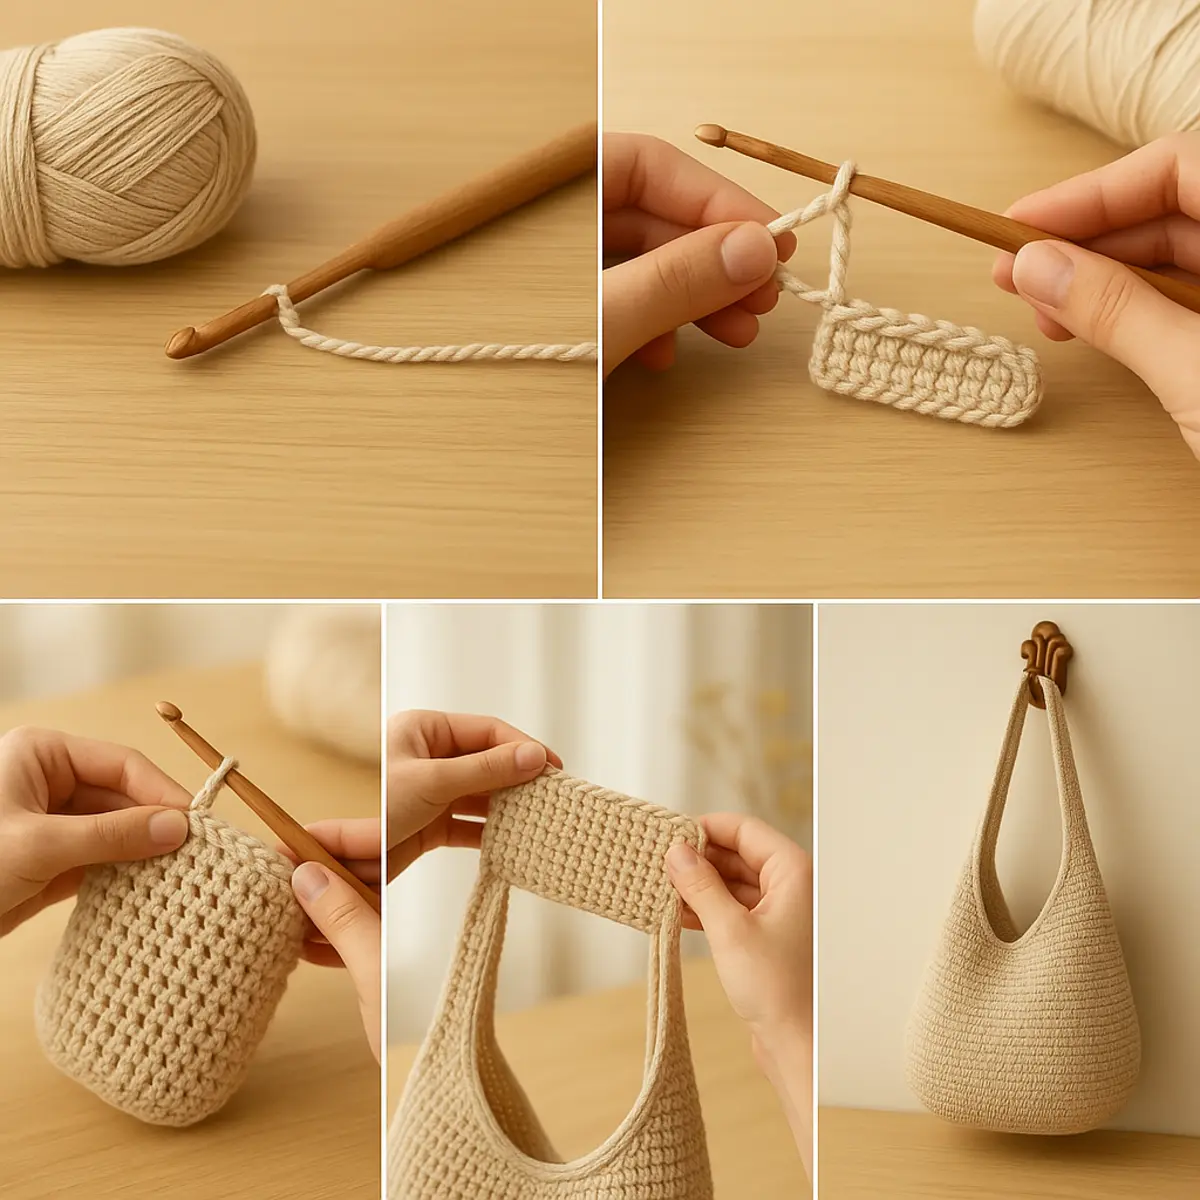
FAQ
Gathering the right supplies is your first step towards creating the perfect crochet super strap bag! With just a few essential materials, you’ll be well on your way to crafting a stylish and functional accessory that can be used daily. Below is a detailed list of what you’ll need for this exciting project.
- Yarn: Use Light (3) cotton yarn for a sturdy yet soft finish. This type of yarn not only provides durability but also enhances the bag’s chic appearance, making it ideal for everyday use.
- Hook: A 5mm (size 7) crochet hook is recommended. This size strikes a good balance, allowing you to create tight stitches without sacrificing comfort, which is crucial for the strength of your bag’s structure.
- Scissors: A pair of scissors is essential for cutting yarn when needed. Having a sharp and reliable pair can make all the difference in achieving clean edges.
- Stitch Markers: While optional, stitch markers can be very helpful for marking increases and dividing sections of your work, especially when creating the slouch straps.
- Measuring Tape: Also optional, a measuring tape is great for adjusting the size of your bag. Being precise with dimensions can help ensure that your finished product meets your expectations.
Pro Tip: Feel free to experiment with different colors or yarns! Although the pattern recommends cotton yarn for its sturdiness, you can also substitute with acrylic or blends for a softer touch. However, make sure to check your gauge to maintain the desired size and shape.
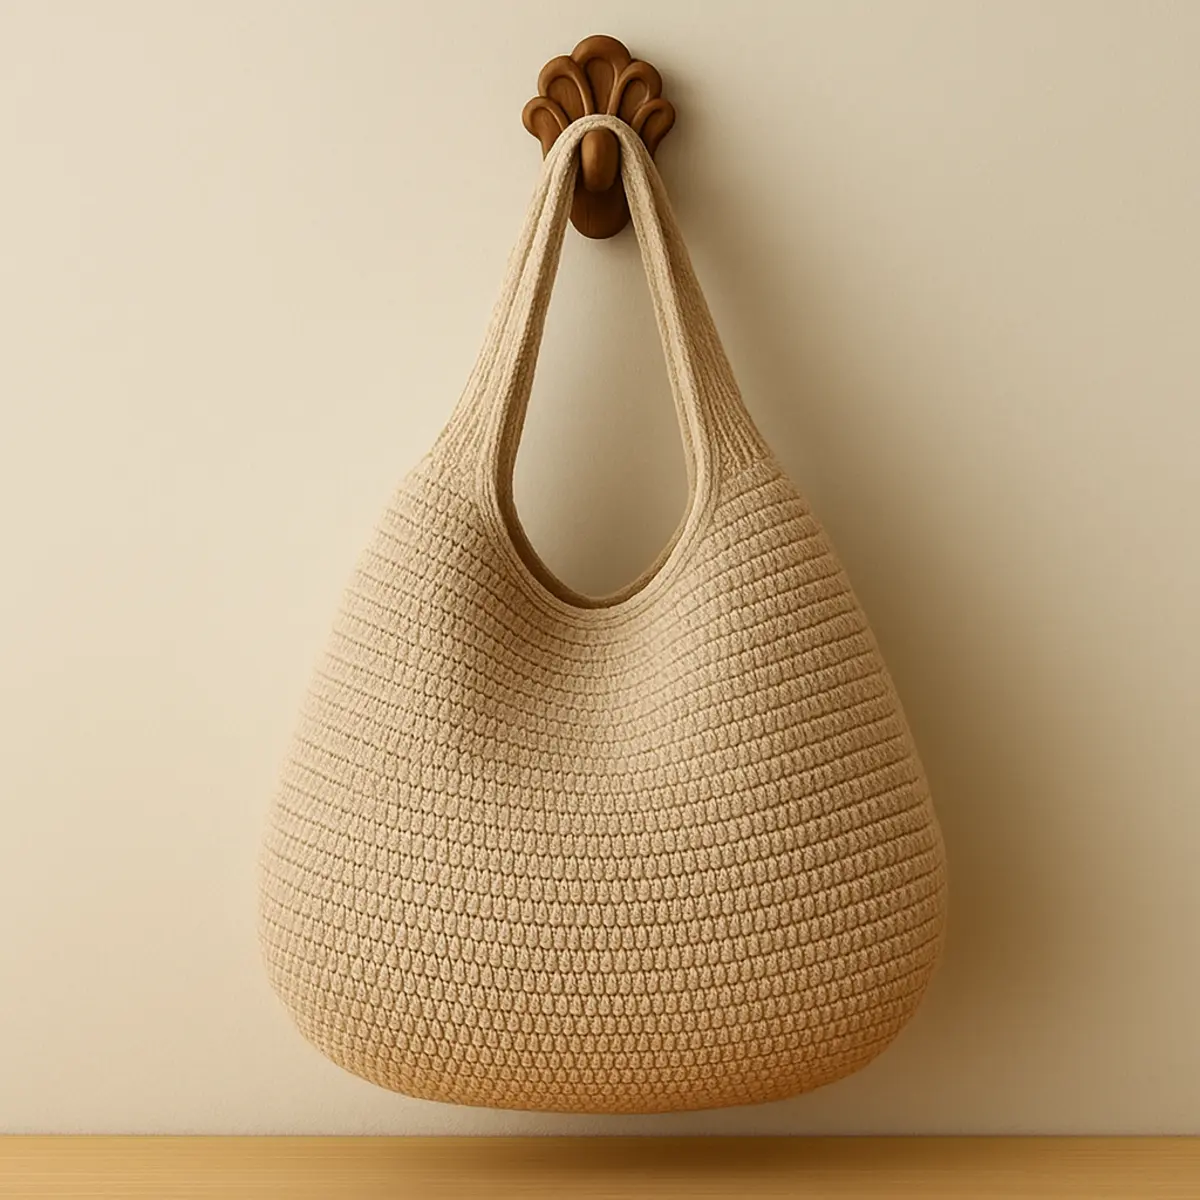
Congratulations on completing your beautiful Perfect Free Crochet Super Strap Bag! You’ve not only created a stylish accessory but also a functional piece for your daily use. Don’t forget to share your wonderful creation with friends and fellow crafters; we love seeing your unique interpretations of our patterns!
If you loved making this, you should also check out our easy crochet flower, try your hand at simple crochet flowers, or explore our flower category for even more delightful projects!
Leave a Reply