
If you’re looking for a delightful way to dive into the world of crochet, this easy crochet granny square pattern is just what you need! Perfect for beginners, these charming squares combine simplicity with the opportunity to create something truly beautiful. Whether you want to make a cozy blanket or simply use up your yarn scraps, granny squares will ignite your creativity and boost your skill level without overwhelming you.
This classic pattern features a gorgeous texture, vibrant colors, and the versatility to mix and match as you please. Using just a few basic stitches, like double crochet clusters and chain stitches, you’ll find this project both satisfying and enjoyable. Imagine the joy of stitching together a patchwork of colors into a stunning blanket or unique accessories that showcase your personal style!
Don’t worry if you’re new to crocheting—this pattern is designed with beginners in mind, so you’ll feel empowered every step of the way. With a warm and inviting vibe, you’re encouraged to grab your hook and yarn to explore the endless possibilities the granny square offers. Let your creativity flow and enjoy the meditative process of crocheting as you craft a lovely piece that’s sure to impress!
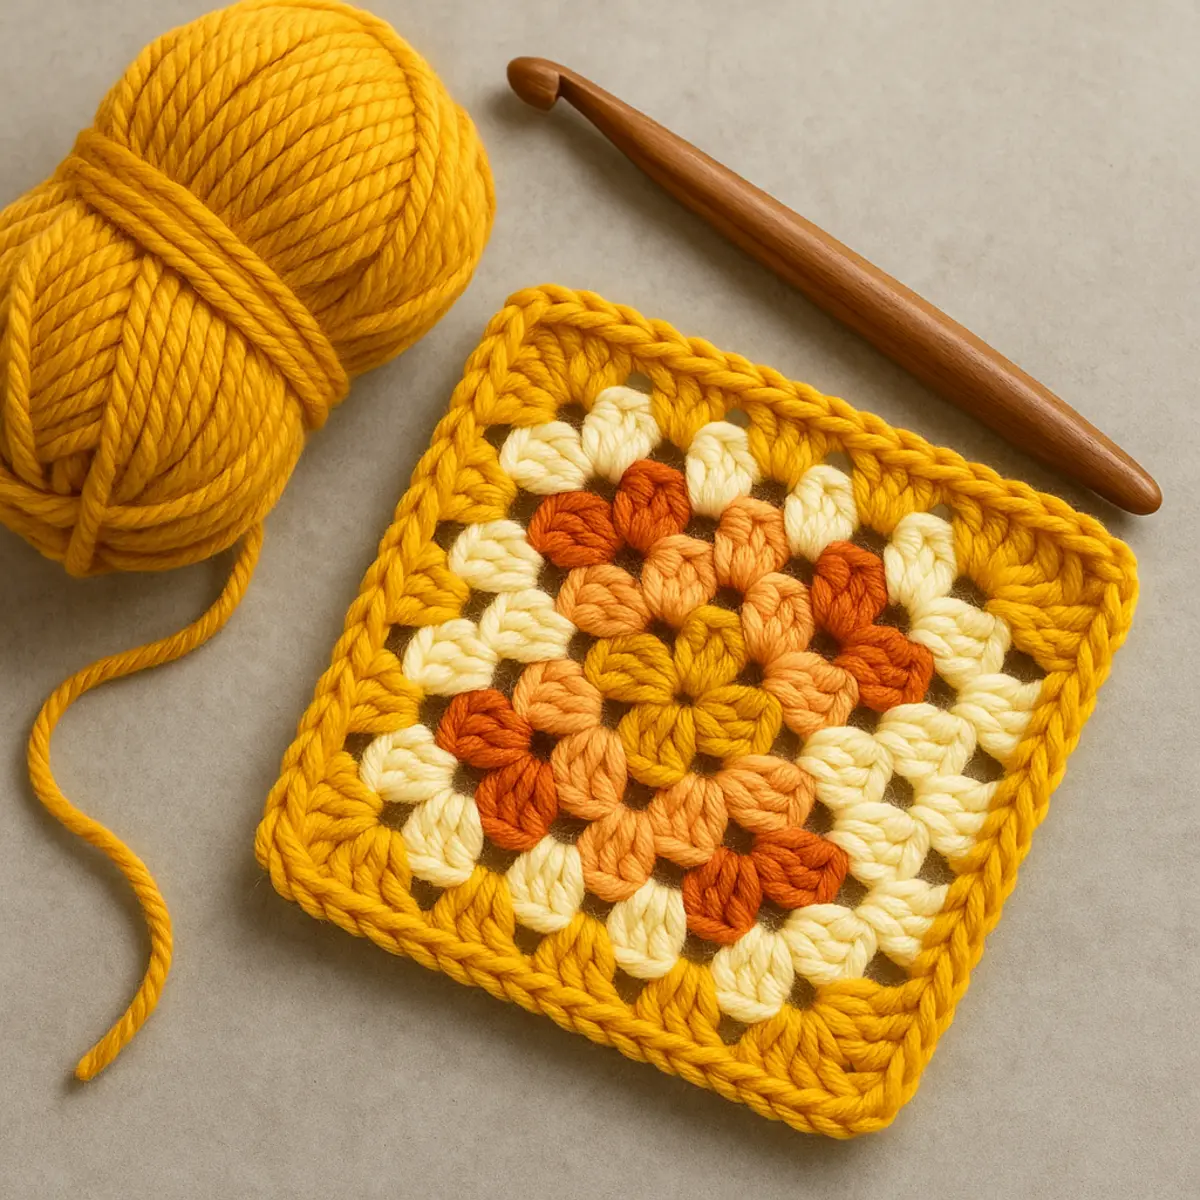
This easy crochet granny square pattern is perfect for beginners eager to explore the world of crochet! With just a few basic stitches, including double crochet clusters and chain stitches, you’ll learn how to create these charming squares that can be the foundation of cozy blankets, trendy bags, or unique accessories. The tutorial offers step-by-step guidance, making it a delightful project that lets you mix vibrant colors and textures using worsted-weight yarn and a size H crochet hook. So grab your materials and let your creativity shine as you craft beautiful granny squares that reflect your personal style!
Materials Needed
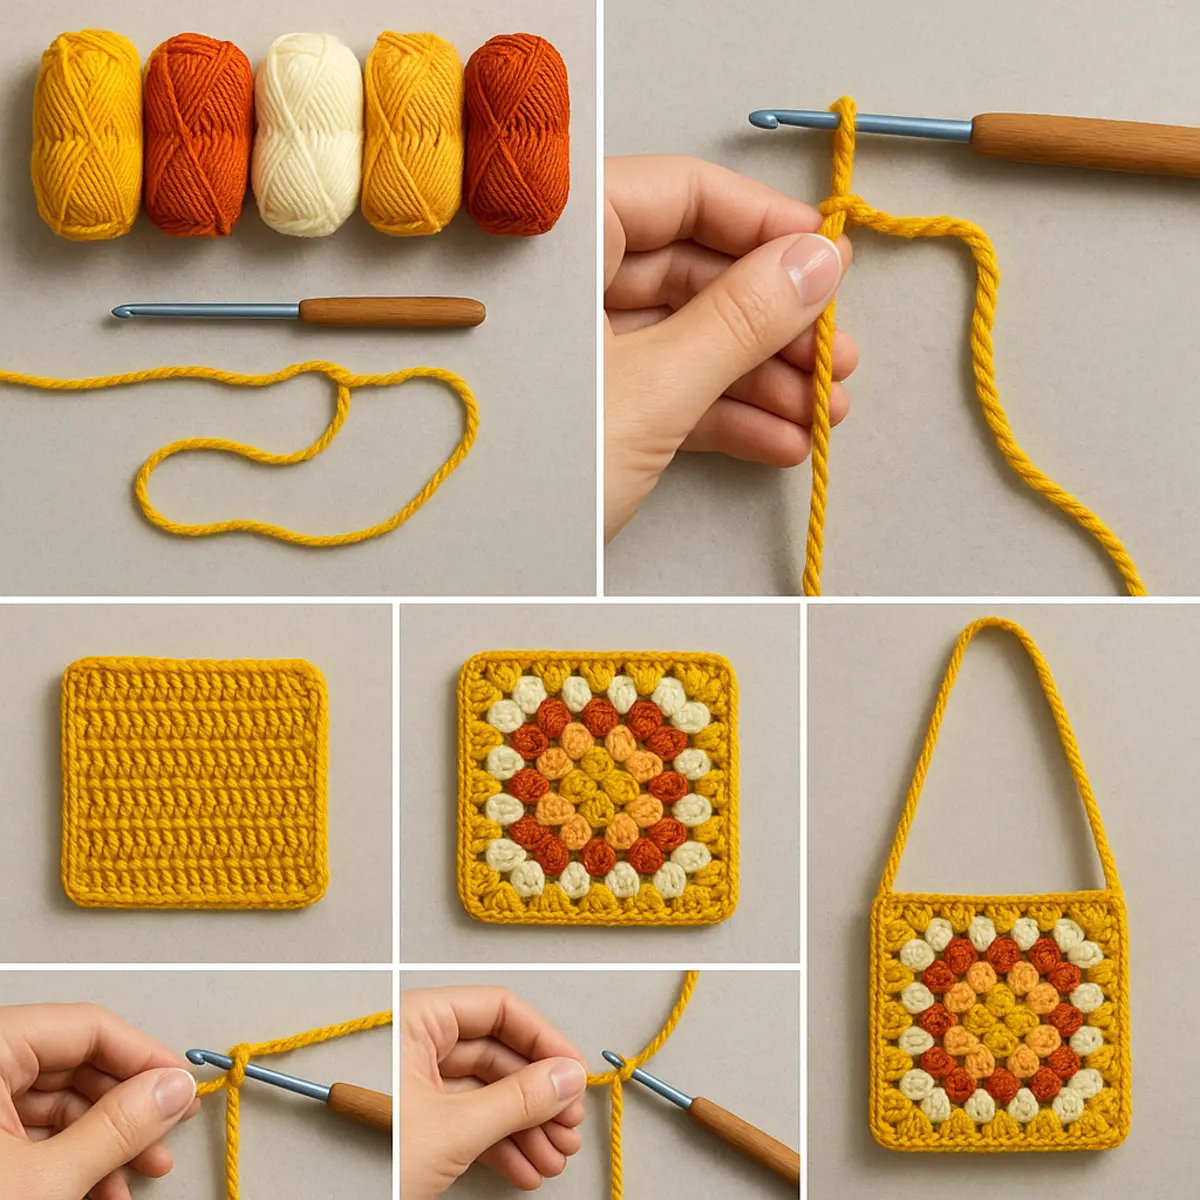
Gathering the right supplies is essential for creating your easy crochet granny square. With just a few tools and some vibrant yarn, you’ll be well on your way to crafting beautiful squares that are perfect for beginners. Let’s take a look at what you’ll need to get started!
- Yarn: You will need a worsted-weight yarn in your chosen colors. A smooth texture and lighter colors make it easier to see your stitches, so consider options like Lion Brand Basic Stitch acrylic yarn. This yarn is durable, vibrant, and perfect for beginners because it glides easily on your hook!
- Crochet Hook: A size H (5.0mm) crochet hook is recommended for worsted-weight yarn. This size strikes a good balance for beginners, allowing for easy maneuverability while still providing structure to your stitches.
- Notions:
- Scissors: Handy for cutting your yarn when you’re finished or need to change colors.
- Tapestry Needle: Essential for weaving in the ends of your yarn once your granny square is complete. A blunt-tipped needle works best to prevent snagging your stitches.
- Stitch Markers (optional): Use these to keep track of your rounds or to mark important spots in your work, especially if you’re learning.
Pro Tip: If you’re considering color substitutions, play with different color combinations to create stunning visual effects in your squares. Just remember to check your gauge, as different yarn types and weights can affect the final size of your project!
Abbreviations
This pattern is written in standard US terms.
- ch: Chain
- dc: Double Crochet
- sl st: Slip Stitch
- inc: Increase (two stitches in the same space)
- dec: Decrease (usually by working two stitches together)
- granny cluster: Group of 3 double crochet stitches worked together into the same space.
- ch-sp: Chain-space (the space created by chain stitches).
- magic ring: A technique to start in the round without a hole in the center.
Foundation Row
Start by creating a magic ring to form the center of your granny square. This is an essential step that allows you to create a tightly closed center without a hole.
- Make a magic ring: Wrap the yarn around two fingers, then pull the working yarn through the loop created, forming a ring.
Expected Result: Your magic ring should pull tight and contain a loop for your stitches.
Round 1
The first round forms the basis of your granny square. We’ll create four granny clusters in this round.
- Chain 3: This will count as your first double crochet stitch.
- Add 2 double crochets (dc) into the magic ring: This starts your first granny cluster.
- Chain 3: This creates a corner space.
- Repeat: Work (3 dc, ch 3) three more times.
- Join: Slip stitch (sl st) into the top of the initial chain-3.
Expected Result: You should have 4 granny clusters separated by 4 chain-3 spaces, forming the first round of your square.
Round 2
In this round, we’re going to add more depth to the square while reinforcing the corners.
- Turn your work: Flip it so the ‘wrong side’ is facing you.
- Chain 3: Counts as the first dc.
- 2 dc in the same chain-3 space: This forms your first corner.
- Chain 1: This adds space between the clusters.
- In the next chain-3 space: Make (3 dc, ch 3, 3 dc) to create your next corner.
- Repeat: Do the above step two more times.
- Close the round: Slip stitch into the top of your starting chain-3.
Expected Result: You should now have a total of 8 granny clusters and 4 corners.
Round 3
Now we will continue to build out your granny square with more clusters and spaces.
- Turn your work: Again, flip it to the ‘right side’.
- Chain 3: This counts as a dc.
- 2 dc in the next chain-1 space: This adds to the side of the square.
- Chain 1: Form a space for the next clusters.
- In the next chain-3 space: Make (3 dc, ch 3, 3 dc).
- In the next chain-1 space: Add 3 dc, then chain 1.
- Repeat: Do the last two steps two more times.
- Close the round: Slip stitch into the top of the initial chain-3.
Expected Result: You should now have a total of 12 granny clusters at this stage.
Round 4
We’re going to add even more detail to your granny square in this round.
- Turn your work: Flip to the wrong side again.
- Chain 3: Counts as a dc.
- 2 dc in the next chain-1 space: Adds another side cluster.
- Chain 1: Create a space for the next section.
- In the next chain-3 space: Continue with (3 dc, ch 3, 3 dc).
- Repeat: Finish off the remaining sides with clusters and chain-1 spaces as before.
- Close the round: Slip stitch into the top of the initial chain-3.
Expected Result: You should have 16 granny clusters in total, giving your square a more substantial look.
Round 5
This is your final round where we will complete the square.
- Turn your work: Make sure it’s facing the right side.
- Chain 3: This counts as the first dc.
- 2 dc in the same chain-3 space: Starting your last corner.
- Chain 1: For space.
- Add 3 dc in each next chain-1 space: This will fill the sides.
- In the next chain-3 space: Complete with (3 dc, ch 3, 3 dc).
- Close the round: Slip stitch into the top of your starting chain-3.
Expected Result: You should finish with an aesthetically pleasing granny square consisting of 20 granny clusters.
Finishing
To finish your granny square, gently weave in all the ends with a tapestry needle to clean up your project.
- Weave in ends: Thread your yarn tails through the stitches on the back side to secure and hide them.
- Block your square (optional): Soak in cool water, lay flat, and pin into shape for added definition.
Expected Result: Your granny square should be flat, neat, and ready to use in your next crochet project!
Frequently Asked Questions
- What yarn weight should I use for the granny square?
It’s recommended to use worsted-weight yarn for this pattern. This medium weight is easy to work with, ensuring your stitches are clear and your squares are well-defined. - What hook size is ideal for this project?
A size H (5.0mm) crochet hook is ideal for achieving the best tension and stitch definition. Make sure to check the yarn label for any specific recommendations as well. - Can I substitute yarn for this pattern?
Absolutely! While worsted-weight yarn is suggested, you can use any medium-weight yarn. Just remember that using a different yarn may affect the size and look of your finished square. - How do I know if I’m crocheting tightly enough?
To ensure the best results, check your gauge. If your stitches appear loose or the square seems too large, try using a smaller hook size or adjusting your tension while crocheting. - What’s the best way to join multiple granny squares together?
You can join your squares using a whip stitch or slip stitch method. This will give you a neat and professional finish as you create blankets or other projects. - Can I use multiple colors for my granny squares?
Yes! This pattern is perfect for color variations. You can change colors each round or mix and match your favorite shades to create a unique design.
Congratulations on completing your beautiful Easy Crochet Granny Square! You’ve taken an essential step into the world of crochet, and your creation is a testament to your creativity and skill. Don’t forget to share your finished project with friends and fellow crafters; they’ll love to see what you’ve made!
If you loved making this, you should also check out our Easy Crochet Flower, try your hand at Simple Crochet Flowers, or explore our collection of flower patterns!
Leave a Reply