
Imagine your little one twirling in a whimsical dress adorned with cheerful sunflowers, perfect for sunny summer days. This Sunflower Summer Baby Dress is not just visually enchanting but also easy to make, making it a delightful project for intermediate and advanced crocheters who want to create something special for the darling in their life.
Crafted with DK weight yarn in four vibrant colors, this dress combines texture and beauty, featuring a charming bodice complemented by a flowing skirt with decorative shell and V-stitch patterns. The sunflowers crafted with love add a playful touch, making it the quintessential summer outfit that can be worn for playdates, picnics, or family gatherings. Available in sizes from 6 months to 24 months, this dress is adaptable for every little fashionista.
Don’t worry if intricate designs seem daunting; this project has a manageable difficulty level, perfect for enhancing your crochet skills while creating a stunning piece. With a mix of single crochet and joyful sunflower motifs, it’s all about enjoying the process and having fun. So grab your favorite yarn, your trusty hook, and start crafting this adorable dress that will surely elicit smiles from both you and your baby!
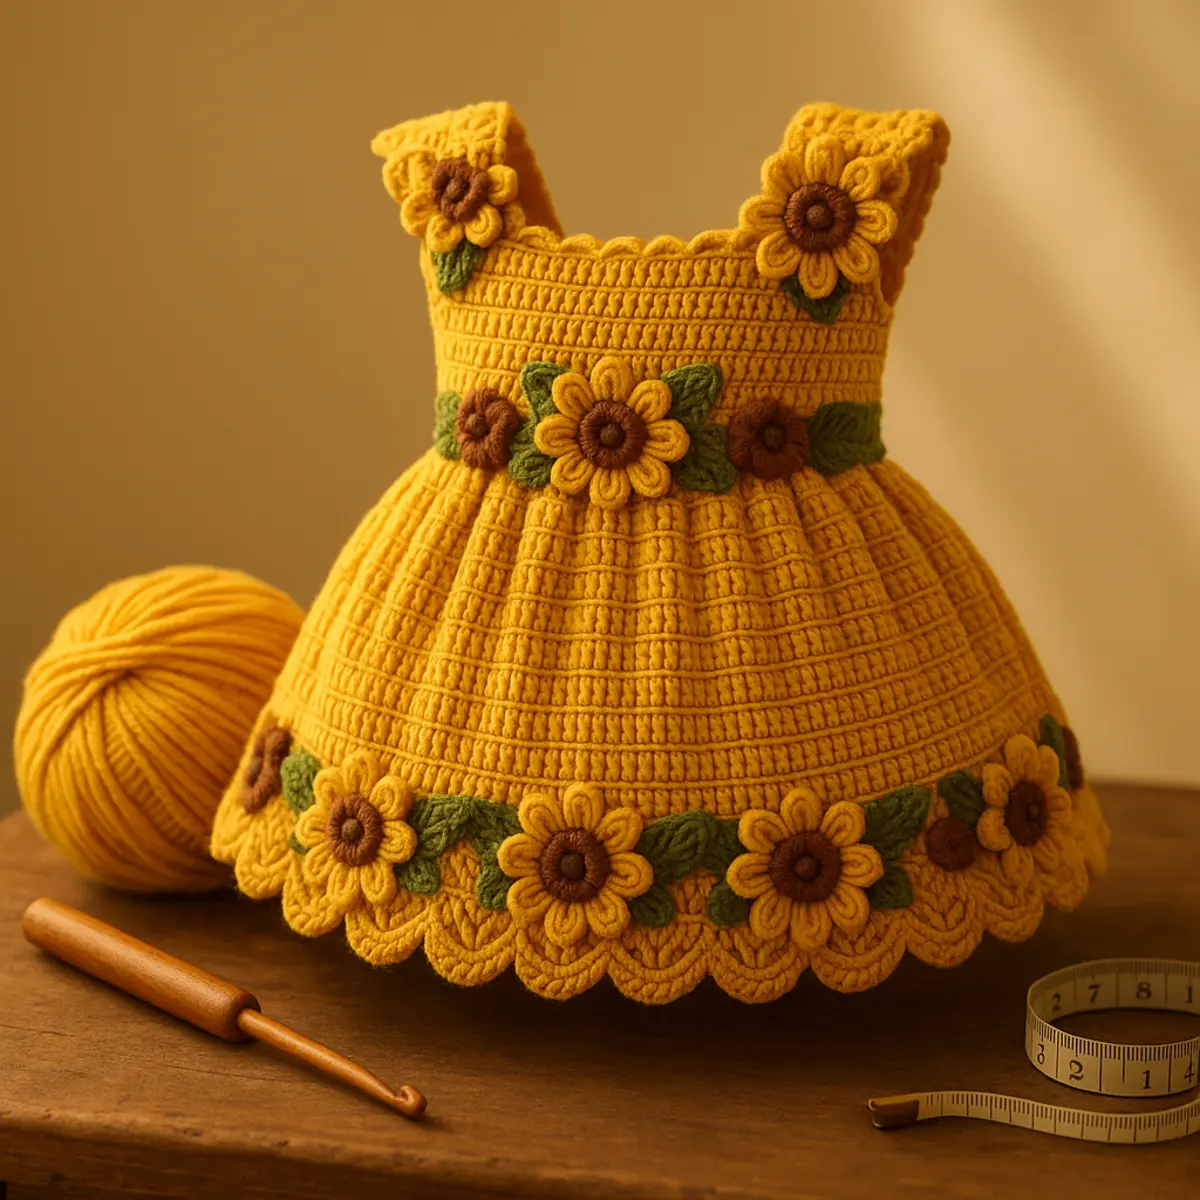
This delightful Sunflower Summer Baby Dress free crochet pattern is designed for intermediate to advanced crocheters who wish to create a whimsical outfit perfect for their little ones during sunny days. Utilizing DK weight yarn in four vibrant colors and two different crochet hooks, the project includes a charming bodice and a flowing skirt adorned with decorative shell and V-stitch patterns, along with adorable sunflower motifs that add a playful touch. Available in sizes ranging from 6 months to 24 months, this enchanting dress is ideal for playdates, picnics, and family gatherings, making it a beautiful and practical addition to any baby’s wardrobe.
Materials Needed
Before diving into the creation of your whimsical Sunflower Summer Baby Dress, it’s crucial to gather the right supplies. This not only ensures a smoother crafting experience but also guarantees that your project turns out beautifully! Let’s take a closer look at what you’ll need for this delightful pattern.
- Yarn: DK weight yarn (CYCA 3 Light) in four colors – The lighter weight makes it perfect for a summer dress that’s easy to wear, while vibrant colors add that cheerful sunflower touch.
- Crochet Hooks:
- US size E-4 (3.5 mm) for the bodice and flower motifs – This size helps create a tight fabric for the bodice and precise flower details.
- US size F-5 (3.75 mm) for the skirt – A slightly larger hook allows for a more flowing, delicate fabric, ideal for the skirt.
- Stitch Markers: 6 – Essential for keeping track of your rounds and ensuring even spacing around the bodice and skirt.
- Yarn Needle: Blunt tip – Ideal for weaving in ends and sewing on those adorable sunflower motifs without splitting the yarn.
- Buttons: 3 small buttons (approximately 5/8 inch or 15 mm diameter) – Use these for the back button band, allowing easy dressing and adding a classic touch.
- Scissors: – For snipping yarn and keeping your workspace tidy. A good pair of scissors is a must-have for any crocheter!
- Blocking Mats and Rust-Proof Pins: – These will give your finished dress its optimal shape and prevent stretching, making sure the dress looks professionally finished.
Pro Tip: When selecting your yarn colors, consider using shades that complement each other for the sunflowers and main dress. Always check your gauge before starting to ensure your dress fits as expected!
Abbreviations
This pattern is written in standard US terms, which is commonly used in crochet patterns.
- ch: Chain
- dc: Double Crochet
- inc: Increase – typically accomplished by making two stitches in the same stitch
- sc: Single Crochet
- sl st: Slip Stitch
- sts: Stitches
- V-st: V-Stitch – typically consists of a double crochet into the same stitch, with a chain in between
Yoke and Neckline
Start your whimsical sunflower summer baby dress by creating the yoke and neckline. This section sets the foundation for the bodice of the dress.
- Chain 68 (or adjust to 72, 78, or 84 for other sizes): Create a foundation chain that will form the neckline.
- Row 1: Starting in the second chain from your hook, work single crochet (sc) across the chain. You should have 67 (or the corresponding count for larger sizes) stitches by the end of this row.
- Row 2: Ch 1, turn, and work sc in each stitch across. Repeat this row until you reach the desired height for the neckline.
Expected Result: Your yoke should feel like a soft band, ready to form the basis of the dress.
Separate Sleeves and Join Body
This step involves establishing the sleeves and connecting the front and back of the dress for a beautifully seamless look.
- Place sleeve stitches on holders: To create the sleeves, divide the stitches according to the pattern:
- For 6 months size, place 9 stitches on holders per sleeve.
- For 12 months, 10 stitches.
- For 18 months, 11 stitches.
- For 24 months, 12 stitches.
- Add chains: After placing the sleeves on holders, chain 10 (or appropriate size) to join the front and back.
- Connect the body: Use a slip stitch to join the sides where the sleeves meet the bodice.
Professional Tip: Make sure to count your stitches again to ensure you have the right amount before moving forward.
Bodice
Now we will work on the bodice, making it snug and beautifully fitted.
- Continue working sc: From the underarm join, work single crochet in rows until the bodice measures:
- 3.5 inches for 6 months.
- 4 inches for 12 months.
- 4.5 inches for 18 months.
- 5 inches for 24 months.
Expected Result: You should have a well-formed bodice that looks neat and tailored.
Waist Join Round and Skirt Setup
Let’s set up the skirt by transitioning from rows to rounds. This will give the dress its flair.
- Work a slip stitch join: Connect the final row of the bodice into a round.
- Increase stitches: Depending on the garment size, increase to match the stitch count needed for the skirt.
Professional Tip: Take care to evenly space your increases to ensure the skirt is full and flattering.
Skirt
In this step, you’ll create the decorative skirt using shell and V-stitch patterns.
- Work in rounds: Begin the skirt by using the chosen decorative stitches, alternating between shell and V-stitch for effect.
- Continue until desired length: Work until the skirt measures:
- 10 inches for 6 months.
- 11 inches for 12 months.
- 12 inches for 18 months.
- 13 inches for 24 months.
Expected Result: The skirt should have a lovely drape with the decorative stitches clearly displayed.
Hem Border and Scallop
This step adds a lovely final touch to the skirt hem.
- Work rounds of sc: Create a border by working single crochet around the hem for two rounds.
- Add scallops: Finish with a decorative scallop round for flair.
Professional Tip: Block the skirt before adding the scallops to ensure the stitches lay flat and even.
Armhole Edges
Let’s finish the armhole edges, giving the dress a polished look.
- Single crochet around armholes: Work in rounds to create a neat edge.
- Add scallops: As with the hem, finish each armhole with a scallop design.
Expected Result: The armholes should have a smooth finish with a charming scalloped edge.
Neckline Edge
Next, tidy up the neckline edges for coherence.
- Single crochet along the back edge: Ensure the neckline is even and preparing for the buttons.
- Add scallops: As with the other areas, add in a row of scallops for detail.
Professional Tip: Ensure your scallops align with those on the hem for a cohesive look.
Back Button Band
This section allows for easy dressing with button closures.
- Single crochet along the right back edge: Work a neat band along the edge.
- Create button loops: Ensure the loops will hold your buttons firmly but allow room for easy closure.
Expected Result: Your button band should be functional yet decorative.
Sunflower Motifs
Bring a burst of color to your dress with charming sunflower motifs!
- Create large and small sunflowers: Work these separately using the desired colors.
- Sew onto the dress: Position the flowers to your taste, securing with stitches.
Professional Tip: Lay the flowers out before permanently attaching them to visualize the best arrangement.
Finishing and Assembly
Your dress is almost complete! Just a few finishing touches are left.
- Weave in ends: Make sure all your yarn ends are securely tucked in.
- Block the dress and motifs: This enhances the overall look and shape.
- Position and sew on embellishments: Attach any last decorations or features you’d like to add.
Expected Result: You should have a beautiful, professional-looking dress that is ready for wear!
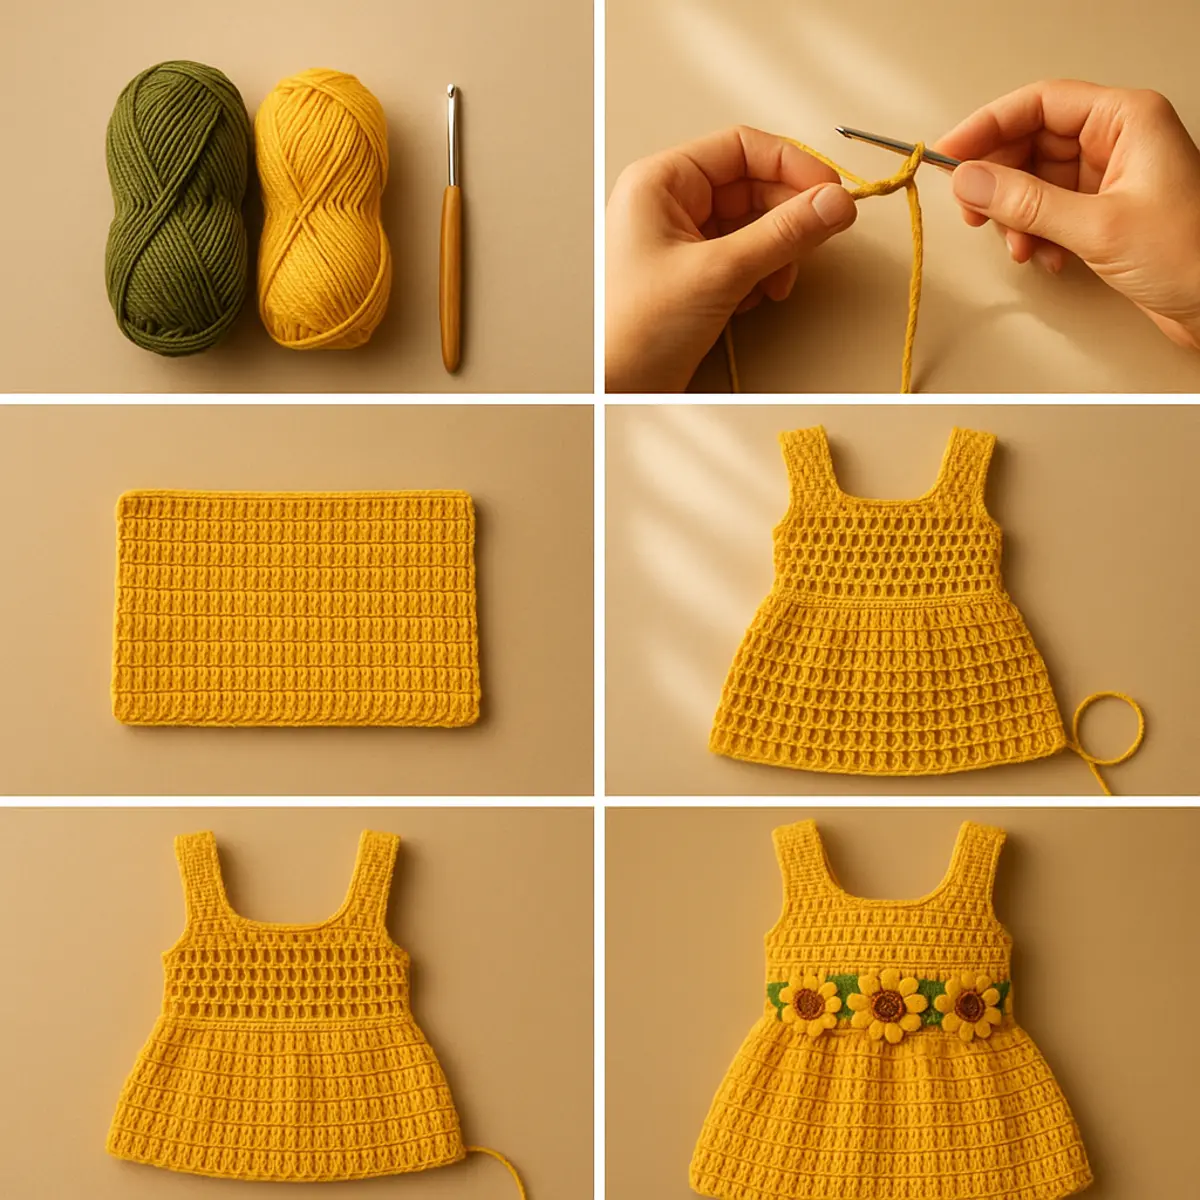
Frequently Asked Questions
1. What skill level is required for this pattern?
This Sunflower Summer Baby Dress pattern is suitable for intermediate to advanced crocheters. Basic skills such as chain, single crochet, and working in rounds are essential.
2. How do I ensure I achieve the correct gauge?
To achieve the correct gauge, it’s crucial to make a swatch using the specified 22 single crochets = 4 inches for the bodice and 20 stitches = 4 inches for the skirt. Adjust your hook size or yarn tension as needed.
3. Can I use a different yarn weight?
While this pattern calls for DK weight yarn (CYCA 3 Light), you can substitute it with a similar weight. However, be aware that using a different yarn may affect the fit and overall look of the dress.
4. What types of yarn colors work best for this dress?
This dress shines with cheerful colors like yellows, greens, and whites, reminiscent of sunflowers and summer days. Feel free to mix different colors to express your creativity!
5. How do I care for the finished dress?
It is recommended to wash the finished dress gently by hand in cold water and lay it flat to dry to maintain its shape and vibrancy.
6. Are there any tips for sewing on the sunflower motifs?
When sewing the sunflower motifs onto the dress, use a yarn needle and matching thread for a neat finish. Position them symmetrically for a balanced look.
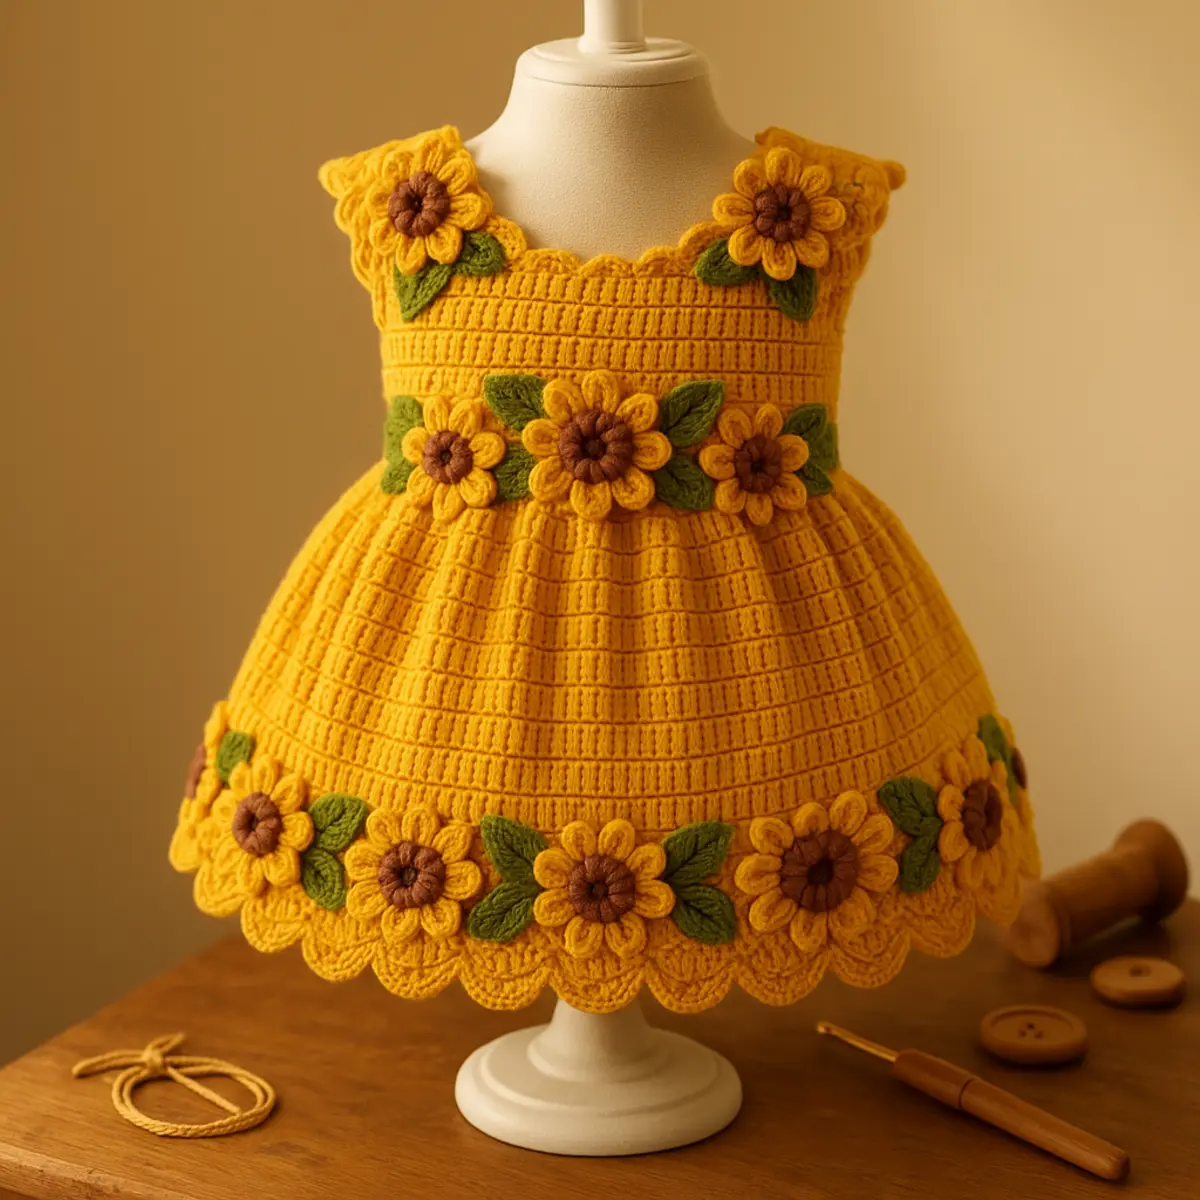
Congratulations on completing your beautiful Sunflower Summer Baby Dress! Your crafting skills have truly shone through in this delightful project, and we can’t wait to see how your little one looks in it. Don’t forget to share a photo of your lovely creation with friends and fellow crafters alike—your handiwork deserves to be celebrated!
If you loved making this, you should also check out our Easy Crochet Flower, try your hand at Simple Crochet Flowers, or explore our Flower Crochet Patterns!
Leave a Reply