
Create a quick and gorgeous Crochet Flower Keychain that makes a perfect accessory or gift. This delightful project is perfect for both beginners and intermediate crocheters looking to elevate their skills while making a beautiful, functional item. Whether you want to add a pop of color to your bag or surprise a friend with a handmade gift, this keychain is sure to impress.
Featuring a charming 2 3/4” design, this keychain combines vibrant size 3 cotton yarn with delightful petals, creating a texture that’s both soft and eye-catching. The pattern includes easy-to-follow steps for each round, ensuring that the process remains enjoyable and stress-free. Add a personal touch with a clasp or keyring, and perhaps even some coordinating felt for a truly unique flair.
This project is not just quick; it’s also beginner-friendly! If you’ve just mastered the basics or want to expand your crochet repertoire, this Crochet Flower Keychain is the perfect vibe for a cozy crafting session. So grab your 3.75mm crochet hook and some yarn, and let’s bring this adorable flower to life!
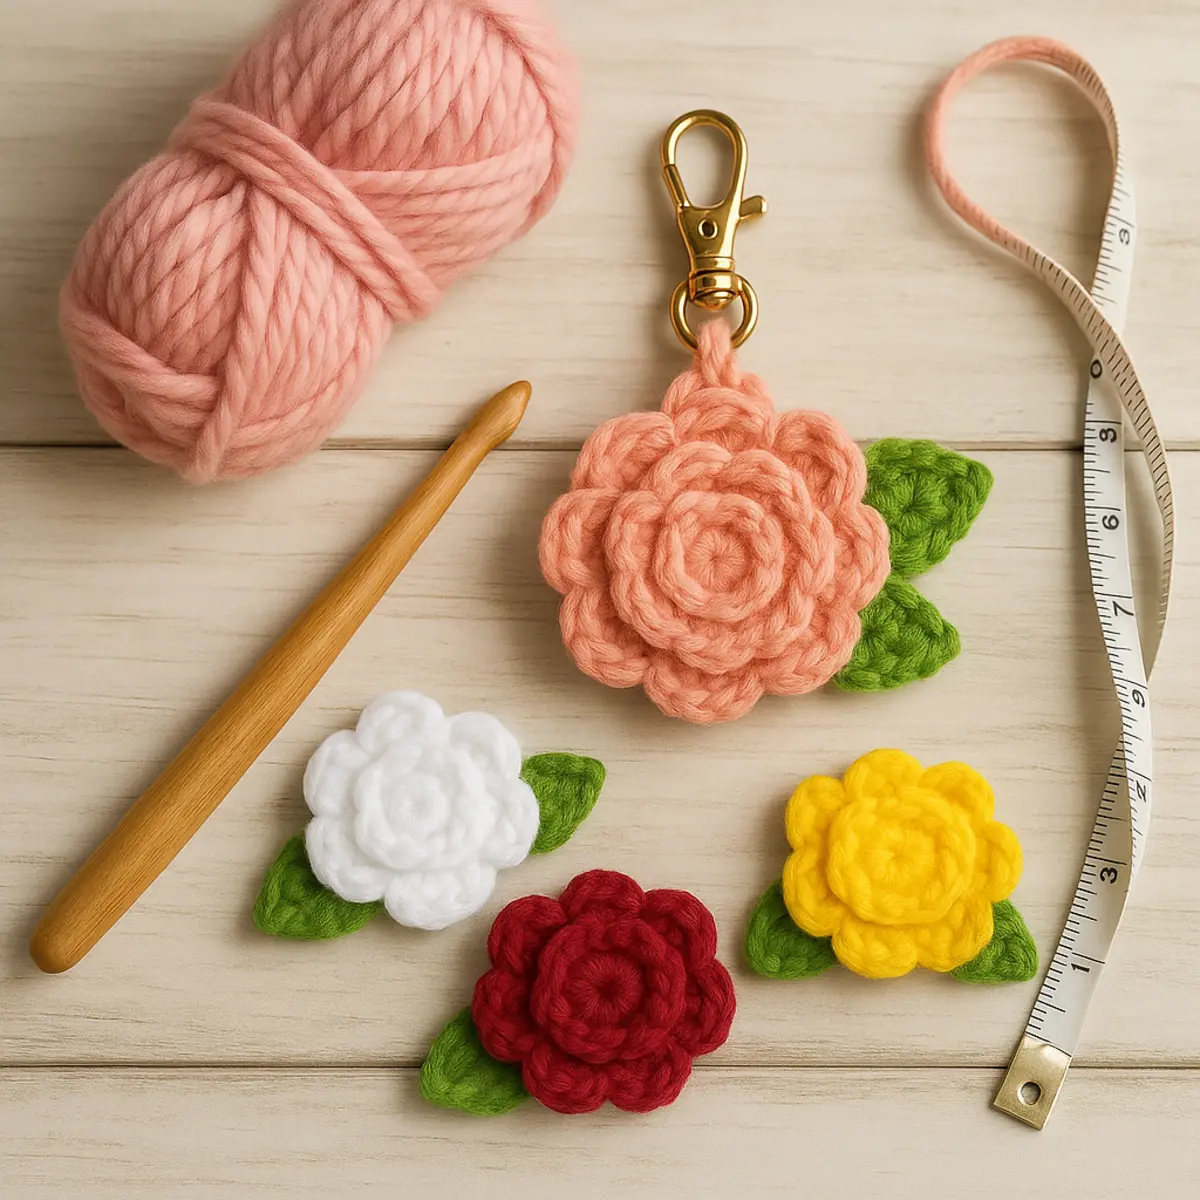
This easy-to-follow Crochet Flower Keychain pattern is an ideal project for beginners and intermediate crocheters who want to create a delightful and functional accessory. Using vibrant size 3 cotton yarn and a 3.75mm crochet hook, this article guides you through crafting a charming 2 3/4” flower, complete with lovely petals and personalized touches like a clasp or keyring. With clear instructions for each round and additional ideas for customization, you’ll not only enjoy the process but also end up with a beautiful keepsake that’s perfect for adding a splash of color to your bag or gifting to a friend.
Materials Needed
Gathering the right supplies is an essential step towards creating your beautiful Crochet Flower Keychain. With the following materials and tools, you’ll be well-equipped to bring your project to life in no time. Let’s dive into what you’ll need!
- Yarn: Size 3 cotton yarn is perfect for this project, providing the right balance of softness and durability for your keychain, ensuring it holds its shape and texture.
- Crochet Hook: A 3.75mm crochet hook will allow you to achieve the correct tension and create the delicate stitches necessary for a refined flower design.
- Stitch Marker: A stitch marker is crucial for keeping track of your rounds, especially as you add petals and other decorative touches to your keychain.
- Jumbo Tapestry Needle: This needle makes it easy to weave in ends and secure any embellishments. Its size allows for threading thicker yarn without hassle.
- Hot Glue Gun and Glue Sticks: These are great for attaching embellishments like felt and securing the flower components together, giving your keychain a polished finish.
- Clasp and/or Keyring: Essential for turning your flower into a usable keychain, these hardware components will allow you to attach it easily to your keys or bag.
- Small Amount of Coordinating Felt: Using felt adds a lovely finishing touch, and it can be cut to enhance the flower or create leaves that provide contrast to your beautiful yarn work.
Pro Tip: When selecting your yarn colors, consider using contrasting shades for the flower and the leaves to make your keychain pop! And remember, if you can’t find size 3 cotton yarn, you can substitute with size 4 yarn, adjusting your hook size accordingly to maintain the design’s shape.
Abbreviations
This pattern is written in standard US terms, commonly used in crochet.
- ch: Chain
- dc: Double Crochet
- hdc: Half Double Crochet
- inc: Increase (working two stitches in the same stitch)
- pl: Petal (a specific stitch group forming a flower petal)
- sc: Single Crochet
- sl st: Slip Stitch
Foundation Round
Start by creating an adjustable ring, which will be the base of your flower. If you prefer an alternative method, you can chain 2 and work your stitches in the second chain from the hook.
- Work 6 single crochet (sc) in an adjustable ring: Pull the working yarn to tighten the ring around the stitches.
Expected Result: You should see a tiny circle with 6 stitches neatly grouped in the center.
Round 2
For this round, we will build the flower’s base by increasing the stitch count while working in the back loop only.
- Work 2 sc in each stitch around: This will take you from 6 to 12 stitches.
Expected Result: After this round, you should have a total of 12 stitches, forming a slightly larger circle.
Round 3
Continue to add stitches to your flower while still working in the back loop only. This will give your flower a lovely texture.
- (2 sc in next stitch, sc in next stitch) around: Alternate between an increase and a single stitch around.
Expected Result: You will have 18 stitches at the end of this round, giving the flower more volume.
Round 4
For this round, we will start to create the spaces for the petals by switching to both loops while incorporating a slip stitch and a chain.
- (slip stitch in next stitch, chain 3, skip next stitch) around: This will create the foundation for the petal sections.
Expected Result: You should have 9 ch-3 spaces evenly distributed around.
Round 5
We will now form the petals of the flower, working into the ch-3 spaces created in the previous round.
- (sl st, hdc, 3 dc, hdc, sl st) in each ch-3 space around: This stitch combination creates lovely, full petals.
Expected Result: By the end of this round, you should see 9 beautiful petals formed around your flower.
Round 6
In this round, we’ll create a little loop that will allow the flower to hang nicely from your keychain or clasp.
- Chain 1, (sl st in next stitch from Round 4 in center of next ch-3 space, ch 3) around: Make sure to finish with a slip stitch.
Expected Result: You will finish this round with a series of chain spaces connecting the petals.
Last Round of Petals
Now it’s time to add an extra decorative touch to your petals!
- Starting in the unused front loop of the very 1st stitch, join with sl st; (2 hdc, sl st) in same stitch;
- [skip next stitch; (sl st, 2 hdc, sl st) in next stitch] 2 times;
- [skip next stitch; (sl st, ch 1, 2 dc, ch 1, sl st) in next stitch] 6 times;
- Finish with a sl st in 1st sl st of 6th petal.
Expected Result: Your flower should look fuller with enhanced details on each petal.
Short Hanging Loop
We’ll now create a smaller loop for hanging the flower as a keychain or accessory.
- Chain 17: Make sure to keep the tension consistent.
- Working in the back bar of the chain, slip stitch in 2nd chain and each chain across: Fasten off once complete.
Expected Result: You should have a neat little loop that is sturdy enough for hanging.
Long Hanging Loop
If you prefer a longer hanging option, this next step is for you!
- Chain 40: Follow the same method as the short hanging loop.
- Work as for short hanging loop: Complete with slip stitches and fasten off.
Expected Result: You should have a longer loop ready to attach to your keychain or bag.
Leaves
Adding leaves will give your crochet flower an even more charming finish.
- Make 2 leaves approximately 1 3/4” long x 1” wide: Follow the specified stitch pattern from your choice.
Expected Result: Two lovely leaves that will complement your flower nicely.
Finishing and Assembly
Finally, let’s secure everything in place!
- Sew all yarn tails to the back of the flower: Use a jumbo tapestry needle for ease.
- Tie in double knots, and trim.
- Attach leaves and hanging loop to the back of the flower: A hot glue gun can be handy for this step.
Expected Result: Your flower keychain should now be fully assembled and ready to use!
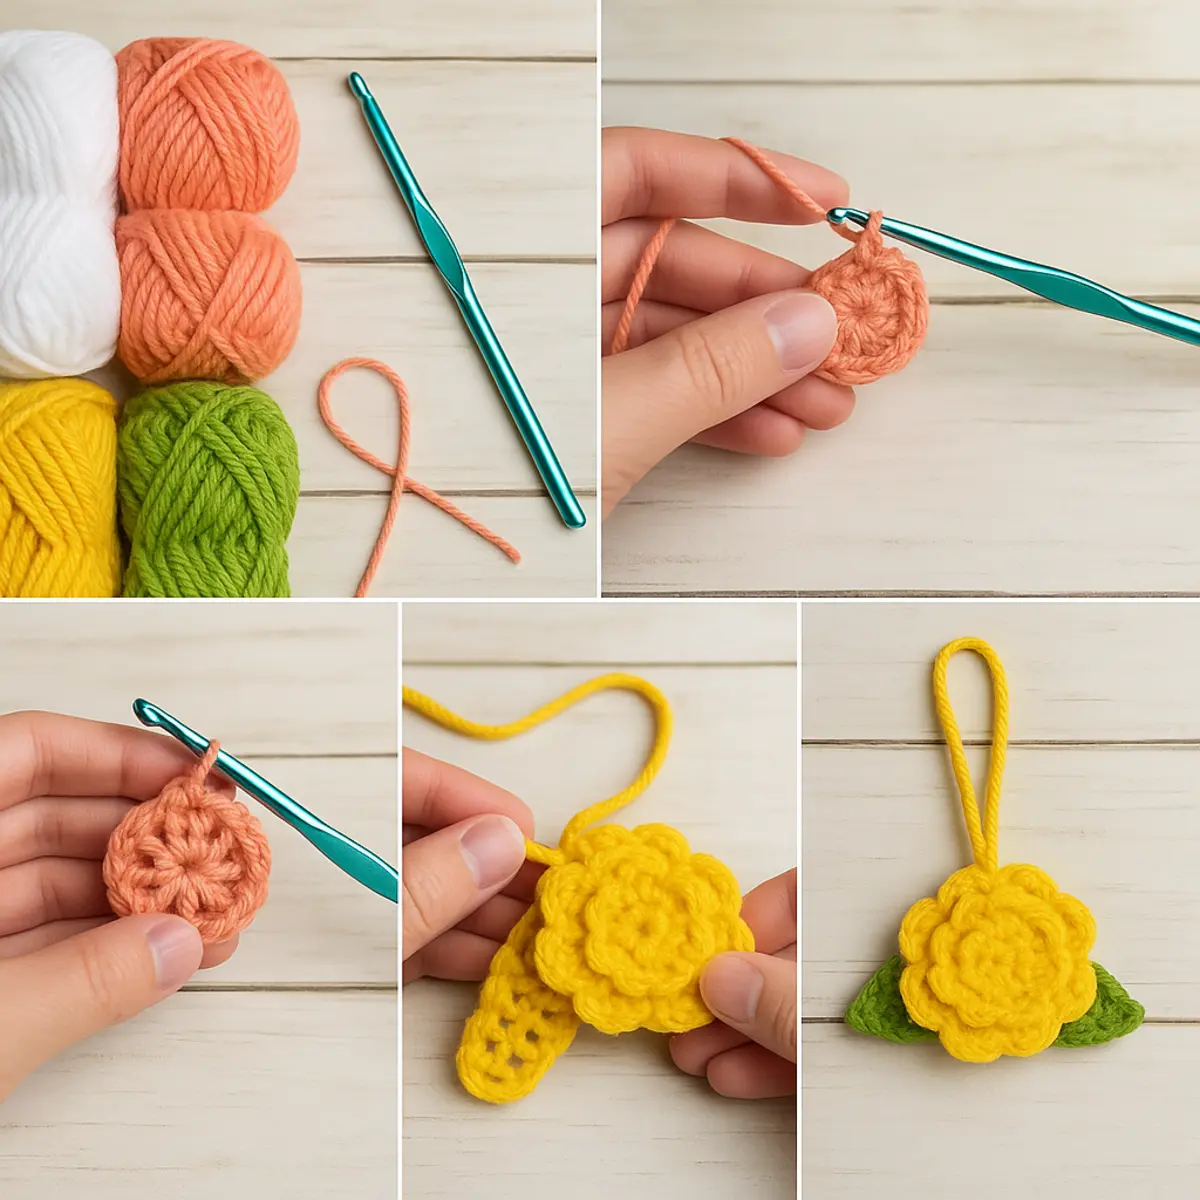
FAQ
Creating a beautiful Crochet Flower Keychain is not only enjoyable but also an excellent way to express your creativity. Gather the following materials to ensure your project goes smoothly!
- Yarn: Size 3 cotton yarn is recommended for its softness and durability, making it perfect for keychains.
- Hook: A 3.75mm crochet hook is the ideal size to create neat stitches that hold their shape.
- Stitch Marker: This tool helps keep track of your rounds, ensuring your flower maintains a consistent design.
- Jumbo Tapestry Needle: With a large eye, it’s essential for weaving in yarn ends and securing your flower’s assembly.
- Hot Glue Gun and Glue Sticks: Useful for attaching parts securely, especially when you finish your accessory.
- Clasp and/or Keyring: A necessary addition to convert your floral creation into a usable keychain.
- Small Amount of Coordinating Felt: This can be used for added embellishments or backing, enhancing the overall look of your keychain.
Pro Tip: When selecting colors for your yarn and felt, consider contrasting shades to make the flower pop. Also, if you’re experimenting with yarn substitution, check the yarn weight guide to maintain the same texture and size.
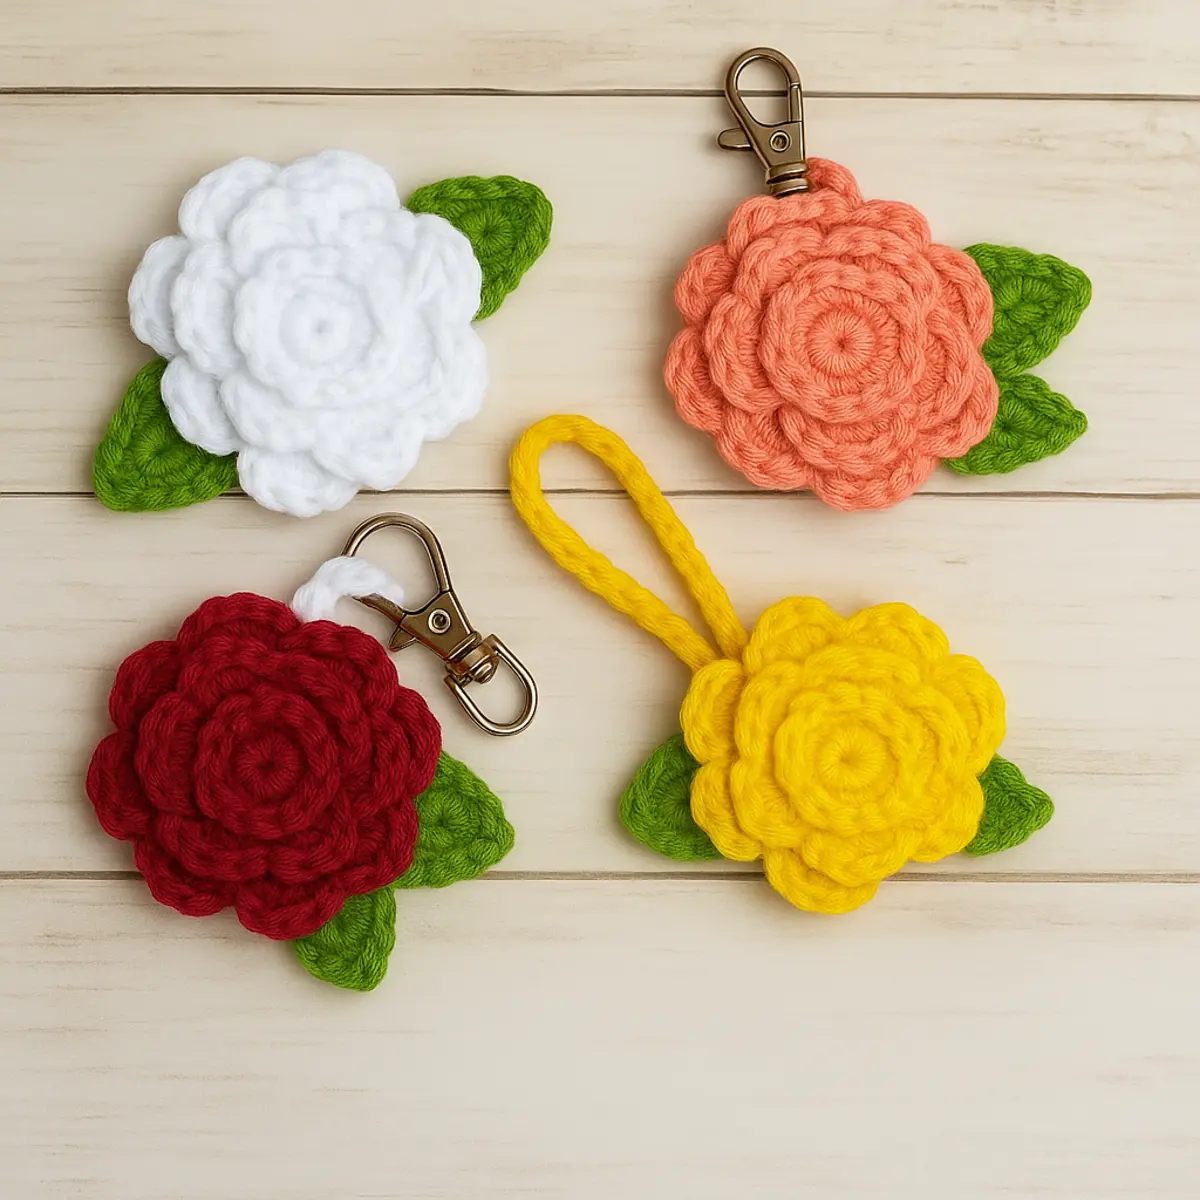
Congratulations on completing your stunning Crochet Flower Keychain! Your hard work and creativity have brought a beautiful piece to life, adding a personal touch to your everyday essentials. Don’t forget to share your finished project with friends and fellow crafters—there’s nothing more rewarding than inspiring others with your handmade creations!
If you loved making this, you should also check out our Easy Crochet Flower, try your hand at Simple Crochet Flowers, or explore our Flowers category for more delightful patterns!
Leave a Reply