
Is there anything quite as delightful as the sight of bright, cheerful crocheted cherries? These whimsical little gems not only capture the essence of summer fruit but also bring a sense of joy and nostalgia to our crafting sessions. The “Quick and Whimsical Crocheted Cherries” pattern is a fantastic project for anyone looking to whip up something lovely in no time—perfect for adding a playful touch to your home decor or giving as heartfelt gifts. What sets this pattern apart is how easily it works up in under an hour, making it incredibly beginner-friendly and inviting, even for those new to crochet. You’ll love the instant gratification of creating these vibrant cherries that can be transformed into keychains, garlands, or sweet little ornaments. Ready to bring some fruity fun into your crochet repertoire? Let’s get started on this delightful project that promises to fill your space with warmth and whimsy!
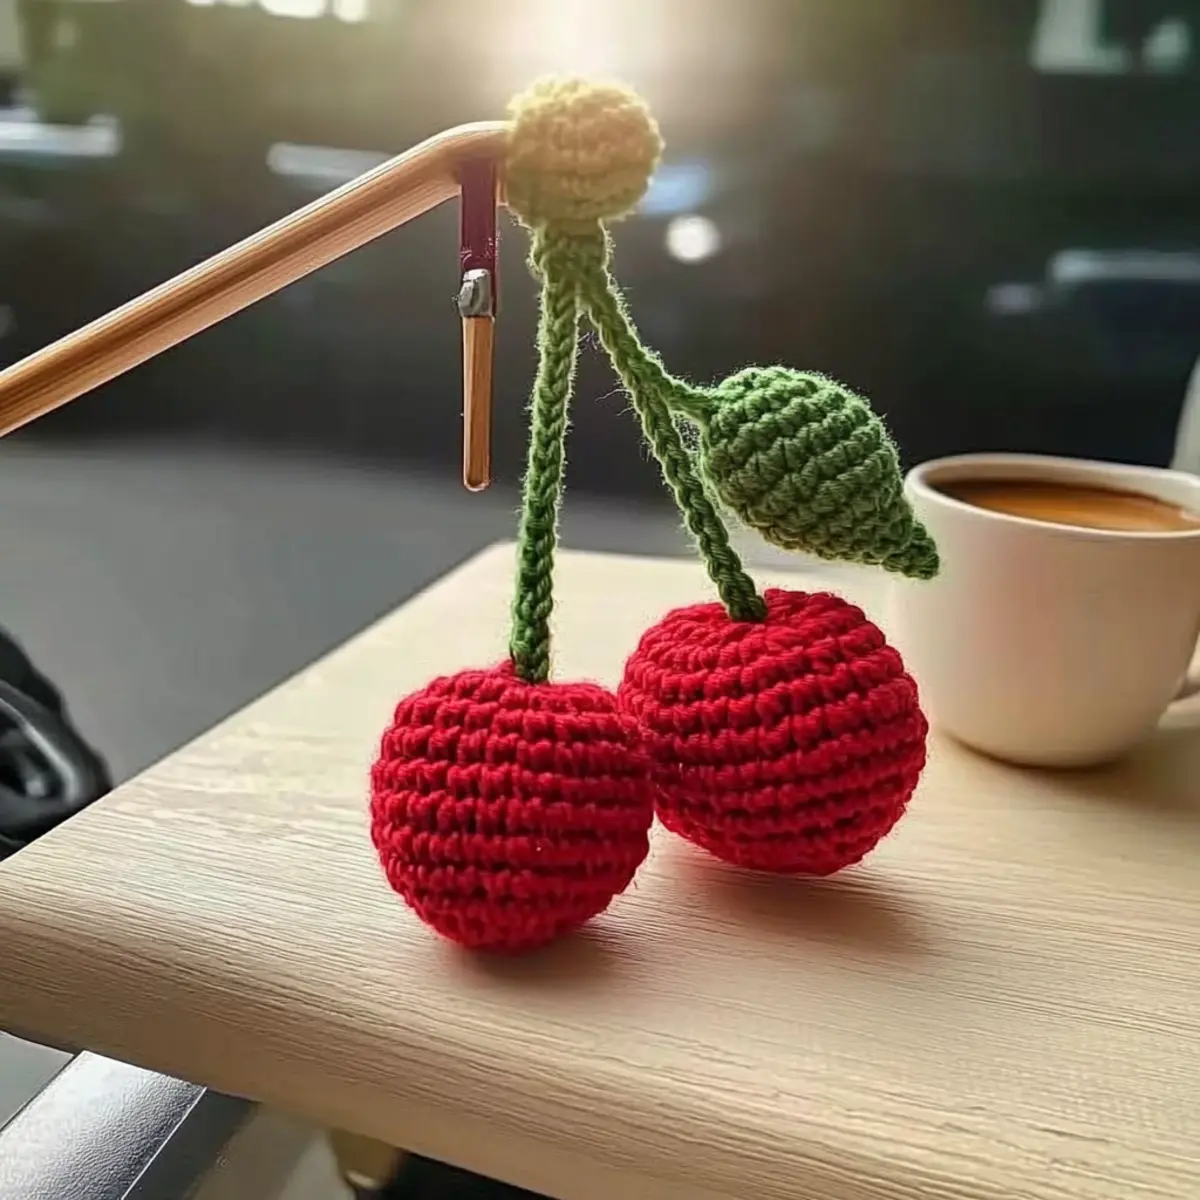
Crocheted Cherries Materials & Tools
Get ready to dive into this delightful project with the perfect supplies!
Yarn
• Worsted Weight Yarn – You’ll need approximately 50-100 yards in vibrant colors; cotton or acrylic yarns work beautifully.
Tools & Notions
• 5.0mm (H) Hook – This is the ideal hook size for creating the soft, round shape of your cherries.
• Stitch Markers – Handy for keeping track of rounds and stitches as you work.
• Tapestry Needle – Perfect for weaving in ends and closing your cherries.
• Polyfil Stuffing – A little goes a long way to create that delightful squishiness in each cherry.
Why Are These Cherries So Charming?
Whimsical Design: The playful shape of crocheted cherries adds a delightful flair, making them perfect for any cheerful decor or gift.
Quick to Make: With a time commitment of under an hour, you’ll experience instant satisfaction that every crafter craves.
Beginner-Friendly: Even newbies can tackle this pattern with basic stitches, ensuring a fulfilling crafting experience.
Gift-Worthy: These charming cherries are ideal for gifts, allowing you to spread joy to friends and family effortlessly.
Creatively Versatile: Transform them into keychains, garlands, or ornaments, adding a fruity touch to any space or occasion!
Dive into the [quick and whimsical crocheted cherries] project and brighten your crafting journey today!
Gauge & Sizing Notes
Don’t skip the gauge swatch! For your Quick and Whimsical Crocheted Cherries, checking your tension is essential to achieve that perfect rounded shape. A standard gauge measurement for this project is 4×4 inches (10×10 cm), which equals 14 single crochets by 8 rows. If you find your tension is different, you can adjust the sizing by increasing your starting chain in multiples of 4 to make wider cherries or decrease it to make them smaller. If your swatch ends up too small, try going up a hook size to create looser stitches. Remember, finding your ideal gauge will make your cherries even cuter and more delightful!
Step‑by‑Step Pattern for Quick and Whimsical Crocheted Cherries
Round 1: Start the Magic
Begin by making a magic ring, then work 6 sc into the ring. Pull the magic ring tight to close your circle. This creates the base of your cherry. The start should feel snug, and your work will form a small, round shape (6 sts).
Round 2: Increase for Roundness
Chain 1, then work 2 sc in each stitch around to build up your cherry’s body. This round is crucial for giving your cherry a fuller shape, so feel free to count as you go. You should have an increased total of 12 stitches (12 sts).
Round 3: Shaping the Cherry
Chain 1, then work a sc in the next stitch followed by an increase (2 sc in the next stitch). Repeat this pattern around for a delightful blend of stitches that adds to your cherry’s fullness. At the end of this round, your total should be 18 stitches (18 sts).
Round 4: Continue the Body
Chain 1, and then work 1 sc in each of the 18 stitches. This round will solidify the shape of your crocheted cherry, making it more defined and round. You want it to feel smooth and plump as your project continues (18 sts).
Round 5: Solidifying the Shape
Repeat Round 4 to further enhance the body of your cherry, maintaining a consistent shape and ensuring it feels sturdy. Your cherry should start showing nice roundness at this stage, with a total still at 18 stitches (18 sts).
Round 6: Finalizing the Cherry Body
Continue with another repeat of Round 4, keeping those 18 stitches steady. By now, your work should have a lovely curvy shape, ready to be finished off with a few decreases to close it up (18 sts).
Round 7: Shaping with Decreases
To begin closing your cherry, chain 1 and work 1 sc in the next stitch followed by a decrease (sc2tog). This method will bring your cherry together nicely as you reduce the stitch count, ending with a total of 12 stitches (12 sts).
Round 8: Finishing the Shape
In this final decrease round, work a sc in the next stitch, followed by a decrease all around. Be sure to leave a small opening for stuffing the cherry, which will keep it fluffy and round. You should end up with 6 stitches (6 sts).
Step 9: Stuffing and Closing
Once you’ve made your rounds, gently stuff your cherry with Polyfil. Use your tapestry needle to close the cherry by stitching through the remaining stitches. Your cherry should now feel plump and delightful!
Leaves Step 1: Creating the Leaves
To make the leaves, chain 16, then work into the second chain from the hook. Begin with 1 sc, then 1 hdc, followed by 1 dc, then back down with 1 hdc and 1 sc. This creates a charming leaf shape. Remember to repeat for a second leaf.
Step 10: Assembly
Attach the leaves to the cherry securely. Finally, create a chain for the stem to finish off your whimsical crocheted cherries. This fun project will add a bright touch to your decor or make perfect gifts. Cherish the joy that your creations will bring!
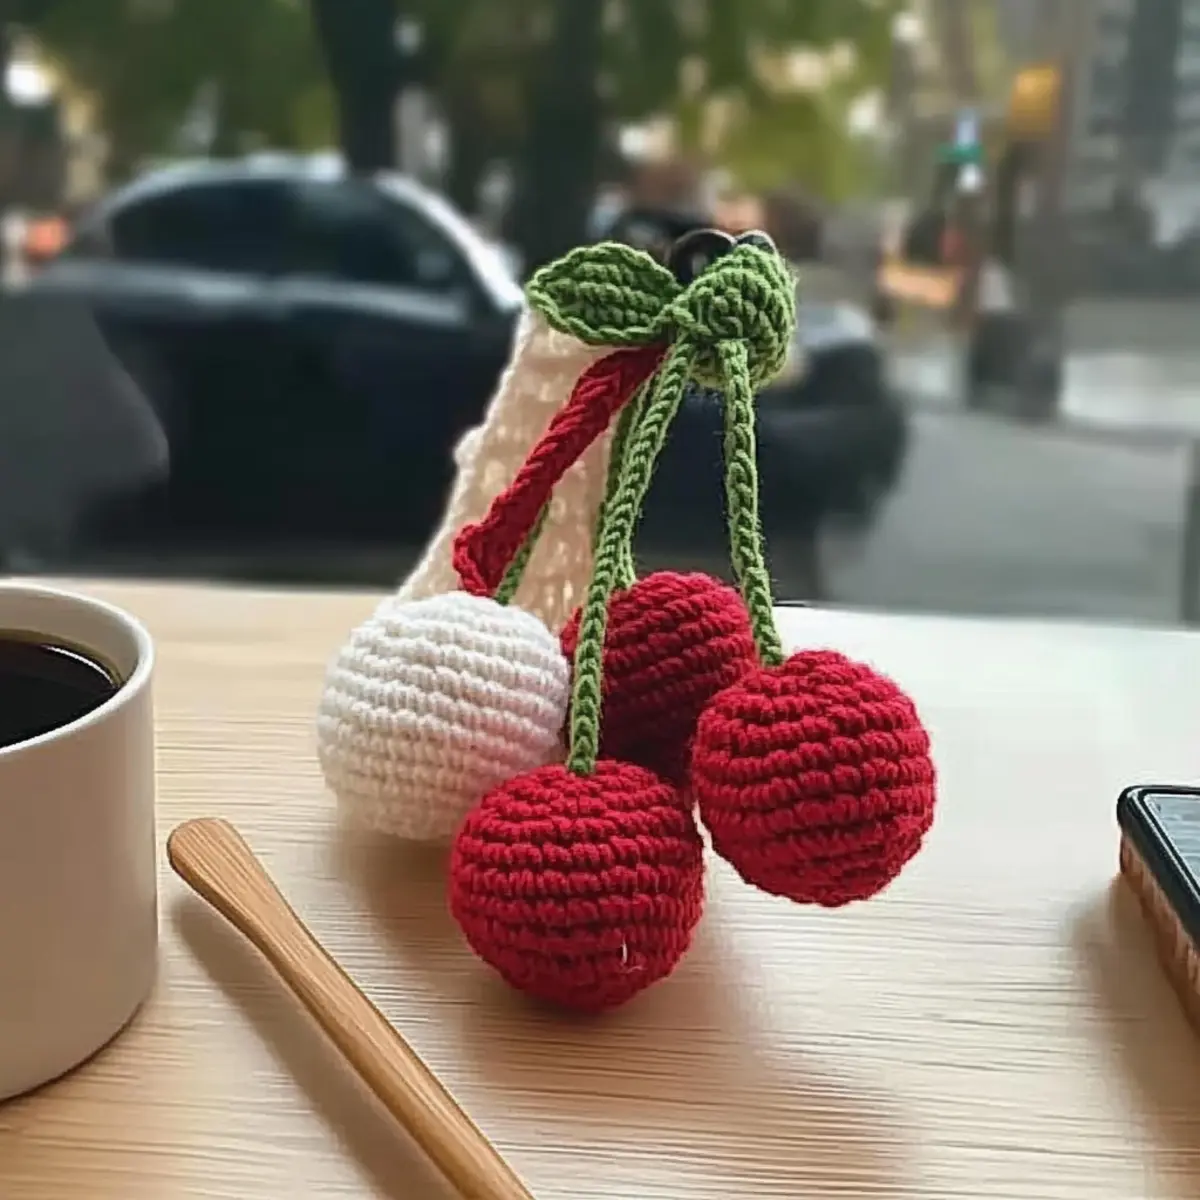
Expert Tips for Crocheted Cherries
- Tighter Stitches: Use a smaller crochet hook to create tighter stitches. This will help prevent stuffing from peekabooing out of your cherries.
- Count Consistently: Make it a habit to count your stitches at the end of each round. This ensures proper shaping and helps you avoid any unwanted surprises.
- Adjusting Size: If you want larger cherries, consider using chunkier yarn or increasing your hook size. This allows for more versatility in your finished project.
- Secure Closing: When stuffing, make sure to close your cherries securely by stitching through the remaining stitches tightly. A well-closed cherry looks neat and finished!
- Personal Touches: Feel free to experiment with colors and yarn types. Varying the yarn can give your crocheted cherries a unique flair while making them even more gift-worthy!
How to Wash and Care for Your Crocheted Cherries
- Hand Washing: Gently wash your crocheted cherries in cold water with a mild detergent. Avoid any harsh chemicals to preserve their vibrant colors and shape.
- Avoid Agitation: Be careful not to agitate your cherries too much while washing, as this can cause felting or pilling. A gentle squeeze will suffice!
- Drying/Blocking: Lay your cherries flat on a clean, dry towel to reshape and air dry. This helps maintain their lovely, rounded form while preventing any distortion.
- Storage: When storing your crocheted cherries, keep them in a cool, dry place. Avoid crumpling them to prevent any unwanted creases or flattening, ensuring they stay adorable and ready for gifting!
Customizing Your Crocheted Cherries
Feel free to sprinkle in your creativity and make these crocheted cherries uniquely yours!
- Yarn Weight Swap: Experiment with lighter or heavier yarn for varied cherry sizes and textures.
- Fiber Alternatives: Use soft cotton for a gentle finish or synthetic acrylic for vibrant, durable cherries.
- Color Variations: Choose different shades for a playful assortment of cherries; think lively reds or even pastel hues!
- Fringe Twist: Add some fringy accents or pom-poms to create playful textures that enhance your cherries’ charm.
- Garland Creation: String multiple cherries together to create a delightful garland, perfect for home decor or festive occasions.
- Personalized Embellishments: Incorporate beads or sequins for a touch of sparkle; this gives an organic and whimsical feel.
- Large Cherry Version: Use a bigger hook and thicker yarn to craft oversized cherries that make a bold statement.
- Leafy Charm: Explore different leaf shapes using unique stitch patterns for an extra custom touch, making each cherry delightfully distinct.
As you dive into creating your own version of these whimsical cherries, don’t forget to check out more beginner crochet tips for extra guidance and fun project ideas!
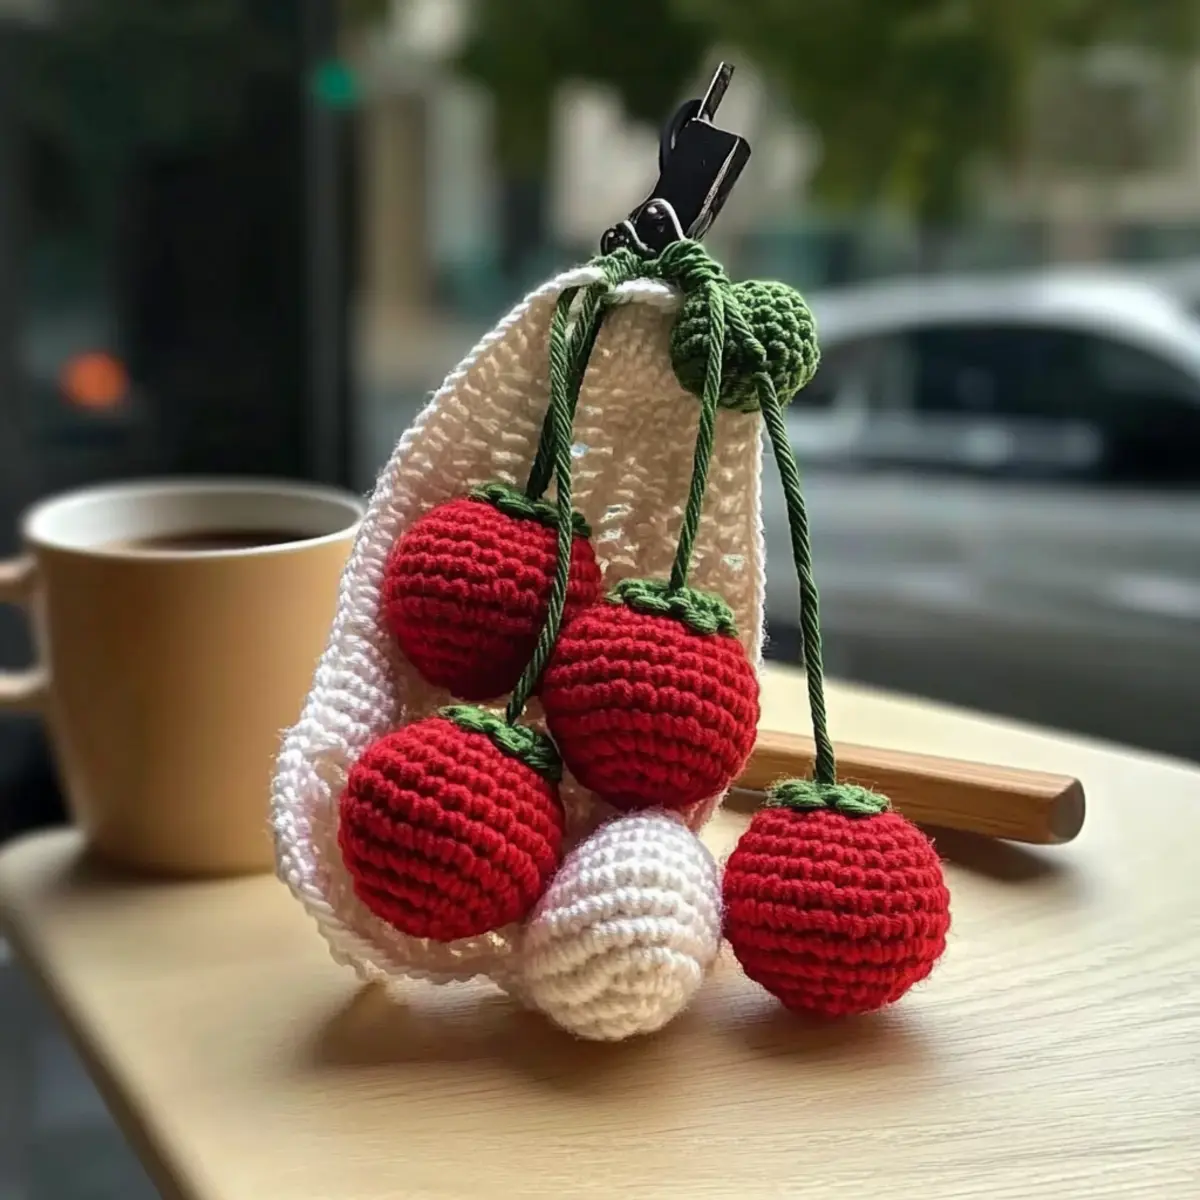
Quick and Whimsical Crocheted Cherries FAQs
Can I use different yarn types to make these cherries?
Absolutely! You can substitute the worsted weight yarn with cotton or acrylic yarn as per your preference. Just keep in mind that different yarns may affect the texture and stiffness of your cherries.
How do I adjust the size of my crocheted cherries?
To customize the size, consider using a chunkier yarn or a larger hook. Alternatively, you can add or reduce the number of stitches in your rounds based on your desired size. Just remember to adjust the corresponding increase and decrease instructions carefully!
Why is my crocheted cherry curling at the edges?
Don’t panic! If your cherry is curling, it might be due to not counting your stitches accurately or using a hook that’s too large. Ensure you have the right stitch count for each round, and consider switching to a smaller hook size for tighter tension.
What size crochet hook should I use for this pattern?
You’ll want to use an H/8 (5 mm) crochet hook for this pattern, which helps achieve the right tension and size for your cherries. If you find that your cherries are coming out too tight or loose, feel free to adjust to a size that works best for you!
How can I fix dropped stitches in my crocheted cherries?
It’s an easy fix! Simply use your tapestry needle to weave the yarn back through the missed stitch. If you catch it early, you can often pull the yarn back up to your row without having to undo significant work. Always double-check your stitches while crocheting to avoid this!
Can I hand wash my finished cherries?
Yes, hand washing is recommended to maintain the shape and integrity of your crocheted cherries. Lay them flat to dry after washing to keep them looking their best!
Leave a Reply