
As the leaves begin to crunch underfoot and the crisp air settles in, the spirit of Halloween brings an opportunity for delightful creativity. Meet Secret the Pumpkitten, your new favorite amigurumi project that perfectly captures the whimsical charm of fall with a playful kitty nestled snugly in a pumpkin. This beginner-friendly pattern not only works up quickly but is also customizable, making it an ideal addition to your seasonal decor or a thoughtful gift for loved ones. Whether you’re a seasoned crocheter or just starting out, you’ll enjoy crafting each adorable detail of this cozy creation. Plus, imagine the joy of seeing this charming companion brightening your home! Ready to stitch together some magic? Let’s dive in!
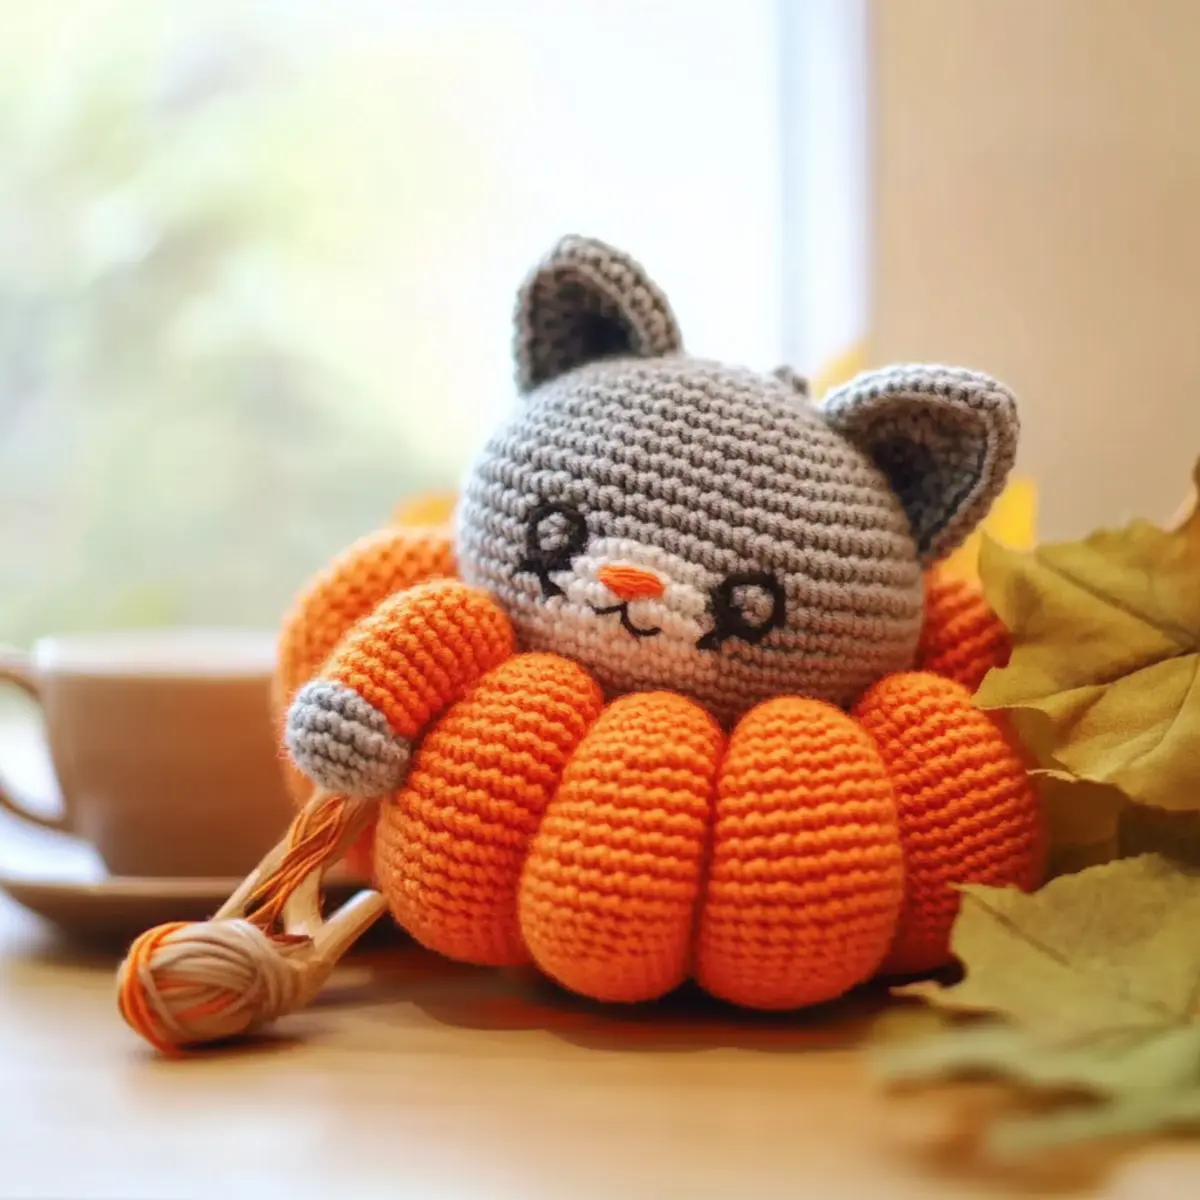
Secret the Pumpkitten Materials & Tools
Get ready to create your cozy amigurumi companion!
Yarn
• Orange Worsted Weight Yarn – Approximately 100g for the pumpkin, ensuring a vibrant and cheerful color.
• Gray Sport Weight Yarn – Approximately 50g for the cat head, ears, and paws, perfect for soft details.
• Brown Worsted Weight Yarn – Approximately 25g for the pumpkin stem, providing a nice contrast.
• Green Sport Weight Yarn – Approximately 15g for the pumpkin leaf, adding a delightful pop of color.
Tools & Notions
• 3.5mm (US E/4) Hook – Ideal for working with worsted weight yarn and forming the pumpkin.
• 2.5mm (US B/1) Hook – Perfect for sport weight yarn, used for the cat components for fine details.
• Stitch Markers – Helpful for marking important points in your pattern as you crochet.
• Tapestry Needle – Essential for assembly and weaving in ends for a polished finish.
• Safety Eyes (optional) – Add a playful touch to the cat head for an adorable expression.
Why is Secret the Pumpkitten special?
Whimsical Charm: This adorable amigurumi blends the essence of Halloween with playful design, making it a delightful addition to your decor.
Beginner-Friendly: Perfect for novices, the clear instructions and basic stitches ensure you’ll enjoy a successful crafting experience without frustration.
Customizable: Use your favorite colors to make this pumpkin cat uniquely yours or create a lovely tribute to your furry friend!
Fast-Finishing Fun: With a quick stitch-through, you’ll spend less time crafting and more time admiring your new seasonal decor. Tailor the pumpkin’s size by modifying the base for versatile display options.
Gift-Ready: Secret the Pumpkitten makes a charming gift for fellow crafters or as a seasonal surprise for loved ones! Bring your crochet skills to life by exploring our customization ideas for added flair!
Gauge & Sizing Notes
Don’t skip the gauge swatch! Checking your tension is crucial for ensuring that Secret the Pumpkitten turns out just right. For this delightful amigurumi, your gauge should be a 4×4 inch (10×10 cm) square = 12 stitches by 10 rows using worsted weight yarn. If you wish to make the pumpkin larger or smaller, simply adjust the number of rounds in the base by multiples of 2. If your tension doesn’t match, don’t worry—if your swatch is too small, try going up a hook size. By taking the time to tune your crochet gauge, you’ll create a perfectly adorable Pumpkin Cat to cherish or gift this Halloween!
Step‑by‑Step Pattern for Secret the Pumpkitten
Row 1: Starting the Pumpkin Base
Begin by making a magic ring and chain 1. Work 6 sc into the ring (6 sts). Pull the ring tight to close. This forms the base for your pumpkin and should look like a small circle.
Row 2: Increasing for Size
Chain 1, then work 2 sc in each stitch around (12 sts). Your work should begin to form a slightly larger circle, gradually taking shape as the bottom of the pumpkin.
Row 3: Continue to Build the Base
Chain 1, sc in the next st, 2 sc in the following st, repeat from * around (18 sts). You should notice the base starting to flare out and increase in size, creating a larger pumpkin form.
Row 4: Add More Rounds
Chain 1, sc in the next 2 sts, 2 sc in the following st, repeat from * around (24 sts). At this stage, the pumpkin base will feel very rounded, mimicking the bulging shape of a real pumpkin.
Row 5: Final Size for Base
Chain 1, sc in the next 3 sts, 2 sc in the following st, repeat from * around (30 sts). Your pumpkin base should now look like a solid disc, ready for the grooves.
Row 6: Creating Pumpkin Grooves
Chain 1, hdc in the next 5 sts, hdc dec, repeat from * around (24 sts). Start to see the indentation of grooves appearing on the pumpkin, giving it that classic pumpkin look.
Row 7: Further Grooves
Chain 1, hdc in the next 4 sts, hdc dec, repeat from * around (18 sts). The shape should start to deepen as you create more subtle curves, making it resemble a pumpkin’s natural form.
Row 8: Closing Off the Base
Chain 1, hdc in the next 3 sts, hdc dec, repeat from * around (12 sts). It should feel like a solid, sturdy base for the pumpkin as you prepare to close it up.
Row 9: Shaping the Pumpkin
Chain 1, hdc in the next 2 sts, hdc dec, repeat from * around (8 sts). At this point, your pumpkin should look round and defined, reflecting the cozy essence of Secret the Pumpkitten.
Row 10: Finishing the Pumpkin Base
Chain 1, hdc dec around (4 sts). This will close off the opening of your pumpkin base. Fasten off and leave a long tail for sewing. You should now have an adorable pumpkin base ready for embellishments.
Step 1: Crocheting the Cat’s Head
Using the gray sport weight yarn, make a magic ring and chain 1. Work 6 sc in the ring (6 sts) to create the starting point for Secret the Pumpkitten’s head, which should look like a small circle.
Step 2: Increasing for Cat’s Head Shape
Chain 1, then work 2 sc in each stitch around (12 sts). Your work should form a slightly larger circle for the cat’s head, getting ready to build its delightful features.
Step 3: Shape the Cat’s Head
Chain 1, sc in the next st, 2 sc in the following st, repeat from * around (18 sts). This will broaden the head and ensure it has enough structure to support the features you will add.
Step 4: Continuing to Expand Head
Chain 1, sc in the next 2 sts, 2 sc in the following st, repeat from * around (24 sts). The head should start to look more rounded and defined, preparing to accommodate the kitty’s facial details.
Step 5: Finishing the Cat’s Head
Chain 1, sc in the next 3 sts, 2 sc in the following st, repeat from * around (30 sts). Fasten off, leaving a long enough tail to attach safety eyes if desired later. Your cat’s head piece should now be beautifully rounded.
Step 6: Creating Ears
With gray yarn, create 2 small triangles for the ears. Start with a magic ring of 4 sc (4 sts), then work 2 inc in each stitch around (8 sts). This will form a tiny triangle shape for the ears to add charming detail to your Pumpkitten.
Step 7: Making Paws
For the paws, create 4 pieces with the same gray yarn by starting with a magic ring of 3 sc (3 sts) and working 2 sc in each (6 sts). Once you finish, you will have cute small paws ready to position on your pumpkin.
Step 8: Assemble the Pumpkitten
Position the cat’s head above the pumpkin, aligning the paws in the grooves you’ve made. Use a tapestry needle and yarn to stitch around the head firmly yet gently, ensuring it’s secured atop the pumpkin structure.
Step 9: Adding Final Touches
Attach the pumpkin top using the same orange yarn, securing it at the top of the head. You may want to stitch on the green leaf around the base of the stem for a lovely finishing touch.
Step 10: Completing Your Amigurumi
After assembly, check every piece for sturdiness and neatness. Make any adjustments needed, ensuring the Secret the Pumpkitten is ready to delight as part of your Halloween decor!
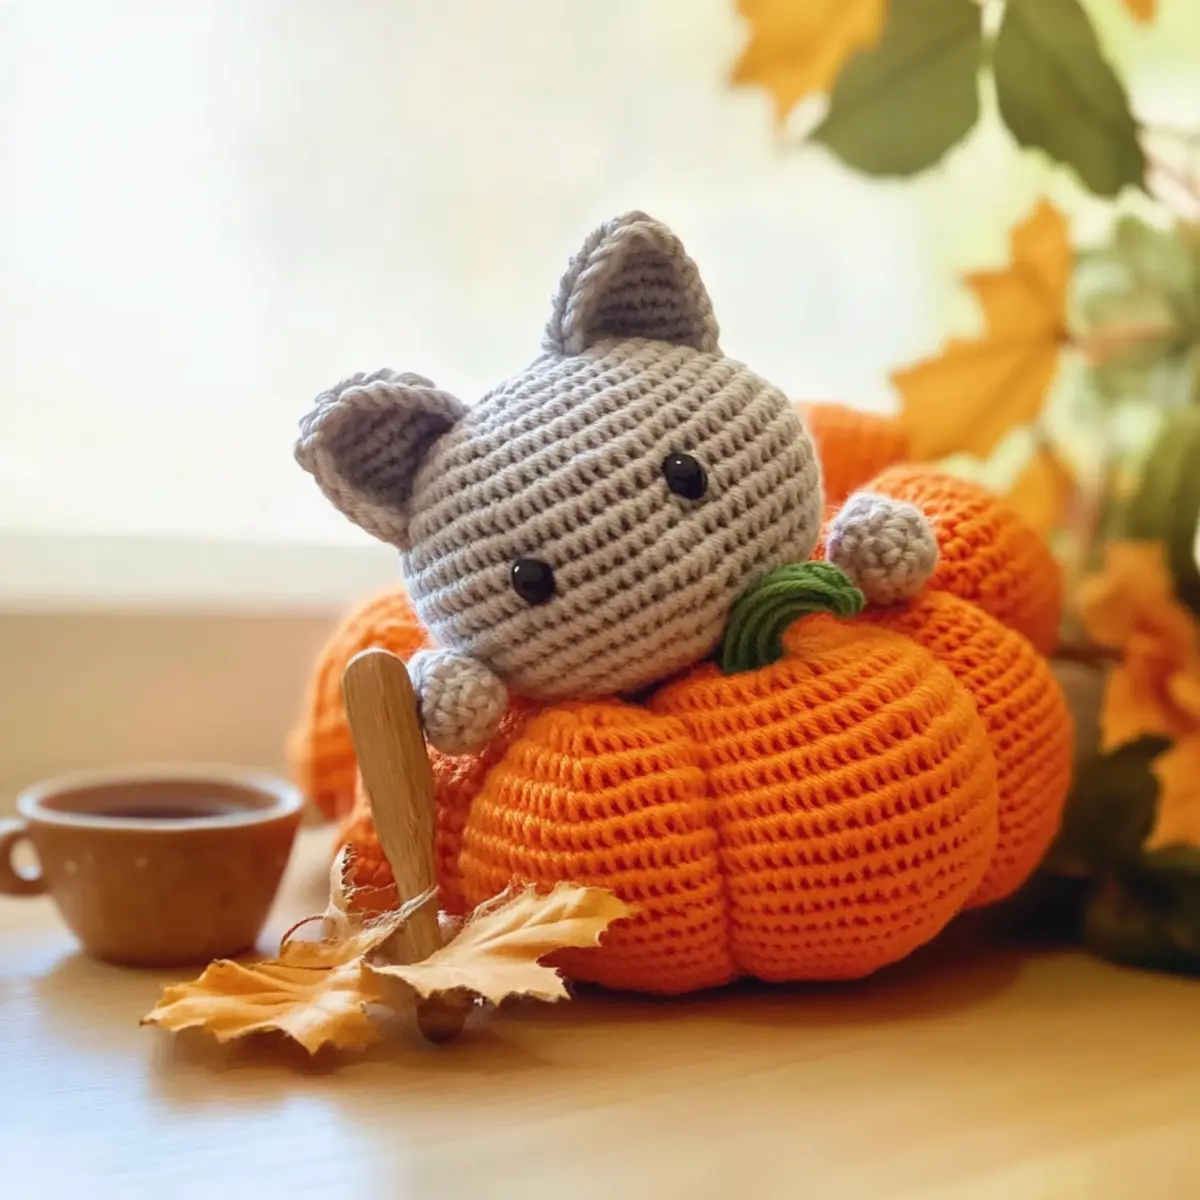
Secret the Pumpkitten Customization
Let your creativity shine as you explore these delightful ways to make this crochet pattern uniquely yours.
-
Color Swaps: Change the cat’s fur to match your own pet’s coloring for a personal touch.
-
Yarn Alternatives: Experiment with cotton yarn for a softer, more breathable finish. This can elevate the texture and durability.
-
Adding Texture: Incorporate a fluffy pom-pom for the pumpkin’s stem to create a whimsical accent. It’s a simple addition with a delightful impact!
-
Fringe Fun: Attach fringe around the base of the pumpkin for a festive look that captures the spirit of Halloween.
-
Size Variations: Alter the base by changing the diameter for different pumpkin sizes. Try creating a whole family of Pumpkittens!
-
Color-Blocking: Use different yarn colors for the pumpkin grooves. This technique adds depth and visual interest to your creation.
-
Embellished Features: Add a cute bow around the pumpkin stem or a tiny bell on the cat’s collar for an adorable finishing touch that sparkles!
Don’t miss out on your chance to explore more exciting ideas—consider checking out our guide on embellishing your amigurumi for even more inspiration!
How to Wash and Care for Your Secret the Pumpkitten
-
Hand Washing: Gently wash by hand using cold water and a mild soap. This method protects the delicate yarn fibers and keeps your amigurumi looking fresh.
-
Avoid Agitation: Be careful to avoid excessive agitation while washing to prevent felting or pilling. Treat your Secret the Pumpkitten with love for the best preservation.
-
Drying: Lay your finished project flat on a clean towel to dry, reshaping as needed to maintain its adorable pumpkin cat form. Avoid hanging, as this may distort its cute shape.
-
Storage: Store your amigurumi in a cool, dry place to avoid moisture buildup. Keep it away from direct sunlight to preserve those vibrant colors.
Expert Tips for Secret the Pumpkitten
-
Count Your Stitches: Regularly checking your stitch count helps maintain the even shape of your amigurumi and prevents frustrating surprises later on.
-
Avoid Twisting: When starting your foundation chain for the pumpkin base, make sure it stays flat. Twisting can lead to uneven shapes in your project.
-
Use Stitch Markers: Place stitch markers at the beginning of each round. This simple tip can save you from losing your place and keep your project on track.
-
Tension Consistency: Maintain even tension throughout your work. Uneven tension can cause your pumpkin cat to become lopsided, so practice helps!
-
Secure Assembly: When attaching parts, pin pieces together before sewing. This step helps avoid misalignment and ensures a flawless final result.
-
Finishing Touches: After completing your amigurumi, gently stuff the components, ensuring they hold their shape without being overstuffed for a cozy look!
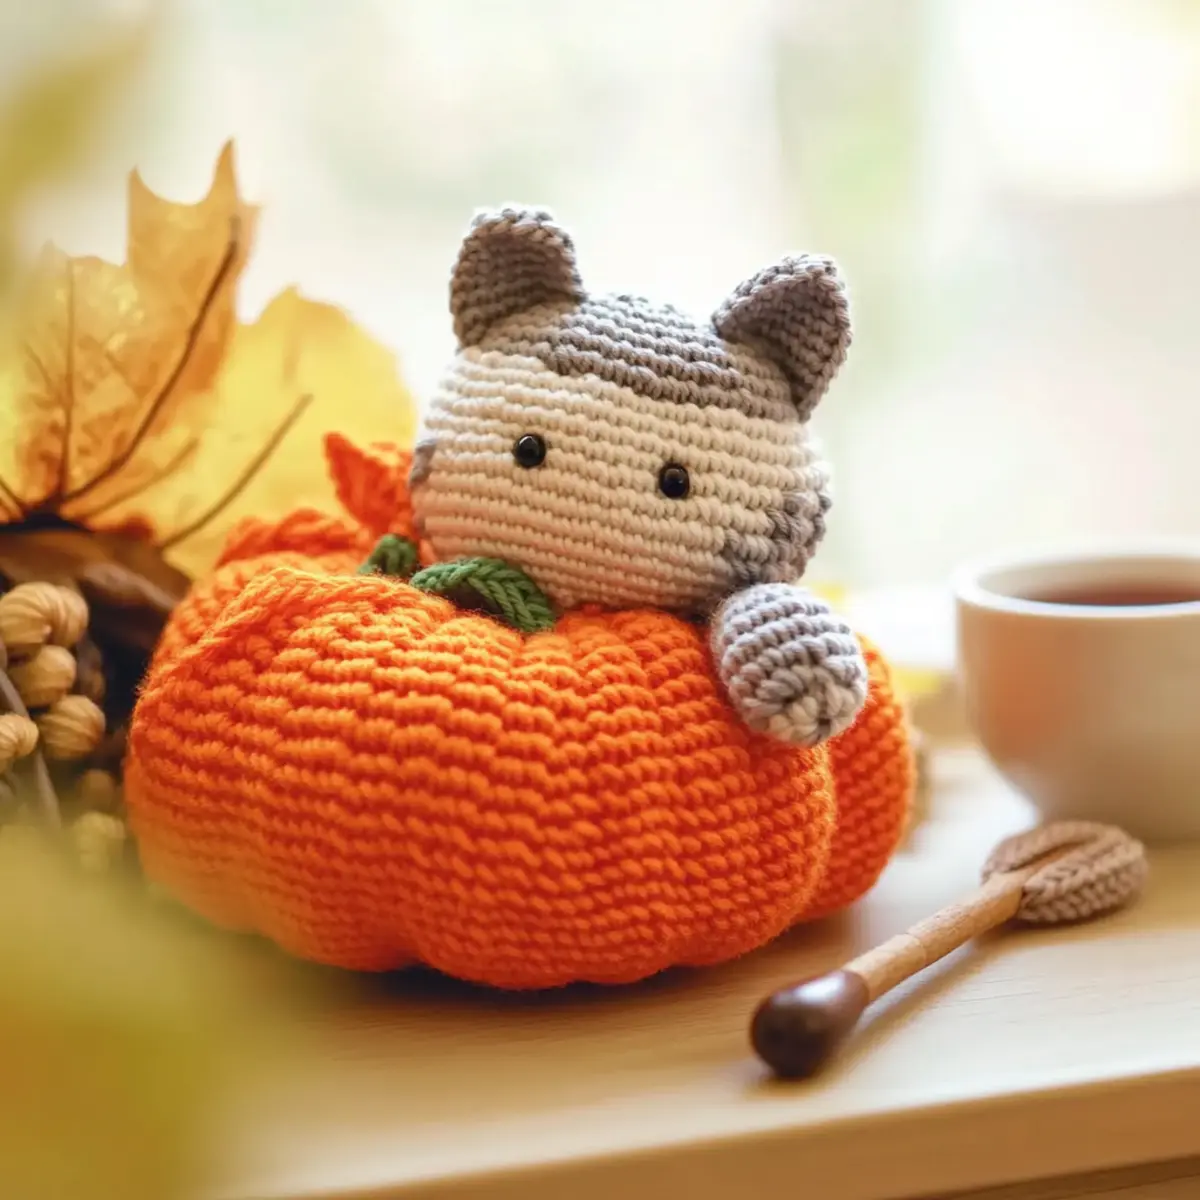
Secret the Pumpkitten FAQs
Can I substitute yarn with different weights for Secret the Pumpkitten?
Absolutely! While the pattern calls for specific yarn weights, you can certainly use different weights. Just remember that if you switch to a lighter yarn, like DK instead of worsted, your finished project may turn out smaller. Adjust your hook size accordingly, and always check your gauge to maintain the desired dimensions!
How do I size Secret the Pumpkitten larger or smaller?
It’s easy to adjust the size of your pumpkin cat! To make it bigger, simply add more rounds to the pumpkin base before forming the grooves. If you’d like a smaller version, reduce the number of rounds. A good rule of thumb is that each round will typically add about half an inch to your height, so plan accordingly based on your preference.
Why is my amigurumi curling at the edges?
Don’t panic! If your pumpkin edges are curling up like a bowl, it might be due to tight stitches or the tension being too high. To fix this, try loosening your tension as you work. Also, blocking your finished pieces with a mild steam can help flatten them out.
What hook size should I use for the yarns in this pattern?
For Secret the Pumpkitten, use a 3.5mm (US E/4) hook for the worsted weight yarns like the pumpkin and brown stem. The sport weight yarn should be paired with a 2.5mm (US B/1) hook. Keeping to the recommended sizes will ensure your stitches remain consistent and your plushy turns out beautifully.
How do I fix dropped stitches while working on my pumpkin cat?
If you notice a dropped stitch, you’re not alone—it happens to the best of us! To fix it, simply use your tapestry needle to yarn over and pull the yarn back up through the work. Then, retrace your stitch to ensure it’s secured in place. Regularly checking your work before moving on can help prevent this issue!
What’s the proper washing and care for my Secret the Pumpkitten?
To keep your cuddly amigurumi in great shape, hand wash it gently with mild soap and cold water. After washing, lay it flat to dry; this method preserves the shape and prevents shrinkage. Avoid machine washing or drying as it can distort the adorable features of your pumpkin cat.
Leave a Reply