
As I sat on my porch, the sun shining brightly and a gentle breeze wrapping around me, I couldn’t help but think of how lovely it would be to don a fresh, handmade outfit for summer outings. Enter the Crochet Valentine Set: a beautifully designed halter bralette and open-weave skirt that brings together both style and comfort. This project is perfect for beginner and intermediate crocheters alike—working up quickly and custom-made in your favorite colors. With its textured stitches and delicate scalloped edges, you’ll find both pieces practical for day trips or romantic evenings. Let’s dive into the joy of crafting a stunning wardrobe staple that embraces your unique flair, and trust me, you won’t want to miss stitching up this delightful set!
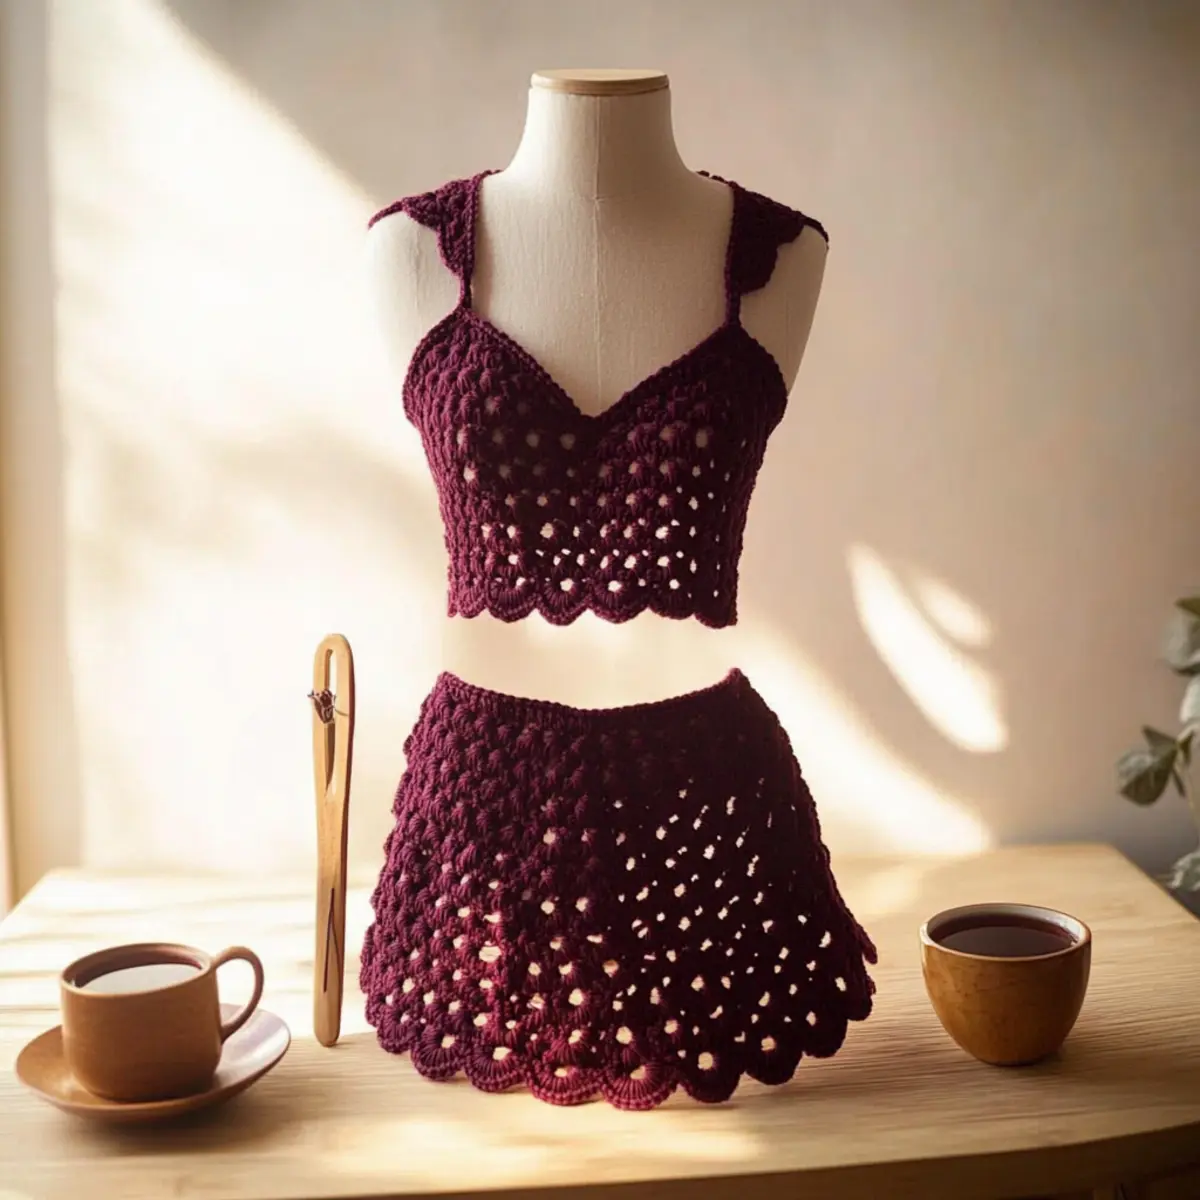
Cozy Crochet Valentine Set Materials & Tools
• Create your perfect Crochet Valentine Set with these essential supplies!
Yarn
- Worsted Weight Cotton Yarn – Choose approximately 400-500 yards for both pieces; vibrant colors like deep burgundy will make your set shine!
Tools & Notions
- 5.0mm (H-8) Hook – This size is perfect for achieving the right gauge and texture in your bralette and skirt.
- Yarn Needle – Necessary for weaving in ends and ensuring a neat finish.
- Stitch Markers – Handy for keeping track of your shaping and stitch counts as you work through this project!
What Makes This Set So Special?
Fashionable Design: The Crochet Valentine Set introduces a trendy look with its stylish halter bralette and open-weave skirt, perfect for a casual day out or a chic evening event.
Elegant Aesthetic: The combination of soft, textured stitches and delicate scalloped edges elevates your outfit, making it a standout addition to your wardrobe.
Quick & Simple: Even if you’re a beginner, this project is easy to tackle, ensuring satisfaction without overwhelming complexity.
Versatile Colors: You can customize your look by experimenting with different yarn shades; imagine it in dusty rose or soft cream for a whole new vibe!
Comfort & Breathability: Crafted from lightweight cotton or a cotton-blend, both pieces offer a wonderfully breathable fit, ideal for warm summer days.
By immersing yourself in this project, you’ll not only create a beautiful ensemble but also gain confidence in your crochet skills. If you’re looking for more beginner-friendly projects, be sure to check out our easy crochet patterns.
Gauge & Sizing Notes
Don’t skip the gauge swatch! Ensuring the correct tension is crucial for the perfect fit of your Crochet Valentine Set. For this project, your gauge should measure 4×4 inches (10×10 cm) and contain 14 double crochets and 8 rows. If your swatch does not match this, you may need to adjust your crochet hook size—if it’s too small, try going up a hook size. To customize your halter bralette or skirt, adjust your starting chain or row counts in multiples of 4 for the bralette and the same for the skirt to achieve your desired size. Happy crafting!
Step‑by‑Step Pattern for Crochet Valentine Set: A Stylish Halter Bralette and Open-Weave Skirt
Row 1: Starting the Bralette Cups
Begin by chaining 20 (or desired width) using the worsted weight yarn. Turn your work and make a row of Single Crochet (sc) in each chain across, working into the back loops only for a tighter finish. This gives structure to your cups. Your first row should contain 19 sc.
Row 2: Building the Cups
Chain 1 and turn your work. Now, continue with sc, but this time increase by working two sc into the last stitch of the row to create a curve for the cup. Your second row should have 20 sts. Repeat this for 6 total rows to reach the desired depth, and your cups should gradually start to shape.
Row 3: Shaping the Bralette
To shape the bralette cups, begin with a row of sc to reinforce the previous layers. On this row, make sure to add inc (increase) at both ends to maintain the curvature. You will now have 24 sts. You should feel the cups starting to form, reinforcing the structure.
Row 4: Joining the Cup Panels
After finishing both cup panels, place them together with the right sides facing. Chain 1 and slip stitch across the top edge to join the cups, ensuring they align well. This should create a seamless transition, with an overall stitch count of about 48 when both panels are combined.
Step 5: Adding the Scalloped Edging
Now, create a scalloped edge for a decorative finish. Chain 3, then 2 dc in the same stitch, skip 2 stitches, and sl st in the next. Repeat this pattern all along the edge, working evenly. The scallops should be spaced apart for a lovely aesthetic, giving your bralette that extra charm.
Step 6: Creating the Skirt Panel
For the skirt, start by chaining 70 for the base length. Turn your work and start with a row of Double Crochets (dc) across, ensuring your first row is filled evenly. This will form the base of your lightweight skirt, resulting in 69 dc across.
Row 7: Forming the Mesh Design
For the next row, chain 4 (counting as your first dc), skip 1 stitch, and dc in the next stitch. Continue this pattern across to create open spaces for a breathable mesh design. You should maintain the stitch pattern, which will result in 35 open spaces.
Row 8: Completing the Skirt Length
Continue working rows in the same mesh pattern for the desired length of your skirt. Each row should consist of skip and double crochet repeats, creating a lovely, airy look. Aim for about 15-20 rows, depending on your preferred skirt length.
Step 9: Seaming the Skirt
Once you’ve reached your desired length, fold the skirt panel in half with right sides together. Slip stitch or sc along the side to seam the edges, creating a tube shape. Your skirt should now look like a flowing garment ready for finishing touches.
Step 10: Adding the Waist Tie
To finish, chain a long length for the drawstring or waist tie, depending on how fitted you would like the skirt. Thread this through the top of the skirt to allow for adjustment. Your Crochet Valentine Set is now complete and ready to wear, showcasing both comfort and elegance!
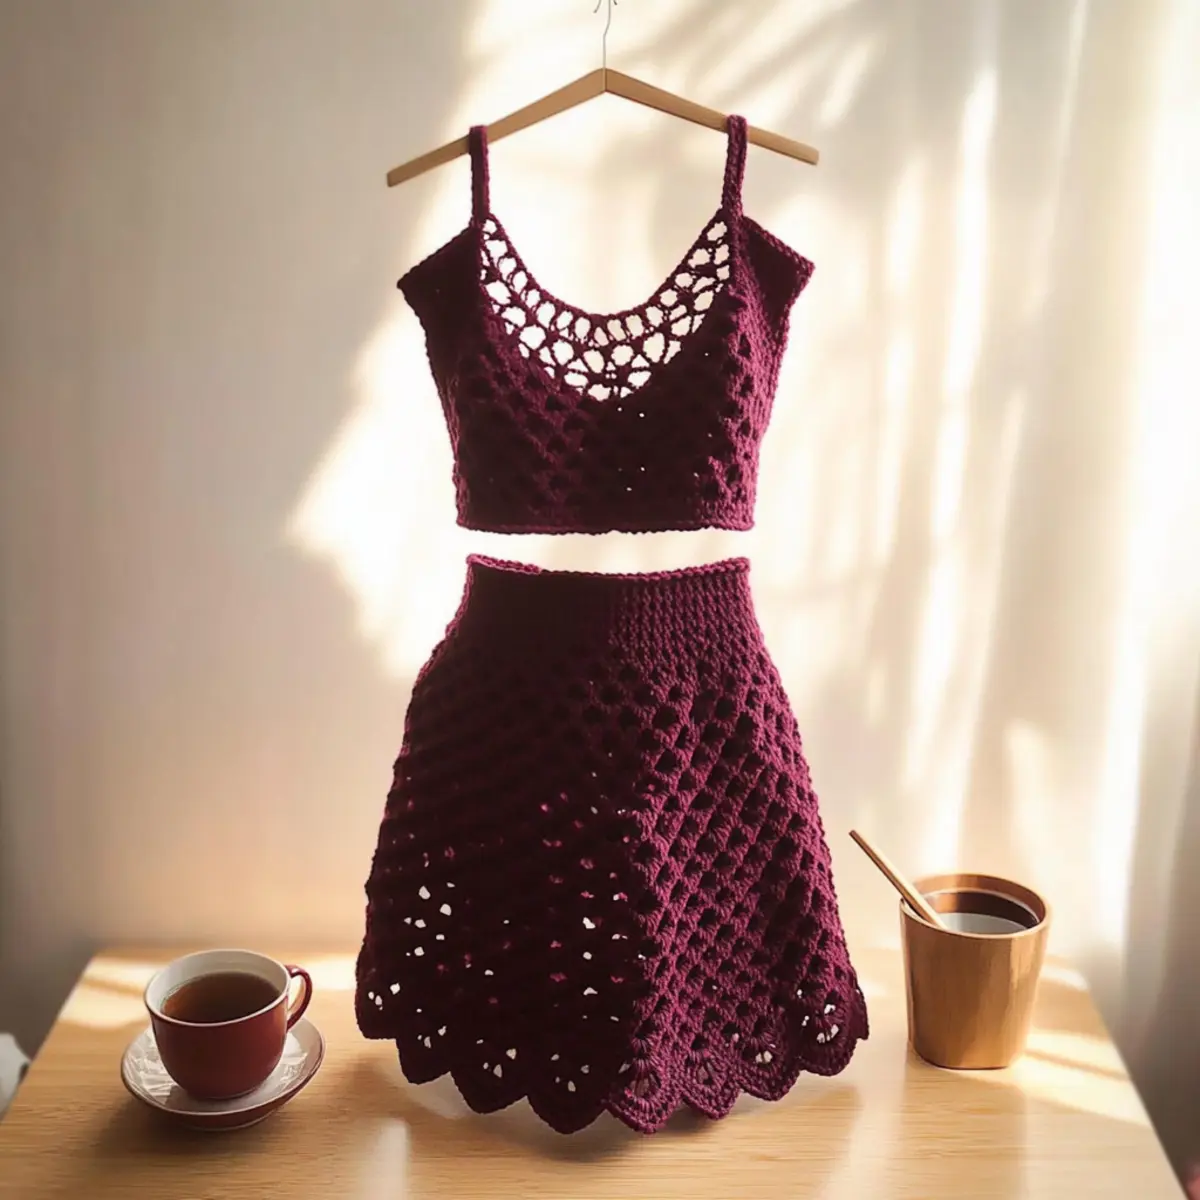
Washing & Care Instructions for Crochet Valentine Set
-
Hand Washing: Always hand wash your Crochet Valentine Set in cool water with a mild soap to protect the fibers and maintain the integrity of the delicate stitches.
-
Avoiding Agitation: Gently swish the bralette and skirt in water, but avoid agitating or wringing to prevent felting or pilling of the yarn.
-
Drying: Lay both pieces flat on a clean, dry towel to dry completely. Reshape as necessary to retain the scalloped edges and open-weave structure.
-
Storage: When storing, fold carefully to avoid creases and maintain the shape of your beautiful bralette and skirt ensemble.
Variations & Substitutions for Customizing
Embrace your creativity and personalize the Crochet Valentine Set to reflect your unique style and flair!
- Yarn Options: Choose a lightweight cotton blend for a more breathable feel perfect for summer wear.
- Color Pops: Add vibrant hues like teal or sunny yellow to make your outfit stand out during sunny outings.
- Length Adjustments: For a more modest look, add extra rows to the skirt for added length and elegance.
- Textured Twists: Experiment with a popcorn stitch or cluster stitch for a unique texture on the bralette and skirt.
- Size Customization: Modify the number of SC rows to achieve your desired cup size, enhancing both comfort and fit.
- Fringe Finish: Introduce playful fringe along the hem of the skirt for a bohemian touch that dances with your movements.
- Mixed Media: Incorporate lace trim along the scalloped edges for an elegant contrast that elevates the entire look.
- Drawstring Detail: Swap out the standard tie in the skirt with a decorative ribbon or cord for a chic touch that adds a pop of personality.
Dare to explore all these options with your creations! You might also enjoy browsing our tips on customizing your crochet projects or exploring other beginner-friendly designs to spark your imagination.
Expert Tips for the Crochet Valentine Set
-
Stitch Counting: Keep track of your stitches consistently throughout your project to ensure both the bralette and skirt maintain their intended shape and size.
-
Gauge Check: Always test your gauge with a 4″x4″ swatch before starting. This ensures the final fit matches your expectations, especially for the fitted bralette.
-
Foundation Chain: Be mindful not to twist your foundation chain; this common mistake can create a frustrating start. Lay your chain flat to check its alignment.
-
Finishing Touches: Lightly block the scalloped edges after completing your pieces. This technique enhances their shape and gives your Crochet Valentine Set a polished look.
-
Care Tips: Remember to hand wash your beautiful creations in cool water. Proper care will maintain the texture and integrity of your handmade pieces, allowing you to enjoy them longer.
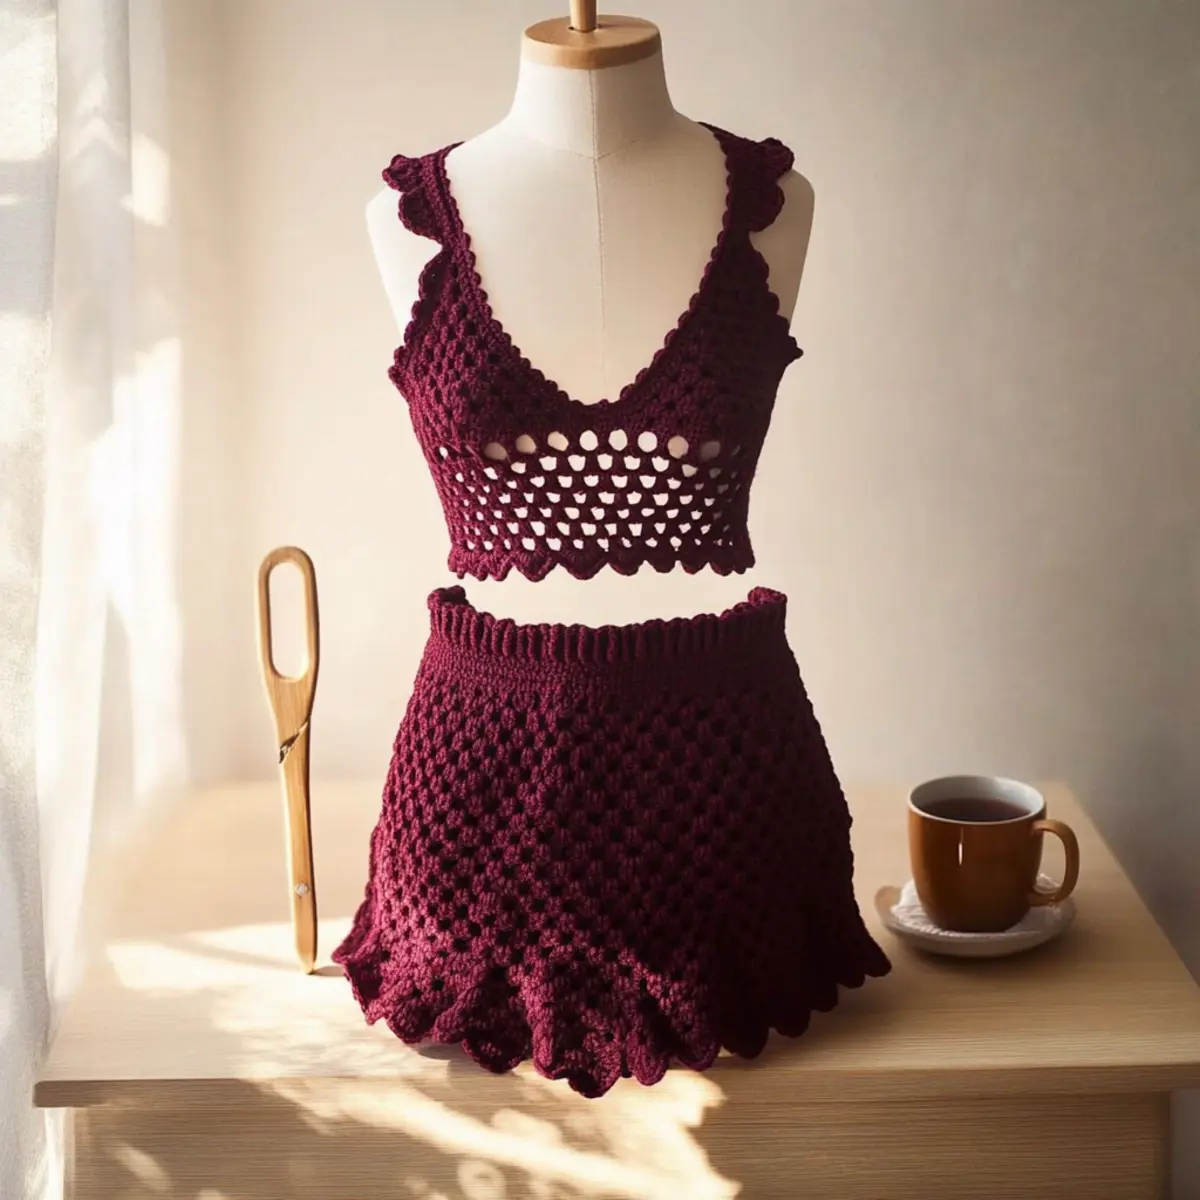
Crochet Valentine Set: A Stylish Halter Bralette and Open-Weave Skirt FAQs
Can I substitute the yarn for this pattern?
Absolutely! While the pattern calls for worsted weight cotton or a cotton-blend yarn, you can substitute acrylic yarn if you prefer. Just make sure to match the weight and gauge, as it can affect the drape and feel of your finished pieces.
How do I adjust the size of the bralette?
Don’t panic! To customize the cup size, simply add or reduce the number of single crochet (SC) rows you work on each panel. For a larger cup, add an extra 2-4 rows; for a smaller cup, reduce accordingly. Just remember to maintain even stitch counts for both panels!
Why is my work curling up?
Ah, curling can be common, especially with bralette cups. Check your tension—if it’s too tight, you might see those edges curl. If that’s the case, consider loosening your grip on the yarn or using a larger hook. Don’t forget to lightly block your finished pieces; it can work wonders!
What hook size should I use for this pattern?
For the Crochet Valentine Set, you’ll need a 5mm (H-8) crochet hook to achieve the desired texture and fit. If you notice that your stitches feel too tight or loose, feel free to adjust your hook size slightly until it feels just right!
How do I fix dropped stitches?
It’s an easy fix! Just use your yarn needle to weave the dropped stitch back up through the stitches below. If you find it challenging to fix while crocheting, don’t hesitate to take a moment to pause, assess the area, and gently reinsert the yarn to keep those stitches secure.
Can I change the length of the skirt easily?
Absolutely! To adjust the skirt length, simply add or reduce the number of mesh rows in the skirt panel. For a longer skirt, increase by 4-6 rows of double crochet (DC). Just check that your modifications don’t compromise the overall flow and design!
Leave a Reply