
As I was glancing through my bundles of yarn, the vibrant yellows and whites sparked a wave of springtime nostalgia. There’s something wonderfully uplifting about creating these charming daisy granny squares—it’s like capturing a little piece of sunshine in your projects! This delightful pattern is perfect for transforming your yarn stash into easy, portable squares that can brighten up any space. Not only does it work up quickly, but it’s also assembly line friendly, making it ideal for both beginners and seasoned hooks alike. Imagine cozying up in your favorite spot, crafting dozens of these whimsical squares while enjoying a cup of tea. Ready to dive into a burst of color and creativity? Let’s make some daisy magic together!
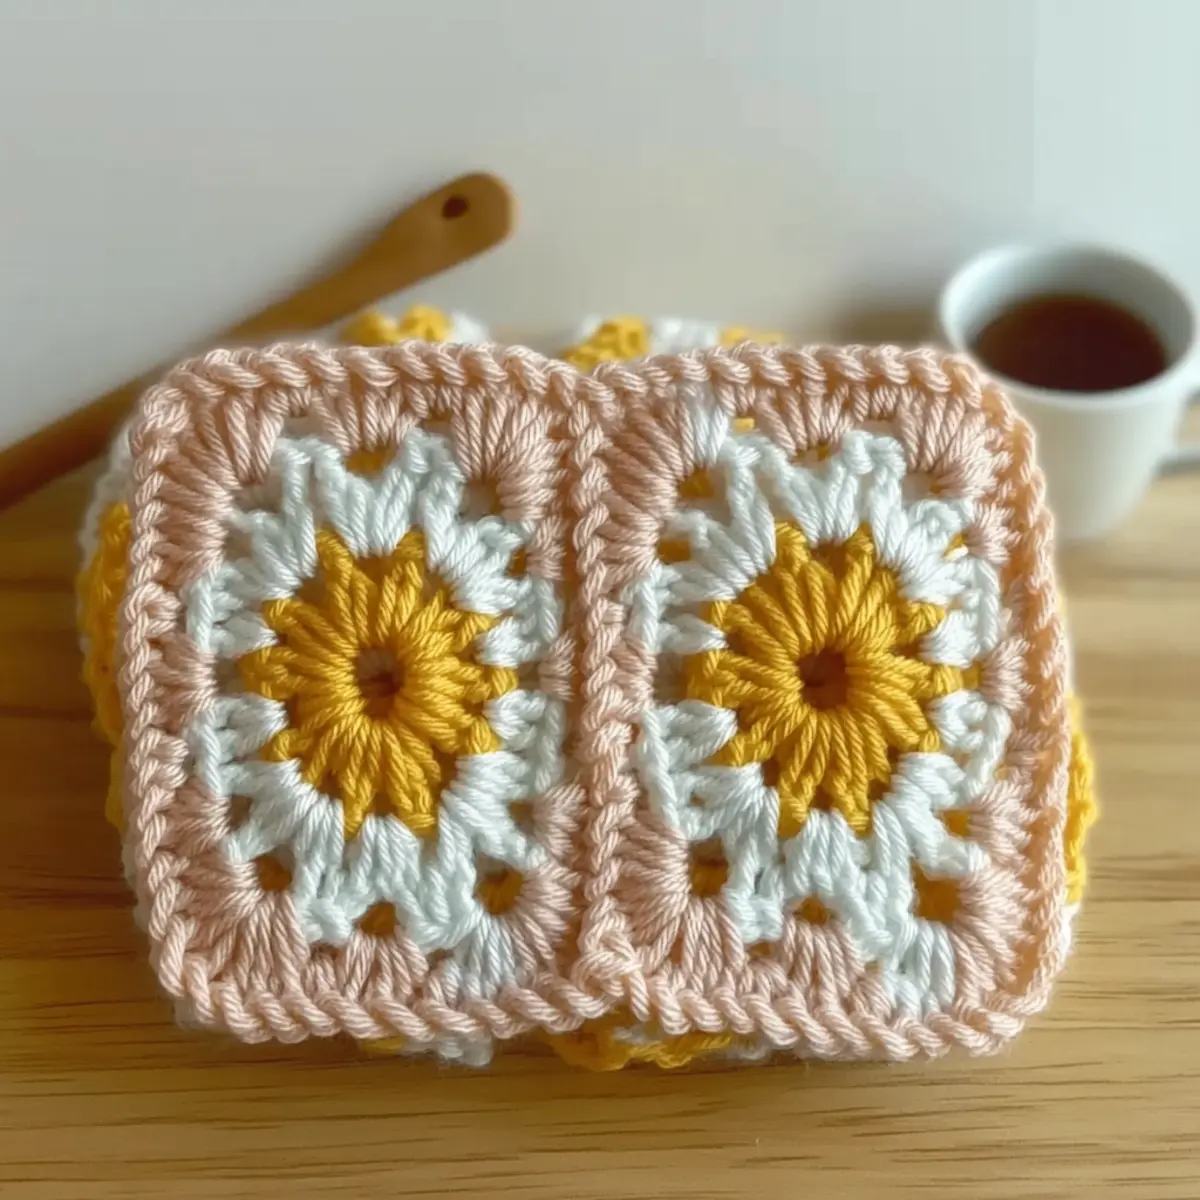
Daisy Granny Square Materials & Tools
Get ready to bring a touch of spring cheer with your daisy granny squares!
-
Yarn
-
Yellow Yarn – 2 balls for the cheerful daisies; consider a soft blend for a cozy finish.
-
White Yarn – 5 balls for the lovely petals; opt for a cotton blend for extra durability.
-
Background Color (Blush) – 7 balls for joining and squares; this lovely shade will beautifully complement the daisies.
-
Tools & Notions
-
J-10 (6 mm) Crochet Hook – This size is perfect for creating neat stitches and a squishy texture in your squares.
-
Yarn Needle – Essential for weaving in those pesky ends and achieving a polished look.
-
Scissors – Handy for cutting yarn and making clean finishes in your projects.
Let’s make blooming daisy squares and enjoy every stitch!
Why Will You Love This Pattern?
Joyful Creation: Making these daisy granny squares is an uplifting experience that brings a touch of springtime cheer to your crochet routine.
-
Quick & Simple: Each square takes about 10 minutes to complete, making it perfect for cozy evenings or quick projects.
-
Assembly Line Friendly: With the potential for multiples, this pattern lets you create a whole garden of squares while staying organized and focused.
-
Versatile Uses: These squares shine as decorations, blankets, or even a unique table centerpiece, so you can effortlessly adapt them to your needs.
-
Travel-Friendly: Easily pack your yarn and hook for those long car rides or café visits, making this a perfect on-the-go project.
Embrace your creativity and check out some variation and customization ideas to make your daisy squares truly unique!
Gauge & Sizing Notes
Don’t skip the gauge swatch! Ensuring your tension is correct for the Daisy Granny Square will help maintain uniformity and achieve the desired size in your project. For this pattern, your gauge should measure a 4×4 inch (10×10 cm) square = 14 double crochets by 8 rows. If you want to make your squares larger, simply increase your starting chain in multiples of 6. Conversely, if your swatch is smaller than the measurement mentioned, try going up a hook size to achieve the correct gauge. This way, you’ll create delightful daisy squares that are perfect for your springtime crochet projects!
Step‑by‑Step Pattern for Charming Daisy Granny Square
Round 1: Start with a Magic Loop
Begin by creating a magic loop. Chain 3 (counts as first dc), then work 11 dc into the loop. Pull the loop tight to close it and join with a sl st to the top of the initial ch-3. Your work should look like a small circle with 12 dc (12 sts).
Round 2: Forming the Petals
Chain 3 (counts as first dc), then make 2 dc in the same stitch (creating a cluster), followed by 3 ch. Skip the next dc, then in the following dc, work 3 dc, ch 3. Repeat from * to * until you have 6 petals made. Join with a sl st at the top of the first ch-3. Your piece should now have a flower shape with 6 petals.
Round 3: Adding the Background Color
Switch to the background color (blush). Join the yarn in a ch-3 space from the previous round. Work 3 dc into the same space, followed by 1 dc in the next petal’s ch-3 space. Proceed to work 3 dc in the ch-3 space, 1 dc in the next ch-3 space until you complete the round. Join with a sl st to the top of the first ch-3. You should have a rounded square appearance.
Round 4: Creating More Background
Continue with the background color. Chain 3 and work 1 dc in the next dc, then 2 dc in the next ch-3 space, followed by 1 dc in the next dc. Repeat from * to * around the square for extra width. Close the round with a sl st to the top of the first ch-3. Your granny square should now measure approximately 6 inches across.
Step 5: Finishing Touches
To finish your charming daisy granny square, fasten off the yarn and weave in any remaining ends using a yarn needle. Ensure all stitches are neat and secure. Your square should feel plush and inviting, perfect for using in your crochet projects or as a lovely decoration. You’ve completed your lovely daisy granny square!
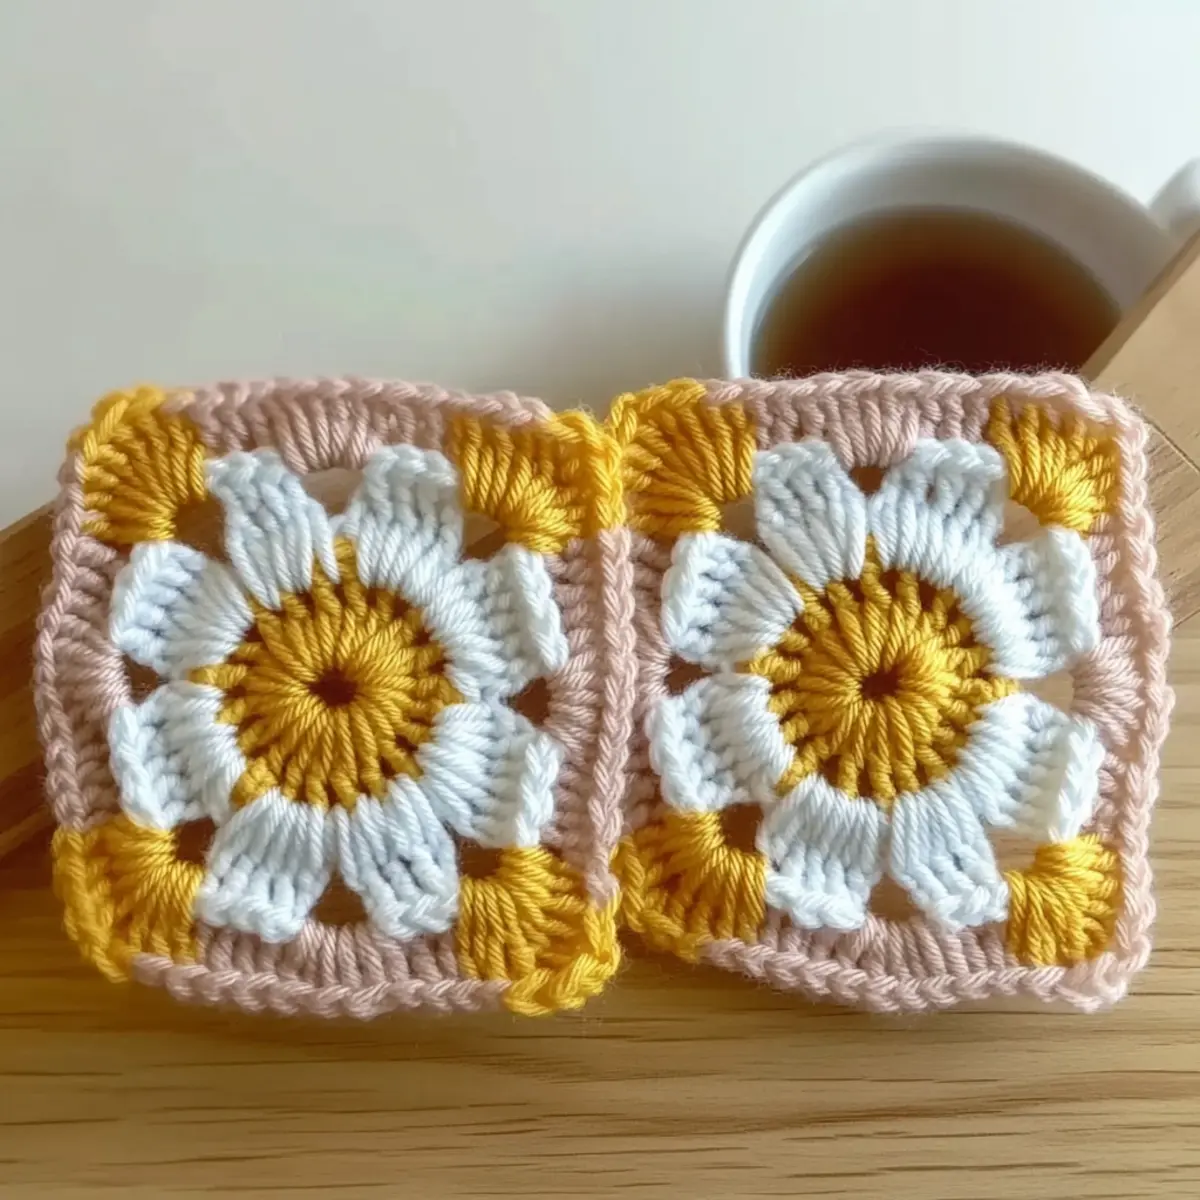
How to Wash and Care for Your Daisy Granny Squares
-
Machine Washing: Use cold water on a gentle cycle to safely wash your squares. Avoid agitation to prevent any felting or pilling of the yarn.
-
Hand Washing: For delicate care, gently hand wash in cold water with mild detergent, allowing your daisy granny squares to soak briefly before rinsing.
-
Drying/Blocking: Lay your squares flat on a clean towel to dry. This helps maintain their shape and texture; avoid hanging to prevent stretching.
-
Storage: Store your finished squares in a dry, cool place, away from direct sunlight. Keeping them in a breathable bag will protect them from dust and damage.
Expert Tips for Daisy Granny Squares
-
Stitch Count Checks: Always track your stitch count at the end of each round. This ensures your squares maintain consistent shape and size, making your project more polished.
-
Tension Awareness: Be mindful of your tension; different yarn fibers may require adjustments. Keeping a consistent tension is key to achieving lovely, uniform daisy granny squares.
-
Secure Ends: After completing each square, weave in your yarn ends before starting a new one. This prevents tangling later and keeps your work neat and tidy.
-
Foundation Loop Care: When starting with a magic loop, ensure it’s snug but not too tight. This will help your granny square maintain its shape without warping at the center.
-
Testing Gauge: While a gauge isn’t specified, checking your stitch consistency with a small swatch before diving in will help ensure that your squares measure approximately 6 inches.
Daisy Granny Square Variations
Feel inspired to add your own unique flair to these delightful daisy granny squares!
-
Yarn Substitutions: Switch to cotton or linen for a breathable summer version that is perfect for warm-weather projects. Consider the texture that different fibers bring to your work for a unique feel.
-
Color Block Magic: Combine vibrant colors beyond yellows and whites, creating a playful contrast that’ll make your daisy stand out. Think bold colors that reflect your personality!
-
Size Adjustments: To create larger squares, simply add more rounds to your design. This tweak can give you gorgeous motifs that work beautifully in larger projects.
-
Texture Enhancements: Try adding fluffy pom-poms at the corners of each square for a fun, playful texture. These little additions make your finished piece pop with character.
-
Fringed Edges: Introduce fringe around the borders for a bohemian touch that gives your granny squares a delightful, whimsical look. It’s a simple addition that packs a visual punch!
-
Simple Borders: Adding a contrasting border around each square can unify your project beautifully. Experiment with different stitches or colors to enhance the overall design.
-
Patchwork Play: Assemble your squares in varied layouts—try diagonal lines or staggered formations. This strategy creates an eye-catching montage that tells your crochet story.
-
Seasonal Themes: Transform your squares for different seasons by switching to seasonal color palettes, like earthy tones for autumn or icy shades for winter. You can create a collection that evolves beautifully throughout the year.
Feel free to explore these customization ideas and let your creativity shine! Enjoy the process of crafting each square, knowing it’s set to brighten your space.
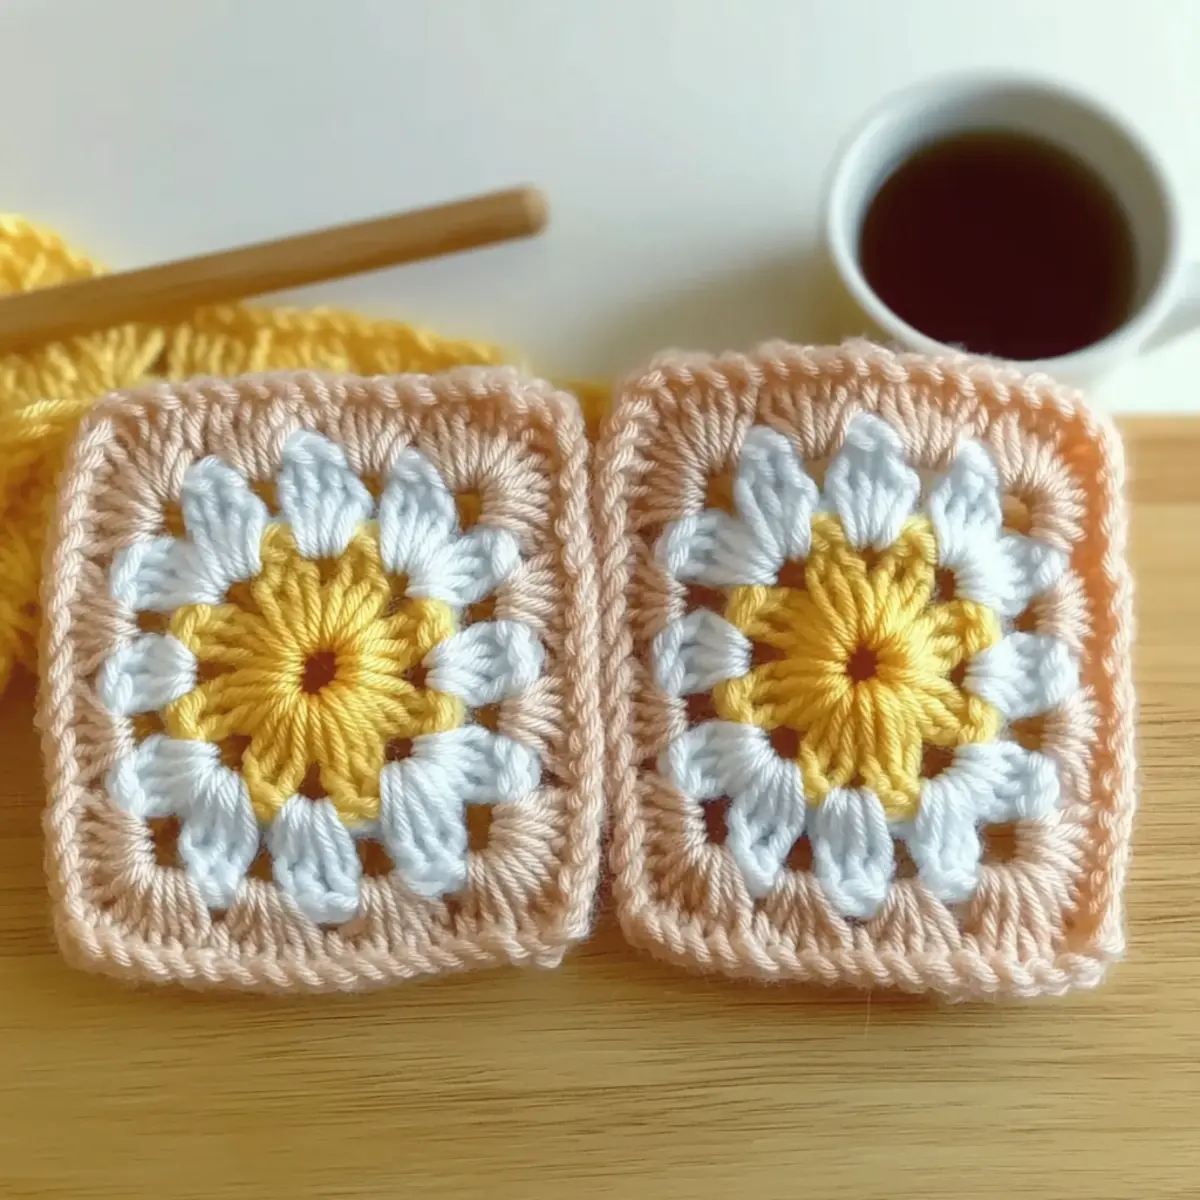
Daisy Granny Square Crochet Pattern FAQs
Can I use a different yarn for this pattern?
Absolutely! While this pattern recommends Yarn Bee Soft & Sleek low pill fiber, feel free to substitute with any yarn you love. Just keep in mind that changing yarn types (like switching from acrylic to cotton) may unwind your tension and gauge a bit, so be sure to check your stitch consistency!
How can I make my squares larger or smaller?
To adjust the size of your daisy granny squares, you can add or reduce the number of rounds you crochet. For larger squares, try adding 2-3 rounds, keeping in mind that you may need more yarn. Conversely, you can remove rounds from the pattern to make smaller squares, but I recommend keeping an eye on your stitch count to maintain symmetry.
Why is my work curling at the edges?
Don’t panic! If your squares are curling like a bowl, it could be due to tension issues or not having enough stitches in your rounds. Ensure you’re keeping a consistent tension and also double-check your stitch count to make sure you haven’t accidentally skipped stitches!
What hook size should I use?
This project uses a J-10 (6 mm) crochet hook, which strikes a great balance for this pattern. However, if you are a tighter or looser crocheter, you might consider going up or down a hook size to match your desired gauge. Just remember to check your work against the size of the squares!
How do I fix dropped stitches?
It’s an easy fix! If you spot a dropped stitch, simply take a crochet hook and pull the yarn back through the last few stitches to secure it in place. If necessary, you can also work a single crochet into the dropped stitch to reinforce it—just make sure to keep your shapes even and tidy.
What should I do if my squares aren’t measuring 6 inches?
If your squares are measuring larger or smaller than 6 inches, I recommend testing your gauge with a smaller swatch. Adjusting your hook size or checking your yarn tension can help you better achieve the desired dimensions. Remember, practice makes perfect, and you’ll get the hang of it in no time!
Leave a Reply