
As I sifted through my yarn stash, a delightful ball of sunny yellow acrylic caught my eye, instantly sparking the idea for this cheerful Sunshine Yellow Baby Crochet Pinafore and Beanie Set. Designed with beginners in mind, this pattern not only helps you master your stitches but introduces you to the playful textures of a bobble stitch skirt and charming daisy appliqués. It’s a joy to work on, and the best part? You’ll have a stunning set ready for those springtime outings that’ll keep your little one adorably stylish and comfortable. Let’s dive in and create something special that brings smiles to both of you!
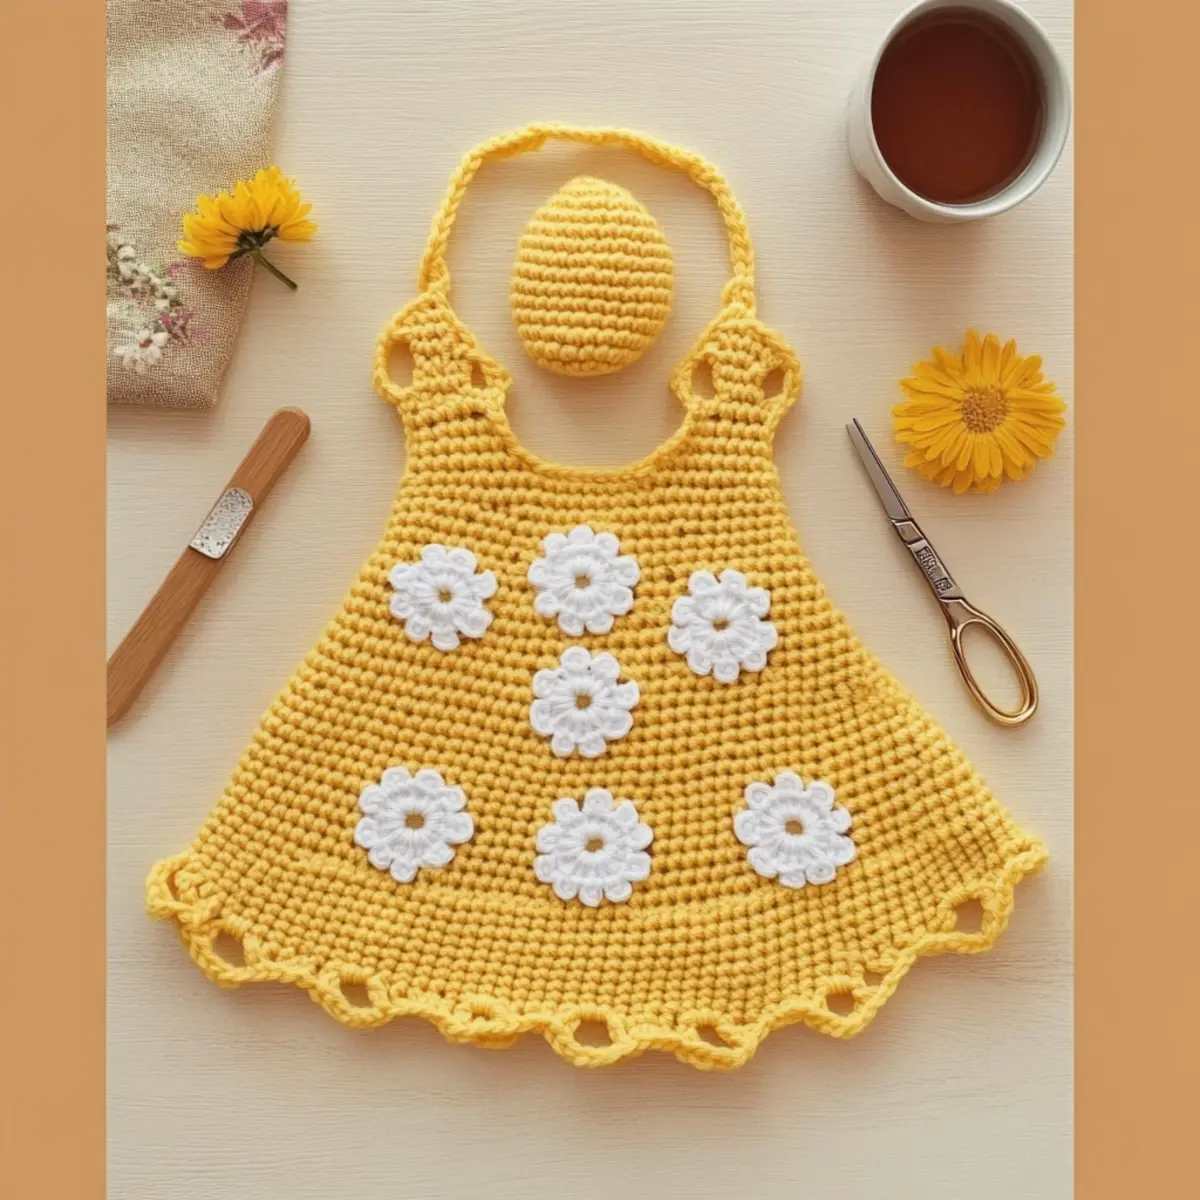
Cheerful Baby Dress and Beanie Set Materials & Tools
Note: Gather these materials to create your lovely Sunshine Yellow Baby Crochet Pinafore and Beanie Set that’s perfect for your little one!
Yarn
- Soft Baby Yarn – Choose an acrylic or cotton blend labeled “baby soft” to protect delicate skin.
Tools & Notions
- 5.0mm (H/8) Crochet Hook – Essential for crafting the pinafore and beanie with ease.
- 4.0mm (G/6) Crochet Hook – Ideal for creating daisy appliqués that add a special touch.
- Stitch Markers – Use them frequently to keep track of your rounds and increases.
- Tapestry Needle – Perfect for weaving in ends and assembling your adorable set.
- Wooden Buttons – Employ these for adjustable straps, adding charm to your design.
Why Is This Pattern So Irresistible?
Beginner-Friendly: This pattern is designed specifically for beginners, ensuring that even novice crocheters can tackle it with confidence while enjoying the crafting process.
Textured Delight: The combination of traditional stitches and charming bobble accents not only keeps your work engaging but also results in a stunning texture that stands out.
Adjustable Fit: With adjustable straps, the pinafore grows with your little one, providing longevity and versatility in styling.
Cheerful Aesthetic: The sunny yellow hue and playful daisy appliqués bring a bright, cheerful vibe, perfect for spring outings.
Quick to Create: Ideal for a last-minute gift or a cozy weekend project, this set allows you to whip up something adorable in no time!
Personal Touch: Feel free to get creative—experiment with colors and styles by checking out other customization ideas to make it uniquely yours.
Gauge & Sizing Notes
Don’t skip the gauge swatch! Checking your crochet gauge is essential for ensuring your Sunshine Yellow Baby Crochet Pinafore and Beanie Set fits just right. Aim for a tension of 14 single crochet stitches and 16 rows in a 4×4 inch (10×10 cm) square when using a 5.0mm hook. If you find your swatch is smaller, simply go up a hook size; if it’s larger, try a smaller hook. To adjust the sizing for different ages, you can increase your starting chain in multiples of 6 to make the bodice wider or add extra rows to the skirt, ensuring your adorable creation perfectly suits your little sunshine!
Step‑by‑Step Pattern for Sunshine Yellow Baby Crochet Pinafore and Beanie Set
Row 1: Bodice Foundation
Chain 41. In the second chain from the hook, work 1 single crochet (sc) and continue to work 1 sc in each chain across for a total of 40 stitches. At the end of the row, your work should be flat with a clean edge. Turn the piece to start the next row.
Row 2: Bodice Height
Ch 1, turn. Work 1 sc in each stitch across (40 sts). Repeat this row for 18 total rows to build the bodice to the desired height. Your piece should maintain a rectangular shape at this stage, perfect for the baby dress pinafore.
Row 3: Armhole Shaping
To shape the armholes, ch 1 and sc across to the last 10 sts (30 sts total). Turn. Ch 1, sc across for 5 rows. You will now have openings on either side for the arms, making your pinafore design both comfy and cute.
Row 4: Adjusting Neckline
After completing the armholes, ch 1, and sc in the next 10 stitches for the neckline, leaving the last 10 stitches free. Turn and repeat for 2 more rows, maintaining 10 free stitches at the end of each row, which will create a lovely neckline for the pinafore.
Round 1: Skirt Base
Join yarn at the left side of the bodice. Ch 1, work 1 sc into the same stitch and 1 sc in each of the next 40 stitches around the bodice. This round creates a seamless foundation for the skirt. Join with a slip stitch (sl st) to the first sc (40 sts).
Round 2: Bobble Stitch Rounds
Ch 2 (counts as first double crochet), 3 bobble stitches in next stitch, 1 sc in next stitch; repeat from * to * around. End with a sl st to join the round. Your skirt should start to develop a playful texture with bobbles popping out, making it both charming and dimensional.
Round 3: Alternating Textures
Ch 1, work 1 sc in each of the next 40 stitches (40 sts). This round balances the bobble texture and adds more depth to the skirt. Your work should have a crisp edge forming at the top of the skirt, enhancing the overall design.
Step 1: Making the Straps
Chain 7, turn. Work 1 sc in the second chain from the hook and in each chain across (6 sts). Repeat this for a total of 30 rows, maintaining a clean edge for the straps. They should measure approximately 7.5 inches long when the rows are complete.
Step 2: Daisy Appliqués
With a 4.0mm hook, create a magic ring and ch 1. Work 12 sc into the ring, pull tight to close. Join with a sl st. For petals, ch 5, 1 sc in the 2nd chain from the hook, 1 hdc, 1 dc, 1 tr into the last chain; sl st to the center. Repeat this for 5 petals per daisy, attaching securely to your pinafore.
Final Touch: Assembly
Once all components are complete, sew the straps onto the bodice using a tapestry needle, ensuring even placement on both sides for an adjustable fit. Attach daisy appliqués wherever desired, adding a quaint floral touch to your Sunshine Yellow Baby Crochet Pinafore and Beanie Set.
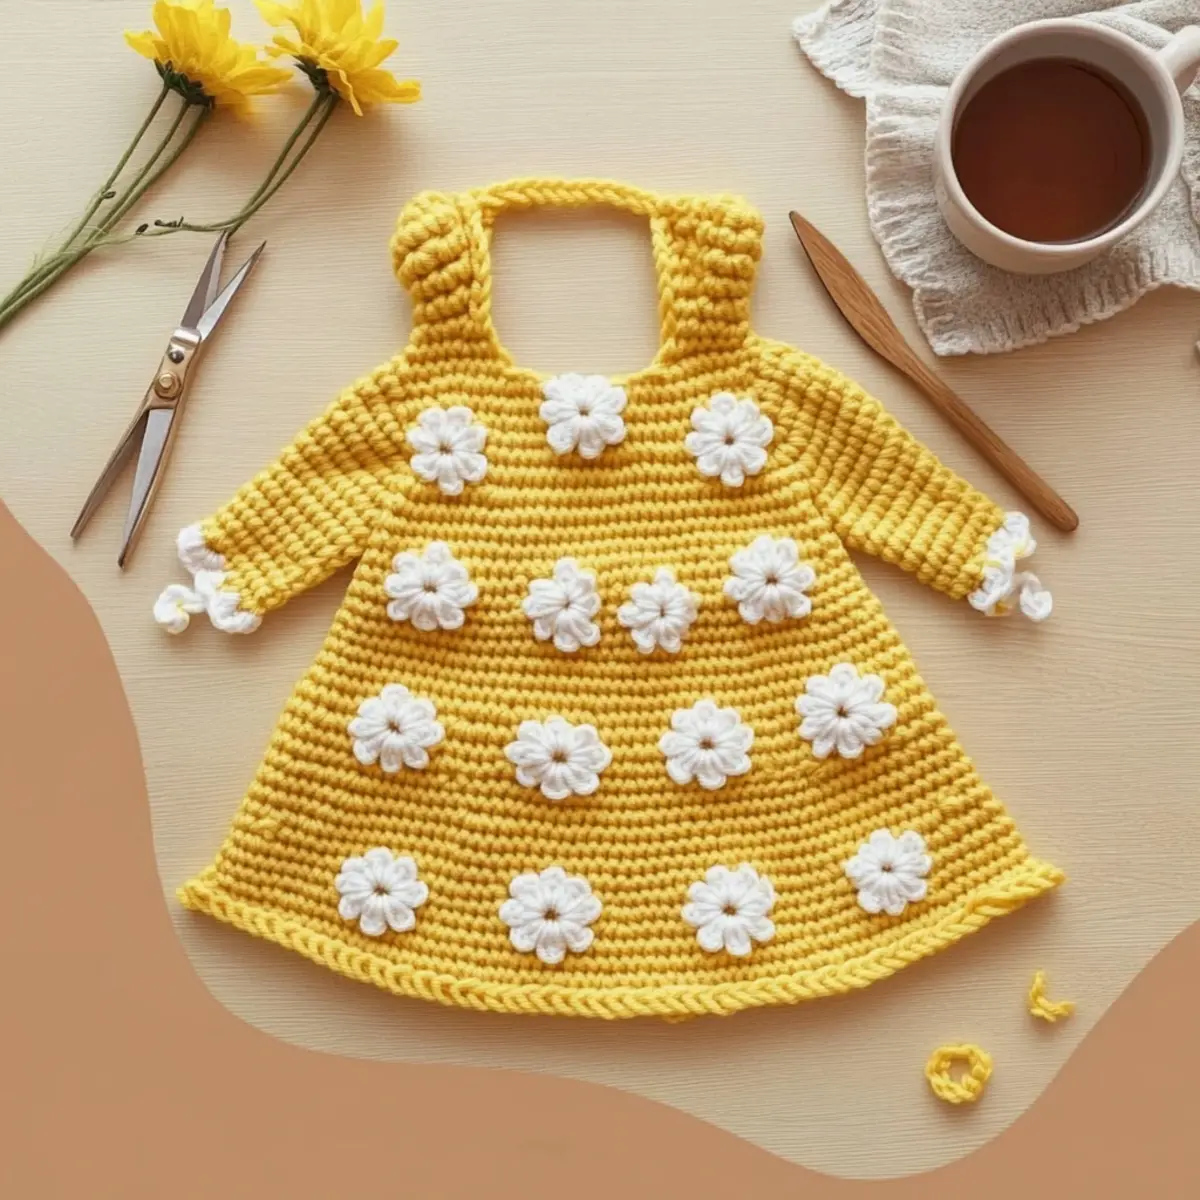
Expert Tips for Your Baby Dress Set
-
Check Your Gauge: Always check your gauge before starting. A mismatch can lead to a poorly fitting pinafore. Aim for 14 single crochet stitches and 16 rows in 4 inches.
-
Stitch Count Matters: Count your stitches at the end of each row. It’s all too easy to lose count, which might affect the final design of the dress.
-
Use Stitch Markers: Employ stitch markers to demarcate beginning and end of rounds. This helps you avoid losing track, especially during those bobble stitch rounds.
-
Finish Neatly: For a polished look, push bobbles firmly to the front and block the finished pieces, giving your set a beautiful shape.
-
Adjust with Ease: Remember, the adjustable straps can be modified to fit various sizes, ensuring your lovely baby crochet pinafore and beanie set grows with your little one.
Cheerful Baby Dress Pattern Variations
Customize your baby dress and beanie set with these delightful variations that invite creativity and flair!
-
Yarn Substitutions: Switch to a cotton blend for breathability in warmer weather, making it perfect for summer outings.
-
Color Play: Use pastel colors for a sweet, dreamy look; think soft pinks or blues for a whimsical twist. Remember, blending shades brings unique charm!
-
Daisy Colors: Alter the daisy appliqués to match seasonal themes or your baby’s favorite colors. Imagine sunflowers for summer or icy blue shades for winter!
-
Texture Additions: Add a fluffy pom-pom to the beanie for a playful effect. Experimenting with texture can elevate the whole set’s feel!
-
Sizing Adjustments: For a more snug fit, shorten the strap length. This easy tweak ensures your little one can grow comfortably into their outfit.
-
Fringe Detailing: Add a fringe border along the hem of the skirt for extra flair and dimension. It’s a fun detail that brings a touch of whimsy.
-
Strap Design: Experiment with cross-back straps instead of traditional ones for a modern spin on the classic pinafore.
-
Seasonal Modifications: Create a holiday version by incorporating festive colors or themed appliqués, turning your baby’s outfit into a seasonal standout.
These variations are just the tip of the iceberg; feel free to explore new ideas! For more inspiration, check out other customization ideas to make this project uniquely yours. Happy crocheting!
How to Wash and Care for Your Baby Dress Set
-
Machine Washing: Use a gentle cycle with cold water to keep your sunny yellow baby crochet pinafore and beanie set in top shape, preventing any unwanted fading or shrinkage.
-
Drying/Blocking: Laying flat to dry is essential, especially for the daisy appliqués. This method helps maintain the shape and texture, letting your creation look its very best.
-
Storage: Store your finished set in a cool, dry place. Avoid direct sunlight to prevent color fading, ensuring your baby dress and beanie stay vibrant and cheerful over time.
-
Care for Appliqués: Handle the daisy appliqués gently when washing to prevent damage. A little TLC will keep your joyful design intact for plenty of sweet moments ahead.
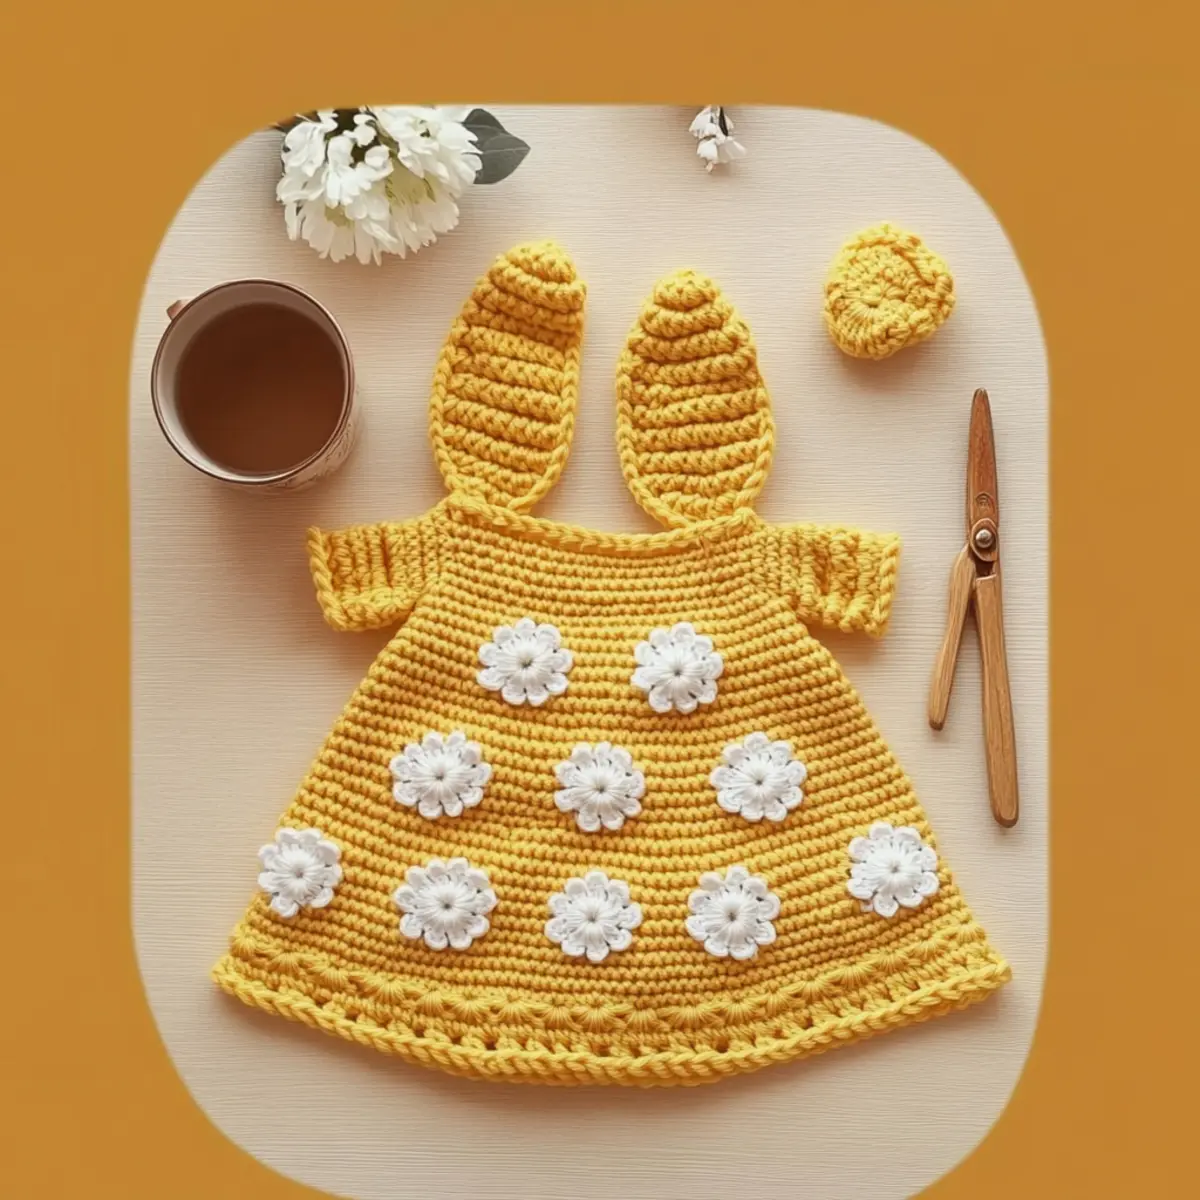
Sunshine Yellow Baby Crochet Pinafore and Beanie Set FAQs
Can I substitute yarn for this pattern?
Absolutely! While I recommend using a soft acrylic or cotton blend labeled “baby soft,” you can easily substitute with another yarn, such as a cotton worsted for breathability. Just keep in mind that changing the yarn type may affect the gauge, so it’s best to swatch first to ensure the fit turns out right.
What if I need to adjust the sizing of the pinafore?
No problem! You can easily customize the length of the straps to better fit your little one. To make the bodice larger, simply add more stitches to the initial chain, keeping in mind to work in multiples of 2 for the body. If you’re aiming to make it smaller, adjust downward by carefully counting your stitches and rows to maintain the shape.
Why is my crochet work curling at the edges?
Don’t panic! Curling often happens when your starting chain is too tight. To fix this, try using a looser grip on your foundation chain. If your piece is already made, you can gently block it to help flatten the edges, giving it a neater finish.
What hook size should I use for this pattern?
For the pinafore and matching beanie, a 5.0mm (H/8) crochet hook is recommended. If you prefer a tighter fabric or are using a different yarn type, feel free to adjust to a smaller hook size, like a 4.5mm (H/7), but be sure to check your gauge after making the switch!
How do I fix dropped stitches in my work?
It’s an easy fix! To recover a dropped stitch, first, locate the stitch you need to fix. Use your tapestry needle or hook to carefully bring it back up to the row where it belongs. Make sure to tight the stitch back up to prevent it from unraveling further.
Can I make this set in different colors?
Absolutely! Feel free to experiment with a variety of colors to let your creativity shine! You can swap in pastel shades for a soft look or bold hues for a lively pop. Just remember to choose shades that complement each other, especially if you’re creating unique daisy appliqués for an extra personal touch.
Leave a Reply