
As I sat on my cozy couch, surrounded by colorful skeins of yarn, the idea for this Adorable No-Sew Flamingo Amigurumi Pattern took flight. This delightful project blends fun and creativity, making it an ideal choice for both budding crafters and seasoned pros. With its charming long legs and sweetly curved neck, you’ll find it hard to resist making one—or several! Best of all, this pattern is beginner-friendly and requires minimal sewing, allowing you to whip it up in no time. Whether you’re looking to create the perfect gift or simply want to add a splash of whimsy to your shelf, this quick project will bring joy to your crocheting journey. Let’s dive into the stitches and explore the magic of creating your very own flamingo!
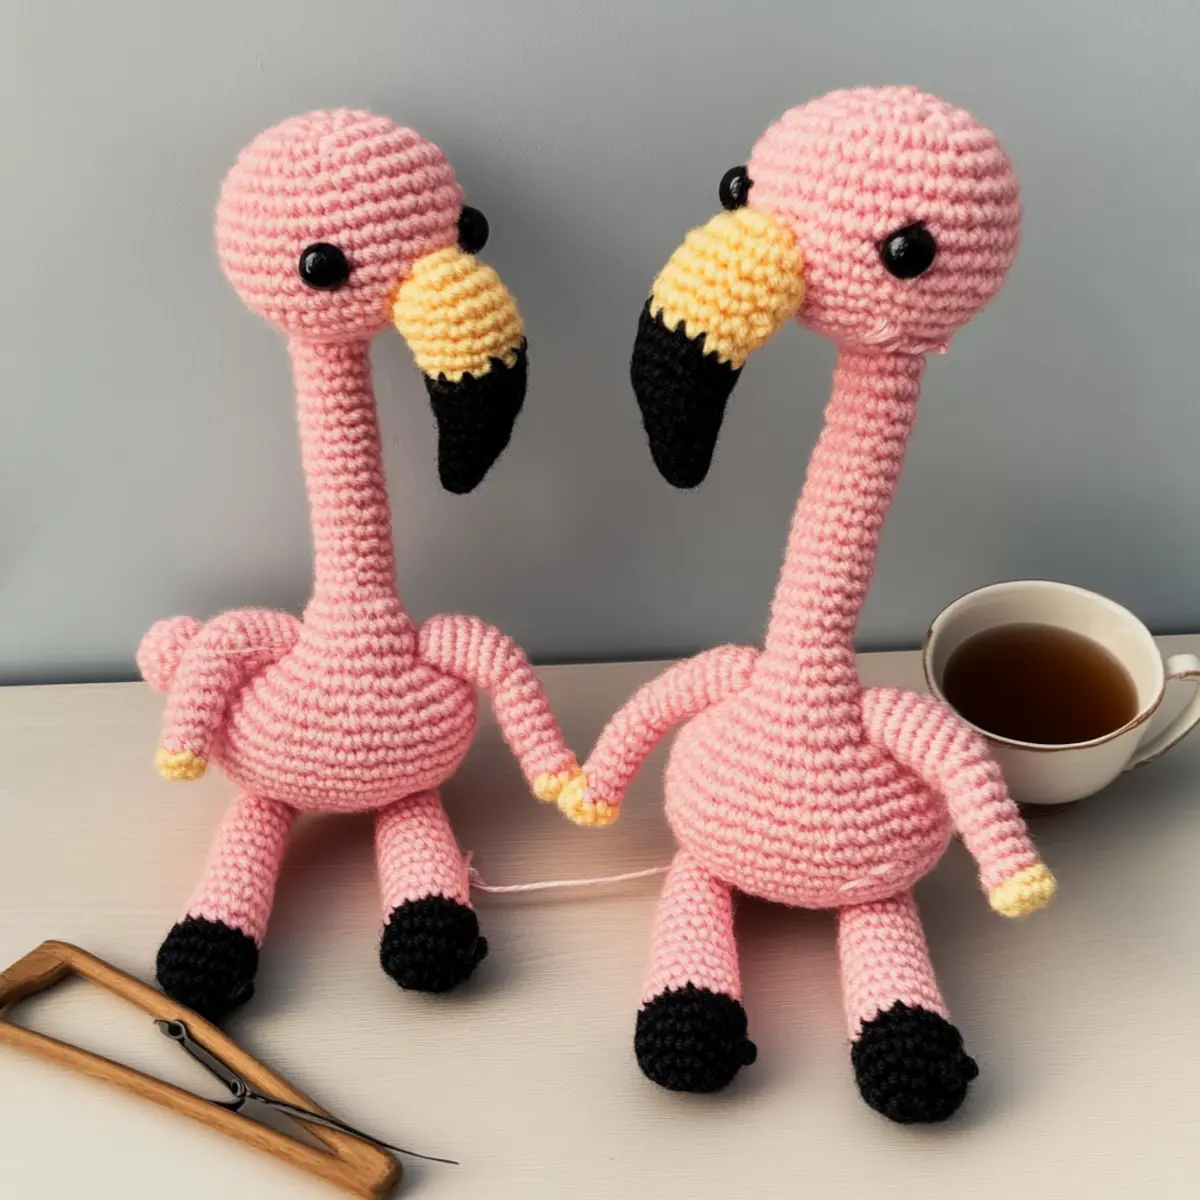
Flamingo Amigurumi Materials & Tools
Get ready to create your adorable flamingo with these essential supplies!
Yarn
- Worsted Weight Yarn – Approximately 150 yards is needed; consider using Big Twist from Joann’s or Red Heart Super Saver for vibrant colors.
Tools & Notions
- 3.5 mm (E/4) Hook – This size is perfect for achieving a tight stitch that holds shape.
- Safety Eyes – These are great for a cute, secure look; opt for embroidered eyes for a baby-safe alternative.
- Tapestry Needle – Use this for weaving in ends and sewing any accents or details.
- Stitch Markers – Handy for keeping track of rounds, especially for beginners.
Why Will You Love This Flamingo?
Adorable Design: This flamingo amigurumi is irresistibly cute, featuring an endearing shape that instantly captures hearts.
Quick to Create: With its simple, no-sew assembly, it’s perfect for those looking to finish a project in record time.
Beginner-Friendly: Even if you’re new to crochet, the straightforward rounds will guide you through, helping you build confidence.
Unique Customization: Mix and match colors to craft a personal touch. Why not check out our variation ideas?
Cuddle-Ready Texture: The soft and squishy yarn offers a delightful tactile experience, making it a perfect companion for kids or decor!
Gauge & Sizing Notes
Don’t skip the gauge swatch! For the Adorable No-Sew Flamingo Amigurumi, checking your crochet gauge ensures your finished piece will have delightful proportions. Aim for a gauge of 4×4 inch (10×10 cm) square = 12 single crochets by 12 rows. If you find your tension is off and the swatch is smaller, try going up a hook size to achieve the correct measurements. To make your flamingo taller or wider, you can adjust your starting chain in multiples of 6. Just remember, if you crochet tightly, simply tweak your hook size or add a few more stitches to achieve that charming shape!
Step‑by‑Step Pattern for Adorable No-Sew Flamingo Amigurumi
Round 1: Start the Body
Begin with a magic circle and work 6 single crochets (sc) into the circle. Pull the magic circle tight to close, and slip stitch (sl st) into the first sc to join the round. This forms the base of your flamingo’s body, and you should see a small, tight circle with 6 sts.
Round 2: Increase
Chain 1 (ch 1) and then make 2 sc in each stitch around for a total of 12 stitches (12 sts). As you complete this round, your work should start to expand and take on a rounded shape, laying a strong foundation for the rest of the flamingo.
Round 3: More Increases
Ch 1, 1 sc in the next stitch, 2 sc in the following stitch; repeat from * around for a total of 18 stitches (18 sts). You will notice your flamingo body becoming more pronounced and should have a lovely round form by the end of this round.
Round 4: Shape the Body
Ch 1, 1 sc in the next 2 stitches, 2 sc in the following stitch; repeat from * around for 24 stitches (24 sts). At this point, your flamingo body should have a beautifully rounded shape, ready to be elevated with the upcoming sections.
Rounds 5-9: Straighten the Body
Ch 1 and make 1 sc in each stitch around for 5 rounds (24 sts each round). This will create the main body of the flamingo, giving it a sturdy shape. Your work should look like a plump, elongated oval by the end of this series.
Round 10: Decrease for the Neck
Ch 1, 1 sc in the next 2 stitches, 1 dec (decrease); repeat from * around for a total of 18 stitches (18 sts). The neck will start taking form as you adjust the dimensions of the body. Pay attention to the gradual tapering that enhances the flamingo’s elegance.
Round 11: Further Neck Shaping
Ch 1, 1 sc in the next stitch, 1 dec; repeat from * around for 12 stitches (12 sts). Your work should now be noticeably narrower, and you’ll start to see the neck beginning to take shape beautifully.
Round 12: Final Neck Adjustments
Ch 1, work 1 dec around until you have 6 stitches (6 sts). This narrowing will help finalize the neck shape, culminating in the perfect structure to support your flamingo’s head.
Round 13: Form the Head
Ch 1, make a series of 6 sc to form the head. Once completed, your flamingo will now have a lovely rounded head, bringing personality and charm to your adorable no-sew flamingo amigurumi.
Step 1: Adding Eyes
Using your safety eyes or embroidery thread, securely attach eyes between Round 12 and Round 13, space them evenly apart for a friendly appearance. Adjust the placement to ensure balance in your flamingo’s head, enhancing its cute expression.
Step 2: Crafting the Beak
Using black yarn, chain 3, and make 1 sc in the second chain from the hook and 1 sc in the next stitch. Attach the beak to the head with a slip stitch while ensuring it sits snugly just below the eyes, completing your flamingo’s sweet face.
Step 3: Creating the Wings
Start with a magic circle and work 6 sc into the circle, then increase in each stitch for a total of 12 (12 sts). This will make the base of your flamingo’s wings, contributing additional flair to your design.
Step 4: Wing Detailing
Ch 1, 1 sc in the next stitch, 2 sc in the following stitch; repeat for 18 stitches (18 sts). After this round, your wings should start taking on a rounded look that beautifully complements its body.
Step 5: Attach the Wings
Once completed, use sl st to securely attach the wings to the body, placing them slightly lower than the neck to maintain proportion. The added wings will enhance the overall aesthetics of your adorable no-sew flamingo amigurumi.
Step 6: Crafting the Legs
Ch 1 and work 12 rows of 6 sc in each row for leg length. At the end, your flamingo will have long, elegant legs perfect for standing tall. Attach the legs securely to the bottom of the body, showcasing their stability.
Step 7: Final Assembly and Stuffing
Lightly stuff the body, head, and neck before sealing off the remaining stitches. Follow any last-minute adjustments to ensure the flamingo stands properly while showcasing its irresistible charm and character.
Step 8: Finishing Touches
Weave in all loose ends with a tapestry needle, ensuring everything is neatly tucked away. Now step back and admire your Adorable No-Sew Flamingo Amigurumi, ready to bring a joyful touch to any space!
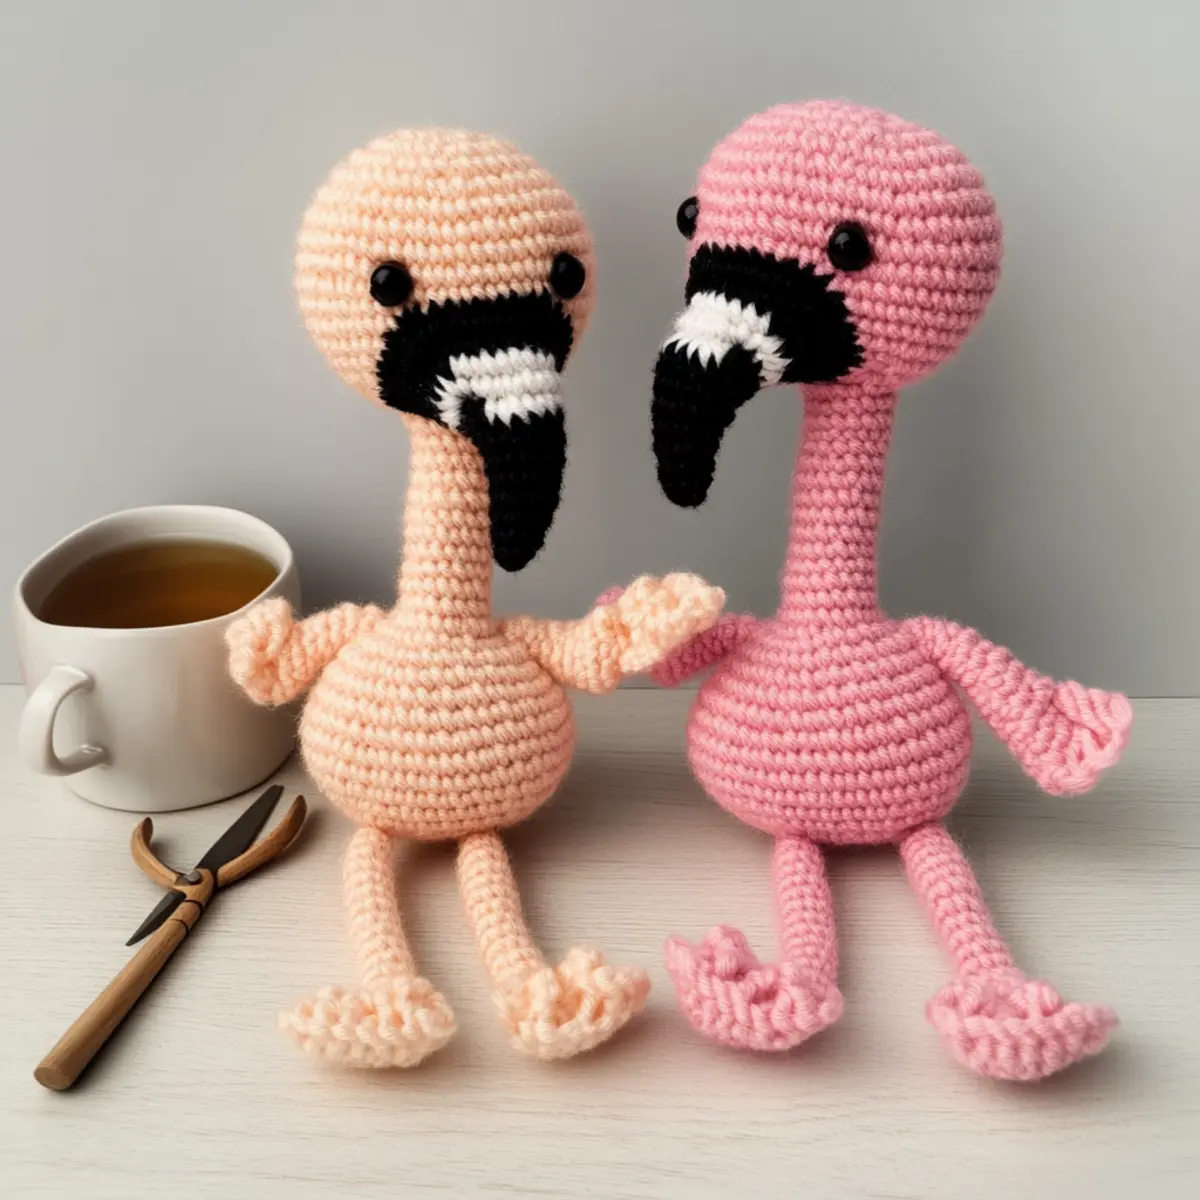
Expert Tips for Your Flamingo
-
Count Stitches: Regularly count your stitches to avoid gaps or uneven edges. This will ensure your flamingo’s design remains cohesive and charming!
-
Check Tension: Maintain consistent tension while crocheting. Use a swatch to gauge your stitches before starting the main project for best results.
-
Securing Eyes: When attaching safety eyes, make sure to place them between specific rows to ensure they’re balanced and positioned correctly.
-
Stuffing Technique: As you work on the head and body, remember to stuff lightly. This creates a lovely squishy texture without over-inflating your creation.
-
Seamless Assembly: For minimal sewing, follow the pattern’s instructions closely. When joining pieces, secure each section tightly for a polished look.
Variations & Substitutions of Your Flamingo
Get ready to unleash your creativity and make this adorable flamingo truly your own!
-
Yarn Alternatives: Try using cotton yarn for a lightweight, breathable flamingo, perfect for warmer environments or summer decor.
-
Color Blocking: Mix different shades of pink or go bold with unexpected colors like teal or lavender for a vibrant twist. Let each piece reflect your personality!
-
Size Adjustments: To make a larger flamingo, use bulky yarn and a larger hook size, perfect for cuddling or as playful decor in children’s rooms.
-
Textured Details: Add a playful twist by crocheting a fringe effect on the wings for a fun, whimsical look.
-
Accessory Ideas: Create tiny accessories like a sunhat or scarf to give your flamingo a distinct personality. Dressing it up adds an extra level of charm!
-
Base & Stand Modification: To make your flamingo more stable, add a weighted base or create a flat bottom to ensure it stands tall without wobbling.
-
Tail Variations: Change the tail design by adding a series of chain stitches or a small pom-pom for an eye-catching detail that stands out.
-
Safety Eyes: For a soft look, consider embroidering the eyes instead of using safety eyes. This adds a handmade touch that’s perfect for little ones!
Each of these delightful variations offers an opportunity to explore your style further. For more inspiration, check out our creative crochet ideas or our guide on customizing amigurumi to take your crafting to the next level!
How to Wash and Care for Your Flamingo
Hand Washing: Gently hand wash your flamingo in cold water using a mild detergent to prevent any damage to the yarn fibers and to maintain its charming appearance.
Drying/Blocking: After washing, reshape your flamingo while damp and lay it flat on a clean towel to dry completely. This helps maintain the structure and prevents any sagging.
Storage: Store your finished flamingo in a cool, dry place, away from direct sunlight, to avoid fading and keep its colors vibrant for years to come.
Safety Considerations: If safety eyes were used, ensure they are securely attached before washing to keep your cozy flamingo safe for cuddling.
Adorable No-Sew Flamingo Amigurumi Pattern FAQs
Can I use a different yarn than worsted weight?
Absolutely! While worsted weight yarn is suggested for this pattern, you can experiment with DK weight or other similar thicknesses. Just remember that using a lighter weight yarn may result in a smaller flamingo, so adjust your hook size accordingly.
How do I adjust the size of my flamingo?
Don’t panic! To make your flamingo bigger or smaller, you can adjust your stitch count in the magic circle or the number of rounds. For instance, adding extra rounds during the body section will increase its height, while reducing stitch counts in specific rounds can help size down your creation.
Why is my flamingo’s head not staying upright?
If your flamingo’s head is drooping or sinking, it may need more stuffing or better anchoring at the base. Make sure you’re working in tight stitches, especially near the neck, to maintain shape. Check that your safety eyes are placed between the correct rows to keep the head in balance!
What size crochet hook should I use?
For this project, a 3.5 mm (US E/4) hook is ideal. However, if you find your stitches are too loose or too tight, feel free to try a smaller or larger hook. Just keep an eye on your tension and adjust accordingly for the best results.
How do I fix dropped stitches?
It’s an easy fix! If you notice a dropped stitch, gently pull the working yarn to gather the stitches back into place. You can use a tapestry needle to weave the loop back into your crochet fabric. Remember, staying focused while counting your stitches helps prevent this in the first place!
Can I add more embellishments to my flamingo?
Absolutely! Personalizing your flamingo with additional features like hats, flowers, or even unique patterns is a delightful ideas! You can patch stitch on accessories after the main assembly to make your flamingo uniquely yours. Let your creativity soar!
Leave a Reply