
As I sat down with my favorite yarn and a warm cup of tea, I felt that familiar thrill wash over me—the promise of creating something beautiful with just a hook and a bit of string. In today’s adventure, I’m excited to share the Easy Colorful Willow Granny Square, a pattern that sparks creativity and embraces the joy of color combinations! This versatile square works up quickly, making it perfect for crafters of all skill levels. Whether you’re looking to use up stash yarn or create cozy decor for your home, this pattern checks all the boxes. So grab your hook and join me on this delightful journey, where each stitch brings us one step closer to a stunning finished piece!
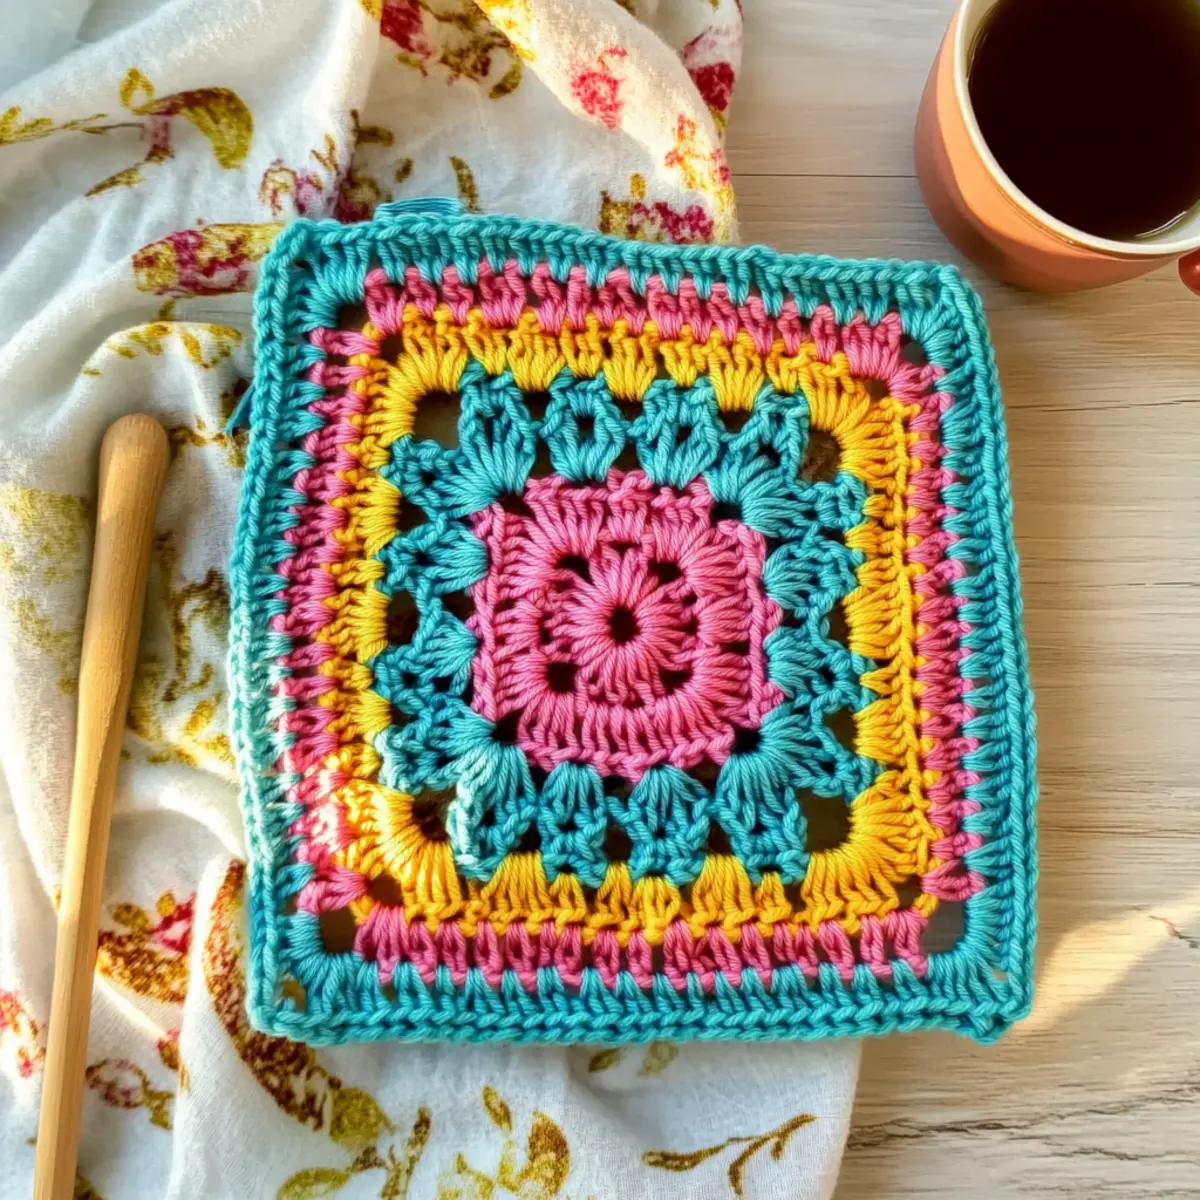
Easy Colorful Willow Granny Square Materials & Tools
Prepare to embark on your crochet journey with the essentials you’ll need to create your lovely Willow Granny Square!
Yarn
- Worsted Weight #4 Yarn – Use Big Twist Value or any worsted weight yarn, approximately 56 yards total divided across 3 colors (A, B, C) for vibrant designs.
Tools & Notions
- Tulip Etimo US I (9) / 5.5mm Hook – This size is perfect for creating a cozy texture while working through the easy skill level of the pattern.
- Stitch Marker – Essential for keeping track of rounds and ensuring your granny square retains its shape and size.
- Scissors – A must-have for snipping yarn tails cleanly as you finish your beautiful piece.
- Tapestry Needle – Use this to weave in the ends once your square is complete, ensuring a polished look.
Gather your materials and let your creativity soar as you craft this stunning Willow Granny Square!
Why is the Willow Granny Square special?
Versatile Design: This granny square is adaptable for a variety of projects, from cozy blankets to charming coasters.
Quick to Make: With its easy skill level, you can whip up a beautiful square in no time, perfect for quick gifts or stash-busting!
Vibrant Color Combinations: The pattern encourages a mix of colors, allowing your creativity to shine. If you’re unsure where to start, check out our guide on color theory in crochet.
Textured Finish: The combination of double and single crochet stitches creates an eye-catching texture that’s pleasing to the touch.
Free Video Tutorial: For visual learners, a video tutorial is available to guide you through each step, ensuring success with every stitch. Don’t miss our tips on mastering granny squares.
Endless Customization: Whether you opt for a classic look or a bold statement piece, this pattern is perfect for personal touches and experimentation!
Gauge & Sizing Notes
Don’t skip the gauge swatch! Checking your tension is crucial for the Easy Colorful Willow Granny Square, as it ensures your squares will have the perfect size and drape for your projects. Aim for a gauge of 4×4 inches (10×10 cm) that equals 15 double crochets by 8 rows—this will provide a solid foundation for your design. If you wish to adjust the size, remember to increase your starting chain in multiples of 3 to make the square larger, or decrease to make it smaller. If your swatch comes out too small, try going up a hook size; conversely, if it’s too large, consider a smaller hook for that beautiful, cozy fit!
Step‑by‑Step Pattern for Easy Colorful Willow Granny Square
Round 1: Start Your Square
Begin by making a magic ring, or chain 4 and slip stitch to form a circle. Chain 3 (counts as a double crochet), place a stitch marker, and work 15 double crochet (dc) into the ring. Your work should feel rounded and full. Join with a slip stitch to the top of the chain 3 to close the round (16 sts).
Round 2: Build the Corners
Chain 4 (counts as dc + ch 1), place the stitch marker again. In each stitch around, work [1 dc, ch 1]. This will create spaces for the next round. You should start to see the square shape form as you go. Join with a slip stitch to the third chain of the initial chain 4 to finish the round (16 ch-1 spaces).
Round 3: Adding Color B
Attach Color B to any double crochet stitch. Chain 3 (counts as dc), place a stitch marker. Work [2 dc in each ch-1 space, 1 dc in the dc] around. You will notice the square starting to take on a lovely texture with the added dimension of Color B. Join to the top of the chain 3 to secure the round (32 sts).
Round 4: Texture with Color B
Chain 1, make 1 single crochet (sc) in the same stitch, and place a stitch marker. Work the pattern of [ch 5, skip 1 dc, sc in next dc] around, creating lovely, airy spaces. The round will feel more open and textured. Join with a slip stitch to the first sc to finish the round (8 airy spaces).
Round 5: Define the Spaces
Slip stitch into the next ch-5 space. Chain 3 (counts as dc), then work [2 dc in ch-5 space, 1 sc in next sc] around. This round continues to build dimension, ensuring each section is well defined. Join with a slip stitch to the top of the beginning chain 3 (24 sts).
Round 6: Introduce Color C
Attach Color C, chain 1, and work [1 sc in the first dc, 1 dc in the next sc] around. This round combines single and double crochet stitches to enhance the texture of your Willow Granny Square. As you work, the vibrant colors will start to blend beautifully. Join with a slip stitch to the first sc to complete the round (24 sts).
Rounds 7 – 9: Final Touches
Continue with Color C, using the following pattern: Round 7 will consist of [1 dc in each sc, 1 sc in each dc] creating more texture. For Round 8, work [1 dc in next dc, ch 1, skip next dc]. In Round 9, alternate between dc and sc to amplify the pattern’s uniqueness while ensuring to join and place markers as needed throughout (varied stitch counts based on pattern).
Finish: Completing Your Square
Once you’ve completed the last round of your Easy Colorful Willow Granny Square, fasten off Color C and weave in all ends securely. If desired, block your square to enhance its shape and get that lovely, finished look. Admire your creation, and feel proud of the vibrant and textured work of art you’ve crafted!
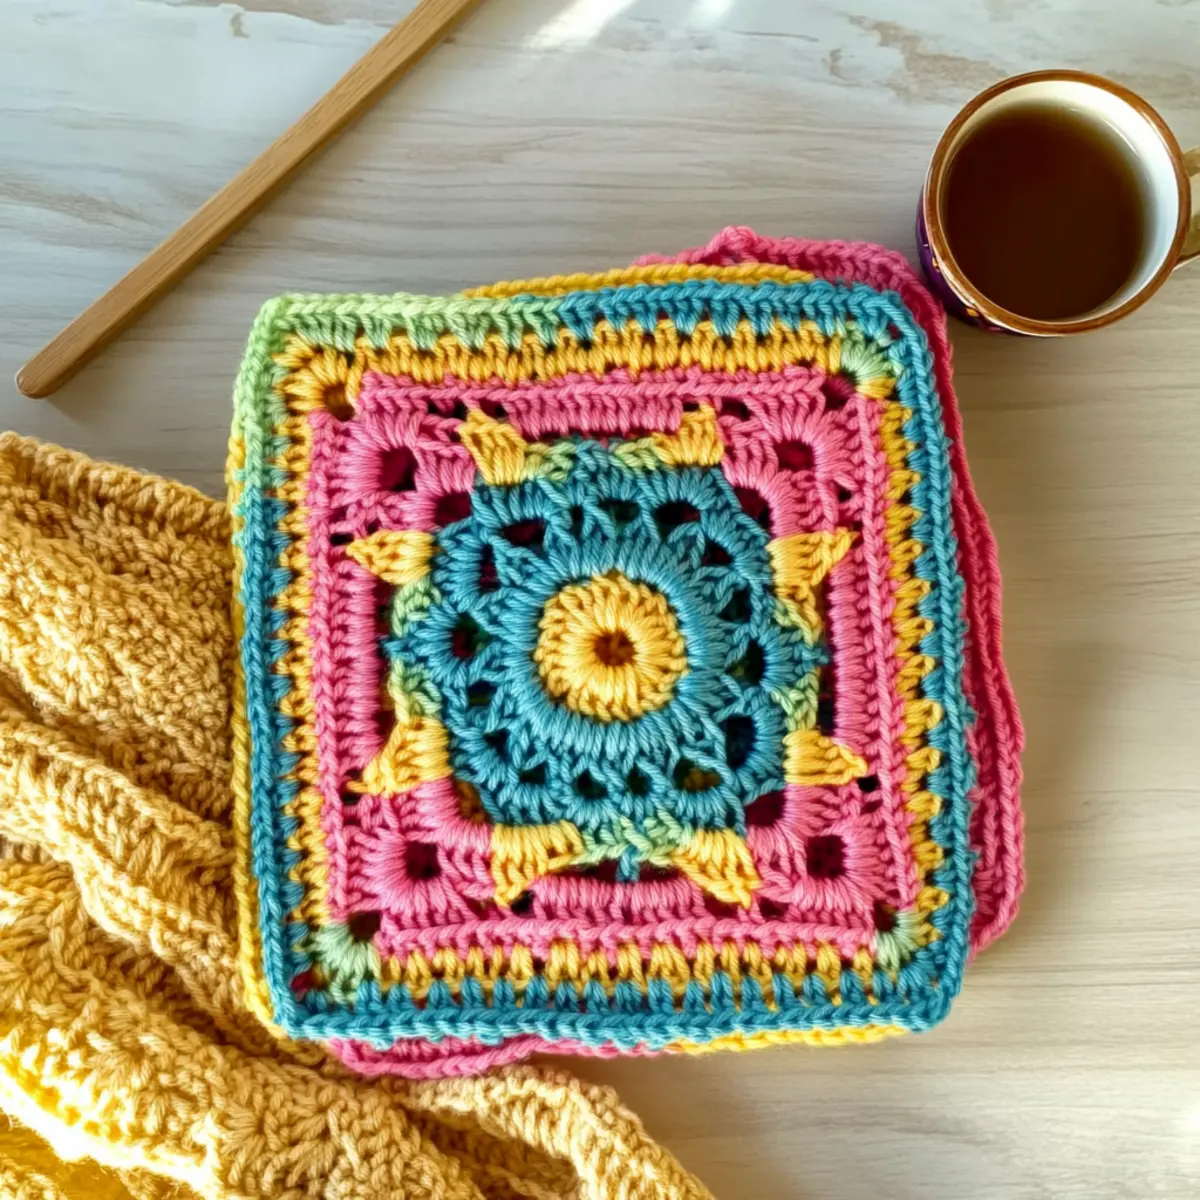
Easy Willow Granny Square Variations
Invite your creativity to take center stage as you explore unique twists for your granny square pattern!
-
Yarn Weight Swaps: Opt for a lighter or heavier yarn to change the size and drape—consider using a DK weight for a more delicate look.
-
Fiber Alternatives: Experiment with cotton yarn for a breathable piece or luxurious bamboo for a soft sheen. Each fiber offers a different vibe!
-
Color-Blocking Ideas: Alternate between your chosen colors every few rounds to create bold sections, injecting fun and personality into your square.
-
Sizing Adjustments: To make a larger square, add extra rounds, or create mini squares for coasters or embellishments for bags. Versatility is your friend!
-
Texture Additions: Add playful elements like pom-poms or fringe to the edges for a charming finish. A simple touch can elevate your design beautifully.
-
Unique Edging: Change up the final round with a contrasting color scalloped edge or a picot bind-off to add character and charm. Details make all the difference!
-
Layering Squares: Create depth by layering two squares with contrasting yarns. The raised effect showcases your craftsmanship and adds visual interest too!
-
Experiment with Placement: Use varying granny square placements, like joining multiple squares into shapes or designing with different alignments, inviting endless configurations.
For more ideas on how to personalize your designs, be sure to check out our posts on creative crochet techniques and color theory inspiration.
Expert Tips for the Willow Granny Square
-
Count Often: Regularly counting stitches at the end of each round helps maintain the square’s shape and prevents any unwanted distortion.
-
Use Stitch Markers: Marking your first stitch in each round makes it easy to keep track of where to join, preventing confusion as you go along.
-
Check Tension: Keep a consistent tension throughout your work to ensure uniformity in your granny squares. A tension square can help with this.
-
Avoid Twisting: When beginning your foundation chain, ensure it lays flat before joining to avoid twists that can skew your square.
-
Finish Neatly: Weave in any loose ends thoroughly to give your project a polished look, ensuring that it’s beautiful from every angle.
-
Blocking is Key: After completing your square, consider blocking it to enhance the stitch definition and overall shape—this step truly elevates your work!
How to Wash and Care for Your Willow Granny Square
-
Hand Washing: Always hand wash your granny square in cool water using a gentle detergent to preserve the colors and maintain its gorgeous texture.
-
Drying/Blocking: Lay your square flat on a clean towel to dry, reshaping it as necessary. This prevents stretching and helps keep the defined edges.
-
Storage: Store your finished squares in a cool, dry place, away from direct sunlight, to avoid fading and damage.
-
Using Steam: If your granny square loses its shape, a light steam from an iron can help reshape it beautifully—just be sure to avoid direct contact with the yarn.
Easy Colorful Willow Granny Square FAQs
Can I substitute yarn types for the Willow Granny Square?
Absolutely! While this pattern uses Worsted Weight #4 yarn, you can substitute with any similar weight yarn. If you want to use cotton instead of acrylic for a more breathable finish, it will still create a lovely square! Just keep in mind that the drape and texture might vary slightly.
How can I adjust the size of my granny square?
Don’t panic! To make your Willow Granny Square larger, simply add additional rounds. Each round follows a consistent increase pattern, so just maintain the stitch count and add as many rounds as you like. If you need it smaller, reduce the number of rounds while still keeping the foundational rounds intact.
Why is my granny square curling?
If your work is curling like a bowl, it might be due to too tight of stitches or an uneven stitch count. Make sure to count your stitches at the end of each round and keep your tension consistent throughout. If it persists, consider blocking your square to help it lay flat.
What hook size should I use for best results?
I recommend using a Tulip Etimo US I (9) / 5.5mm hook, as it works beautifully with Worsted Weight #4 yarn. But don’t hesitate to try a different hook size based on your tension—experimenting can lead to delightful surprises in texture!
How do I fix dropped stitches in my granny square?
It’s an easy fix! If you notice a dropped stitch, simply use your tapestry needle to pick it back up through the last stitch you made. If you’re several rounds down, carefully undoing stitches until you reach the drop is necessary, then re-crocheting the stitches correctly is crucial.
Can I add more colors to my granny square?
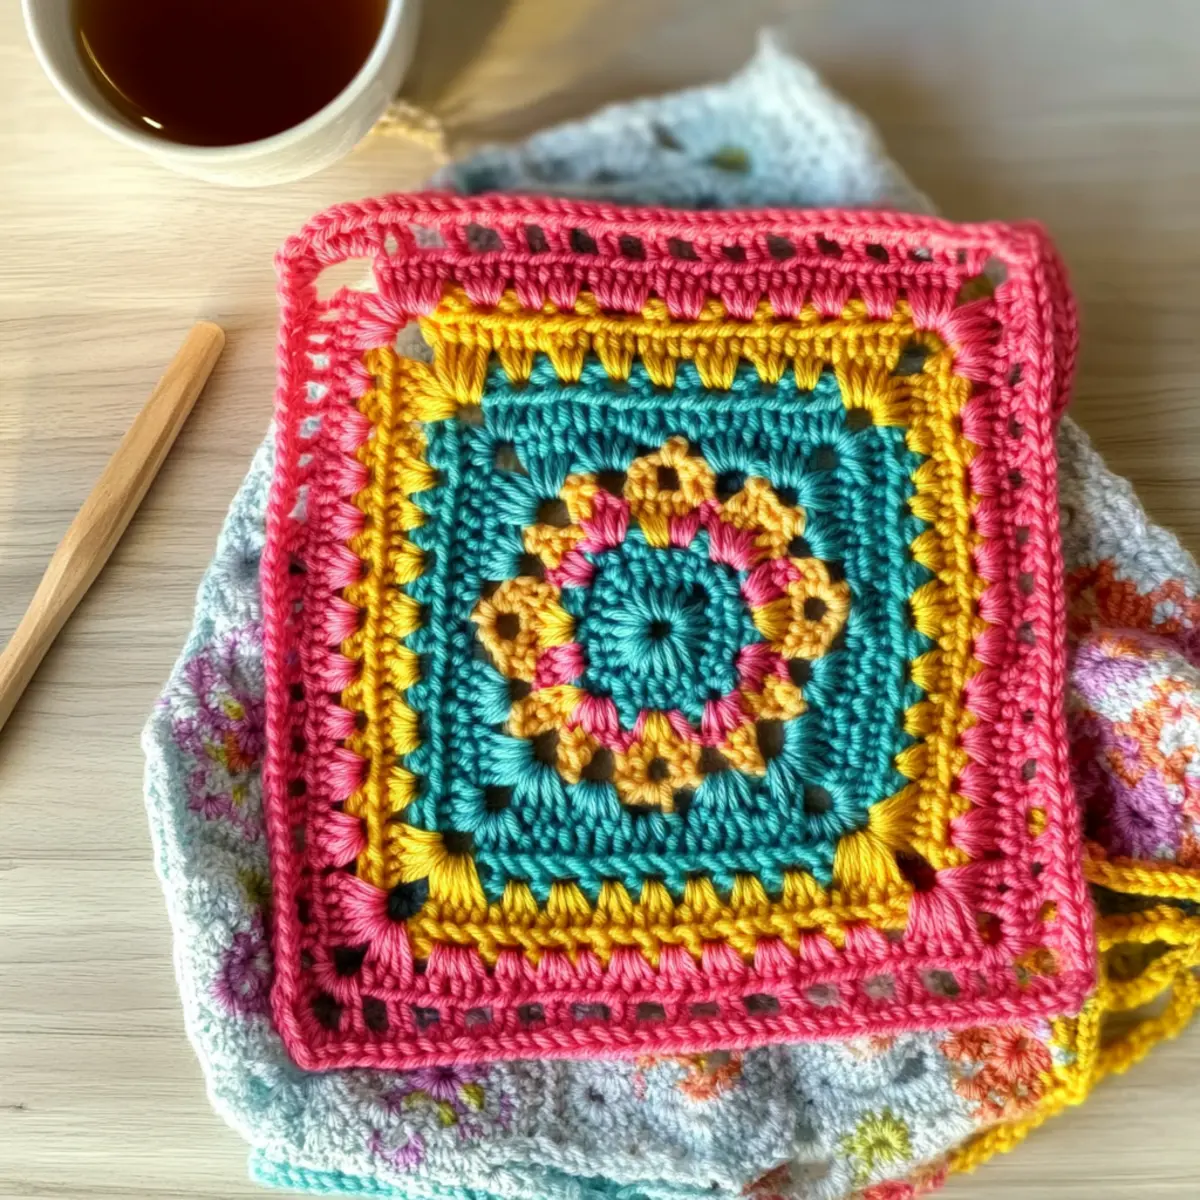
Absolutely! The Easy Colorful Willow Granny Square is all about your creativity. Feel free to experiment with as many colors as you fancy. Just make sure to adjust your rounds accordingly if you introduce more colors into your pattern!
Leave a Reply