
As I nestled into my favorite chair, I couldn’t help but marvel at the delicate charm of a recently crafted amigurumi butterfly perched nearby. This free Amigurumi Butterfly pattern is the perfect starting point for beginners eager to explore the whimsical world of crochet. With its captivating colors and quick-stitch construction, this project not only serves as a delightful decoration for your home but also as an engaging way to boost your crafting confidence. Plus, it’s a fantastic stash-buster, using minimal yarn while allowing for beautiful customization based on your unique style. Let’s dive into creating this cute crochet project that’s sure to flutter its way into your heart!
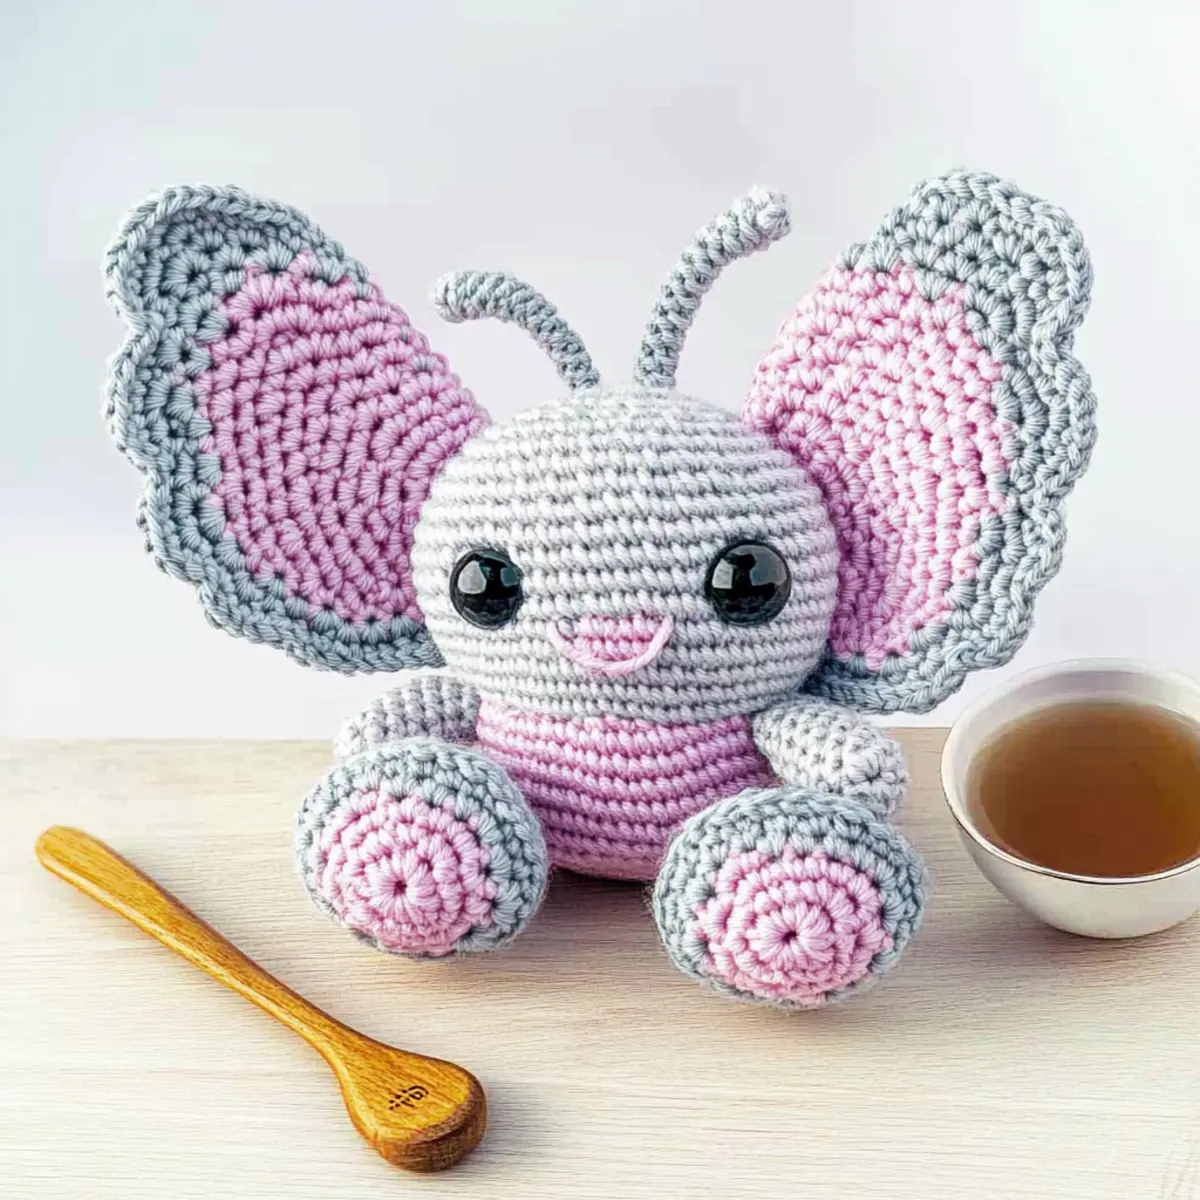
Free Amigurumi Butterfly Materials & Tools
Get ready to flutter into your next crochet adventure with these essential materials!
Yarn
• Worsted Weight Yarn – Choose #4 acrylic yarn in light lilac, grey, and pink (1 ball each is enough for this adorable butterfly!).
Tools & Notions
• 2.5 mm (US D) Hook – The perfect size for working those snug crochet stitches.
• Stuffing – For giving your butterfly a soft, cuddly feel.
• Black Embroidery Thread – Ideal for adding those cute facial details!
• Embroidery/Tapestry Needle – Use this for stitching on the embellishments with ease.
• Stitch Markers – Helpful for keeping track of your rounds as you crochet.
• Safety Eyes – These will make your butterfly come to life with its expressive gaze!
With these materials, you’re all set to create your very own whimsical amigurumi butterfly!
Why Is This Amigurumi Butterfly Special?
Whimsical Design: The charm of this butterfly is undeniable, with its playful colors and adorable shape adding a touch of whimsy to any Crafters’ collection.
Beginner-Friendly: This pattern is perfect for those just beginning their crochet journey, featuring simple stitches that are easy to master.
Quick Stitching: You’ll love how quickly this project comes together, making it ideal for crafting on the go or as a last-minute gift!
Creative Customization: Enjoy experimenting with different colors and embellishments to make your butterfly uniquely yours. Check out our section on Color Combinations to inspire your designs!
Perfect Home Decor: This amigurumi butterfly makes a delightful addition to home decor, adding a cozy touch to any space. Don’t forget to showcase your finished piece on social media and tag us!
Gauge & Sizing Notes
Don’t skip the gauge swatch! Ensuring the correct tension is crucial for achieving the adorable proportions of your amigurumi butterfly. A standard gauge measurement for this project is 4×4 inches (10×10 cm) = 20 single crochets by 24 rows. If you’re aiming to adjust the size, consider increasing your starting chain in multiples of 6 for the body or adding extra rounds to both the body and wings. If your tension swatch is smaller than expected, don’t fret—simply try going up a hook size for a looser fit. Conversely, if it’s too large, downsizing your hook will help you achieve the perfect little butterfly!
Step‑by‑Step Pattern for Free Amigurumi Butterfly
Round 1: Start the Body
Begin the amigurumi butterfly by creating a magic ring. Work 6 single crochets (sc) into the ring, pulling it tight to close. Your foundation should be circular, with 6 stitches in total. This is the base of the butterfly’s body, so ensure it’s snug and secure.
Round 2: Increase the Body
In this round, place an increase in each stitch around by crocheting 2 single crochets in each stitch (inc) from the previous round. You will have a total of 12 stitches (12 sts) at the end of this round. Your work should start to expand, forming a wider base for the butterfly’s body.
Round 3: Second Increase Round
Continue to build the body by working 1 sc in the first stitch, inc in the next stitch, and repeat this pattern around the entire round. This will bring your total to 18 stitches (18 sts). The shape should start to round nicely, providing a plump form.
Round 4: Body Shaping
For this round, work 1 sc in the next 2 stitches, inc in the next stitch, then repeat around. You will end up with 24 stitches (24 sts). Your amigurumi butterfly body should now be taking shape and looking full and voluminous.
Round 5: Start the Head
To shape the head, work 1 sc in the next 3 stitches, inc in the next stitch, continuing this pattern around. By the end of the round, you will have 30 stitches (30 sts). Make sure your work remains smooth, maintaining an even tension as you transition into the head.
Round 6: Final Body Round
For the last round of the body, simply work 1 sc in each stitch around, totaling 30 stitches (30 sts). This will provide a stable base before you start decreasing to close off the top of the head. Your amigurumi butterfly should appear well-defined and ready for finishing touches.
Round 7: Decrease for Head
Start decreasing the head by working 1 sc in the next 3 stitches, then dec in the next stitch. Repeat this pattern around. Your stitch count will reduce to 24 stitches (24 sts), and the shape should gently taper towards the top.
Round 8: Continue Decreasing
In this round, work 1 sc in the next 2 stitches, and then dec in the next stitch. Continue this around for a total of 18 stitches (18 sts). The head will start to look more pronounced, with a soft, rounded shape emerging.
Round 9: Complete the Head Shape
Now, work 1 sc in the next stitch, then dec in the next stitch. Repeat this across the round, leaving you with 12 stitches (12 sts). At this point, you should see a clear division between the body and head, ready for stuffing and finishing.
Round 10: Stuff and Close Up
Before closing, stuff the head lightly with fiber fill to give it shape. Now, work a round of decreases by crocheting dec in each stitch around. You will end up with 6 stitches (6 sts). Your amigurumi butterfly’s head should feel plush but not overstuffed, creating that perfect plush effect.
Row 11: Attach Safety Eyes
Before closing entirely, add your safety eyes to the head between rounds 8 and 9. Position them carefully to ensure a cute, friendly expression. Your amigurumi butterfly will start to look lively and ready for its finishing touches.
Step 12: Finish Off the Head
Cut your yarn, leaving a long tail for sewing. Use a tapestry needle to weave through the remaining stitches, pull tight to close, and secure. Weave in any ends and trim, ensuring a clean finish. Your body and head should be fully formed, giving life to your adorable amigurumi butterfly.
Step 13: Create Lower Wings
To craft the lower wings, start with a magic ring and work 6 sc into it. Increase in each stitch around for a total of 12 stitches (12 sts). Your wing should nearly fan out a little now, preparing for the next increasing round.
Step 14: Shape Lower Wings
For this round, work 1 sc in the first stitch, inc in the next stitch; repeat. Finish with 18 stitches (18 sts). Continue to increase to allow your lower wings to open up, showcasing their delicate shape.
Step 15: Finish Lower Wings
Keep crocheting with straight single crochet for 3 rounds, maintaining 18 stitches (18 sts). Your lower wings should now be flat and spacious, primed for securing and attaching to the butterfly body.
Step 16: Create Upper Wings
Starting with the upper wings, utilize the same magic ring method and begin with 6 sc. Follow the same increasing pattern as the lower wings to reach total stitches of 18 as well (18 sts) for symmetry. The upper wings will give your butterfly that lovely layered look.
Step 17: Finalize Upper Wings
As you continue working the upper wings, make sure to do an extra round of single crochets, ensuring they are slightly larger than the lower wings. Complete 3 rounds total with 18 stitches (18 sts) each. The upper wings should be fluttery and graceful.
Step 18: Assembly of Wings
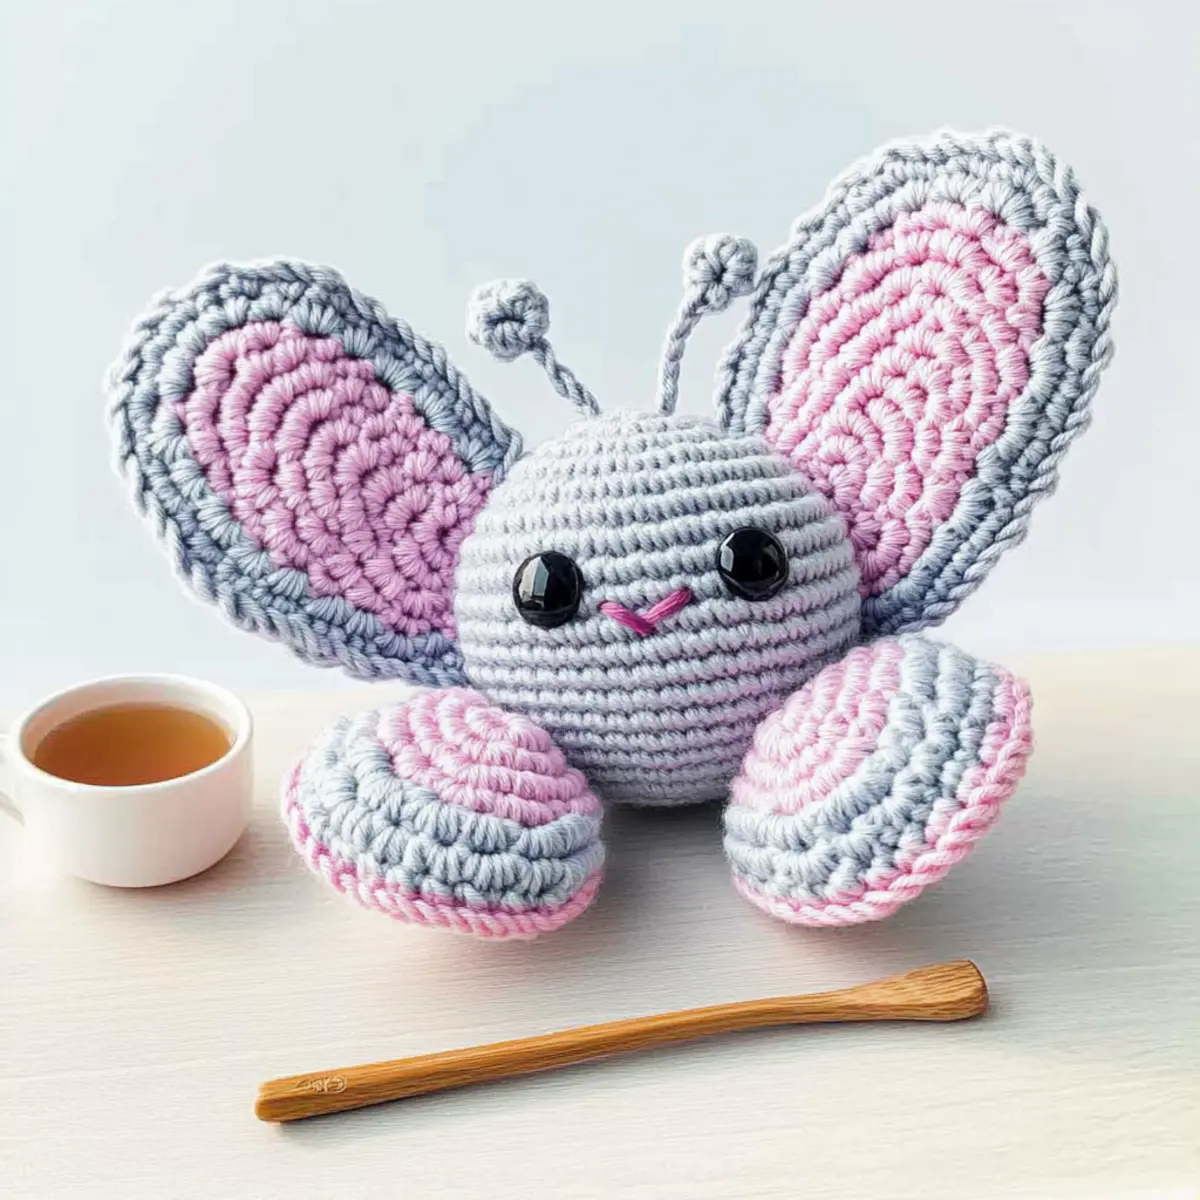
Attach the completed wings to the body using the tails left from each wing. Position the upper wings just slightly overlapping the lower wings for a dynamic look. Secure firmly, giving your amigurumi butterfly its signature aesthetic.
Step 19: Create Antennae
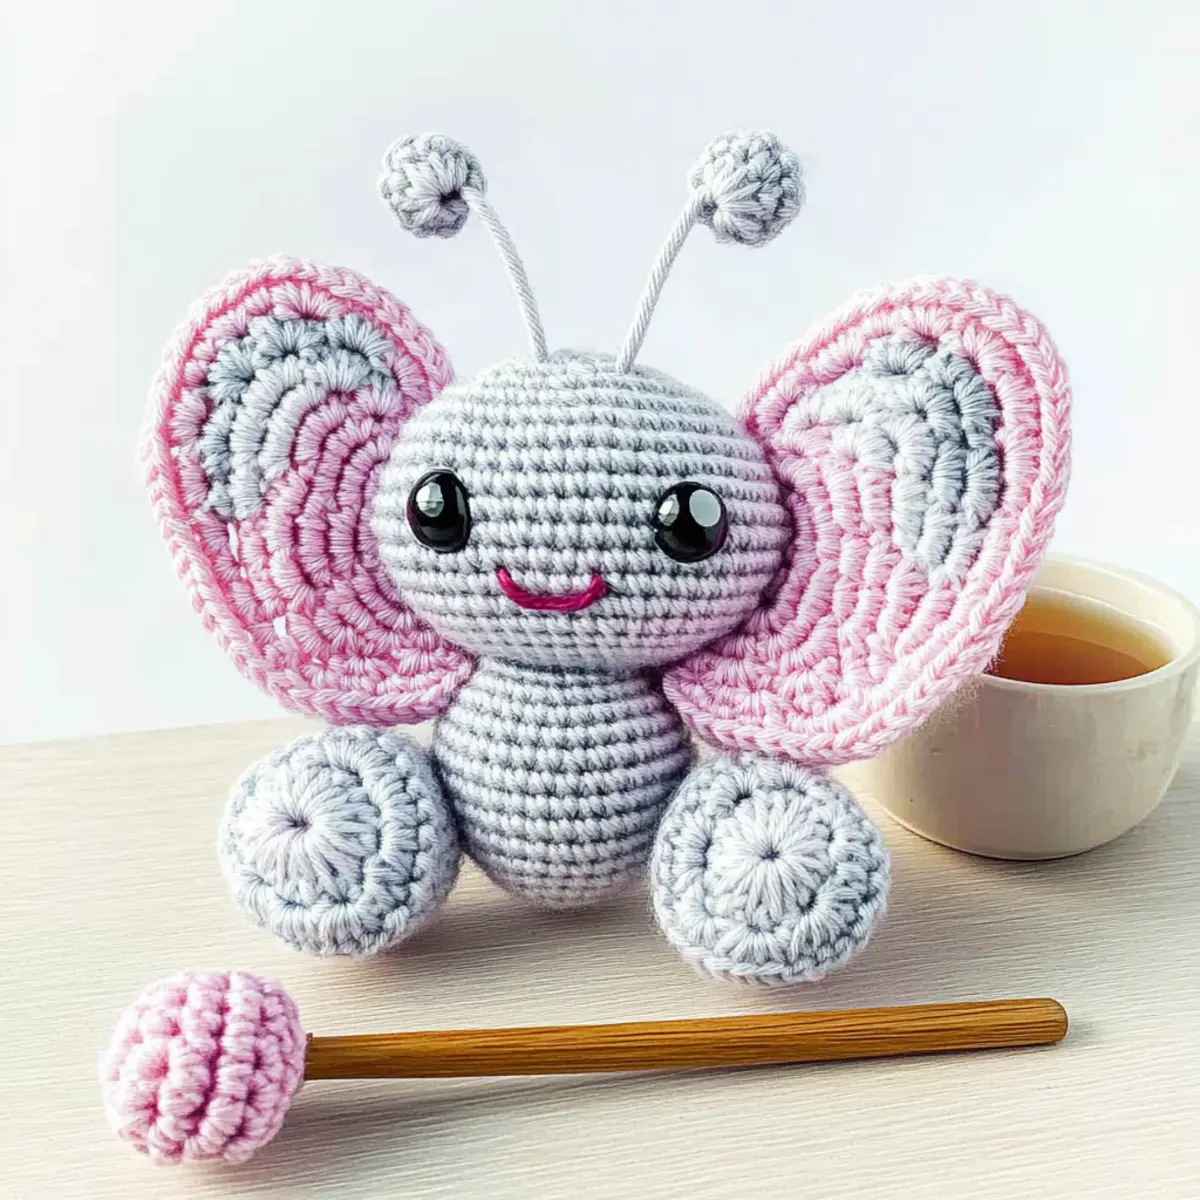
For the antennae, make a chain of 10 stitches and slip stitch back into the chain to form a small loop. Secure through the top of the head with your yarn tail, weaving securely in place. Now your amigurumi butterfly will have those adorable antennae that complete its charm.
Step 20: Final Touches
Review your finished butterfly for any loose ends or gaps. Weave in the yarn tails and trim as necessary. Check the positioning of the eyes and wings; fluff and position them to achieve the whimsical look you desire. Your free amigurumi butterfly should stand proudly, ready to charm anyone who sees it!
Expert Tips for Amigurumi Butterfly
• Color Change Technique: When swapping yarn colors, switch the yarn one stitch before the change to keep your edges neat and tidy.
• Stitch Counting: Count your stitches at the end of each round to ensure you’re maintaining the correct shape and tension throughout the project.
• Using Stitch Markers: Employ stitch markers at the start of each round. This will help you keep track and avoid losing your place as you crochet.
• Preventing Gaps: Always be sure to pull your magic ring tightly to minimize gaps; this ensures a solid foundation for your amigurumi butterfly.
• Finishing Touches: Secure all loose yarn ends neatly and weave them in to ensure a polished look on your finished butterfly.
• Regular Tension Checks: Keep an eye on your tension as you crochet; consistency is key to achieving the perfect shape for your lovely amigurumi butterfly!
Amigurumi Butterfly Variations & Substitutions
Let your creativity soar by adding personal touches to your crochet butterfly with these delightful variations!
-
Yarn Weight Swap: Try using a lighter weight yarn for a smaller butterfly. Adjust the hook size accordingly for best results.
-
Fibers Change: Substitute the acrylic yarn with cotton for a more textured feel. Cotton offers a beautiful sheen and durability.
-
Color Blocking: Combine contrasting colors for the wings, like yellow and blue, to create a vibrant, eye-catching design. Don’t be afraid to experiment!
-
Add Texture: Incorporate a fun pom-pom at the top of the antennae for a playful effect. It adds a whimsical touch that highlights the butterfly’s charm.
-
Size Adjustments: Increase the body length by adding extra rounds. This not only makes for a larger butterfly but also enhances its cuddly nature.
-
Fringe Fun: Add a quirky fringe to the bottom of the wings to give your amigurumi a unique twist. This simple modification makes a big difference in appearance.
-
Bordering Style: Finish the edges of the wings with a contrasting color border. This defines the shape and adds a polished look to your butterfly.
-
Embellished Features: Use beads or sequins for the eyes to create a bit more sparkle. Adding embellishments can create a completely different character for your butterfly.
Don’t forget to check out our tips on Creative Customization to see even more ideas to inspire your unique designs! Let your imagination take flight!
Washing and Care for Your Amigurumi Butterfly
Hand Washing: Gently hand wash your amigurumi butterfly in cold water using a mild detergent to maintain its soft texture and vibrant colors.
Drying: Lay your butterfly flat on a clean, dry towel and reshape it carefully. Avoid hanging to prevent stretching or misshaping your adorable creation.
Storage: Store your finished amigurumi butterfly in a cool, dry place, away from direct sunlight to preserve its colors and shape when not on display.
Pilling Prevention: To minimize any potential pilling, avoid excessive friction and keep your butterfly away from rough surfaces.
Free Amigurumi Butterfly Pattern FAQs
Can I use different yarn types for this pattern?
Absolutely! While the pattern recommends worsted acrylic yarn, you can use cotton or any yarn that matches the weight category #4. Just keep in mind that different yarn types may affect the texture and final size of your butterfly.
How do I adjust the size of my amigurumi butterfly?
To make your butterfly larger or smaller, you can simply add or subtract rounds in the body or wings. For every round added, just remember that you may need a bit more filling, and for a smaller size, adjust accordingly by reducing the number of rounds in the body and wings.
Why is my work curling up?
Don’t panic! This is a common issue when crocheting. Make sure your tension is consistent throughout your work. If your circle is buckling like a bowl, you may need to loosen your stitches or try a larger hook size.
What hook size should I use for this project?
The pattern calls for a 2.5 mm (US size D) hook, which is perfect for achieving the desired structure and tightness. If you’re using a different yarn and your stitches seem too tight or loose, feel free to experiment with a hook one size up or down.
How do I fix dropped stitches in my amigurumi?
It’s an easy fix! For a dropped stitch, locate the stitch below where it dropped and use your tapestry needle to pull the yarn back through the correct loop. Continue crocheting, and don’t forget to keep an eye on your stitch counts!
What should I do if I want to add extra embellishments?
Feel free to get creative! You can add buttons, bead accents, or even embroidery for a personal touch. Just make sure that any embellishments are securely attached so they don’t come loose during play or handling. Happy crocheting!
Leave a Reply