
Have you ever felt the happiness that comes from crafting something truly special? Meet your new favorite project: the Adorable Amigurumi Bear! This plush little companion is perfect for everyone, whether you’re a beginner or looking to refine your amigurumi skills. With this free crochet pattern, you’ll whip up a charming bear measuring about 26 cm (10.2 inches) tall—ideal for cuddles, decorations, or as a heartfelt gift for loved ones. Plus, it’s beginner-friendly with detailed instructions, making it an excellent way to dive into the world of amigurumi. The best part? This pattern allows for customization and creativity, from yarn colors to a uniquely shaped muzzle. Let’s get those hooks moving—I can’t wait to see the magical bears you’ll create!
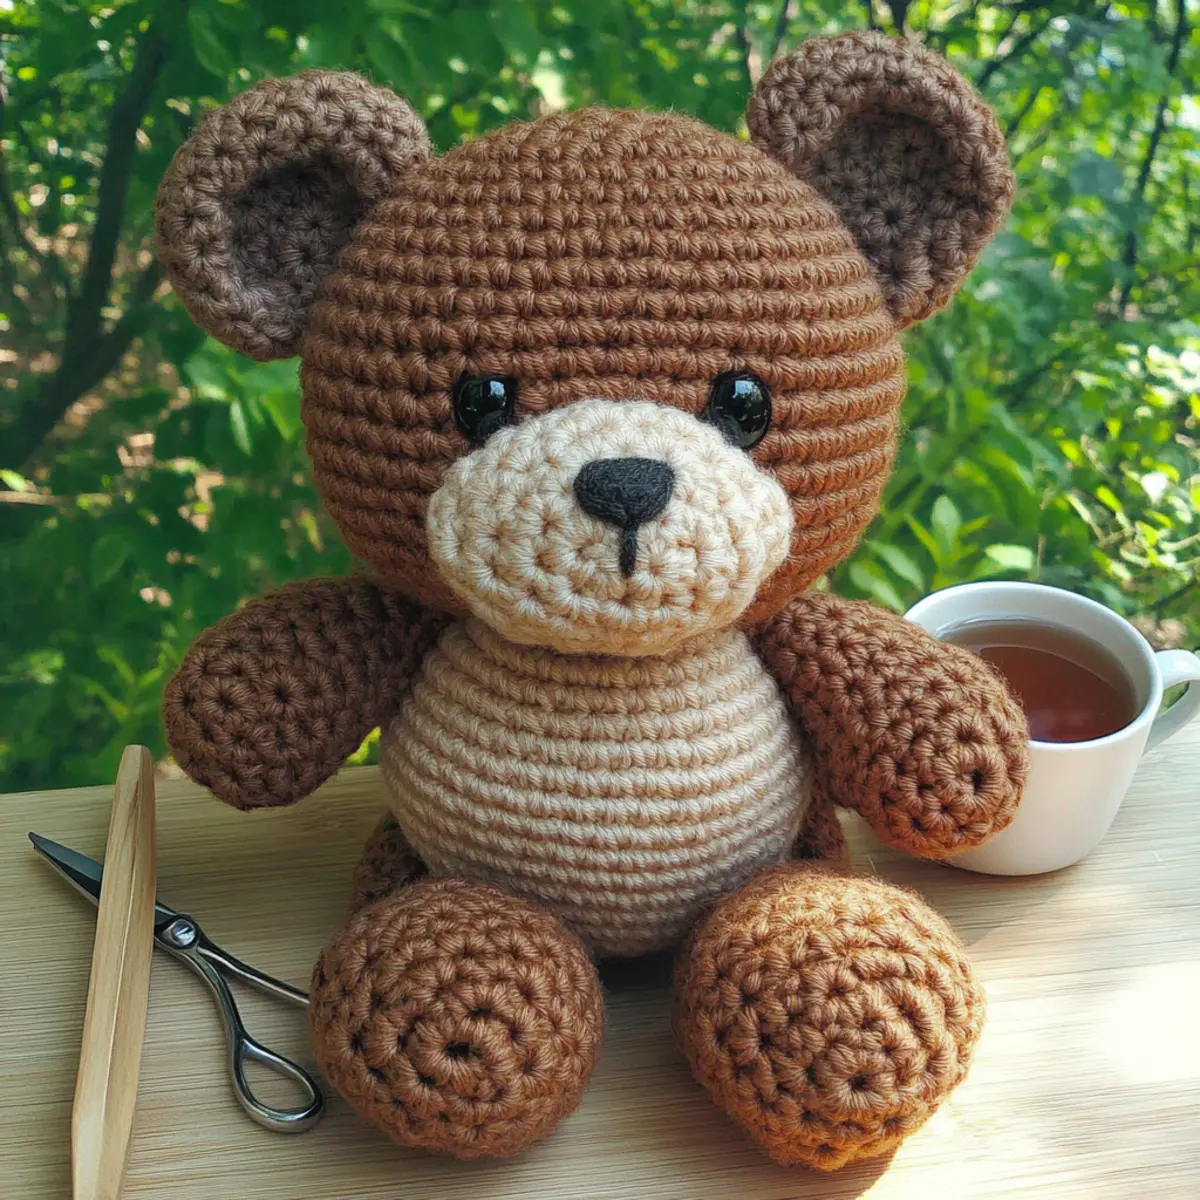
Amigurumi Bear Materials & Tools
Creating your own plush toy bear is both fun and rewarding! Here’s everything you’ll need to bring this adorable amigurumi bear to life.
Yarn
- YarnArt Dolce – 1 skein of brown (#765) and some beige (#771); choose a bulky (5) weight for a plush feel.
Hook
- 4.0 mm (G/6) Hook – Perfect for making dense stitches that keep stuffing secure.
Notions
- 12 mm Safety Eyes – Essential for giving your bear that adorable gaze.
- 15×10 mm Safety Nose – Adds character to your charming creation.
- Embroidery Yarn – Use for eyebrows and mouth for an extra touch of cuteness.
- Thin Thread – Needed to sew different parts of the bear together securely.
- Sewing Needle – A must-have for attaching components.
- Scissors – Keep these handy for snipping yarn ends.
- Fiberfill – Opt for synthetic stuffing to create a cuddly, huggable bear.
With these materials ready, you’ll be all set to start your Amigurumi Bear adventure! Happy crocheting!
Why is This Bear So Special?
Stunning Design: The Adorable Amigurumi Bear showcases a whimsical look, perfect for both kids and adults.
Beginner-Friendly: This pattern is designed for all skill levels, making it an ideal starting point for newcomers to crochet.
Customizable: Combine your favorite yarn colors or play with different muzzle shapes to craft a totally unique bear!
Soft & Cuddly: The plush texture of the finished product makes it an irresistible companion for snuggles.
Quick Project: With clear instructions and helpful tips, you’ll have your bear ready in no time—perfect for last-minute gifts or decor!
Safety First: Incorporate safety eyes to ensure a child-friendly toy, allowing for worry-free playtime. If you’re interested in learning more about crafting cozy amigurumi, check out our essential amigurumi tips.
Gauge & Sizing Notes
Don’t skip the gauge swatch! Checking your gauge is essential for ensuring that your Adorable Amigurumi Bear turns out just the right size, measuring approximately 26 cm (10.2 inches) tall. For this project, your standard gauge should be a 4×4 inch (10×10 cm) square which should equal 12 single crochets by 12 rows. If you’d like to adjust the size of your bear—making it larger or smaller—simply increase your starting chain in multiples of 6 for width or add additional rounds accordingly. If your tension doesn’t match this gauge, and your swatch is too tight, try going up a hook size; if it’s too loose, consider using a smaller hook. Happy crocheting!
Step‑by‑Step Pattern for Adorable Amigurumi Bear
Row 1: Begin the Legs
Start by making a magic circle (mc) and work 6 single crochets (sc) into the circle. Pull the yarn tail to tighten the mc, ensuring your first round is closed snugly. This will create the base for one of the bear’s legs. Your work should lay flat, forming a small circular shape (6 sts).
Row 2: Increasing the Leg
For Row 2, work (inc) in each stitch around, which means you will create two single crochets in each of the 6 stitches from the previous round. This will help round out the leg and give it a nice shape. You should now have a total of 12 stitches (12 sts).
Row 3: Continue Increasing
In Row 3, work (1 sc, inc) six times around. This means you’ll alternate between one single crochet in a stitch and then increase in the next stitch. This gradual increase will help shape the leg further, and by the end of this round, you should have 18 stitches (18 sts).
Row 4: Shaping the Leg
Proceed to Row 4, where you’ll work (2 sc, inc) around. This will provide more structure to the leg. Your leg should begin to take on a pleasing form. Count to ensure you end this round with 24 stitches (24 sts).
Rows 5-6: Establishing Length
For Rows 5 and 6, simply work 24 single crochets in each row, which will add length to your leg. After completing these rows, you’ll notice your leg becoming more plush as the height builds. You should still have 24 stitches per row.
Row 7: Decreasing for the Leg
In Row 7, work (2 sc, dec) around; this decreases the stitch count while gradually tapering the leg. As you work, your fabric will begin to curve slightly, shaping into a more realistic leg for your amigurumi bear. This round should leave you with 18 stitches (18 sts).
Row 8: Further Decreasing
Move on to Row 8, where you’ll create (1 sc, dec) six times. This continues to form the foot and narrows down the leg for the plush bear. With every decrease, your work should start to cup slightly (12 sts).
Rows 9-14: Forming the Leg
For the next six rows (Rows 9-14), continue working 12 single crochets in each row. This section serves to build the height of the leg, giving it a nice sturdy base. Each row should remain consistent with 12 stitches.
Row 15: Finishing the Leg
To complete the leg, finish with a slip stitch and chain to fold it flat. Your leg should now appear nicely rounded and ready for assembly. Repeat these steps to create the second leg.
Row 1: Start the Body
Begin your Amigurumi bear body by making another magic circle, then work 6 single crochets into it. Like the legs, tighten the circle to secure your stitches. This forms the base of the bear’s body (6 sts).
Row 2: Increase for the Body
In Row 2, work (inc) in each of the 6 stitches around. This helps to create a wider body base for your adorable amigurumi bear. After this row, count to ensure you have 12 stitches (12 sts).
Row 3: Continue Increasing
For Row 3, work (1 sc, inc) around once again, this will give shape to the body and prepare for the depth. By the end of this row, you should have 18 stitches (18 sts).
Row 4: More Increases
In Row 4, perform (2 sc, inc) around, ensuring your bear’s body looks well-formed. The cuddly shape comes together nicely now, with 24 total stitches (24 sts).
Rows 5-7: Build the Body Height
For Rows 5 through 7, work 24 single crochets in each row. This will help elongate the body, and your work will start to look more like the bear’s torso. Each row remains consistent with 24 stitches.
Row 8: Attach the Legs
At this point, you will attach both legs to the bottom of the body. Position the legs firmly to ensure stability and secure them with slip stitches. Continue working to connect them as you progress into the remaining body structure.
Row 9: Continue Shaping the Body
After attaching the legs, work (3 sc, inc) in Row 9. This will provide the body with a full form as it expands outward. Your round should now total 30 stitches (30 sts).
Row 10: Finalizing the Body Shape
In Row 10, continue with (4 sc, inc), applied to the next row. This will help create our bear’s beautiful plump appearance! Count your stitches at the end, ensuring 36 stitches (36 sts).
Row 11: Add More Width
Row 11 involves (5 sc, inc) before you wrap up the bodywork. This round will also ensure you have lots of space for the next steps. Confirm you have a total of 42 stitches in this round (42 sts).
Row 1: Start the Head
Now, let’s create the head! Make another magic circle and crochet 6 single crochet stitches into it. Just like before, pull the yarn to tighten, forming a solid base for the head of your amigurumi bear (6 sts).
Row 2: Increases for the Head
In Row 2, work (inc) in each stitch around to expand the head’s circumference, giving it a lovely rounded shape. You should end up with 12 stitches after this round (12 sts).
Row 3: Continue Increasing
For Row 3, work (1 sc, inc) around, adding more volume. As you progress through these rounds, your bear’s head will gradually take form with 18 stitches (18 sts).
Row 4: Increase More
In Row 4, perform (2 sc, inc) around. This will be designed to keep the head round while preparing for further shaping in future rows (24 sts).
Row 5: Make the Head Wider
Continue on to Row 5 where you’ll work (3 sc, inc), creating even more width for our delightful bear’s head. You should have a total of 30 stitches in this round (30 sts).
Rows 6-10: Complete the Head Height
Now, for Rows 6 to 10, simply work 30 single crochets each row to create a nice height. As you do this, your head should be feeling quite rounded and plush, perfect for your bear. Each row remains at 30 stitches.
Row 11: Insert Safety Eyes
Before you start closing off the head, make sure to insert the safety eyes between rows 10 and 11. This gives your bear a cute face and a bit of character. You’re almost there!
Row 12: Finish Head Shape
To close the head, work (5 sc, dec) in Row 12 to gently taper the round shape. This decreases will ensure the top of your bear’s head shapes nicely, leaving you with 24 stitches (24 sts).
Row 13: Final Head Adjustments
For Row 13, work (4 sc, dec). As you decrease the stitches, the head becomes more defined. You are refining the shape of the bear’s head into that adorable form we all love (20 sts).
Rows 14-16: Continue Decreasing
In Rows 14 through 16, work 20, 16, and 12 single crochets respectively, as you continue to close off the head shape. Your work should be tipping towards a smaller rounded top as the head closes (12 sts).
Row 17: Finish Off the Head
Finally, finish by leaving a long tail to sew the head closed. The bear’s face will now be recognizable and ready to be attached to the body!
Row 1: Ears
For the ears, start with a magic circle and work 6 single crochet stitches into it to create a solid base. This fluffy foundation will serve as the adorable ears of your bear (6 sts).
Row 2: Ears Increase
In Row 2, work (inc) in each stitch around to plump up those cute ears. After round two, you should have a total of 12 stitches (12 sts).
Row 3: Ears Shape
In Row 3, perform (1 sc, inc) 6 times to add a gentle curve, perfect for the bear’s adorable ears. Bring your total to 18 stitches (18 sts).
Row 4: Complete the Ears
For the final row of the ears, work one last round of single crochets to secure the shape, then finish off your yarn. The ears should be fully formed and ready to attach to your bear’s head.
Row 1: Muzzle
Switch to your beige yarn and start with a magic circle, followed by 6 single crochets to create the foundation of the muzzle. This little addition is key to your bear’s facial charm (6 sts).
Row 2: Muzzle Increase
For the next row, work (inc) around to give a rounded effect to the muzzle. Counting again, ensure you have 12 stitches (12 sts) before finishing off.
Final Assembly
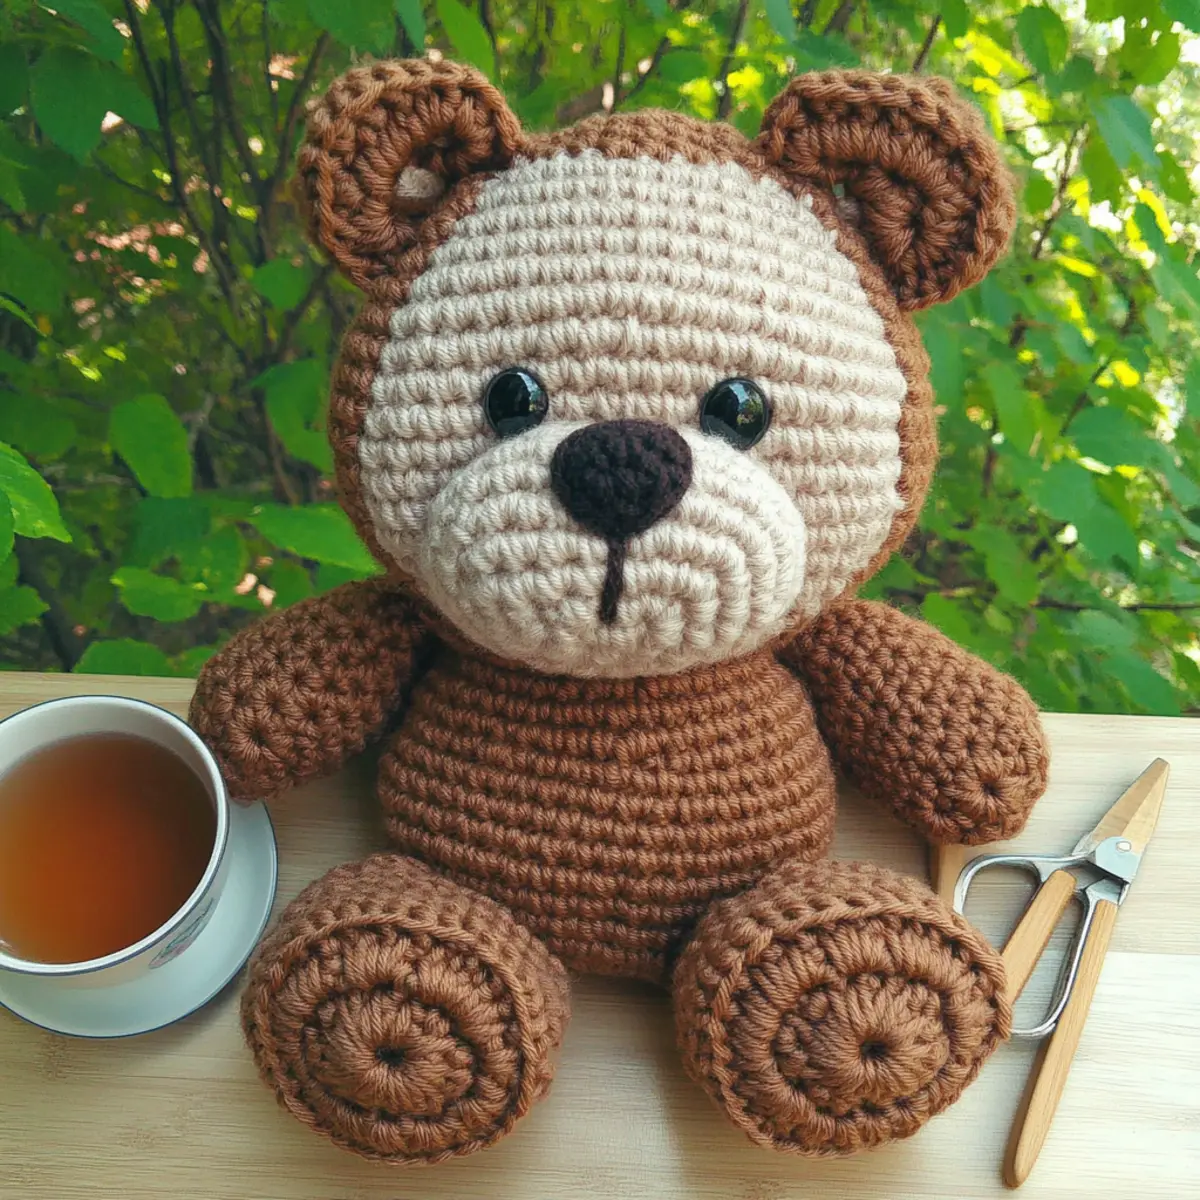
Now it’s time to assemble your adorable amigurumi bear! Attach the head securely to the body using a strong thread for added firmness. Position the ears at the top and secure them snugly, followed by the muzzle to give some personality. Make sure to add the safety eyes as well as any embroidered details like eyebrows and stitches for the mouth. Your bear is taking shape beautifully!
Expert Tips for Amigurumi Bears
-
Tension Matters: Ensure your tension is consistent for a neat finish. A swatch can help identify the right tightness for your bear.
-
Count Carefully: At the end of each round, count your stitches to maintain shape and avoid unexpected surprises while crafting.
-
Secure Connections: When attaching limbs and features, take the time to securely sew them in place to ensure your bear can withstand plenty of hugs.
-
Customize Wisely: Don’t be afraid to modify your yarn colors or sizes. A few simple adjustments can personalize your amigurumi bear and make it truly unique!
-
Stuff Sparingly: Use just enough fiberfill to give your bear a cuddly feel without overstuffing, which can disrupt the shape.
How to Wash and Care for Your Amigurumi Bear
Hand Washing: Gently wash your Amigurumi Bear in cold water using a mild detergent. This method helps maintain the shape and softness of your plush toy.
Avoid Machine Washing: Never machine wash your bear, as agitation can lead to felting or pilling, ruining the lovely texture you created.
Drying: Lay your bear flat on a clean, dry towel to air dry completely. Avoid hanging, as this can cause stretching and distortion.
Storage: Keep your bear in a cool, dry place. If not in use, store it in a breathable bag to protect it from dust while maintaining its cozy charm.
Adorable Amigurumi Bear Customizations
Feel free to let your creativity shine while making this delightful bear—there’s so much room for personalization!
- Yarn Substitutions: Choose cotton or bamboo yarn for a lighter, breathable texture—as perfect for warmer seasons.
- Color Play: Create a rainbow bear by alternating colors every few rows for a playful, vibrant look.
- Size Alterations: Use a thicker yarn or bigger hook to make a giant bear, perfect for a cuddly companion or decor.
- Ear Variations: Experiment with different ear shapes—add rounded or triangular ears for a unique twist to your design.
- Muzzle Stuffing: Lighten the stuffing in the muzzle for a more pronounced face, enhancing the bear’s charm with a rounder look.
- Fringe Details: Add a fun layer of fringe around the bear’s feet or at the base for a whimsical touch.
- Textured Borders: Finish with a tiny border or shell stitch around the edges of your bear for a charming detail.
- Safety Eye Changes: Swap out safety eyes for embroidered ones if you’re crafting a bear for very little ones—safety first!
Each customization is your chance to create a one-of-a-kind bear that speaks to your style. If you’re interested in exploring more creative avenues, don’t miss our guide on yarn options for amigurumi projects. Enjoy the joy of crafting!
Adorable Amigurumi Bear: Free Crochet Pattern FAQs
Can I substitute the yarn for this project?
Absolutely! While I recommend YarnArt Dolce for its plush texture, feel free to substitute with any bulky (5) weight yarn. Just keep in mind that different yarn fibers can affect the bear’s final shape and softness, so check your gauge!
How do I adjust the size of my amigurumi bear?
Don’t panic! You can easily make your bear bigger or smaller by changing yarn thickness or modifying the number of rounds in key sections like the body and head. If you want a larger bear, add 1-2 extra rounds in the body. Remember to adjust stuffing accordingly for fullness!
Why is my amigurumi work curling?
If your work is curling like a bowl, it’s likely due to tension issues. Ensure you’re maintaining even tension throughout the rounds. You can also check your stitch count, as inconsistencies can lead to unwanted shapes.
What size crochet hook should I use for this bear?
For this project, a 4.0 mm (G/6) hook is recommended. Using a different size can change the overall size and appearance of your bear, so it’s best to stick with this size unless you’re looking to adjust accordingly.
How do I fix dropped stitches in my crochet?
It’s an easy fix! Simply reinsert your hook into the last known stitch and continue with your work, making sure to tighten your tension. If you’re far along, you might want to unravel a few rows until you reach the dropped stitch for a seamless fix.
Can I use different safety eye sizes for my bear?
Yes! While 12 mm safety eyes are recommended for a cute bear look, feel free to experiment with other sizes for a unique effect. Just ensure that the eyes are proportionate to the bear to keep its whimsical charm intact!
Leave a Reply