
As I sat in my cozy corner with yarn strewn about, a wave of nostalgia washed over me—those delightful childhood days spent dreaming of dinosaurs. Today, I’m thrilled to guide you through creating your very own adorable Brodie the Stegosaurus with this free beginner-friendly crochet pattern! It’s a fantastic project that conveniently works up quick, making it perfect for last-minute gifts or simply satisfying your crochet cravings. Plus, the best part? You’ll have the option to make both small and large versions by choosing different yarn thicknesses. The accompanying video tutorial will ensure you feel confident with every stitch, while the potential for customization means you can let your creativity run wild! Ready to embark on this dino-mite adventure? Let’s dive into the world of amigurumi and create something special together!
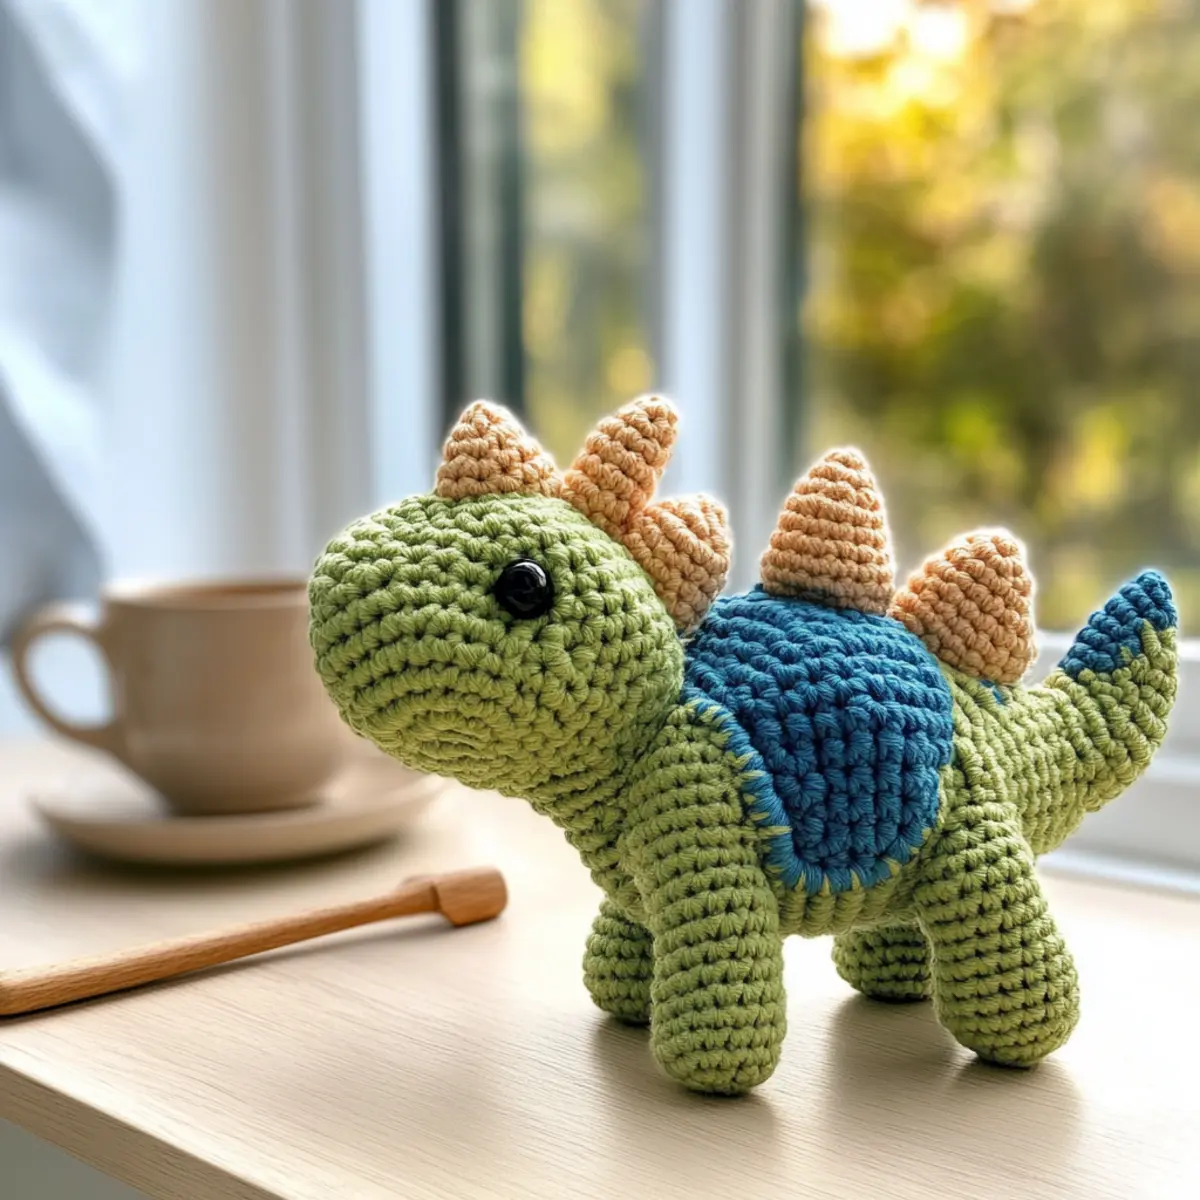
Brodie the Stegosaurus Materials & Tools
Make your crochet journey delightful and easy with these essential supplies!
Cotton Sport Weight Version (4-inch / 9 cm):
• SMC Catania Cotton Yarn – Use Green (Color 245), Blue (Color 400), and Black (Color 110) for a vibrant look.
• B/1 (2.5 mm) Hook – Ideal for creating tight stitches with sport weight yarn.
• Synthetic Poly Filling – Perfect for stuffing to give Brodie his cuddly shape.
• Scissors – A must-have for trimming yarn ends neatly.
• Tapestry Needle (Size 16 or 17) – Essential for weaving in the ends and assembling pieces.
• Pins – Helpful for holding pieces together while you sew them.
Chenille Super Bulky Version (9-inch / 22 cm):
• Chenille Yarn – Choose any plush yarn in Green, Blue, and Black for a fluffy dinosaur.
• H/8 (5.0 mm) Hook – Great for working up quickly with bulky yarn.
• Synthetic Poly Filling – Use the same for a squishy and soft finish.
• Scissors – Keep handy for easy yarn management.
• Tapestry Needle (Size 16 or 17) – Use for finishing touches and assembly.
• Pins – Useful for securing parts before sewing.
Tip: If you venture into thicker blanket yarn, switch to an L/11 (8.0 mm) hook; for bulky velvet yarn, an E/4 (3.5 mm) hook works wonders.
Why Should You Crochet Brodie Today?
Adorable Design: Brodie the Stegosaurus is irresistibly cute, making it an instant favorite for both kids and adults alike.
Beginner-Friendly: Perfect for novice crocheters, this pattern utilizes simple stitches and includes a helpful video tutorial for visual guidance.
Quick to Make: You’ll love how fast this project works up—ideal for last-minute gifts or a cozy weekend project.
Customizable Sizes: Opt for small or large versions based on your yarn choice, allowing for greater creative freedom.
Soft & Cuddly Texture: Using plush yarn results in a delightful, squishy finish that’s perfect for snuggles and display.
Gauge & Sizing Notes
Don’t skip the gauge swatch! Ensuring the correct tension is vital for crafting your charming Brodie the Stegosaurus, as it determines the final size of your amigurumi. For this project, aim for a standard gauge of 4×4 inches (10×10 cm), which should equal 12 single crochets by 14 rows with the appropriate yarn and hook. If you desire to make Brodie larger or smaller, simply adjust your starting chain in multiples of 6 for the body rounds. If your swatch is coming out too small, consider going up a hook size or trying a thicker yarn to achieve that perfect dino cuddle factor!
Step‑by‑Step Pattern for Brodie the Stegosaurus
Round 1: Start the Body
Begin with a magic ring, ch 1. In the ring, work 6 sc (6 sts). Pull the tail of the yarn to tighten the ring. Your work should form a small circle at this point.
Round 2: Increase the Body Size
Ch 1, 2 sc in each st around (12 sts). Your circle should start to expand and feel a bit fuller. Remember to count your stitches to ensure accuracy!
Round 3: Continue Increasing
Ch 1, (1 sc in the next st, inc in the following st) repeat around (18 sts). The body of Brodie the Stegosaurus begins to take shape as you work evenly around.
Round 4: Shape the Body Further
Ch 1, (1 sc in next 2 sts, inc in following st) repeat around (24 sts). Your piece should feel rounded and start to resemble a cute dinosaur’s body.
Round 5: Form the Body
Ch 1, 1 sc in each st around (24 sts). This round will help stabilize the shape of Brodie. As you work, notice the plumpness growing!
Round 6: Begin Decreasing
Ch 1, (1 sc in next 2 sts, dec) repeat around (18 sts). The shape should start to taper off slightly, preparing for Brodie’s bottom.
Round 7: Finish Body Shape
Ch 1, (1 sc in next st, dec) repeat around (12 sts). Your work should begin to curl in as you close off the body shape.
Round 8: Complete the Body
Ch 1, dec around (6 sts). Stuff your dinosaur body with fiber filling for a plump appearance. Your amigurumi should have a cute, rounded shape now.
Round 9: Start the Legs
With the body turned upside down, join yarn in the next st, ch 1, and work 4 sc (4 sts) for the first leg. This tiny segment will form Brodie’s sturdy legs.
Round 10: Complete the First Leg
Ch 1, 1 sc in each st around (4 sts). Fasten off leaving a long tail for sewing. You’ll be repeating these steps for the remaining legs.
Round 11: Create Remaining Legs
Repeat Rounds 9 and 10 twice more for the other two legs (4 sts each). Each leg is adorable and solid, ready for Brodie to stand proudly.
Round 12: Attach Features
Position each leg evenly on the body, using the long tails to sew them securely in place. After this step, Brodie the Stegosaurus should feel more like a complete creature!
Step 13: Add Spikes
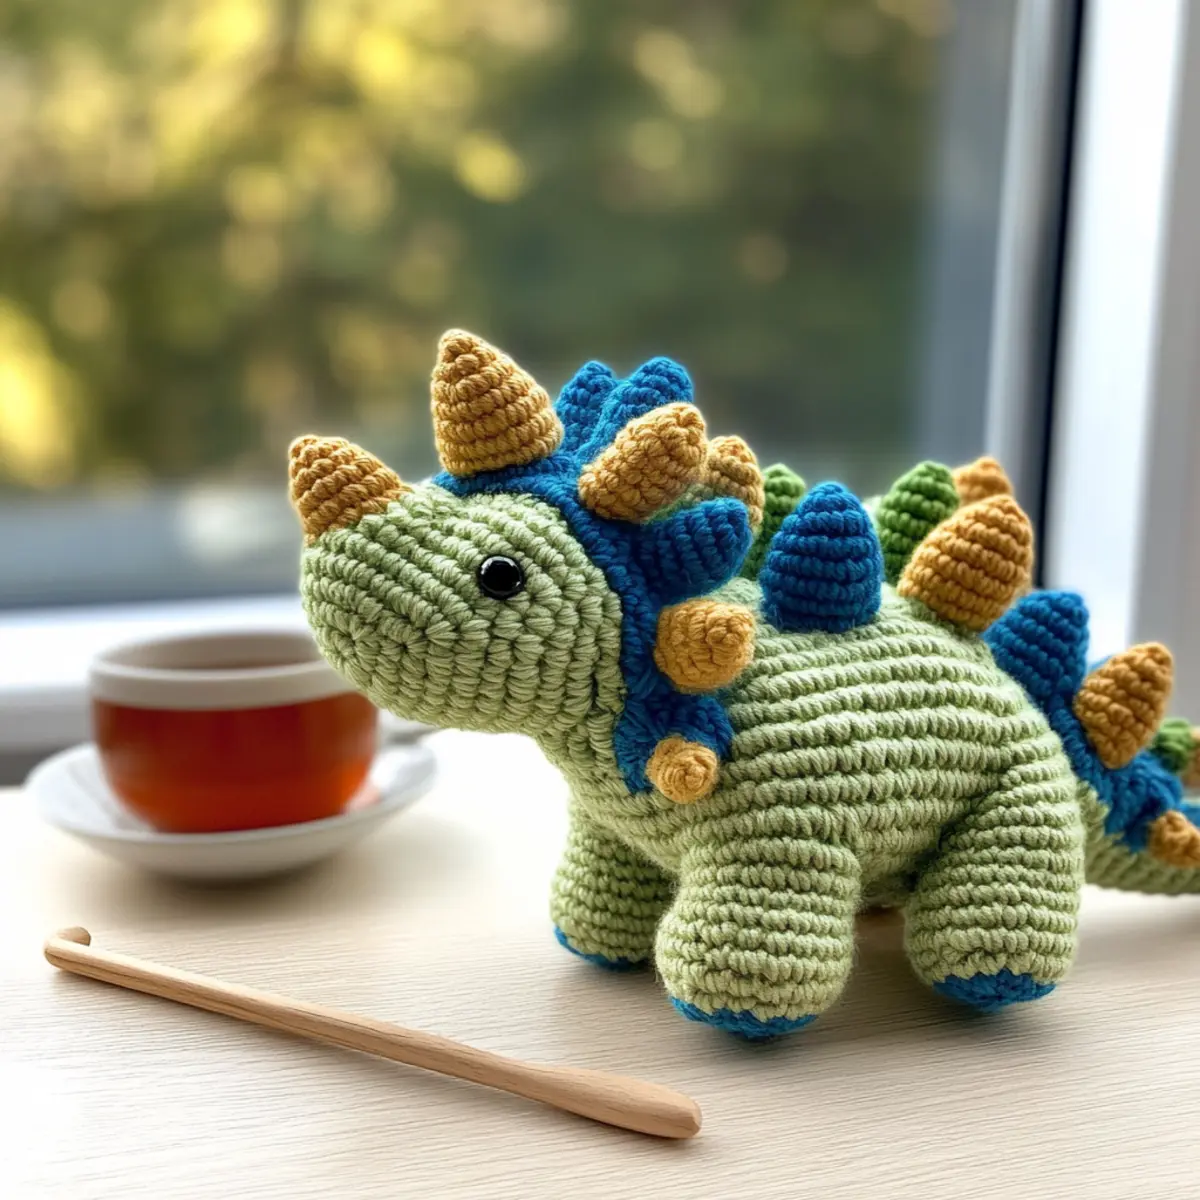
For tail spikes, join yarn and work 5 ch, then turn and sc back down the chain (1 spike). Attach 3-4 spikes along the back, changing colors if desired.
Step 14: Final Assembly
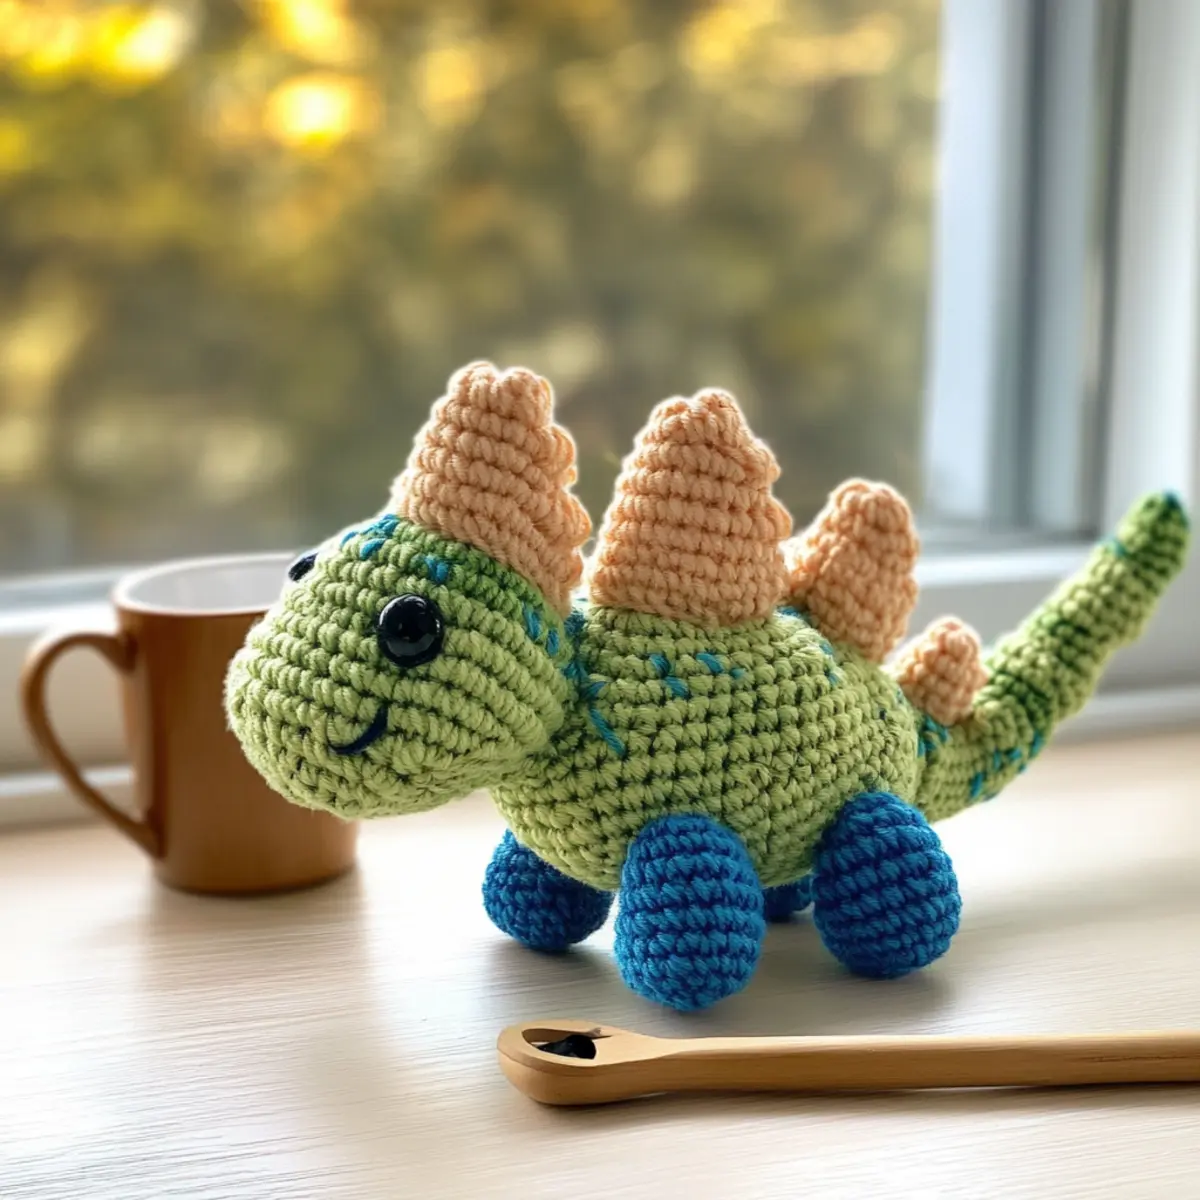
After attaching the spikes, sew on small black buttons for eyes and embroider a smile with a tapestry needle. Brodie should look cute and ready for cuddles!
Expert Tips for Crochet Brodie
-
Stitch Counting: Always count your stitches at the end of each round to avoid losing shape or running into mistakes—this is crucial for your stegosaurus project!
-
Yarn Tension: Maintain consistent yarn tension throughout the project. If you notice any tight spots, gently adjust your grip to achieve a uniform look and feel.
-
Video Reference: Don’t hesitate to pause the video tutorial and replay tricky sections. It’s a fantastic way to ensure you understand each step, especially for beginners.
-
Foundation Chain: Be careful not to twist your foundation chain. A twisted chain can lead to a misaligned project, so keep it flat and consistent.
-
Finishing Touches: Use your tapestry needle to weave in any loose ends neatly. This step ensures a polished finish for your amigurumi dinosaur, making it more appealing and durable.
How to Wash and Care for Your Stegosaurus
Machine Washing: Use a gentle cycle with cold water if you prefer machine washing. Place your Brodie the Stegosaurus in a mesh laundry bag to prevent snagging.
Hand Washing: For delicate preservation, gently hand wash in cold water. Avoid agitation to prevent felting, and focus on maintaining the soft texture of your stegosaurus.
Drying/Blocking: Lay your finished Brodie flat on a clean, dry towel to retain its shape. Avoid hanging, as this can distort the plush yarn’s design.
Storage: Keep your amigurumi in a cool, dry place away from direct sunlight. This helps maintain the vibrancy of the yarn and prevents any wear over time.
Variations & Substitutions
Customize your Brodie and let your creativity shine through your crochet project!
- Yarn Weight Swap: Choose sport weight for a smaller 4-inch version or chenille for a plushy 9-inch dinosaur.
- Fiber Alternatives: Try using cotton yarn for a lightweight finish, or opt for acrylic for added durability and ease of washing.
- Color Blocking: Mix and match colors for a vibrant dino! Imagine a purple body with teal spikes for a fun twist.
- Size Adjustment: Use a larger hook size for a more oversized Brodie—perfect for huggable cuddles and standout decor.
- Texture Additions: Drape Brodie in a soft bow or a cute scarf—adding these small details can elevate your finished piece.
- Pom-Pom Details: Consider adding fluffy pom-poms at the tail ends for a playful touch. It could enhance Brodie’s fun spirit!
- Embroidery Embellishments: Personalize Brodie with embroidered eyes or little patterns on the body for extra charm.
- Fringe Fun: Attach a row of yarn fringe along the back for a whimsical look that adds a bit of flair.
If you’re looking for more inspiration, check out our tips on easy crochet projects or explore the joys of customizing amigurumi for even more ideas!
Brodie the Stegosaurus FAQs
Can I substitute yarn for this pattern?
Absolutely! You can substitute your favorite yarn as long as you keep the weight in mind. For example, using a worsted weight yarn will create a slightly larger Brodie, while a lighter sport weight yarn will result in a smaller plushie. Just make sure to pair it with the appropriate hook size for best results!
How do I adjust the size of my Brodie?
To make Brodie bigger or smaller, you can adjust the yarn weight and hook size. For a smaller dinosaur, use a sport weight yarn and a B/1 (2.5 mm) hook; for a larger version, opt for chenille or super bulky yarn with an H/8 (5.0 mm) or even L/11 (8.0 mm) hook. Just remember to recheck your gauge to ensure size consistency!
What should I do if my work starts curling?
Don’t panic! If you notice your work curling, it might be due to tight tension or fewer stitches than necessary. You could try adjusting your grip and loosening up as you crochet. The stegosaurus will flatten out a bit once you fill it and shape it, but consistent stitch counting will definitely help!
Why are my stitches dropping?
It’s an easy fix! Dropped stitches can happen when you’re working too quickly. Make sure to keep your eye on your work, and if you notice a stitch drop, simply pull the yarn back and re-insert your hook to create that stitch again. If it’s a recurring issue, consider slowing down a bit and double-checking your counts as you crochet.
What hook size should I use for this pattern?
For the cotton sport weight version, I’d recommend using a B/1 (2.5 mm) hook, while the chenille super bulky version should be worked with an H/8 (5.0 mm). If you decide to experiment with even thicker yarn like blanket yarn, a larger L/11 (8.0 mm) hook will be perfect!
How do I care for my finished Brodie?
To keep your Brodie looking its best, hand wash him in cool water and lay flat to dry. This helps to preserve the plush texture and prevents any shrinking or distortion, especially if you’ve used delicate yarns. Once dry, he’ll be ready for all the cuddles!
Leave a Reply