
As I flipped through my yarn stash one sunny afternoon, the vibrant hues beckoned to me, inspiring a burst of creativity. That’s when the idea of a stylish Granny Square Crochet Dress sprang to life! This beginner-friendly pattern lets you easily craft an eye-catching piece that’s not only customizable but also perfect for those warm days ahead. With its quick and enjoyable project flow, you’ll find that stitching up this lovely dress is a great way to showcase your crochet skills while embracing your unique style. Whether you prefer a rainbow of colors or a classic black-and-white combo, this dress is versatile enough to suit any taste. Ready to dive into this delightful creation? Let’s stitch together something beautiful!
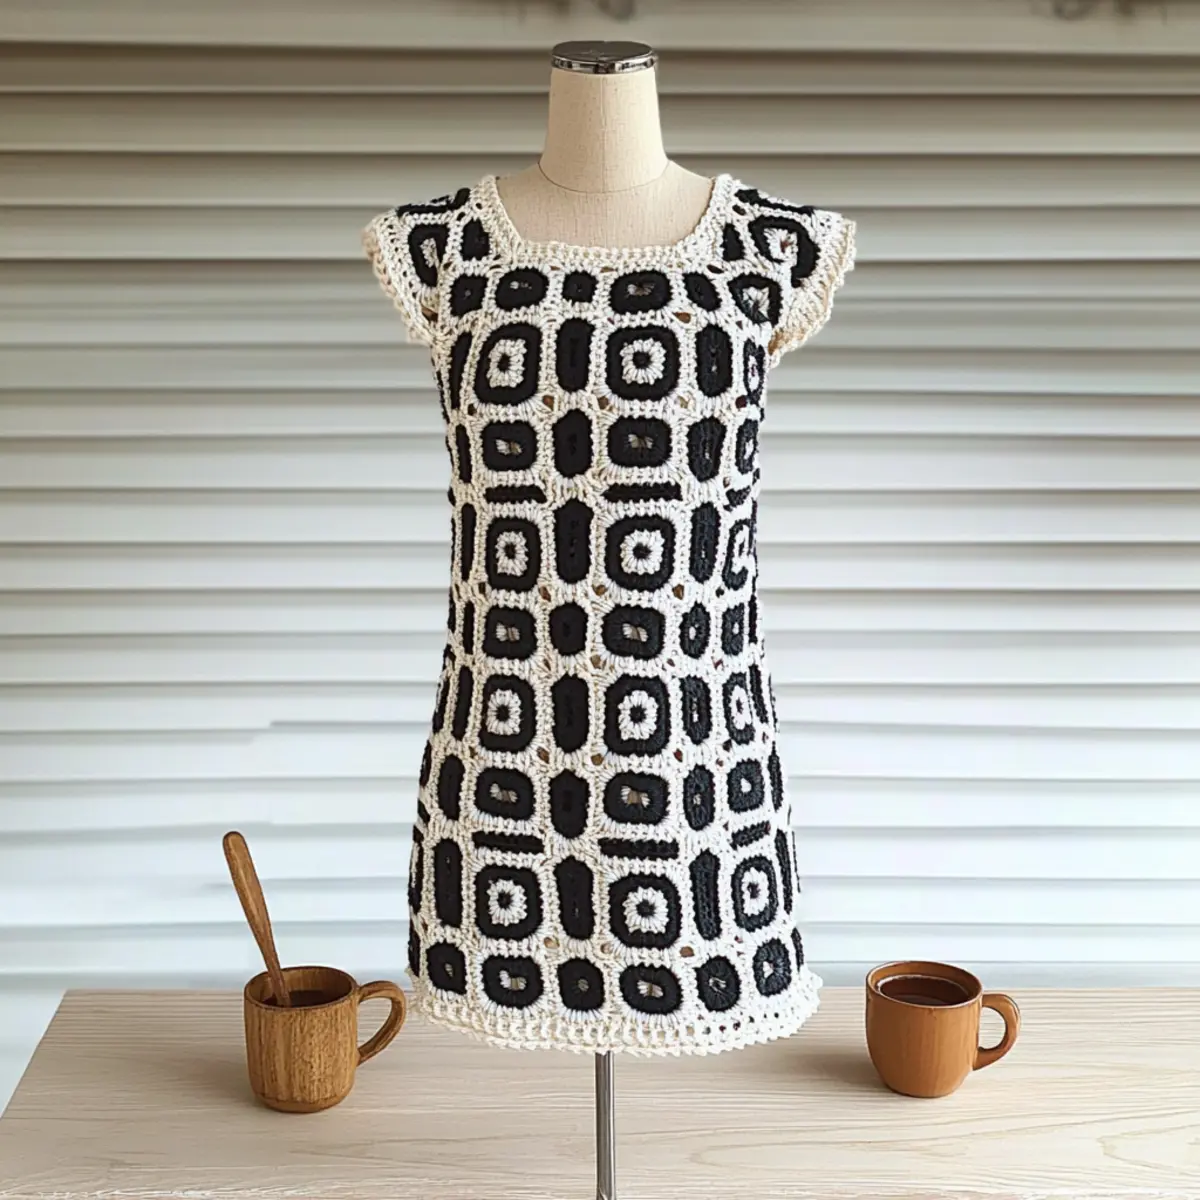
Granny Square Crochet Dress Materials & Tools
Note: Gather these essential materials to create your stunning Granny Square Crochet Dress!
Yarn
- Rainbow Cotton 8/4 – Use this super fine 100% cotton yarn, with 50 g (1.75 oz)/170 m (186 yds) per skein, for a beautifully textured finish.
- Color Options: 003 (black), 009 (white)
- Yarn Estimates:
- XS-S: 5 skeins each of 003 and 009
- M: 6 skeins each
- L-XL: 7 skeins each
- XXL: 8 skeins each
Tools & Notions
- 3 mm (US size D) Hook – This size is perfect for creating delicate stitches while maintaining tension for your dress.
- Stitch Markers – Keep track of your stitch counts easily, especially when working on multiple squares.
- Tapestry Needle – Ideal for weaving in ends and assembling your finished squares.
- Buttons – You’ll need 7 buttons for sizes XS, S, M and 8 for sizes L, XL, XXL to complete your dress design.
Why Choose This Crochet Dress Pattern?
Versatile Sizes: The Customizable Granny Square Crochet Dress pattern caters to all body types, with sizes ranging from XS to XXL, ensuring that everyone can enjoy a perfect fit.
Beginner-Friendly: If you’re new to crochet, worry not! The easy-to-follow instructions guide you through each stitch and square, making it accessible and enjoyable for all skill levels.
Quick Project: Featuring quick-to-stitch squares, this dress is an ideal choice for those looking to complete a project in a timely manner, allowing you to wear your creation in no time at all.
Unique Design: Embrace your creativity! The mix of squares and colors offers endless possibilities for a unique and personalized look, making this dress truly one of a kind.
Comfortable Fabric: Made from soft, breathable cotton, you’ll adore the lovely drape and comfort of the finished piece, perfect for warm weather wear.
With its many benefits, this project is sure to become a favorite. Plus, if you’re looking for more inspiration, check out our guide on crochet dress patterns for additional ideas!
Gauge & Sizing Notes
Don’t skip the gauge swatch! Ensuring the correct tension is crucial for crafting your perfect Customizable Granny Square Crochet Dress. For this project, the standard gauge is 27 stitches and 38 rows across a 4×4 inch (10×10 cm) square. If your measurements aren’t matching, don’t worry—adjusting the size is straightforward! To make your dress wider or longer, just increase your starting chain in multiples of 6 plus your desired embellishments. If your swatch is smaller than expected, simply try going up a hook size to achieve that fabulous drape. Enjoy the process, and remember, your unique crochet dress awaits!
Step‑by‑Step Pattern for Customizable Granny Square Crochet Dress
Round 1: Start the Granny Square
Using Color 1, make a magic ring. Ch 3 (counts as first dc), then work 2 dc into the ring, followed by (ch 2, 3 dc) five times around to form corners. Join with a sl st to the top of the ch 3. Your work should form a small square with open corners (12 dc, 6 ch-2 spaces).
Round 2: Second Round Increase
Change to Color 2. Sl st to the first ch-2 space, then ch 3 and work 2 dc in the same space. In each ch-2 corner space, work (3 dc, ch 2, 3 dc). Join with a sl st to the top of the ch 3. This round will give your granny square a lovely pop of color (24 dc, 6 ch-2 spaces).
Round 3: Continue Expanding
Switch back to Color 1. Sl st to the first ch-2 corner space, ch 3, then work 2 dc in that space. In each ch-2 space, perform (3 dc, ch 2, 3 dc). At the end of this round, join with a sl st to the top of the ch 3. Your square should now be larger and nicely defined (36 dc, 6 ch-2 spaces).
Round 4: Final Corner Expansion
Change to Color 2. Sl st into the first ch-2 space, ch 3, and work 2 dc in the same space. In each ch-2 corner space, continue with (3 dc, ch 2, 3 dc). Join with a sl st at the end to complete the round. At this stage, the granny square should look quite round and vibrant (48 dc, 6 ch-2 spaces).
Round 5: Solidify the Edges
Using Color 1, sl st to the first ch-2 space. Ch 1 (counts as sc) and work 1 sc in each dc, placing 3 sc in each ch-2 corner space. This is to create a firm edge that will help in joining the squares later. Finish with a sl st in the first sc made. Your square should have neat edges now (72 sts total).
Round 6: Prepare for Joining
Change to Color 2 for the final round. Sl st to the first sc, ch 1, then work 1 sc in each sc across, ensuring to place 3 sc in each ch-2 corner space. Join with a sl st to the first sc to finish the square. Your completed granny square should be ready to join with others (96 sts total).
Step 7: Joining Squares
To join your granny squares while finishing the last round, position two squares right sides together. In the corner spaces, work (3 dc, ch 2, 3 dc) for both squares, working through both layers. Repeat this for all corners, ensuring no gaps appear. Your squares should neatly connect together, forming a seamless dress piece.
Step 8: Creating the Yoke
Begin with the connected squares. Ch 2, then hdc in each dc across, placing decreases at strategic points to shape the neckline. Work this way until you’ve reached the desired depth. As you complete this step, your yoke should form comfortably around the shoulders.
Step 9: Final Assembly
With all squares completed, assemble your Customizable Granny Square Crochet Dress by stitching sides together using sc. Ensure you leave openings for armholes. This stage is where it all comes together! Your dress should start to look like a finished garment.
Step 10: Edging and Finishing Touches
Final detailing requires making a simple sc border along the armholes, neckline, and bottom hem. Add button placements as desired, ensuring secure closure. At this point, your dress is almost complete, showcasing the unique granny square design beautifully!
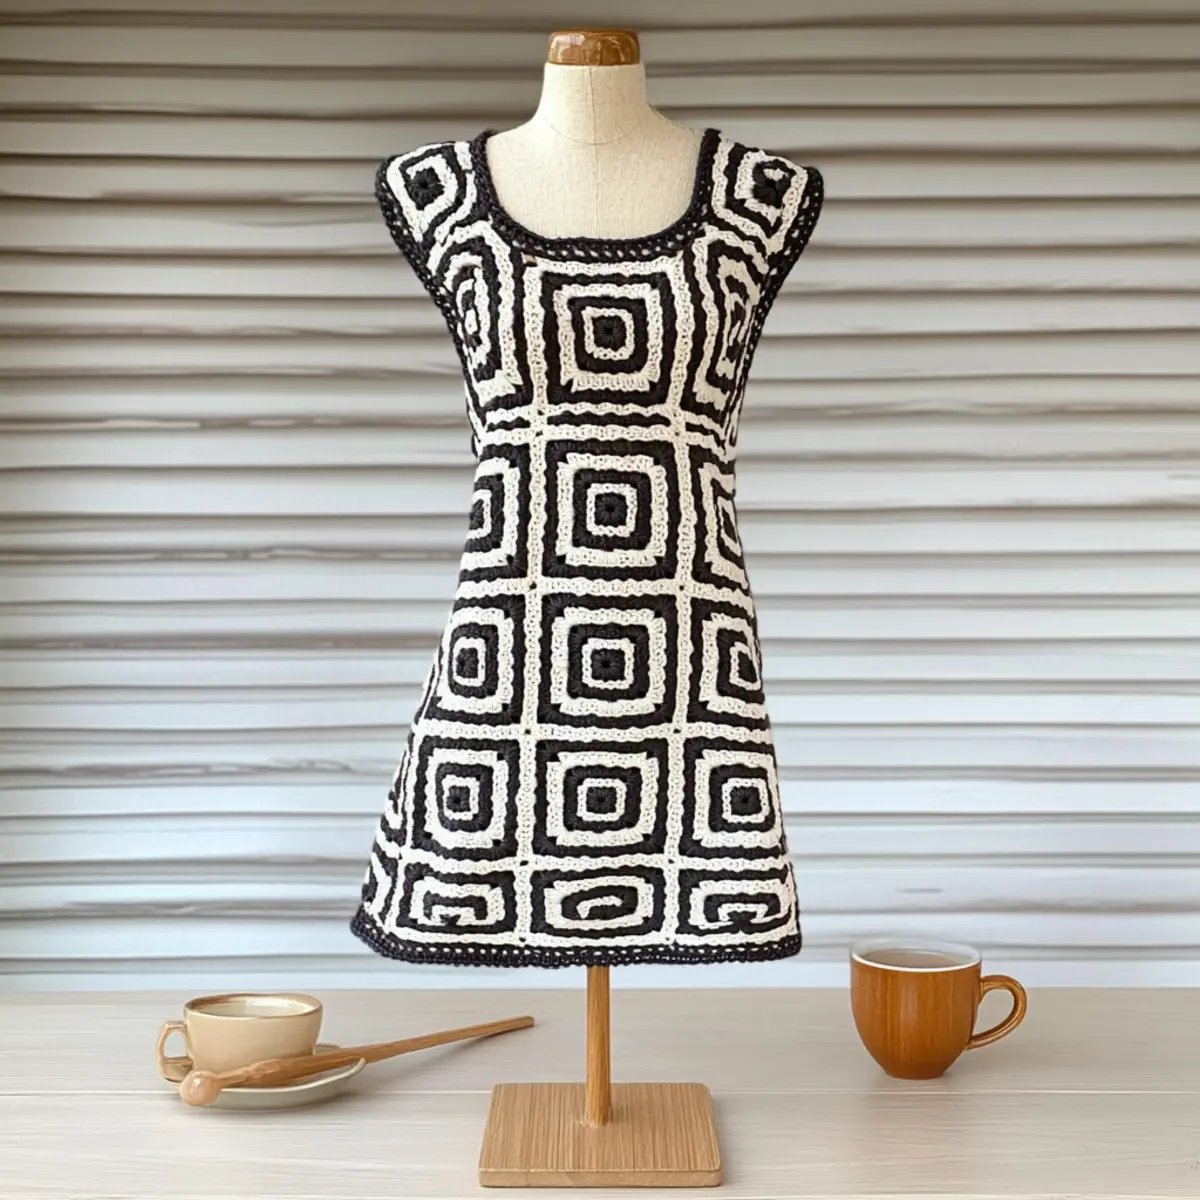
Granny Square Crochet Dress Variations
Feel free to let your creativity shine by customizing this charming crochet dress pattern!
-
Yarn Weight Swap: Try using a DK or sport weight yarn for a lighter feel perfect for summer outings. Softer fibers can enhance drape, giving your dress a breezier look.
-
Color Variations: Experiment with pastel shades or ombre effects to create a soft, dreamy appearance. This fun twist will refresh your dress’s vibe.
-
Fiber Alternatives: Switch to bamboo or linen for a luxurious finish. These fibers breathe wonderfully, keeping you cool during warmer weather.
-
Size Adjustment: Don’t hesitate to tweak the sizing for a more tailored fit. Simply reduce or increase the number of squares to achieve your desired silhouette, ensuring all body types are celebrated!
-
Lace Trim Addition: Add a delicate lace border to the hem or sleeves for a gorgeous, feminine touch. This can elevate your dress from casual to chic!
-
Embellished Buttons: Swap out standard buttons for whimsical ones—think floral designs or fun shapes—that reflect your personality and bring an extra spark to your ensemble.
-
Texture Modifications: Experiment with fringe at the bottom hem or along armholes for playful movement. A little texture goes a long way in adding character to your dress!
-
Layering Option: Consider making it a layered piece by incorporating a slip or underdress. This adds versatility and depth, allowing your creativity to shine through seasonal wear.
Each variation invites you to connect with your unique style, making this project uniquely yours. And if you’re eager for more inspiration, don’t miss our collection of crochet dress patterns for additional creative ideas!
Expert Tips for Granny Square Dress
-
Check Tension: Always swatch your gauge before starting. Ensure 27 stitches and 38 rows equal 10 cm (4 inches) to avoid sizing issues.
-
Count Carefully: Keep a close eye on your stitch count each round. Losing track can lead to uneven squares that don’t fit together well.
-
Secure Edges: When joining squares, keep your stitches tight to eliminate gaps. You want seamless transitions that accentuate your design.
-
Finish Neatly: After completing the dress, weave in all ends thoroughly. A tidy finish enhances the overall look, ensuring your creation shines!
-
Watch for Twists: Be mindful of twisting your foundation chain while starting. It may seem minor, but it can affect the dress’s final fit if not laid flat.
With these expert tips in hand, you’re ready to craft a beautiful Granny Square Crochet Dress that’s sure to turn heads!
How to Wash and Care for Your Granny Square Crochet Dress
-
Hand Washing: Gently wash your dress in cold water using mild detergent. Avoid twisting or wringing, as this can distort the shape of your beautiful crochet creation.
-
Drying/Blocking: After washing, lay the dress flat on a clean, dry towel to dry. Reshape it to its original dimensions to maintain the lovely drape and elasticity.
-
Storage: Store your Granny Square Crochet Dress in a cool, dry place. Avoid hanging to prevent stretching; instead, fold it neatly to preserve its unique design.
-
Avoid Heat: Never expose your dress to direct sunlight or heat sources while drying, as this can fade the vibrant colors in your cotton yarn.
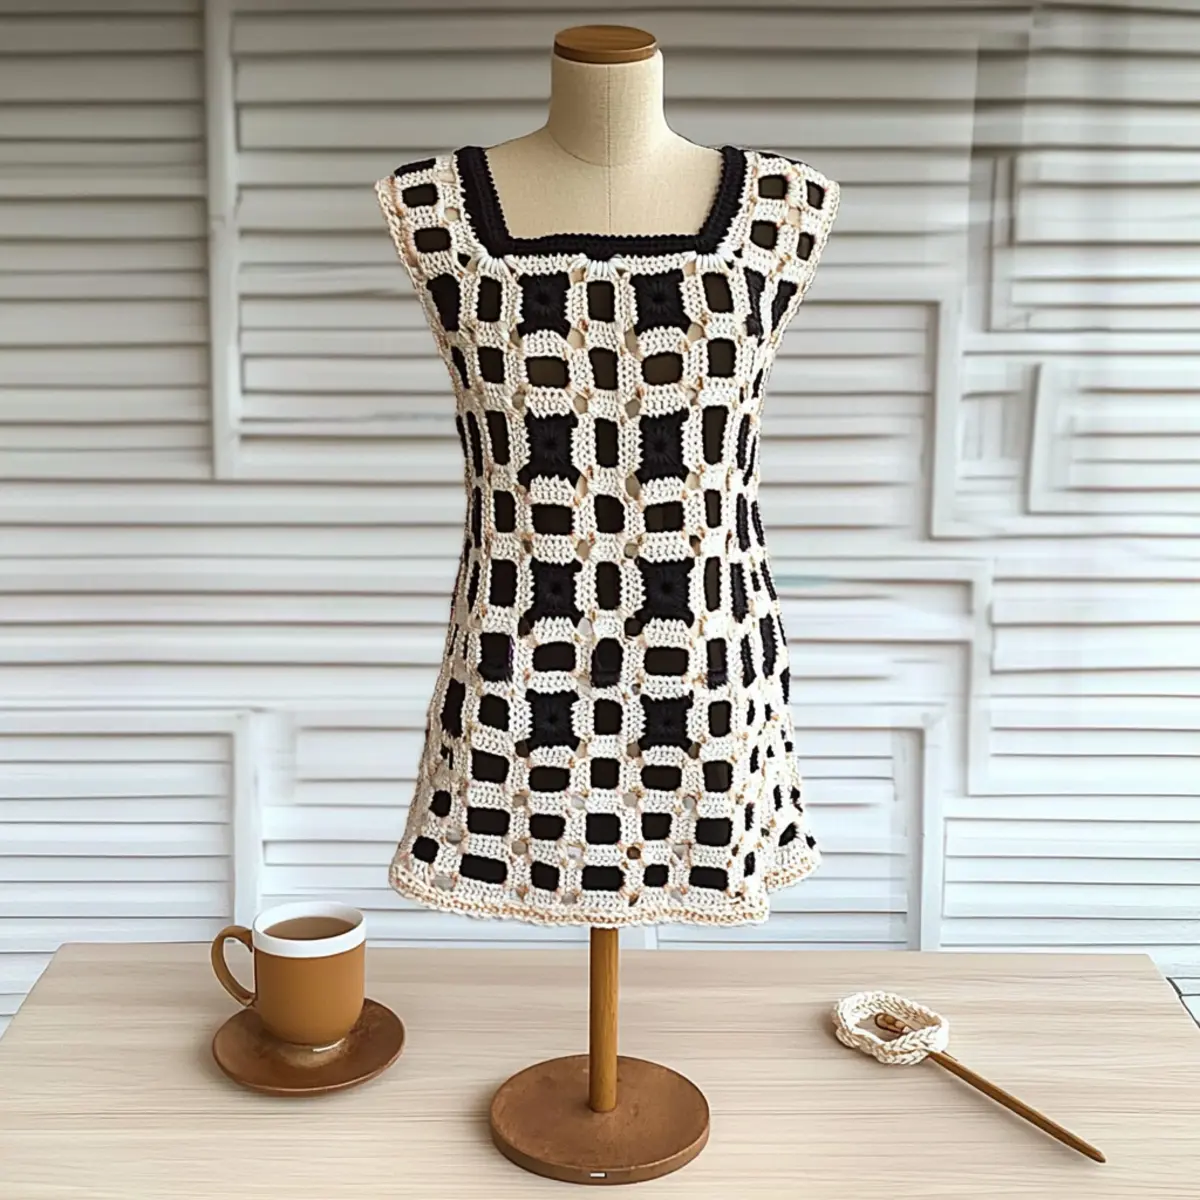
Customizable Granny Square Crochet Dress FAQs
Can I substitute yarn for this pattern?
Absolutely! While the recommended yarn is Rainbow Cotton 8/4, you can substitute a similar weight cotton or other fibers. Just ensure your chosen yarn maintains the same gauge—27 stitches and 38 rows per 10 cm (4 inches)—to achieve the best fit.
How can I adjust the sizing of the dress?
To customize the size, you can either add or remove squares or adjust the rounds in each square. Generally, adding a round can increase your size by a few centimeters. Just remember to maintain your tension for a consistent look!
Why is my work curling at the edges?
Don’t panic! This can happen if you’re not maintaining consistent tension, especially in the initial rounds. Make sure you’re using the same stitch counts for each round, and if needed, try blocking your work to flatten it out before assembly.
What hook size should I use for this pattern?
For this project, a 3 mm (US size D) crochet hook is ideal. If you’re planning to use a different yarn, ensure to check the recommended hook size on the yarn label and swatch to achieve the right gauge!
How do I fix a dropped stitch?
It’s an easy fix! Simply pull the yarn to create a loop through the dropped stitch, then use your hook to pull the working yarn through that loop. Continue crocheting; if this feels tricky, you can watch some tutorials for a visual demonstration!
Can I add embellishments to my dress?
Of course! Personalizing your dress with lace trim, decorative buttons, or even embroidery can give it an extra flair. Just consider how these additions will affect the overall drape and comfort of the dress when you wear it.
Leave a Reply