
As I sat curled up on my couch, surrounded by yarn scraps and the smell of fresh spring air, I found myself inspired to create a cheerful little surprise for Easter. Enter the Mini Chick Keychain Amigurumi! This delightful project is perfect for beginners eager to dive into the world of amigurumi, offering a fast and enjoyable way to develop your skills in under an hour. Plus, the best part? There’s minimal sewing involved, freeing you to focus on the fun of watching your tiny chick come to life. Not only will this little cutie make an adorable gift, but it also doubles as a great stash-buster for those leftover bits of yarn you’ve been saving. Are you ready to stitch up some cuteness? Let’s hop right in!
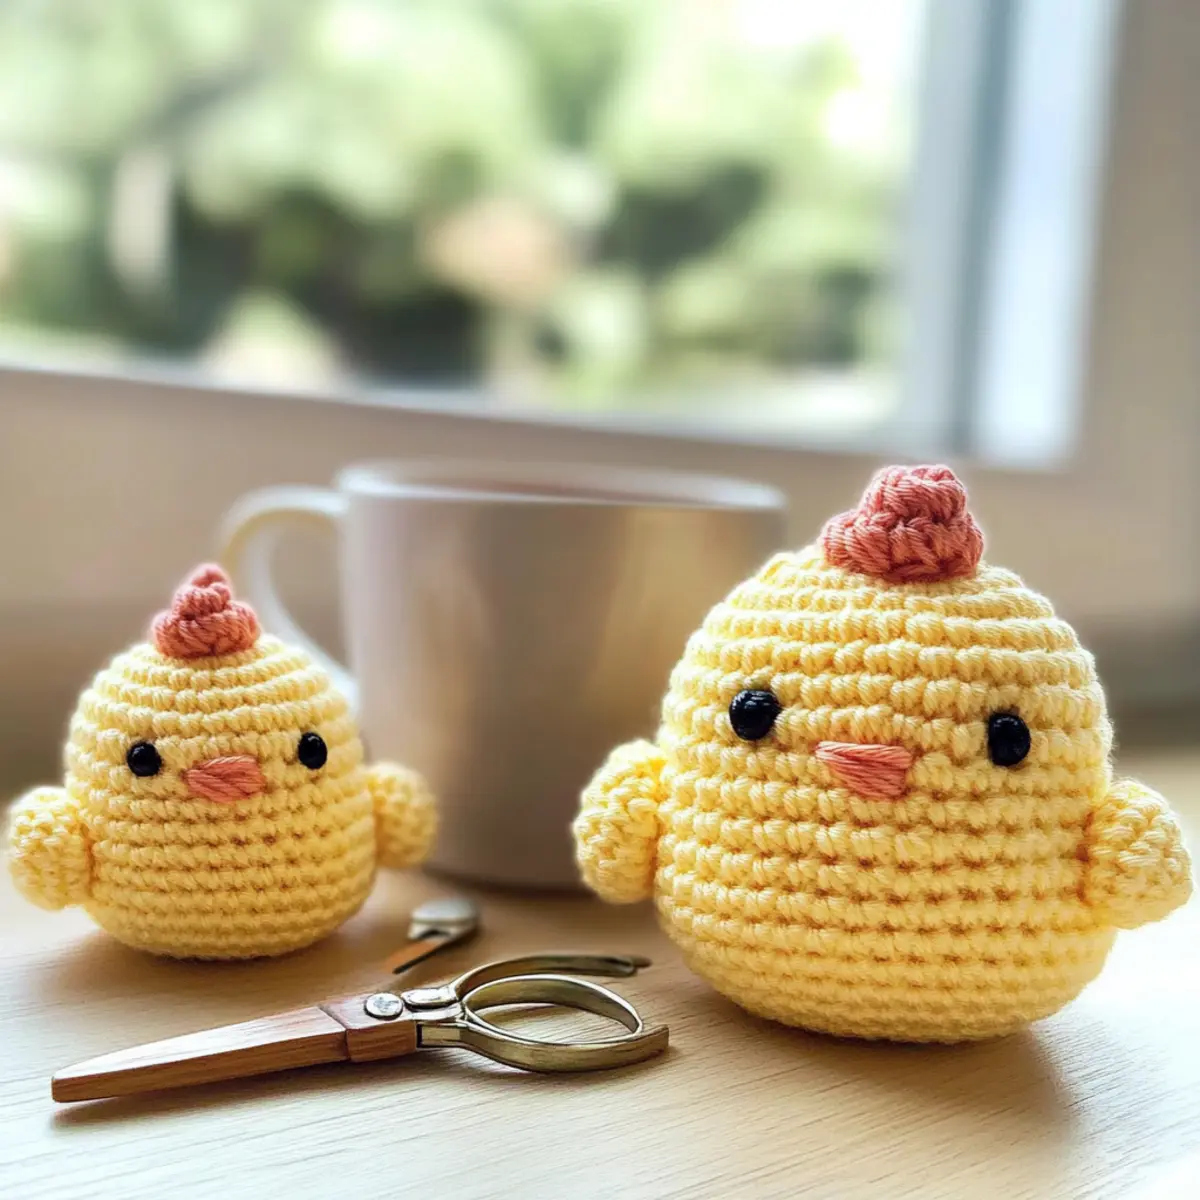
Mini Chick Keychain Amigurumi Materials & Tools
Yarn
• Cotton Sport Weight Yarn – Use yellow, dark orange, and black colors for a vibrant chick.
• Chenille DK Yarn – Delight in the softness of yellow, orange, and black options for a plush feel.
• Chenille Super Bulky Yarn – Create a squishy keychain using any of the three colors for a quick project.
Tools & Notions
• 2.5 mm (US B) Hook – Ideal for sport weight yarn to achieve that perfect amigurumi tightness.
• 3.5 mm (US E) Hook – Use this size for DK yarn to keep your stitches neat and compact.
• 5.0 mm (US H) Hook – For super bulky yarn, this hook size allows for quicker stitching.
• Synthetic Poly Filling – Stuff your chick for a soft, huggable finish.
• Scissors – Snip your yarn cleanly as you go.
• Tapestry Needles (size 16 or 17) – Perfect for weaving in ends and any minimal assembly needed.
• Pins – Hold everything in place while assembling your adorable keychain.
Dive into this beginner-friendly project and let your imagination soar with the Mini Chick Keychain Amigurumi!
Why Is This Mini Chick Keychain a Must-Try?
Beginner-Friendly: This pattern is tailored for newbies, allowing you to practice essential crochet skills without feeling overwhelmed.
Quick to Make: In under an hour, you can whip up a sweet little keychain, perfect for last-minute gifts or Easter decorations.
No-Sewing Required: The minimal sewing involved keeps things simple, making it an easy project to enjoy while watching your favorite show!
Stash-Buster: Use those leftover yarn scraps! The color options are endless, allowing you to create a fun array of mini chicks.
Soft & Squishy: Experience the joy of crafting a plush, delightful keychain that’s not only cute but also huggably soft!
Customization Galore: Adapt the design with different yarns and colors to make your unique chick, or scale it up for an even larger plush friend! If you’re curious about more projects, check out our guide on upcycling yarn scraps.
Gauge & Sizing Notes
Don’t skip the gauge swatch! Proper tension is essential when creating your Mini Chick Keychain Amigurumi to ensure your charming chick turns out just right. Aim for a 4×4 inch (10×10 cm) square, which should measure approximately 16 single crochets by 18 rows. If you want to adjust the size of your keychain chick, you can increase your starting chain in multiples of 2 for a wider body or add rounds for a taller chick. If your swatch comes out too small, simply try using a larger hook size—it’s a simple fix to guarantee a delightful end result!
Step‑by‑Step Pattern for Mini Chick Keychain Amigurumi
Round 1: Start the Body
Begin with a magic ring and make 6 sc into the ring, pulling tight to form a small circle. This will be the starting point for your Mini Chick Keychain’s body. As you crochet, ensure your stitches are consistent and the ring is snug (6 sts).
Round 2: Increase
Work 2 sc in each of the 6 sts from Round 1 to increase your stitch count. You should see the circle start to widen as you create the base of your chick. Count your stitches to confirm you have 12 sts at the end of this round (12 sts).
Round 3: Continue Increasing
In this round, crochet 1 sc in the first st, then 2 sc in the next st, repeating this pattern around. This will help create a gently flaring shape for your Mini Chick’s body. You should end this round with 18 sts as your circle expands (18 sts).
Round 4: More Body Rounds
Now, crochet 1 sc in each of the next 2 sts, then 2 sc in the next st, following this pattern around. The chick’s body will begin to take shape, and your work should feel fuller (24 sts).
Round 5-7: Straight Rounds
For the next three rounds, crochet 1 sc in each st around without any increases. This will create a nice straight section for your Mini Chick’s body. Your work should be firm and take on a rounded appearance (24 sts each round).
Round 8: Begin Decreasing
Start decreasing to shape your chick. Crochet 1 sc in the first 2 sts, then dec (sc2tog) in the next st around. This is where your chick starts to taper at the top, giving it a rounded head shape (18 sts).
Round 9: Continue Decreasing
In this round, crochet 1 sc in the first st, then dec in the next st, repeating this pattern. The body should become tighther as you prepare to close it up (12 sts).
Round 10: Finish Decreasing
For the final decrease round, crochet dec in each st around. Pull your stitches tight as you finish tapering off the Mini Chick. At this point, your work should be closing up nicely (6 sts).
Step 1: Assembly of Body
Cut your yarn, leaving a long tail, and pull it through your last st. Before fastening off, stuff the body with synthetic poly filling to make it soft and squishy. Ensure it’s evenly filled so your Mini Chick keychain is cuddly and well-shaped.
Step 2: Create Feet
For each foot, create a magic ring and work 4 sc into it, then pull tight. In the next round, increase by making 2 sc in each stitch for a total of 8 sts. After two rounds, finish by fastening off, leaving a tail for attachment.
Step 3: Attach Feet
Using the yarn tail, sew the two feet onto the bottom of the Mini Chick body. Ensure they are evenly spaced to give your keychain a stable base. You should feel pleased as your Mini Chick starts to stand proudly!
Step 4: Make Wings
To create simple wings, chain 10, then hdc in the 2nd ch from the hook and in the next 8 chs, then sl st to join. Fasten off, leaving a tail, and create two wings following this technique. You can play with sizes for varying cuteness.
Step 5: Final Assembly
Sew the wings onto each side of the Mini Chick. Finally, embroider or attach small safety eyes using the black yarn and create a beak using the dark orange color. Your lovely Mini Chick Keychain is almost ready!
Step 6: Finishing Touches
Secure all ends and weave in any loose yarn tails with your tapestry needle. For the last step, attach a keychain loop to the top, and voila! Your adorable, no-sew Mini Chick Keychain Amigurumi is now complete and ready to spread Easter cheer!
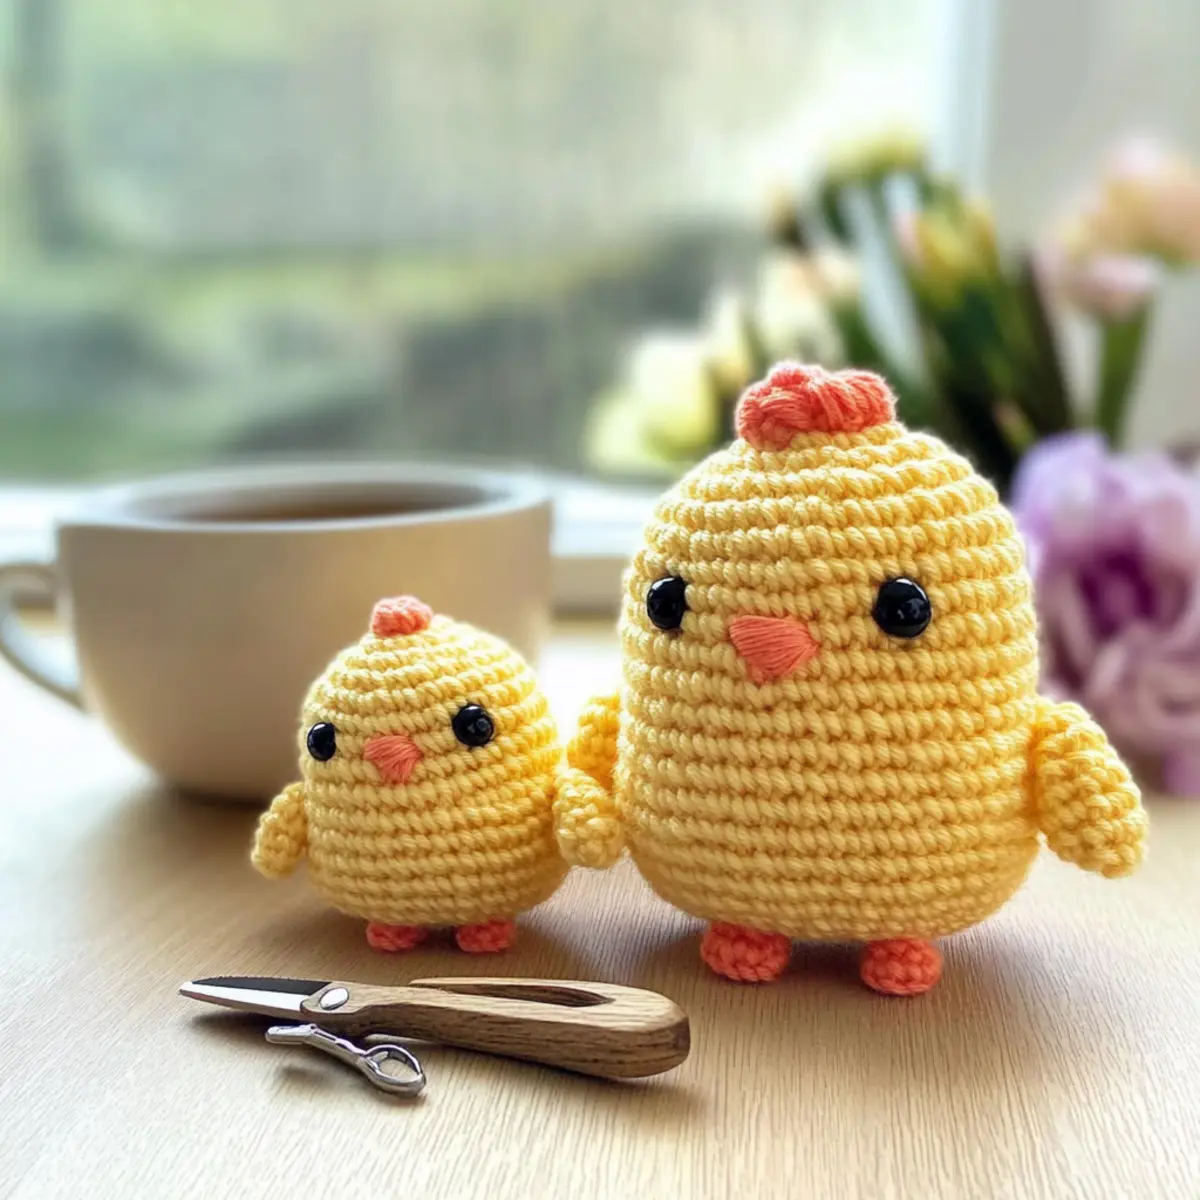
Variations & Substitutions
Explore the endless possibilities to make this Mini Chick Keychain uniquely yours!
-
Yarn Weight Swaps: Use a heavier yarn like bulky chenille for a plush, larger chick that adds extra charm.
-
Color Combinations: Try vibrant seasonal colors—pinks, blues, and greens— to create a whimsical collection of mini chicks.
-
Fiber Alternatives: Switch acrylic yarn for cotton to make a breathable option, perfect for warmer climates.
-
Size Adjustments: Increase the number of rounds for a larger keychain or decrease them for a dainty chick to fit various preferences.
-
Textured Fun: Add cute embellishments like a small pom-pom on top of the chick for an extra burst of color and playfulness.
-
Fringe or Border: Consider crocheting a fringe around the bottom edge to create a fun, fluffy effect and enhance the keychain’s charm.
-
Safety Eyes Addition: If gifting to children, replace black stitches with safety eyes for a secure and adorable touch, perfect for little hands.
-
Personalized Touch: Add initials or a small number using slip stitches to customize the chick, creating a meaningful keepsake.
Feel free to explore more upcycling yarn scraps for creative ideas and transformations! Remember, the only limit is your imagination in the world of crochet.
Care Instructions for Mini Chick Keychain
Hand Washing: Use cold water and a mild detergent to gently hand wash your Mini Chick Keychain, avoiding agitation to prevent any felting or pilling.
Drying: After washing, lay your Mini Chick flat on a clean, dry towel. Reshape gently and allow it to air dry completely away from direct sunlight.
Storage: Keep your keychain in a cool, dry place, away from moisture. This will help preserve its vibrant colors and soft texture for seasons to come.
Routine Care: Occasionally fluff your Mini Chick Keychain to maintain its adorable round shape and ensure it remains a delightful accessory.
Expert Tips for Mini Chick Keychain
-
Stay Consistent: Ensure your tension stays even throughout the work. This helps the Mini Chick retain its shape and look uniform.
-
Count Stitches: Regularly count your stitches at the end of each round to avoid miscounts and keep your project on track.
-
Secure Finishing: When fastening off, pull the yarn snugly and weave in ends securely to prevent unraveling during use.
-
Use Proper Hook Size: Always choose the recommended hook size based on your yarn type to achieve the right density in your stitches.
-
Practice Patience: If you find yourself getting frustrated, take a break. Enjoy the creative process and let your crafting joy guide you!
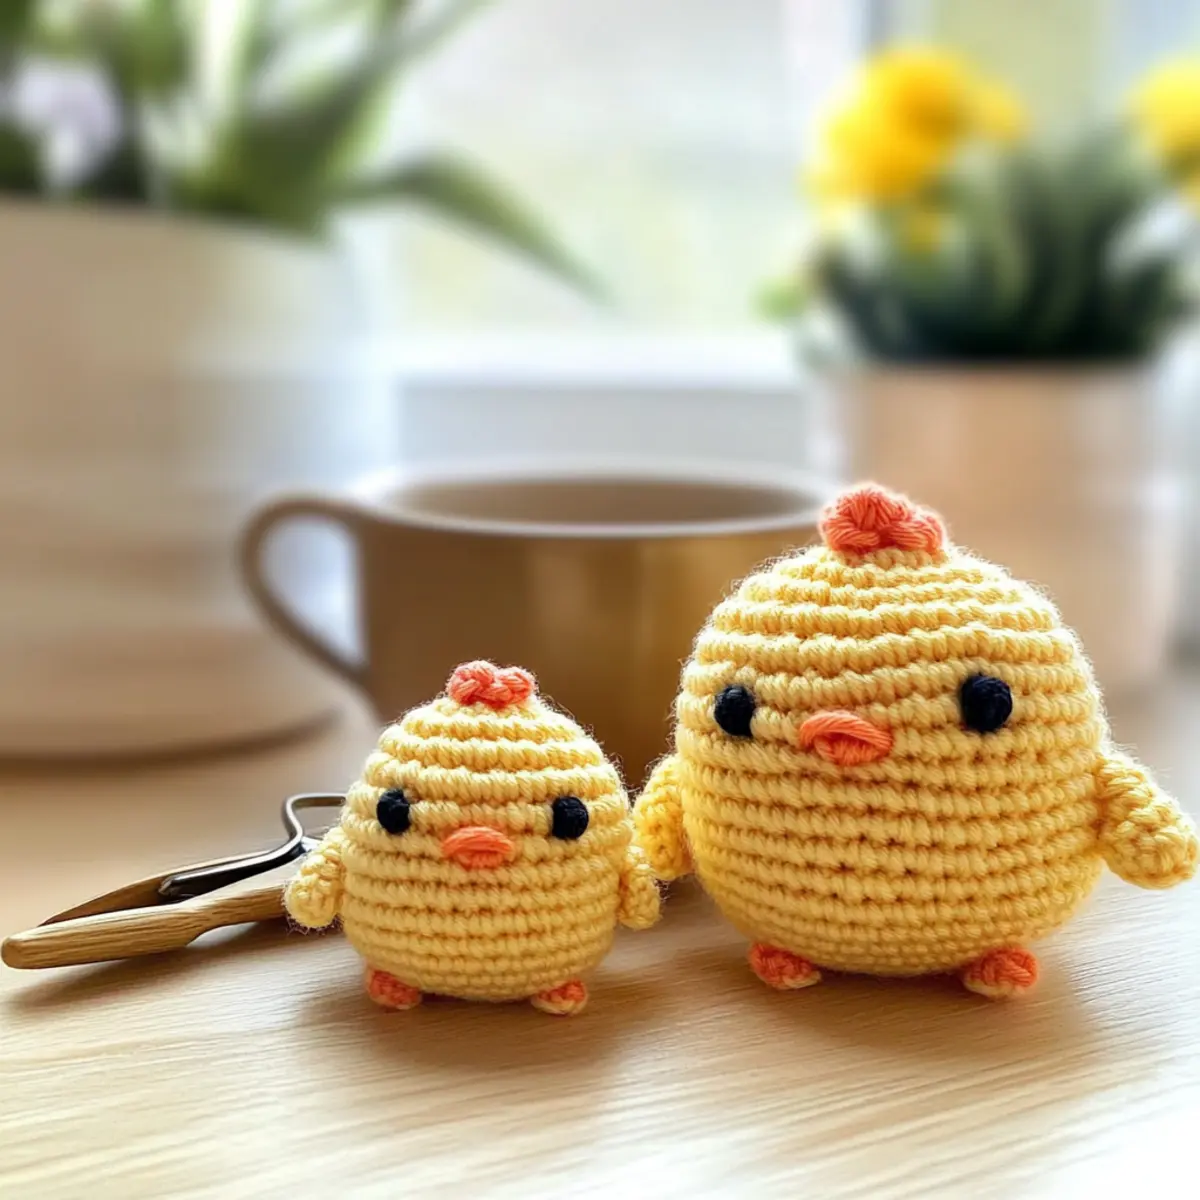
Mini Chick Keychain Amigurumi FAQs
Can I substitute yarn types for this project?
Absolutely! While the pattern suggests cotton sport weight yarn for the best results, you can easily substitute with any yarn you have on hand. Just keep in mind that thickness may affect the final size, so try to use a similar weight or adjust your hook size accordingly.
How do I make my Mini Chick Keychain larger?
To enlarge your chick, you can increase the number of rounds or use a thicker yarn with a corresponding larger hook. For example, if you choose super bulky yarn, switching to a 5.0 mm (US H) hook will provide that oversized squeeze factor your little chick deserves!
Why is my work curling at the edges?
Don’t panic! Curling can often occur if your stitches are too tight. Try relaxing your tension, and if that doesn’t help, consider switching to a larger hook size to allow your stitches to lay flat. It’s all about finding that sweet spot!
What size hook should I use for different yarn weights?
For the Mini Chick Keychain, the recommended hook size is 2.5 mm (US B) for cotton sport weight yarn. If you decide to use DK yarn, opt for a 3.5 mm (US E), and if you’re using super bulky yarn, aim for a 5.0 mm (US H) hook. Always match your hook size to your yarn to achieve the best results!
How do I fix a dropped stitch in my amigurumi?
If you notice a dropped stitch, it’s an easy fix! Simply use a tapestry needle to thread the yarn back through the remaining loops of your missed stitch. Make sure it’s secure and won’t unravel when your keychain is in use. And remember, counting your stitches at the end of each round can help you avoid this in the first place!
Can I change the colors of my Mini Chick?
Absolutely! The beauty of this project lies in its versatility. Feel free to experiment with any colors you love, creating a rainbow of mini chicks to celebrate Easter. Just imagine a mix of pastel or even vibrant hues! The possibilities are endless—have fun designing unique little friends!
Leave a Reply