
On a lazy afternoon, I found myself yearning for a touch of nature’s beauty while crocheting. There’s something magical about the intricate layers of a flower, and I knew I had to capture that in yarn. Enter the Crochet Rose Granny Square! This stunning pattern not only introduces a 3D floral accent but also works up quickly, making it perfect for adding elegance to your blankets, pillows, or even cozy cardigans. Ideal for advanced beginners and intermediates alike, these granny squares allow you to flex your creativity and beautify your home with style. Are you ready to bring some floral charm into your crafting? Let’s start stitching together this delightful project!
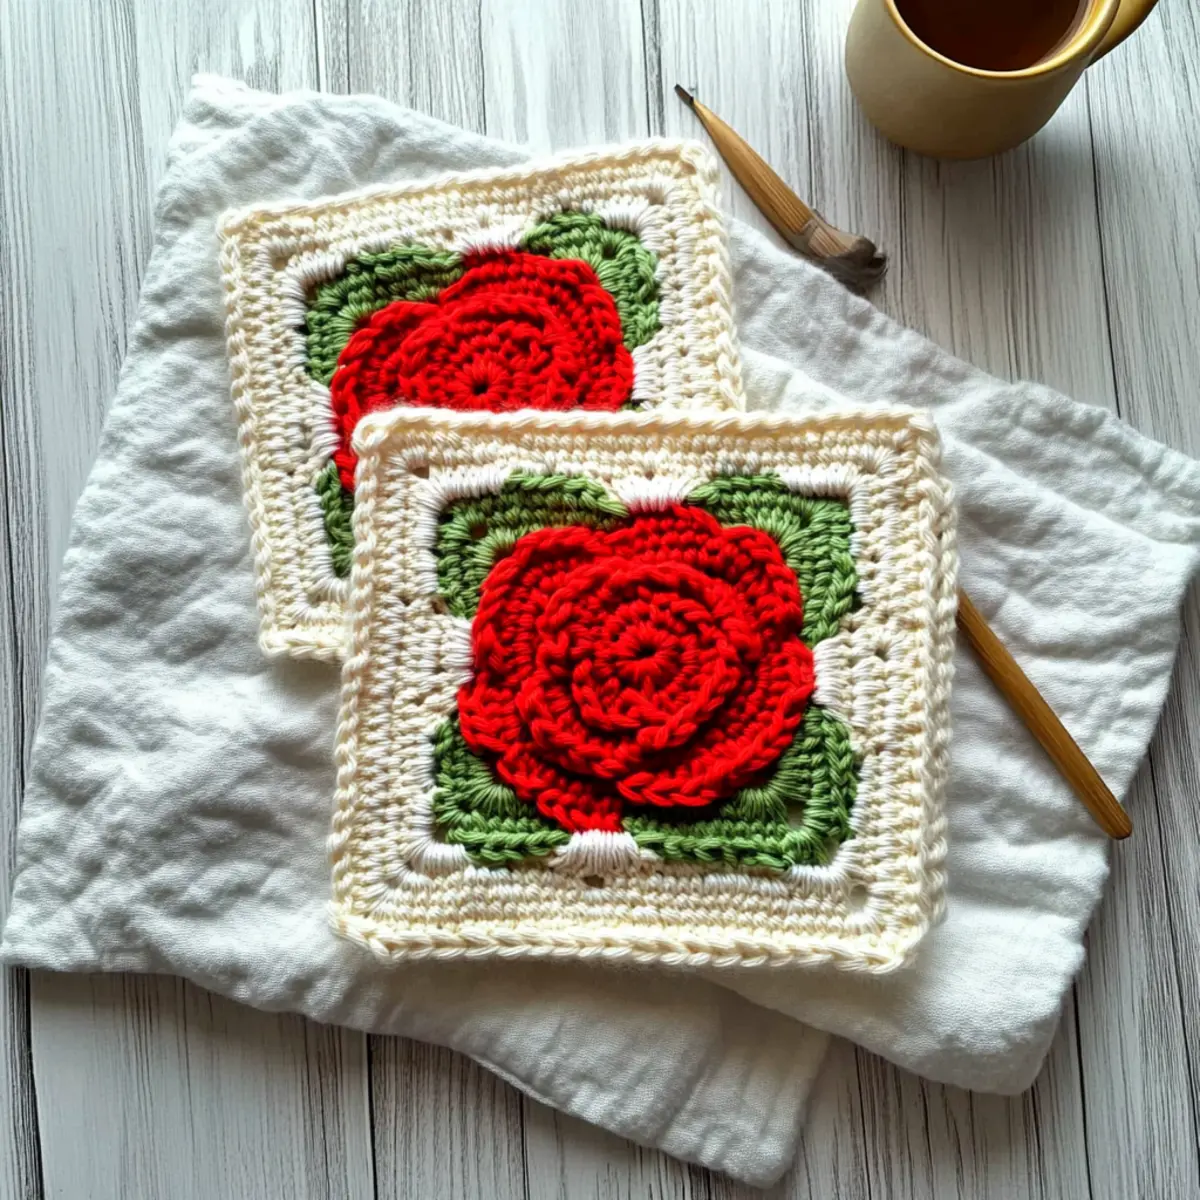
Crochet Rose Granny Square Materials & Tools
-
Yarn
• Red Heart Yarn – Cherry Red – Ideal for the rose petals, approximately 100 yards needed.
• Red Heart Yarn – Spring Green – Perfect for the leaves and stems, approximately 100 yards required.
• Red Heart Yarn – Aran – Used for the background of the square, also around 100 yards. -
Tools & Notions
• 5.0mm (H) Hook – This size is great for achieving the right tension and shape of your granny square.
• Tapestry Needle – Essential for weaving in ends and giving your square a polished finish.
Embark on this delightful Crochet Rose Granny Square project with these materials, and let your creativity bloom!
Why is This Granny Square a Must-Make?
Easy to Learn: The simple yet captivating design features easy stitches that even advanced beginners can master quickly.
3D Floral Effect: This pattern showcases a stunning 3D rose that adds depth and elegance to your projects, making it a delightful centerpiece.
Versatile Use: Perfect for blankets, pillows, or cardigans, these granny squares elevate your creations, showing off your stitching prowess.
Quick Project: You can whip up a granny square in no time, making it an ideal choice for crafters looking to create beautiful items with limited time.
Stash-Busting Fun: Use your leftover yarn scraps in different colors to personalize your squares and create a cohesive collection that reflects your unique style. Whether you want to make a larger project or stylish accessories, the sky’s the limit!
Gauge & Sizing Notes
Don’t skip the gauge swatch! Checking your tension is vital for ensuring your Crochet Rose Granny Square turns out just right. A standard gauge measurement for this project is 4×4 inches (10×10 cm) = 14 double crochets by 8 rows. If your swatch is larger, you might consider using a smaller hook size. To adjust the size of your granny square, increase your starting chain in multiples of 3 for a larger square, or decrease it for a smaller version. Remember, if your tension doesn’t match, simply adjust your hook size until you achieve the desired gauge. Happy crocheting!
Step‑by‑Step Pattern for Crochet Rose Granny Square
Round 1: Center Rose Formation
Begin by creating a magic ring (mr). Work 10 half double crochets (hdc) into the ring, ensuring it’s tight. Pull the tail to close the ring snugly. This forms the center of your Crochet Rose Granny Square, and your work should look like a small, gathered circle (10 hdc).
Round 2: Expanding the Flower
Chain 2 (this counts as your first hdc). In the 3rd loop of each stitch around, work 2 hdc for every stitch from the previous round. This will create a lovely ruffled effect as you incorporate increases. At the end of this round, you should have 20 hdc, and the flower will start to take shape (20 hdc).
Round 3: Shaping the Layered Petals
Start with a chain 2, then work 1 hdc in the first stitch, followed by 2 hdc in the next. Repeat this sequence around the round, alternating between a single hdc and an increase. Your work should now show a delightful petal-like shape, with a total of 30 hdc at the end of this round (30 hdc).
Round 4: Finalizing the Flower Petals
Chain 2, then work 1 hdc in the first stitch, 1 hdc in the next 2 stitches, and then increase (2 hdc) in the following stitch. Repeat this pattern until you reach the beginning of the round. Fasten off the red yarn, and you should see a fully formed flower with defined petals (40 hdc).
Petals: Adding Dimension
Rejoin the red yarn in any petal’s top. Work 3 double crochets (dc) in the same stitch, followed by a slip stitch (sl st) in the next stitch to secure. Repeat this process in every petal space around the flower, creating beautiful, layered petals that add a 3D effect. You should have 5 or 6 petals depending on your choice.
Green Yarn Round: Forming the Square
Change to green yarn and join it in any corner space. Work 2 dc in that space, then chain 2 to create the first corner. In the next stitch, work 3 dc, chain 1, and repeat for each corner until the square shape begins to emerge. Your work should feel spacious with clusters marking the corners (2 clusters).
Cream Yarn Rounds: Finalizing the Square
Join Aran yarn, beginning in any corner space. Create 3 dc in each corner and chain 1 between clusters along the sides of the square to sharpen its shape. Continue until you reach your desired size, ensuring the corners remain prominent. Your Crochet Rose Granny Square should now be well-defined and vibrant.
Finalizing: Last Touches and Weaving Ends
Once complete, fasten off and weave in all ends left from color changes. Make sure to inspect your work for any loose threads or sections. Blocking your finished squares is highly recommended for a polished and final appearance, allowing your beautiful square to shine in your projects!
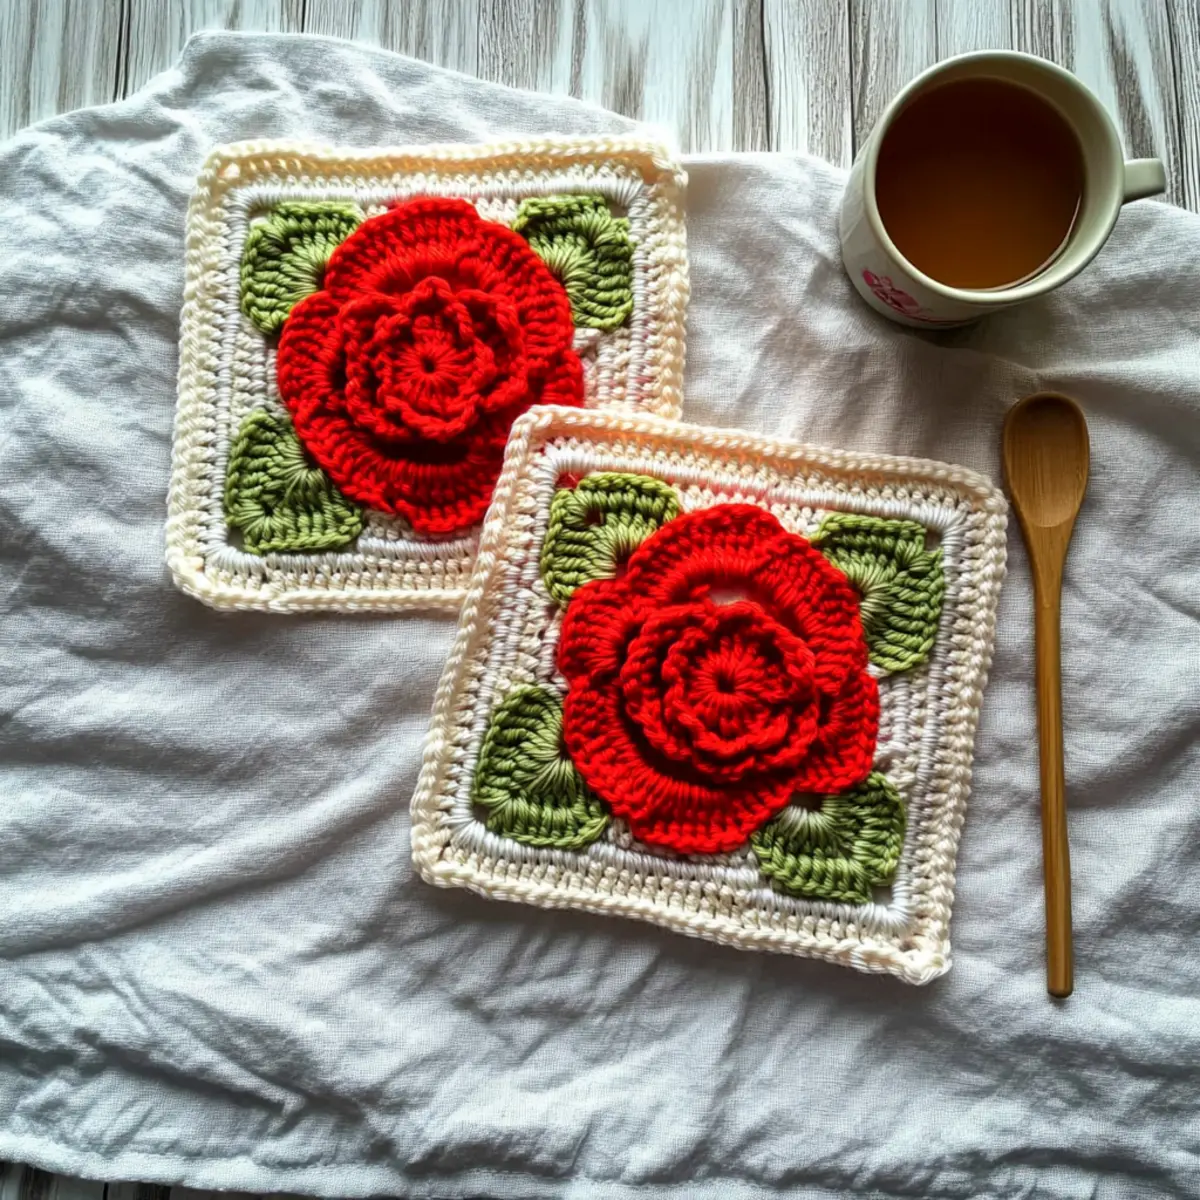
Washing & Care for Your Crochet Rose Granny Square
-
Hand Washing: Always hand wash your Crochet Rose Granny Square in cold water with gentle detergent to preserve its vibrant colors and 3D texture. Avoid any agitation to prevent felting.
-
Drying/Blocking: Lay your square flat to dry on a clean towel to maintain its shape. If needed, lightly steam or block it to enhance the floral design and achieve a crisp finish.
-
Storage: Store your finished granny squares in a cool, dry place away from direct sunlight. Keeping them in a breathable fabric bag can help protect against dust and maintain their beauty.
-
Avoiding Pilling: For long-lasting results, try to keep your crochet pieces away from rough surfaces that may lead to pilling. A little care goes a long way!
Variations & Substitutions
Customize your Crochet Rose Granny Square and let your creativity blossom with these fun ideas!
-
Yarn Weight Swaps: Try using bulky yarn for a cozier, thicker square perfect for winter decor.
-
Color Combinations: Experiment with pastel shades for the rose petals and a light background to create a dreamy effect.
-
Fiber Alternatives: Switch to cotton yarn for a lighter, breathable square, perfect for summer throws or dishcloths.
-
Size Adjustments: Increase or decrease your stitch count in each round for larger or smaller squares to suit your project.
Consider combining small squares into larger ones for blankets or throws. Alternatively, make mini squares for adorable coasters or embellishments!
-
Texture Modifications: Add fringes or pom-poms to the corners for a fun, playful touch. Explore adding a contrasting border for a polished finish.
-
Mix and Match Designs: Pair floral squares with geometric designs to create a unique and visually interesting blanket.
Explore more options with tutorials on crochet motifs to complement your squares beautifully!
-
Seasonal Themes: Change colors to reflect the seasons, using warm tones for fall or icy shades for winter squares.
Tapping into your stash for unique yarn textures, like a sparkly thread, can also elevate your squares into festive pieces for celebrations or even gifts!
Expert Tips for the Best Crochet Rose Granny Square
-
Count Your Stitches: Always count your stitches at the end of each round to ensure your square stays uniform and grows correctly without unintended shapes.
-
Check Your Tension: Make a gauge swatch before starting. Even small tension variations can affect the size of your finished rose granny square.
-
Secure Your Ends: Weave in your ends neatly to avoid unraveling. This is especially important in a 3D pattern where layers can lift if not secured properly.
-
Experiment with Blocking: After finishing, lightly block your square to shape it and emphasize the stunning 3D rose. This will give your project a polished finish.
-
Use the Right Hook: Choosing the correct hook size helps maintain your tension and stitch definition. Experiment with different hook sizes if your square seems off.
-
Adapting Yarn Weight: Remember that changing yarn weights can alter the square’s size and thickness. Adjust your hook accordingly for the best results.
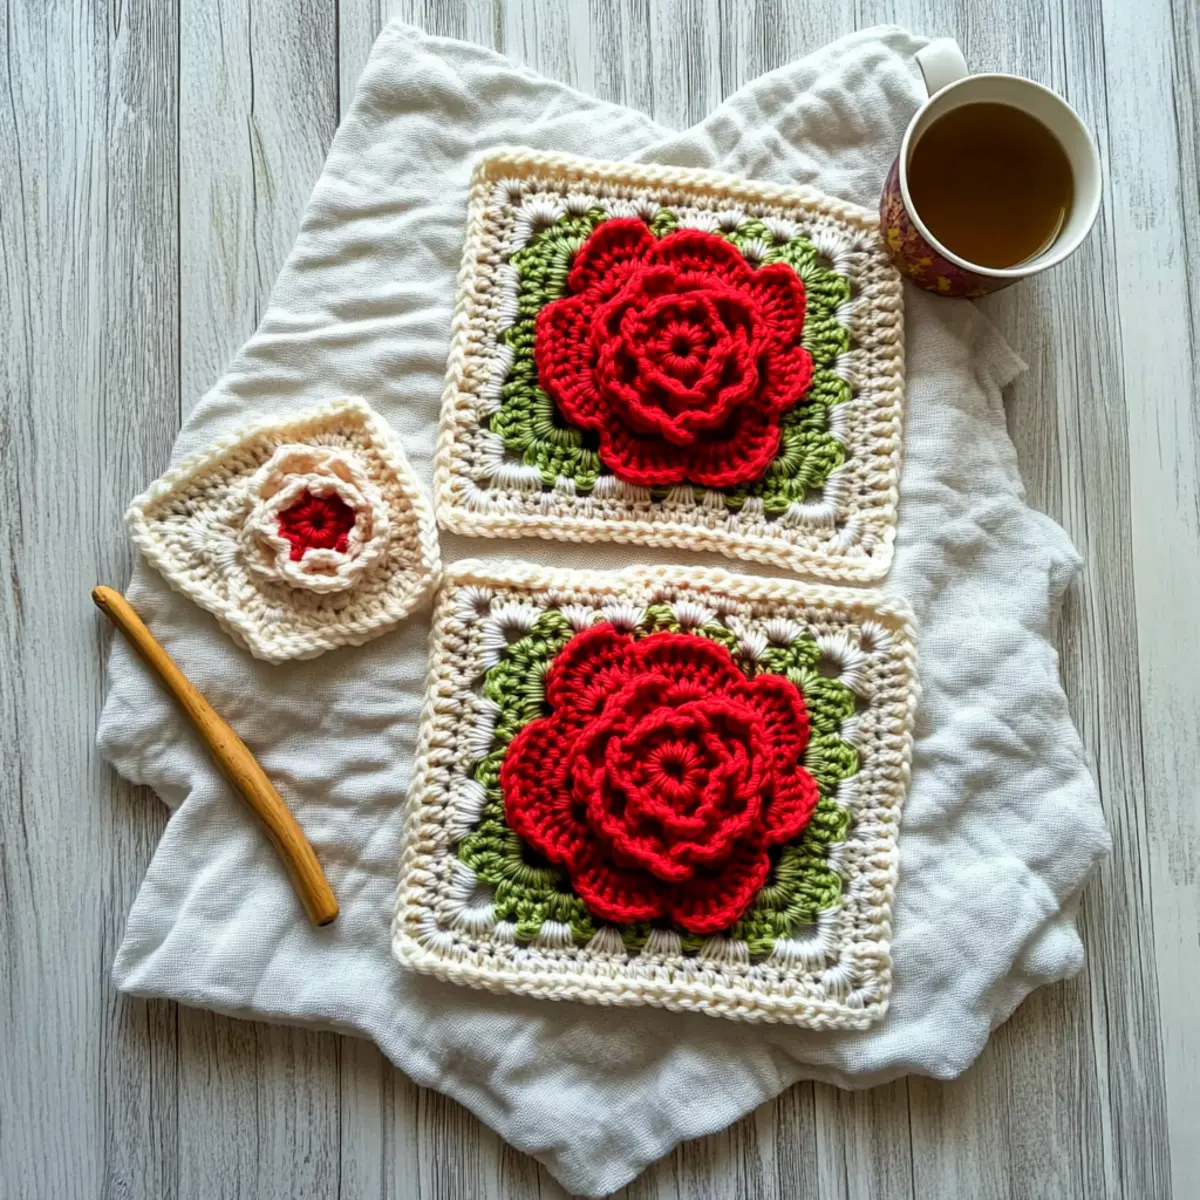
Crochet Rose Granny Square FAQs
What kind of yarn can I substitute for the recommended Red Heart Yarn?
Absolutely! If you don’t have Red Heart Yarn on hand, you can use any worsted-weight yarn. Just ensure it has a similar thickness and drape to maintain the integrity of your Crochet Rose Granny Square. Acrylic, cotton, or a wool blend can all work beautifully, just remember to check your tension!
How can I make the Crochet Rose Granny Square larger or smaller?
To adjust the size of your square, try increasing or decreasing your stitch count in the rounds. For a larger square, add stitches in multiples of 3 around each side. For a smaller square, reducing your rounds is a simple method. In either case, just keep an eye on your gauge to maintain the shape!
Why is my Crochet Rose Granny Square curling at the edges?
Don’t panic! If your square is curling, it might be due to tight tension or insufficient rounds. Check your tension while crocheting and try using a larger hook size. Also, making sure to complete all the rounds as instructed can help prevent curling. A light block after finishing can also work wonders!
What hook size should I use for this pattern?
The recommended hook size for the Crochet Rose Granny Square is a 5mm (H-8) hook. Using the right hook ensures your stitches are uniform and helps achieve the beautiful 3D effect of the rose. If you’re using a different yarn weight, you might consider adjusting your hook size accordingly.
How do I fix dropped stitches in my Crochet Rose Granny Square?
It’s an easy fix! Simply reinsert your hook into the dropped stitch and work it back up to your current row. If you accidentally drop rows before the current round, just carefully unravel until you reach the last complete stitch and continue from there. Always keep your working yarn tight to prevent future mishaps!
Can I use a different gauge yarn to create my Crochet Rose Granny Squares?
Yes, definitely! Using a different gauge yarn will produce varied results. Bulky yarn will result in a cozier and thicker square, perfect for warm blankets, while lighter yarn can make for lovely, delicate accessories. Just be sure to adjust your hook size accordingly to maintain the square’s shape and structure!
Leave a Reply