
As I pulled the soft Paintbox Yarns Baby DK from my stash, memories of joyful baby showers and sweet newborn snuggles flooded my mind. The Freya Frilly Romper is the perfect project to embrace those warm sentiments, combining cuteness and coziness in one adorable package. This beginner-friendly pattern whips up in no time, making it ideal for last-minute gifts or to celebrate a little one’s arrival. Not only does it feature a charming frilly collar that instantly adds a touch of elegance, but it also ensures a gentle fit against delicate skin. With a free video tutorial guiding you through each stitch, you’ll find yourself enchanted by the ease and joy of crocheting this romper. Ready to create something special? Let’s dive into the cozy stitches together!
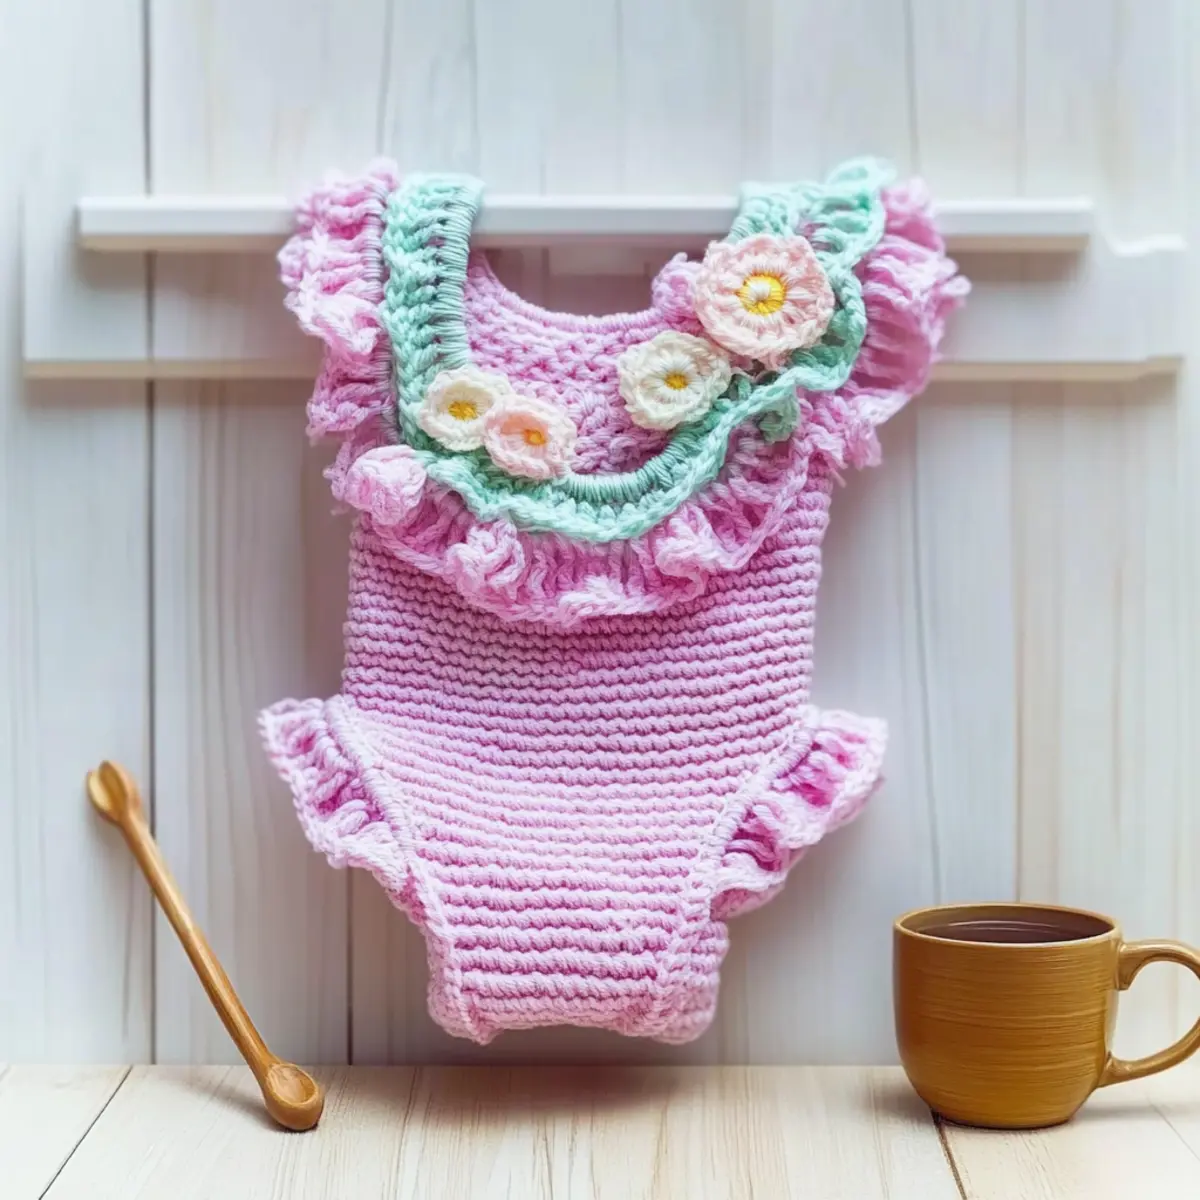
Freya Frilly Romper Materials & Tools
Get ready to crochet the cutest romper ever and gift it with love!
Yarn
- Paintbox Yarns Baby DK – Category 3 (light) yarn made from a cozy blend of acrylic and nylon, perfect for baby wear; you’ll need about 250-300 yards.
Hook & Tools
- 4 mm (G/6) Crochet Hook – Ideal size for achieving the soft drape and gauge needed for this beginner-friendly project.
- Stitch Markers – Use these to keep track of your rounds and avoid any confusion as you crochet.
- Tapestry Needle – Perfect for weaving in ends and ensuring your adorable Freya Frilly Romper looks polished.
- Buttons (Optional) – Consider adding buttons for the back opening for a cute finishing touch!
Why is the Freya Baby Romper Perfect?
**Adorable ** design: The Freya Frilly Romper is not just a project; it’s a heartfelt gift that brings smiles with its sweet frilly collar.
Quick to Crochet: This pattern works up rapidly, making it ideal for those who want to whip up a last-minute baby shower gift without compromising on cuteness.
Beginner-Friendly: If you’re new to crochet, fear not! This pattern incorporates basic stitches, so you can build your skills while creating something delightful.
Versatile Options: Want to personalize it? Try adding a matching bonnet or shoes, or experiment with colors that suit your style – the possibilities are endless!
Video Tutorial: With a free video tutorial included, every step becomes a breeze, helping you crochet confidently and enjoyably.
Feel free to explore more variations in our customize your romper section for added flair!
Gauge & Sizing Notes
Don’t skip the gauge swatch! Ensuring your tension is correct for The Freya Frilly Romper is crucial for achieving the desired fit and drape, especially since it’s designed for delicate newborn skin. Aim for a gauge of 15 double crochets and 9.5 rows in a 4×4 inch (10×10 cm) square. If you want to customize the size, to make the romper wider, increase your starting chain in multiples of 4. Conversely, if your swatch is smaller than intended, simply go up a hook size to adjust your crochet gauge. With a little attention to sizing, your project will turn out just right!
Step‑by‑Step Pattern for The Freya Frilly Baby Romper
Row 1: Foundation Chain
Chain 37 to create your foundation. This base will form the bottom edge of the romper. Once you’ve made your chain, turn and start in the second chain from the hook. Work 1 single crochet (sc) into each chain across. Your work should feel firm yet flexible, resembling a straight strip as you reach 36 stitches (36 sts).
Row 2: Establishing the Body
Ch 1, turn your work, and begin with 1 sc in each of the next 12 sts. Now, switch to double crochet (dc) for the next 24 sts, ensuring to yarn over before inserting your hook. This will set the base for the romper’s body. At the end of this row, you should have 36 total stitches (36 sts).
Row 3: Body Continuation
Ch 1, turn, and repeat 12 sc across the first 12 sts. Continue with 1 dc in the next 24 sts, taking care to maintain tension. Your piece will start to grow and take shape now, creating a lovely soft fabric for the baby’s romper. You will have a total of 36 stitches again (36 sts).
Row 4: Transition to Rounds
Ch 1, do not turn. Instead, sc in the next 12 sts, then place a marker. For the next 12 sts, create a cluster by working 2 dc in the same st for the next 12 sts, marking as you go. This will start to form the sleeve openings. You should still have 36 stitches (36 sts) as you prepare for the next steps.
Row 5: Sleeve Rounds
For this round, make 1 dc into each of the next 24 sts followed by a sc in the last 12 stitches. The marked stitches will now serve as the base for the sleeve. This step adds dimension as you work in the round for the sleeves. Your stitch count remains at 36 (36 sts), and you should see a nice curve beginning to form.
Rows 6-10: Forming the Body
Continue working in rows, alternating between sc and dc, to form the body of the romper. Aim for 10 rows total and maintain the same stitch counts as previous rows. Your piece should start feeling like a cozy garment as it stretches gently with your work, preparing for the leg openings next.
Step 7: Creating Leg Openings
When you reach your desired length, decide where you want the leg openings. Count 12 stitches from each side along the bottom and skip those to create leg holes. Continue with sc around the stitch markers, replacing any skipped stitches to finish this section with a total of 24 stitches per round.
Step 8: Frilly Collar
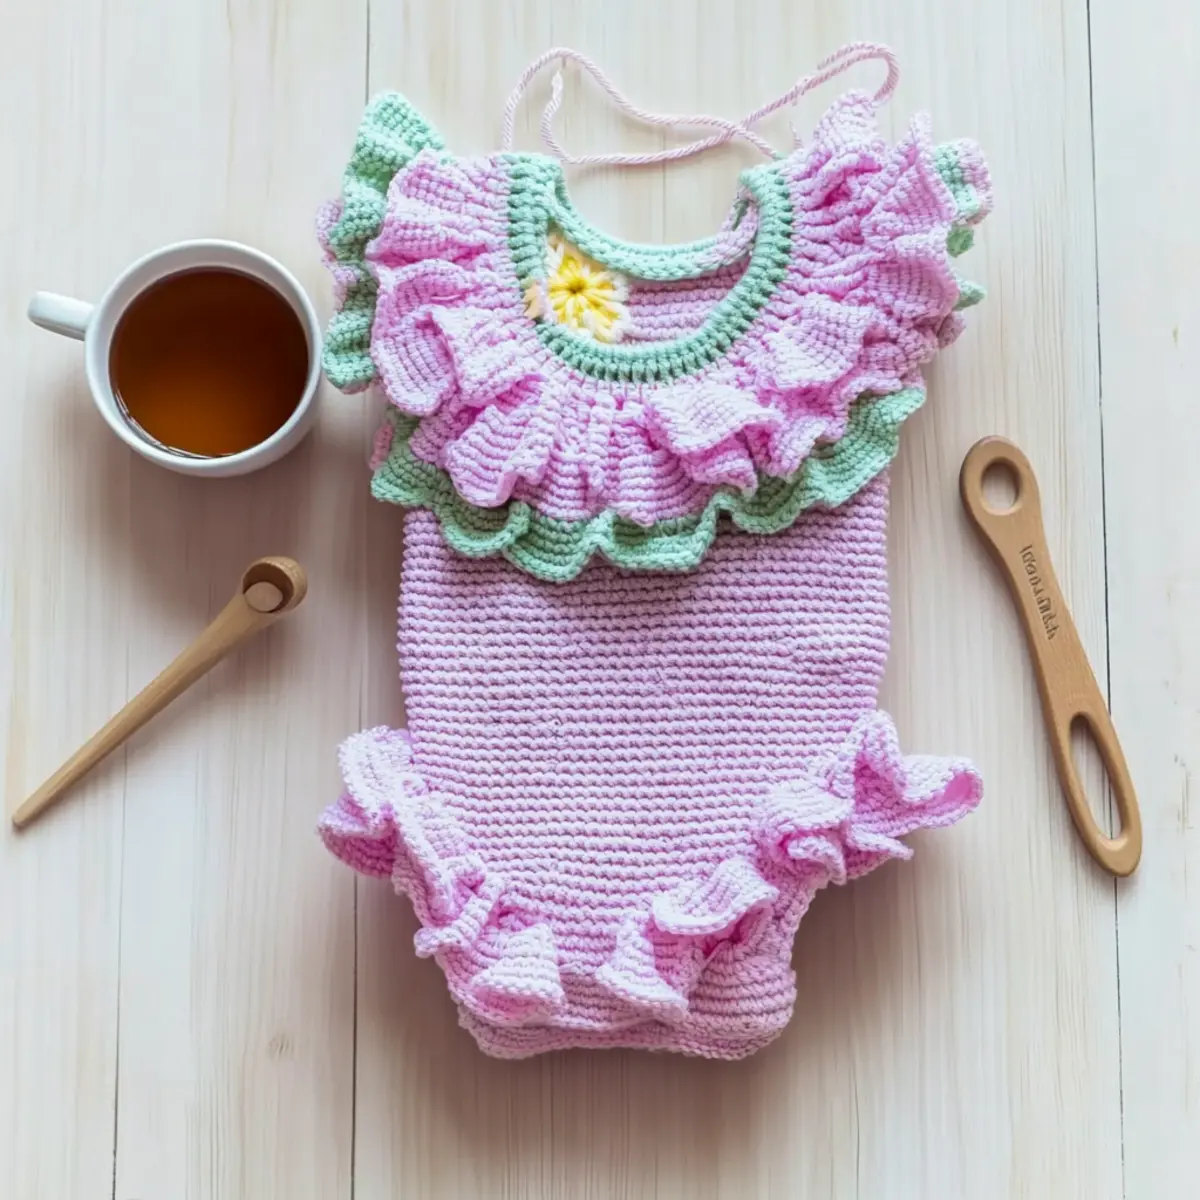
To create the frilly collar, switch to the front loops only on the last row worked. Begin a new round by dc 3 in each st around. Repeat this into the foundation as you go, forming a beautiful ruffled edge around the neck. You will see a lovely frill beginning to emerge, softening your piece beautifully.
Step 9: Edging
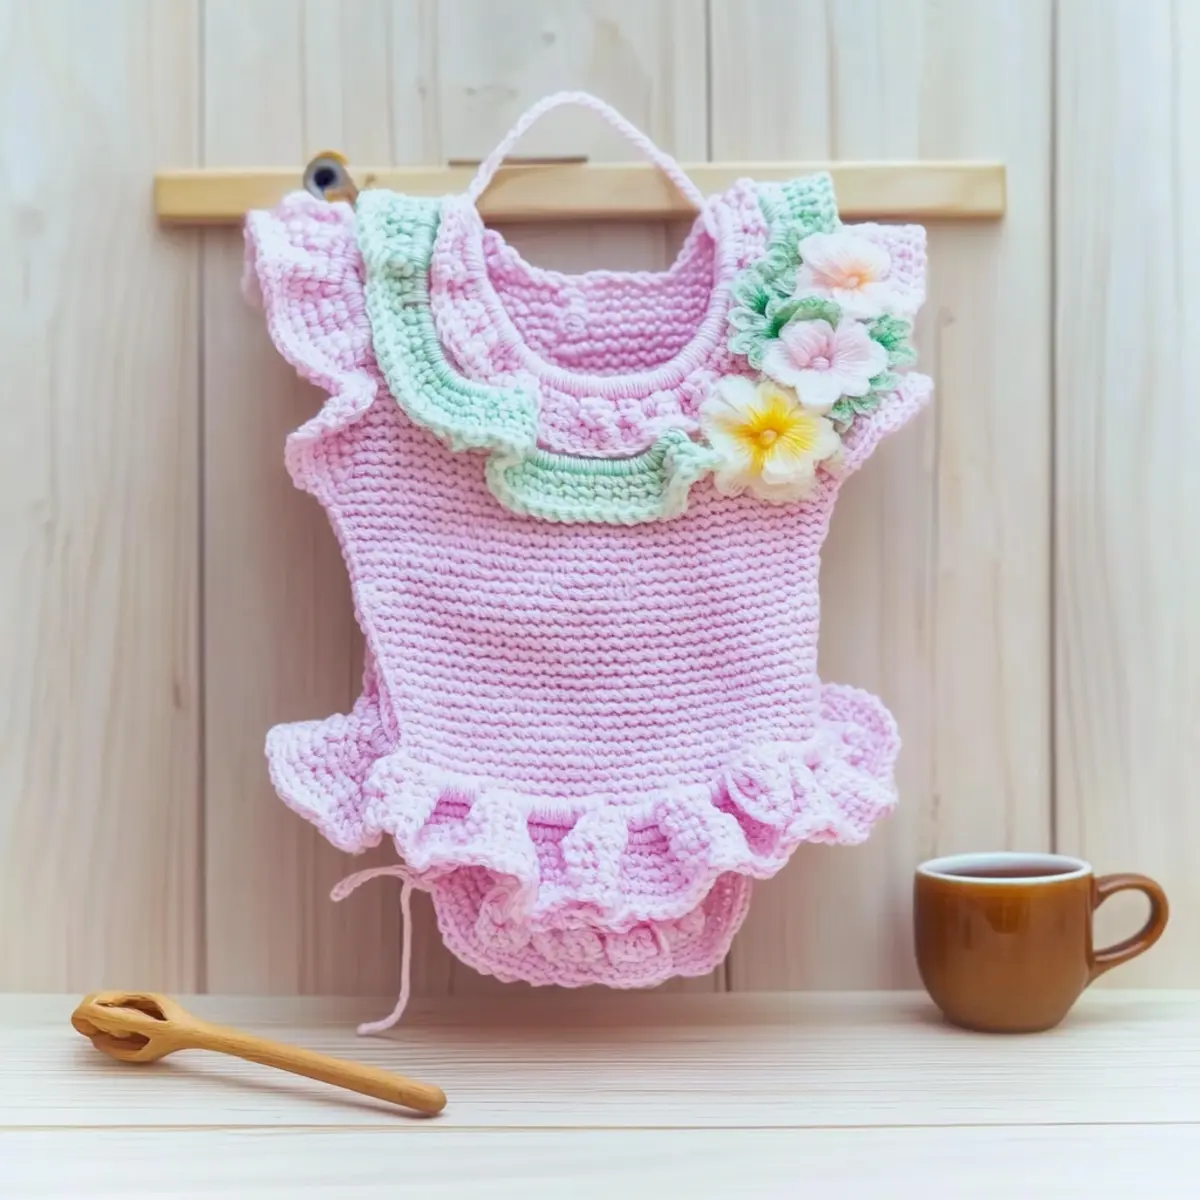
For a polished finish, add a simple sc edging around the neck and back opening. This will not only frame the collar but also help to stabilize the shape. Don’t forget to create button loops evenly spaced for closure. Completing this round should leave your romper neat and tidy.
Step 10: Final Assembly
Weave in all your ends with a tapestry needle and attach any buttons you plan to use. Review your work and double-check for any loose stitches. The Freya Frilly Romper is now ready to shine! Your adorable creation should be soft, cozy, and perfect for gifting or snuggling a little one.
Expert Tips for the Freya Romper
-
Count Your Stitches: Regularly count your stitches at the end of each round to maintain your romper’s shape and avoid surprise size changes.
-
Check Gauge Carefully: Always check your gauge before starting to ensure that the finished romper fits perfectly. Adjust your hook size if necessary!
-
Use Stitch Markers: Place stitch markers at the beginning of each round to keep track of your progress and prevent losing count, especially helpful for beginners.
-
Invisible Join: For a seamless look, use an invisible join when finishing your rounds, giving your romper a polished and professional edge.
-
Stay Consistent: Keep your tension even throughout the project to achieve a beautifully regular fabric, especially important given the nature of baby wear with the Freya Frilly Romper.
Freya Frilly Romper Variations
Get ready to infuse your personal flair into this adorable crochet journey—it’s time to sprinkle some creativity into your projects!
-
Color Swaps: Choose a vibrant hue that speaks to you! Changing the main color can give the romper a completely different vibe—perfect for seasonal events or personal styles.
-
Custom Length: For a unique fit, adjust the number of rows you work on the body. Add more rows for a fashionable romper dress or fewer for a cute shortie version.
-
Fiber Alternatives: Swap the Paintbox Yarns Baby DK for 100% cotton for breathability, or opt for a soft bamboo blend for a silky feel on baby’s skin. Both offer delightful alternatives!
-
Contrast Stitching: Add charm by using a contrasting color for the edging. This touch not only highlights your hard work but adds a whimsical contrast that will surely catch eyes.
-
Textures Galore: Introduce texture by adding a decorative border, pom-poms, or even a ruffle along the hem. This embellishment takes your romper from simple to stunning in a heartbeat!
-
Bonnet and Shoes: Crochet coordinating pieces like a whimsical bonnet and cute shoes for an adorable set! These will elevate your gift and create a complete look that’s simply irresistible.
-
Size Adjustments: Want to make a larger size for toddlers or older babies? Simply increase your stitch count while maintaining the overall shape for a comfy fit!
-
Playful Themes: Turn your romper into a character-themed delight—think bright colors for a playful animal or colors matched to a favorite cartoon. Your little one’s personality will shine through!
Feel free to explore even more customization ideas in our create a matching set section to truly make this project your own!
How to Wash and Care for Your Freya Frilly Romper
-
Machine Washing: Use a gentle cycle with cold water to protect the softness of the Paintbox Yarns Baby DK and maintain the romper’s delightful shape.
-
Hand Washing: For extra care, consider hand washing in cool water with a mild detergent to prevent any felting or pilling that could affect the romper’s adorable appearance.
-
Drying/Blocking: Air dry the romper flat on a clean towel, reshaping it gently to maintain structure. Avoid hanging, which can distort its delicate form.
-
Storage: Store the romper in a cool, dry place away from direct sunlight. Use a breathable bag to keep it fresh and ready for those joyful baby moments!
The Freya Frilly Baby Romper FAQs
Can I use a different yarn for the Freya Frilly Romper?
Absolutely! If you prefer a different yarn, look for a lightweight option. I recommend sticking with a Category 3 (light) yarn, like a cotton blend, to keep the lovely drape. Just remember to check your gauge to ensure the fit remains snug and comfortable for the little one.
How can I adjust the size of the romper?
Don’t panic! To make the romper larger or smaller, you can adjust the foundation chain. For every size you want to add, consider a multiple of stitches, like increasing by 4 for extra room. Just remember that the gauge is crucial; check it after any adjustments!
Why is my crochet work curling at the edges?
Oh no! If your work is curling like a bowl, this often means your tension might be too tight or your hook size is smaller than needed. Try switching to a larger hook or relaxing your grip. Also, ensure you’re following the recommended stitches accurately!
What hook size should I use for this pattern?
For the Freya Frilly Romper, you’ll want to use a 4 mm (G/6) crochet hook. If you’re working with a different yarn, it’s essential to check the yarn label and adjust the hook accordingly—always prioritize getting the proper gauge for a perfect fit!
How do I fix dropped stitches in my work?
It’s an easy fix! To remedy a dropped stitch, carefully grab the yarn and use your hook to pull it back through the last row’s loops. Make sure to secure it tightly so it doesn’t appear loose. Taking a moment to tidy up will keep your romper looking polished!
Can I add buttons to the romper instead of using a button loop?
Of course! If you prefer a different closure style, feel free to attach decorative buttons instead of making button loops. Just be mindful of the positioning to ensure it’s easy to dress and undress the baby—making it both functional and cute!
Leave a Reply