
As I sat on the couch, soft yarn cradled in my hands, I thought of the glowing faces at baby showers and the sweet gifts that steal the spotlight. Enter the Bluebell Baby Bonnet, a crochet baby hat pattern that is as delightful to make as it is to gift! With its quick and easy work-up, even beginner crocheters will feel like seasoned pros while creating this charming piece. The hypnotic rhythm of basic stitches gives way to a whimsical ruffled edging, making it an instant favorite for anyone looking to craft something special for the little ones in their lives. So grab your yarn and let’s dive into this cozy project that promises sweetness with every stitch!
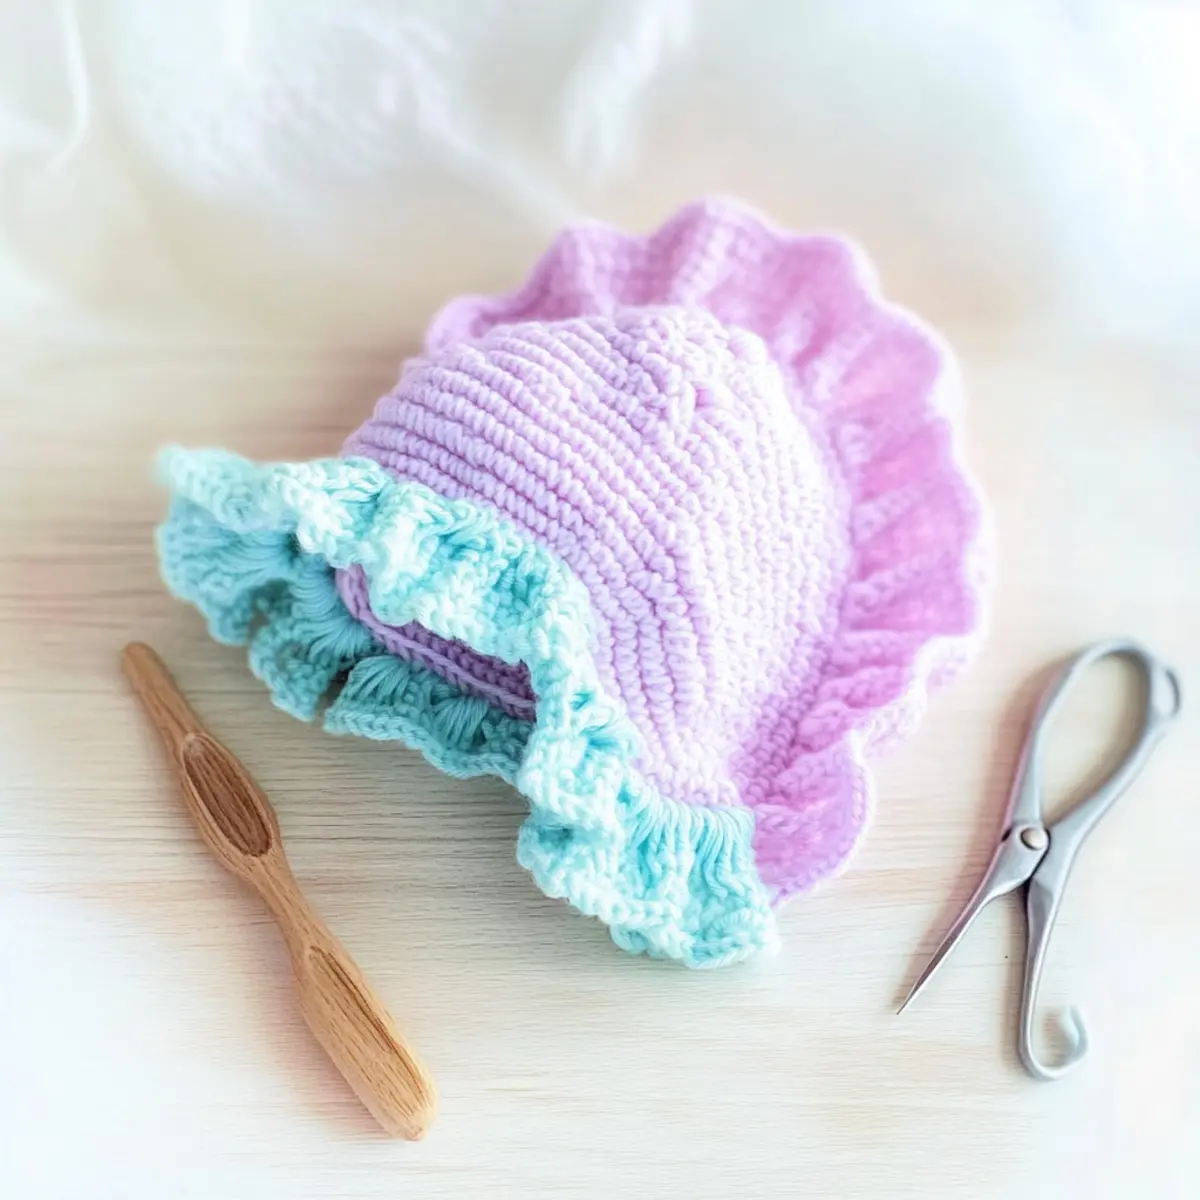
Bluebell Baby Bonnet Materials & Tools
- Yarn:
- Paintbox Yarns Baby DK – A light Category 3 yarn ideal for soft, cozy projects; check specific pattern for required yardage.
- Hook:
- 4.0 mm (US G/6) Hook – Perfect for achieving the delicate stitches needed for this adorable design.
- Notions:
- Stitch Marker – Handy for marking rounds to help you keep track while working in the round.
- Tapestry Needle – Essential for weaving in ends and finishing your charming Bluebell Baby Bonnet!
Why Is This Bonnet So Special?
Quick Crafting Experience: The Bluebell Baby Bonnet is designed for swift creation, making it perfect for crafters in a time crunch or those new to crochet.
Adorable Design: The charming ruffled edges add a touch of whimsy that’s sure to delight both babies and parents alike, making every finished piece a treasured keepsake.
Gift-Friendly: Looking for that perfect baby shower gift? This bonnet is ideal for gifting, instantly elevating your thoughtful gesture with a personal, handmade touch.
Versatile Sizing: Designed to fit newborns to three months, it’s simple to adjust row counts, allowing you to create perfect fit options for any little one.
Easy to Personalize: With potential yarn substitutions and color combinations, your creativity knows no bounds — add your unique flair to every bonnet!
Dive into your yarn stash today and get inspired to create by exploring more beginner-friendly crochet patterns that will spark your imagination!
Gauge & Sizing Notes
Don’t skip the gauge swatch! Ensuring your tension is just right is crucial for the adorable Bluebell Baby Bonnet to fit comfortably on your little one. Aim for a gauge of 15 stitches and 9 rows in double crochet to create a 4×4 inch (10×10 cm) square. If you’d like to adjust the size of this bonnet, you can increase your starting chain or rounds in multiples of 15 to scale up for a larger fit. If your tension doesn’t match, and your swatch is too small, simply go up a hook size to achieve the perfect snugness for this charming baby accessory. Happy crocheting!
Step‑by‑Step Pattern for Adorable Bluebell Baby Bonnet
Round 1: Magic Circle
Start by creating a magic circle. Into this circle, work 10 double crochet (dc). Pull the tail of the yarn to tighten the circle, ensuring there are no gaps. Your work should look like a small round disk. Count your stitches to ensure you have 10 dc (10 sts).
Round 2: Increase Round
Chain 2 (this counts as your first dc). In the same stitch, work another dc, then double crochet in each of the subsequent stitches, increasing by 2 dc in each stitch around. You will have a total of 20 dc at the end of this round (20 sts), and your work will be significantly larger.
Round 3: Further Increases
Chain 2 and make 1 dc in the next stitch, then 2 dc in the following stitch. This pattern of 1 dc followed by an increase (2 dc) will repeat around. By the end of the round, you’ll have 30 dc (30 sts). Your work should start to form a rounded dome.
Round 4: Final Increases
Chain 2. This time, work 2 dc in the next 2 stitches, followed by 1 dc in the next stitch. Continue this pattern around to increase gradually. You should have 40 dc (40 sts) at the end of this round, and the top of the bonnet will take shape beautifully.
Rows 1-8: Body of the Hat
Switch to working in rows for the body of the bonnet. Chain 2 and work 1 dc in each stitch across the entire row, maintaining the stitch count of 40 (40 sts). Repeat this for a total of 8 rows. Your work will start to feel like a cozy fabric, perfect for little heads!
Row 9: Ruffled Edging
For the ruffled edge, chain 3 (counts as first tr). In the next stitch, work 2 treble crochets (tr) for a decorative flourish, then skip 2 stitches, and place a slip stitch (sl st) in the next. Repeat this pattern around, creating a ruffled finish that should evoke whimsy and cuteness. Your edging should be loose and flowing.
Step 1: Neck Ties
Attach a new yarn strand to one side of the neck opening. Chain 30 to create a tie, then fasten off with a slip stitch. Repeat on the other side for symmetry. Your ties should be long enough to securely fasten the bonnet, adding both functionality and charm to the Bluebell Baby Bonnet.
Step 2: Weaving in Ends
Finally, use a tapestry needle to weave in any loose ends. Make sure everything is tidy and secure for a polished finish. Your adorable Bluebell Baby Bonnet is now ready for gifting or for that little one to wear in style!
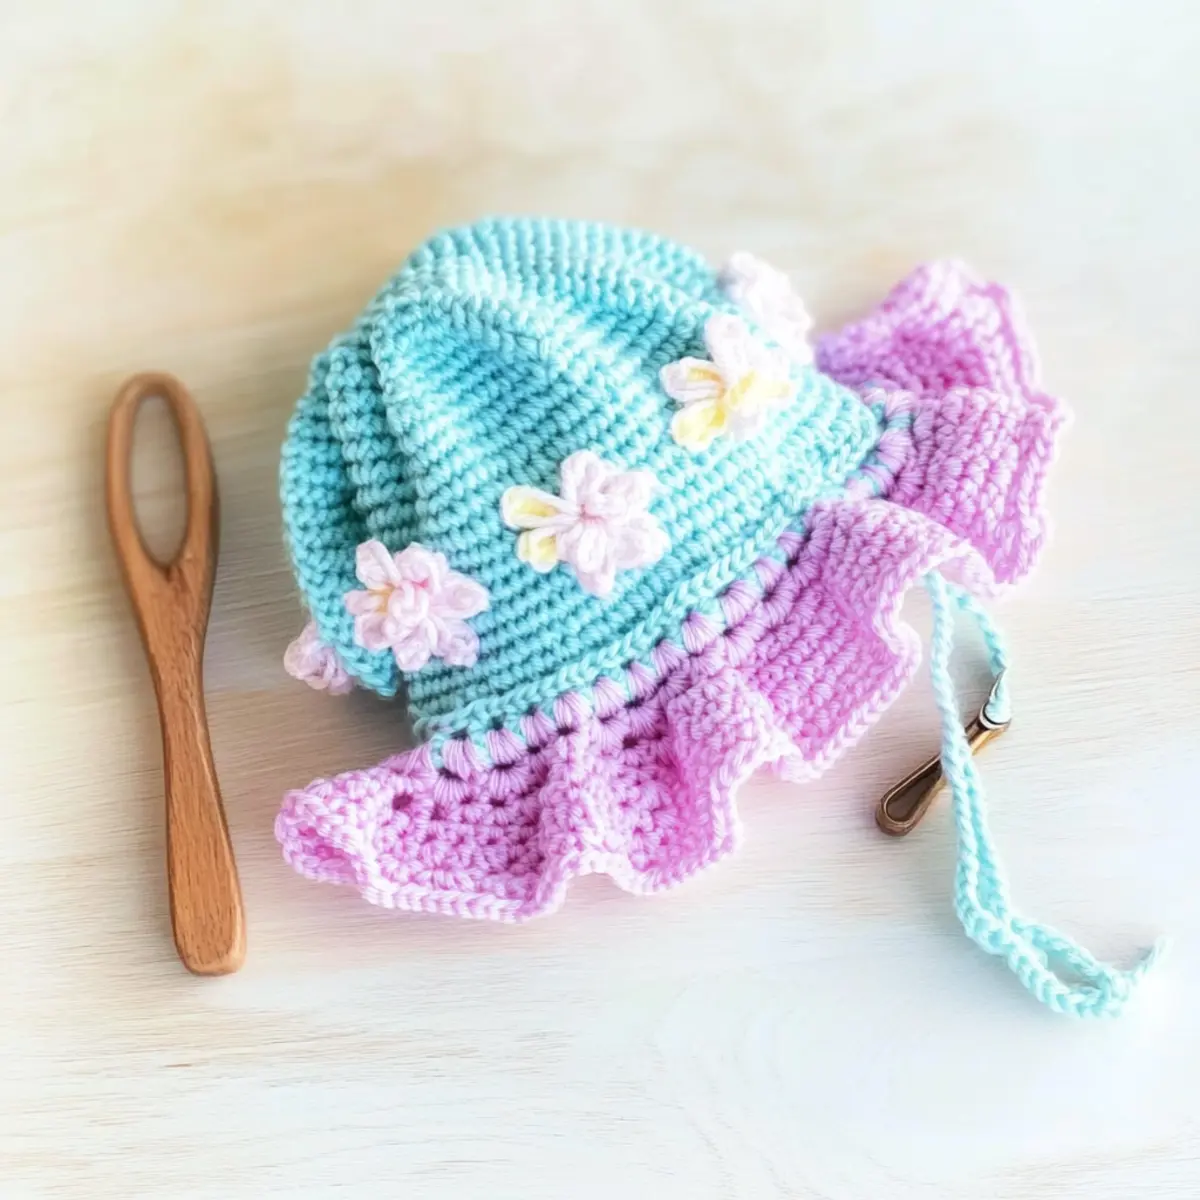
Expert Tips for the Bluebell Baby Bonnet
-
Tension Matters: Always start with a tension swatch to ensure your gauge is correct. Adjust your hook size if needed to maintain the bonnet’s cozy fit.
-
Count Your Stitches: Gently count your stitches every few rounds to keep your shape consistent. Missing a stitch can lead to an uneven finish or shape.
-
Secure Ends: When weaving in your ends, take your time to do it securely. This will prevent unraveling and maintain the lovely aesthetic of your Bluebell Baby Bonnet.
-
Magic Circle Trick: When forming the base with a magic circle, ensure it’s not too tight. A snug but comfy circle allows for easier adjustments in your first rounds.
-
Ruffled Edging Reminder: As you create the ruffled edging, ensure your triple crochet stitches are evenly spaced to achieve that whimsical flair. Happy crocheting!
Bluebell Baby Bonnet Variations
Ready to make this charming crochet baby hat uniquely yours? Let’s explore some fun ways to customize your Bluebell Baby Bonnet!
-
Yarn Substitutions: Swap Baby DK for Paintbox Yarns Cotton DK for a breathable cotton alternative. This will keep the bonnet lightweight and perfect for warmer weather.
-
Color Combinations: Experiment with vibrant hues or pastels to personalize each bonnet. Create a lovely gradient or a playful color-blocking effect for an even more unique look.
-
Longer Ties: Adjust the length of the ties for different styles or practicality. A longer tie offers more options for securing the bonnet comfortably.
-
Add a Pom-Pom: Top off your bonnet with a fluffy pom-pom for a playful flair. It’s quick and adds a delightful whimsical touch!
-
Fringe Finish: Instead of a ruffled edge, consider adding a fringe. It creates an adorable boho vibe and can be a fun way to use up small yarn scraps.
-
Textured Borders: Change the edge stitch to a shell or picot design for an intricate finish. This twist elevates the simple design and adds a beautiful texture.
-
Sizing Adjustments: For a snugger fit, decrease your row counts slightly. Conversely, add rows to create a larger size suitable for older infants; it’s perfect for those growing fast!
-
Coordinate with Booties: If you’re making a set, use the same yarn and colors for coordinating baby booties. Create a matching look that’s sure to be cherished.
Now that you have some creative ideas, don’t forget to check out other delightful beginner crochet patterns to inspire your next project!
How to Wash and Care for Your Bluebell Baby Bonnet
Machine Washing: Use a gentle cycle with cold water to preserve the delicate nature of the Bluebell Baby Bonnet. Avoid agitation to prevent felting or pilling.
Hand Washing: If preferred, hand wash with mild detergent in cold water. Gently agitate without scrubbing, then rinse thoroughly to keep your bonnet looking fresh.
Drying/Blocking: Lay the bonnet flat on a clean, dry towel to reshape as it dries. Avoid hanging to prevent stretching, maintaining the charming ruffled detail intact.
Storage: Store your bonnet in a cool, dry place away from direct sunlight. Consider using a breathable cotton bag to protect it and keep it in pristine condition until gifted.
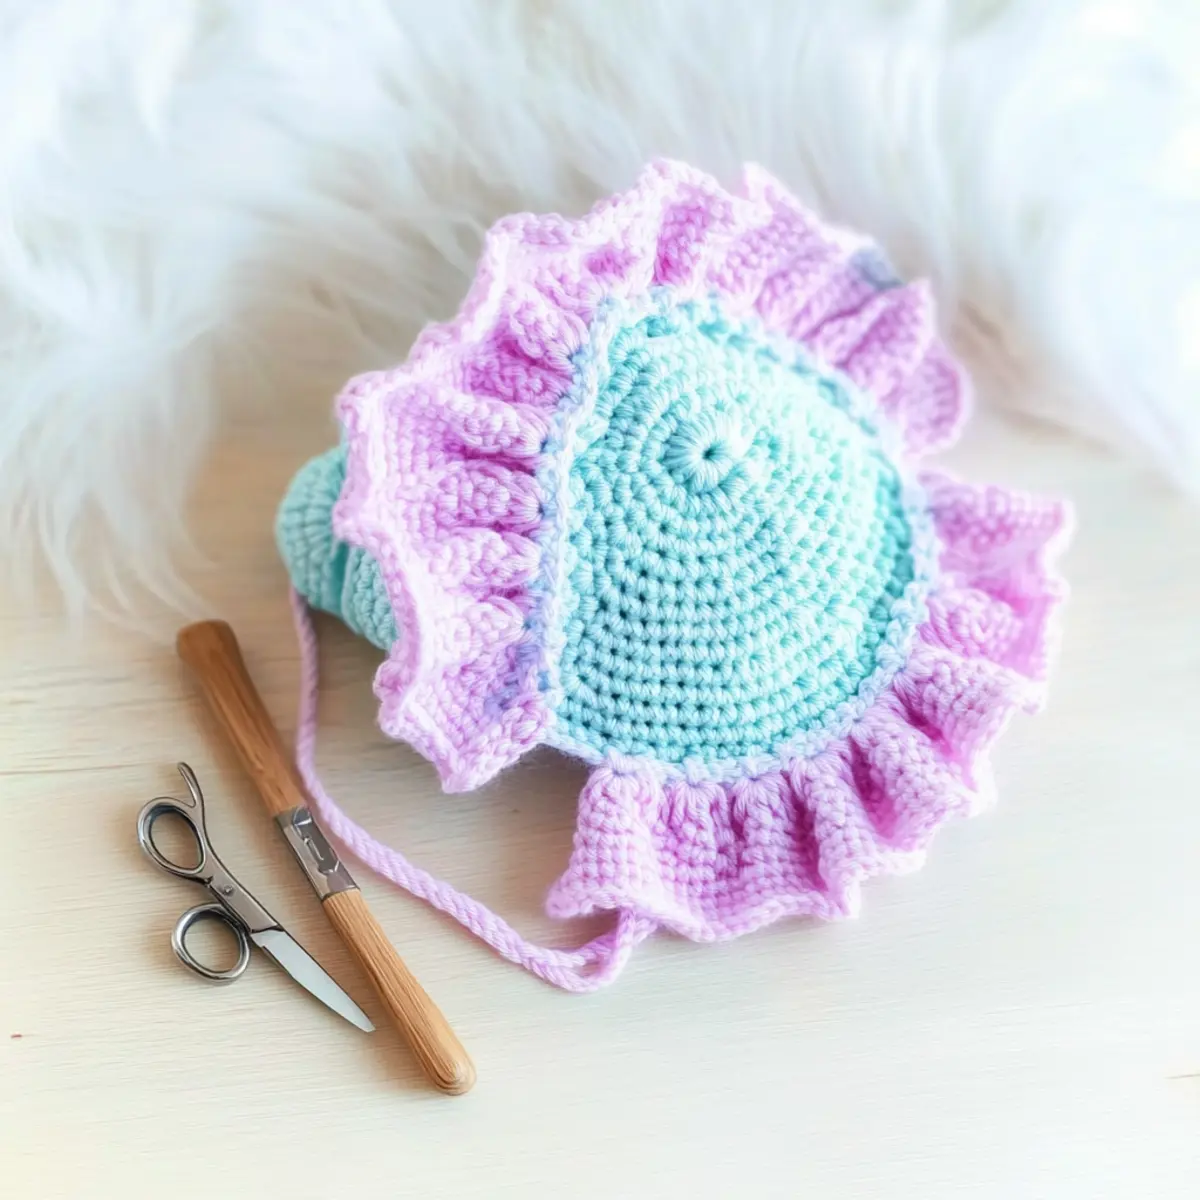
Bluebell Baby Bonnet FAQs
Can I substitute the yarn for this pattern?
Absolutely! While I recommend using Paintbox Yarns Baby DK for its softness and drape, you can certainly swap it for Paintbox Yarns Cotton DK for a cotton alternative. Just keep in mind that this may affect the overall fit and texture, so adjust your hook size accordingly.
How can I adjust the size of the Bluebell Baby Bonnet?
It’s simple to modify for different sizes! For a larger size, you can add additional rounds before switching to rows, or increase the row count. Just remember: keeping an eye on the gauge is key to ensuring a snug fit!
Why is my work curling at the edges?
Don’t panic! This is a common issue, particularly with crochet items. If your bonnet is curling, it could be due to tight stitches. Try relaxing your tension, and if that doesn’t work, add a few more rows of double crochet before the ruffled edging for added stability.
What hook size should I use for the Bluebell Baby Bonnet?
I recommend using a 4.0 mm (US G/6) hook for this pattern. If you’re experimenting with different yarns, make sure to check your gauge and adjust the hook size as needed to achieve the correct stitch count.
How do I fix dropped stitches in the bonnet?
Oh no, dropped stitches can be frustrating! An easy fix is to grab your tapestry needle and weave the yarn back into the dropped stitch, then gently pull the yarn to secure it. Always take a moment to count your stitches to catch these little mishaps early!
Can I make this bonnet longer to fit older babies?
Of course! You can definitely extend the height of the bonnet by adding more rows in the body section. Just make sure to try it on as you go, so you can ensure the adorable fit stays intact for your little one!
Leave a Reply