
As I sifted through my vibrant yarn stash, I stumbled upon sunny shades that whispered joy and inspiration. That’s when the idea sparked for the Crochet Sunflower Dress for Babies and Toddlers, a delightful project that not only showcases cheerful flower motifs but is also incredibly beginner-friendly! This pattern celebrates the warmth of summer with an easy-to-follow design, making it the perfect addition for your little one’s wardrobe. Not only is this dress a great way to use up those scrap yarns, but it also offers generous sizing options to grow alongside your child. Just imagine your little one twirling in the sunlight, a radiant smile on their face, all while wearing a creation made with love. Ready to dive in and turn those yarn scraps into a stunning handmade dress? Let’s get started!
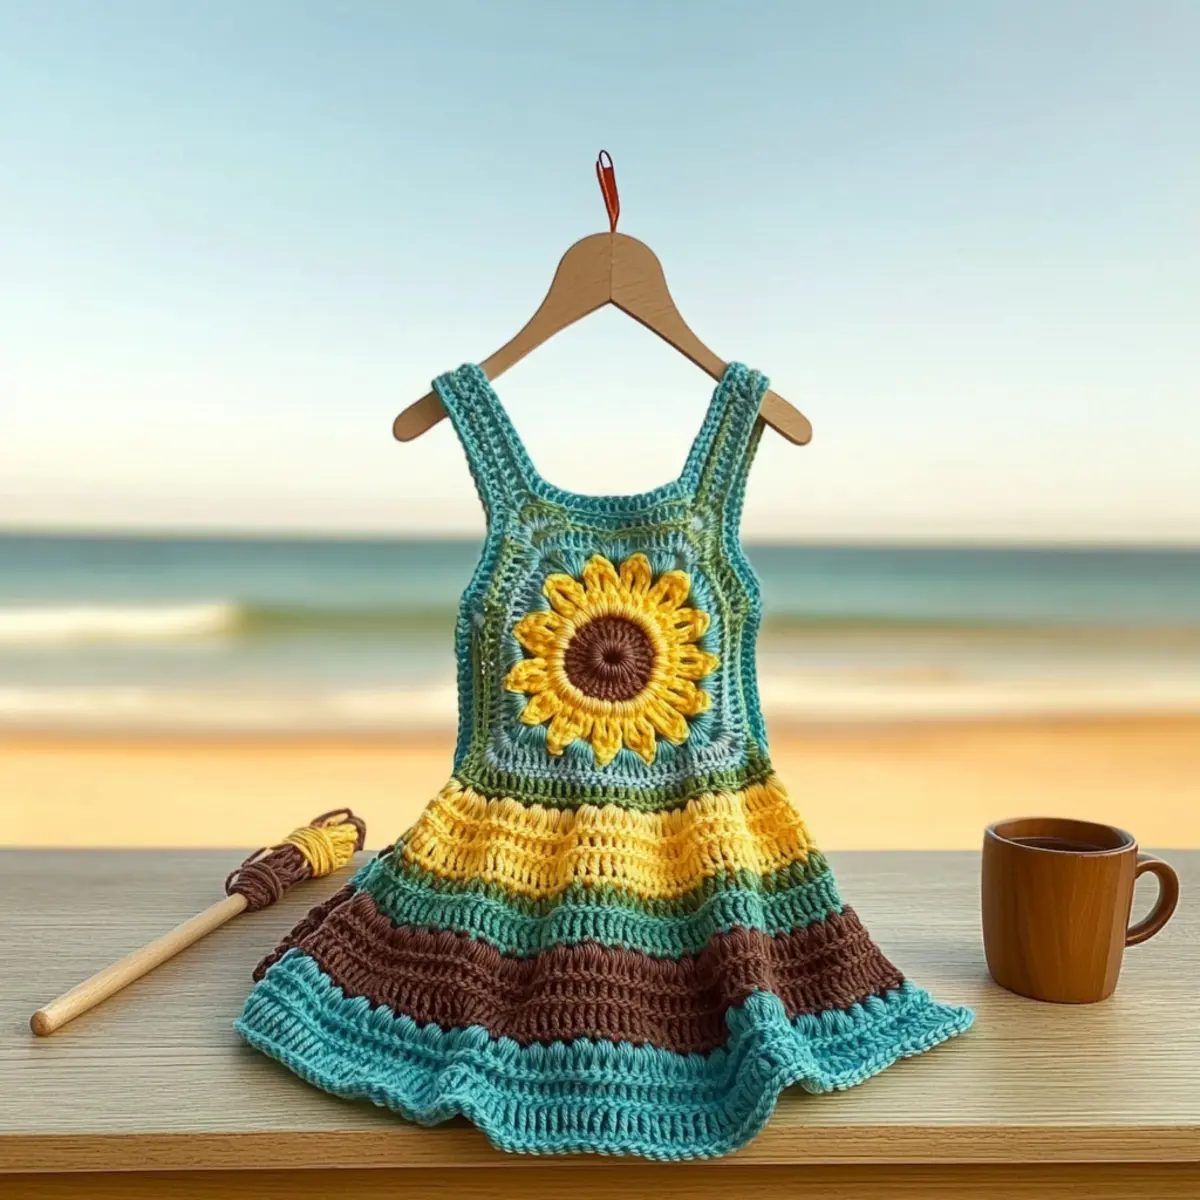
Sunflower Dress Materials & Tools
Create a delightful masterpiece with these essential supplies!
Yarn
- Worsted Weight Yarn – Approximately 200-300 grams total, depending on size. Choose cheerful colors for the sunflower motifs!
- 100% Cotton or Acrylic Yarn – Perfect for a soft, breathable dress that’s friendly on your budget and your stash.
Tools & Notions
- 4 mm (US G/6) Hook – The ideal size for working those lovely granny squares with ease.
- Stitch Markers – Essential for keeping track of your rounds as you crochet.
- Tapestry Needle – Use this to weave in ends and secure your creations beautifully.
- Optional Safety Eyes – A charming way to add detail to your sunflower motifs!
These materials are here to help you craft a stunning dress that will bring joy to your little one while using those precious scraps!
Why is This Dress a Must-Make?
Endless versatility: The cheerful sunflower motifs can be adapted to any color palette, making this dress perfect for every season.
Beginner-friendly: This pattern is easy to follow, with step-by-step instructions that guide you from the first granny square to the final dress.
Stash-friendly: Ideal for using up scrap yarn, you’ll reduce waste while creating something special for your little one.
Perfect for growth: With multiple size options, this dress grows with your child, ensuring they can enjoy it for more than one warm season.
Fun creativity: Personalize each dress with different colors or patterns, and watch your little one’s style blossom! Embrace your creativity and pair it with tips from our Stash-Busting Projects for even more inspiration.
Gauge & Sizing Notes
Don’t skip the gauge swatch! It’s essential for ensuring your Crochet Sunflower Dress fits beautifully on your little one. For this project, a standard gauge measurement is 4×4 inches (10×10 cm), which should equal 4 granny square rounds using a 4 mm hook. If you’re looking to adjust the dress for a snugger or roomier fit, remember to change your starting chain in multiples of 6 for the bodice and skirt. If your gauge swatch is smaller than specified, consider going up a hook size to achieve that delightful drape. Conversely, if it’s too large, simply switch to a smaller hook for a perfect fit! Happy crocheting!
Step‑by‑Step Pattern for Cheerful Sunflower Dress for Babies & Toddlers
Row 1: Starting the Bodice
Begin by creating a magic ring, then ch 3 (counts as first dc). Work 11 dc into the ring, pull tight, and sl st to top of ch-3 to join (12 dc). Your work should look like a small circle with defined stitches.
Row 2: First Round of Granny Square
Ch 1, then in the same stitch, work 2 dc (inc). Ch 2, work 3 dc in the next stitch (increase); repeat from * around. End with ch 2, sl st to join (24 sts total, including chain spaces). Your square should form a lovely shape, with open corners.
Row 3: Second Round of Granny Square
Ch 1, work 3 dc in the first ch-2 space. *Ch 2, work 3 dc in the next ch-2 space; repeat from * around, placing a ch-2 between each set. Join with a sl st (48 dc and 12 ch-2 spaces). The square should now be larger with distinct corners forming.
Row 4: Third Round of Granny Square
Ch 1 and work 3 dc in the first ch-2 space; in the next ch-2 space, work (3 dc, ch 2, 3 dc). Repeat in every ch-2 space around. Finish with a sl st to the first ch-1 (72 dc and 12 ch-2 spaces). Your granny square is expanding with a cheerful flair!
Row 5: Joining Squares
Join the granny squares in a zig-zag pattern using a sl st. Place the squares right sides together and sl st through both layers’ corners. Continue joining until you have the desired bodice width (depends on size). Your bodice will take on a beautiful layered look.
Row 6: Skirt Foundation
Ch 2, work 2 hdc in the same stitch (this counts as your first hdc). *Skip 1 stitch, work 3 hdc in the next stitch; repeat from * around, ensuring to work into the base of every joined square. Join with a sl st (60 hdc). This creates a lovely full skirt shape.
Row 7: First Skirt Round
Ch 2 (counts as first hdc), then work 2 hdc into each of the next hdc stitches all the way around. Join with a sl st (120 hdc). Your skirt should start to reveal its delightful volume, making it perfect for twirling.
Row 8: Color Change for Skirt
Switch to your next color, ch 2, and work 2 hdc into each stitch around. Continue this for a total of three rounds. Finish with a sl st, counting each round to ensure uniformity in color (120 hdc). The skirt now showcases vibrant hues reminiscent of sunflower petals.
Step 9: Finishing the Skirt
Ch 1, sc in the same stitch, then work 1 sc into each hdc around. Sl st to the first sc to join. This creates a clean edge for your cheerful sunflower dress (120 sc). Your skirt should now be nicely defined and ready for a final touch.
Step 10: Shoulder Straps
Using the starting chain, attach your yarn to the bodice. Ch 30 for the strap, turn, and work back with 1 sc in each stitch. Fasten off and repeat for the second strap (2 straps of 30 sc each). Securely attach them to the back of the bodice for a charming finish.
Step 11: Final Edging
For a polished look, work a round of sc around the bodice and skirt edges. This helps tidy the transitions and creates a cohesive design (count your stitches). Sl st to join. Your vibrant, cheerful sunflower dress is now complete, ready for your little one to wear with joy!
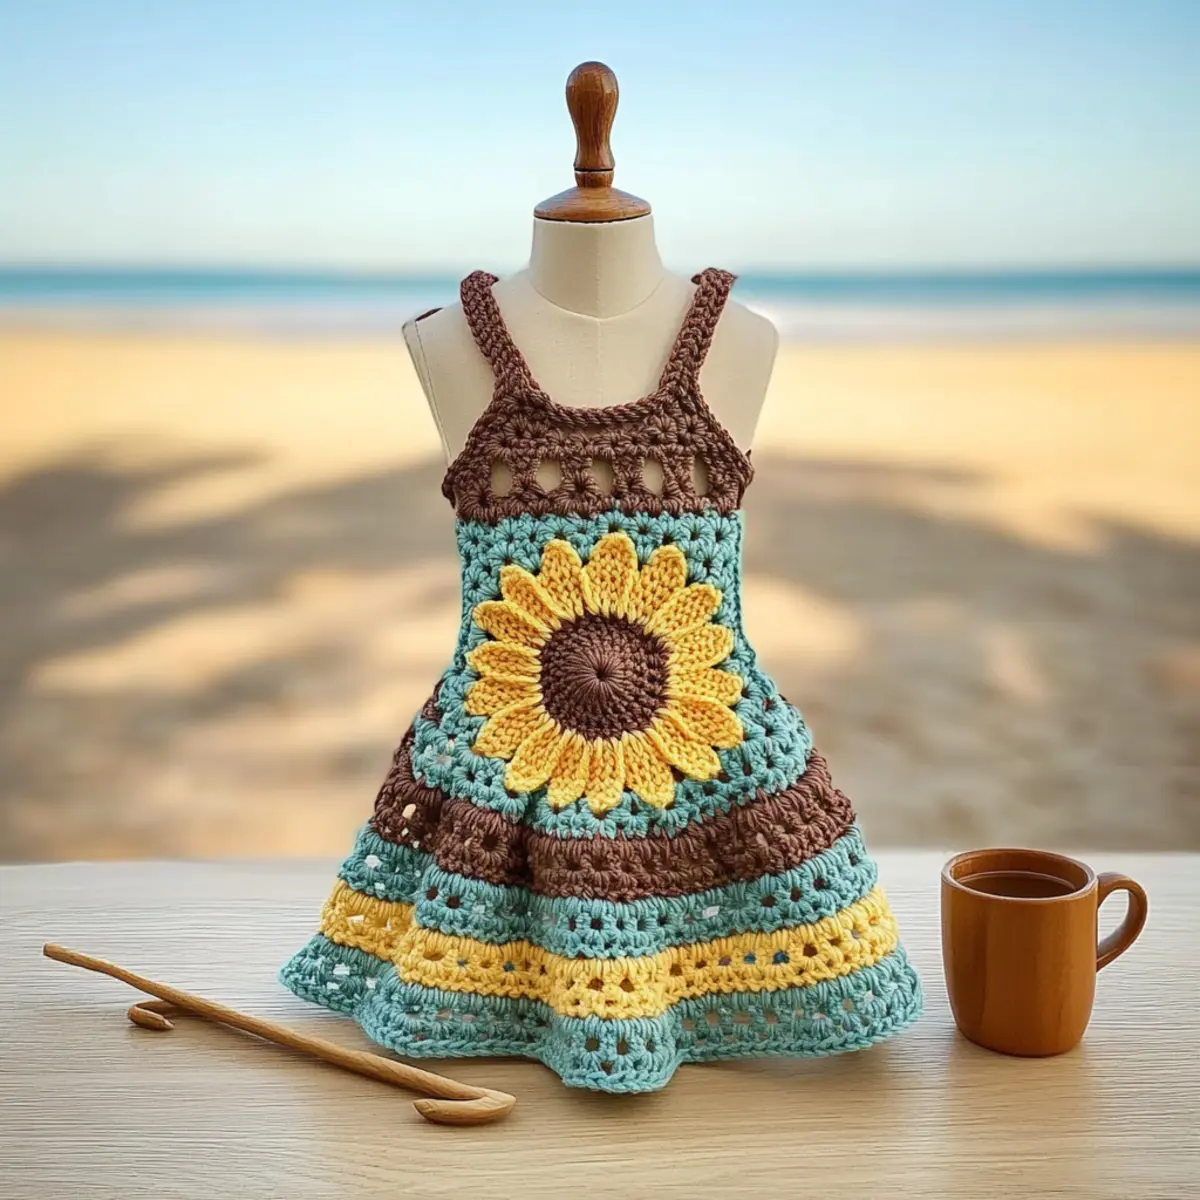
Sunflower Dress Variations & Substitutions
Unleash your creativity and transform this adorable dress into a unique masterpiece your child will love!
-
Yarn Weight Swap: Use a lighter DK weight yarn for a breezy summer look or a heavier bulky yarn for a cozy autumn dress.
-
Color Play: Experiment with unexpected color combinations like pastel pink bodice and sunflower yellow skirt for freshness. Each swap can bring a new story!
-
Fiber Alternatives: Opt for a blend of cotton and acrylic for softness and durability. This mix will make the dress machine washable and perfect for everyday wear.
-
Granny Square Designs: Try adding different motifs like hearts or stars within your granny squares to give it a personal touch that reflects your little one’s personality.
-
Length Adjustment: Shorten or lengthen the skirt based on your child’s height or style preference. A longer skirt is perfect for twirling, while a shorter one is great for playdates!
-
Textured Additions: Add fun fringe or a playful pom-pom trim along the hemline for added flair and texture. It’s a small detail that makes a big impact!
-
Contrasting Borders: Create a lovely contrast by adding a border in a vibrant color around the neckline and sleeves to tie the whole piece together beautifully.
-
Embellishment Ideas: Consider sewing on small felt flowers or buttons for an added whimsical touch and to ensure that every dress is a cherished keepsake.
Dive deeper into your crochet journey and discover more wonderful ideas with our creative DIY crochet projects that will inspire your crafting passion!
Expert Tips for the Sunflower Dress
Granny Square Consistency: Ensure all granny squares are the same size by checking your gauge regularly. This helps maintain a uniform look for the dress.
Track Your Colors: Keep a note of your color changes to avoid any surprises. This helps in achieving the cheerful design as intended in the pattern.
Count Your Stitches: Regularly count stitches at the end of every round. This prevents warping and ensures that the shape of your dress remains perfect as you crochet.
Finishing Touches: Weave in all loose ends neatly for a polished finish. Consider blocking the dress to enhance its overall texture and drape as it should look delightful!
Adjust for Comfort: Make sure the shoulder straps are securely attached and allow for room to tie for adjustment, ensuring your little one stays comfy while playing.
How to Wash and Care for Your Sunflower Dress
Machine Washing: Use cold water on a gentle cycle to preserve the vibrant colors and prevent any damage to the crochet stitches.
Hand Washing: If preferred, hand wash in cold water with mild detergent for the gentlest care—ideal for maintaining the unique sunflower motifs.
Drying/Blocking: Lay flat to dry, reshaping the dress as necessary. This helps in maintaining its beautiful texture and prevents any shrinkage.
Storage: Store the dress in a cool, dry space away from direct sunlight to preserve its cheerful colors and lovely design for future wear.
Cheerful Sunflower Dress for Babies & Toddlers FAQs
Can I use a different type of yarn than what is specified?
Absolutely! While the pattern recommends 100% cotton or acrylic for the best results, you can experiment with other yarn types. Just remember to match a similar weight category (worsted) to maintain the dress’s structure and drape.
How can I adjust the size of the dress if needed?
If you want to make the dress larger or smaller, simply add or subtract rows in the skirt section while keeping your granny squares consistent. For length adjustments, you could also include extra rounds in the skirt. Just keep in mind that you may need to use additional yardage for larger sizes—be sure to check your gauge for the best fit!
Why is my work curling at the edges?
Don’t panic! Curling can happen, especially with granny squares. Ensure you count your stitches accurately, and if you find that your squares are not lying flat, it may help to block them—this simple process will help to shape and relax the stitches into a nice flat form.
What hook size should I use for this pattern?
For this cheerful sunflower dress, you’ll need a 4 mm (US G/6) hook, which works perfectly with worsted weight yarn. If you’re using a different yarn type, make sure to check your gauge and adjust your hook size accordingly to maintain the dimensions outlined in the pattern.
How do I fix dropped stitches in my crochet work?
It’s an easy fix! If you notice a dropped stitch, simply use your crochet hook to re-insert it into the correct place. Gently tug on the yarn to keep the tension even, and if it gets unraveled too much, don’t hesitate to frogging back a bit and rework that section to ensure the design remains seamless.
Can I modify the colors in the pattern?
Definitely! This dress is meant to be personalized, so feel free to mix and match colors that make you smile. Just be sure to note your colors as you switch to maintain the cheerful design throughout, enabling you to create a unique piece that represents your creativity perfectly!
Leave a Reply