
Have you ever wished to wrap a little one in something truly magical? The Strawberry Cream Tiered Baby Dress is not just a garment; it’s a heartfelt creation that brings vintage sweetness to any special occasion. Perfectly sized for your favorite 6 to 12-month-old, this pattern is a delight for both beginner crochet enthusiasts and seasoned crafters alike. With its quick-working design and charming tiered construction, you’ll be amazed at how fast this gorgeous dress comes together. You’ll enjoy the soft, drapey texture of the cotton blend, making it a dreamy addition to a little one’s wardrobe. Whether it’s a baby shower gift or a cherished keepsake, this dress is sure to bring smiles. Let’s dive in and create a piece that sparkles with love and charm!
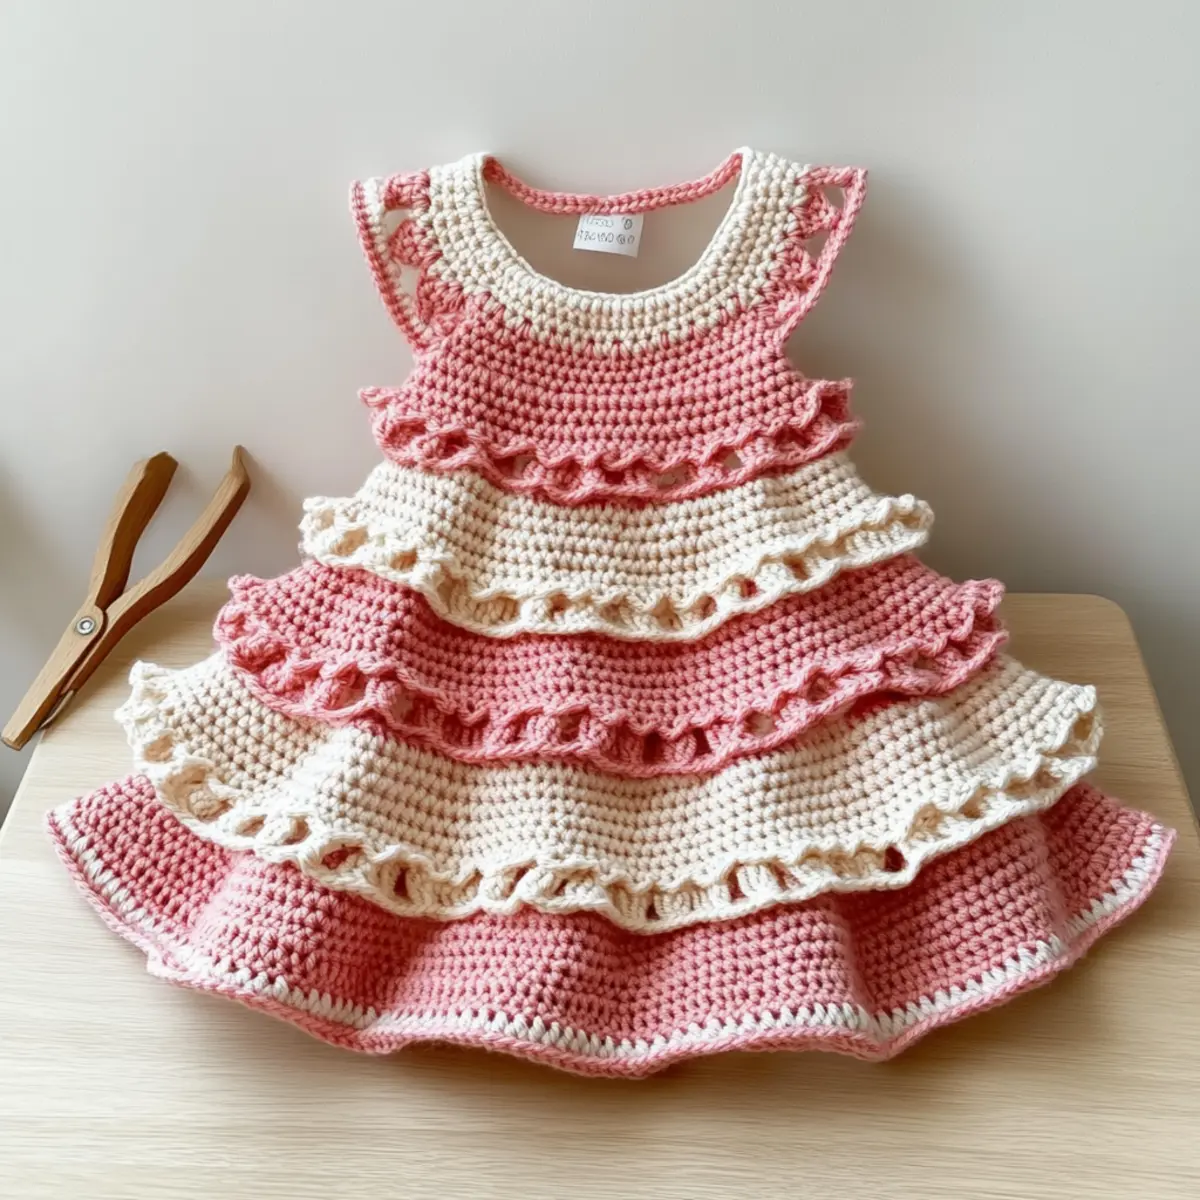
Strawberry Cream Tiered Baby Dress Materials & Tools
• Get ready to create a delightful piece for your little one with the perfect materials outlined below!
Yarn
- DK Weight Cotton or Cotton-Acrylic Blend – You’ll need approximately 600 yards (550 meters) to ensure a cozy and soft finish.
Tools & Notions
- 4 mm (G/6 US) Hook – This hook size is perfect for achieving the delicate stitches in your dress.
- Stitch Markers – Helpful for keeping track of rounds and marking important points in your pattern.
- Tapestry Needle – Essential for weaving in ends neatly and securing your work.
- Scissors – Don’t forget these to snip your yarn at the end of each project!
Embrace your creative journey with the Strawberry Cream Tiered Baby Dress as you gather these materials and tools!
Why is this dress a must-make?
Enchanting Aesthetic: The Strawberry Cream color palette radiates warmth, making it ideal for special occasions.
Quick & Easy: Designed for beginner crocheters, you’ll master essential stitches while crafting this adorable dress.
Cozy Fabric: The soft cotton blend ensures comfort for little ones, feeling gentle against their skin.
Perfect for Gifting: Among the best gifts for baby showers, this dress will surely be a cherished keepsake.
Customizable Features: Easily adjust the tier length or choose different colors to match any season or theme for extra flair!
Gauge & Sizing Notes
Don’t skip the gauge swatch! Making sure your tension is correct for the Strawberry Cream Tiered Baby Dress is essential for achieving that perfect fit for your little one. To ensure your dress turns out the right size, aim for a gauge of 18 stitches and 10 rows in a 4×4 inch (10×10 cm) square worked in double crochet. If you want to adjust the sizing, you can add or subtract your starting chains in multiples of 6 to achieve the desired width. If your swatch isn’t matching up, don’t worry—if it’s too small, simply try going up a hook size for better results. Happy crocheting!
Step‑by‑Step Pattern for Strawberry Cream Tiered Baby Dress
Row 1: Starting the Yoke
Begin by making a slip knot and chaining 72. Join the ends with a slip stitch (sl st) to form a ring. Work 1 chain (ch) to begin the first round. In this round, make 1 double crochet (dc) in each chain around for a total of 72 stitches, ensuring your work stays flat and ready for the bodice.
Row 2: Increasing for the Bodice
For Row 2, ch 1, then work 1 dc in the first stitch. In the next stitch, work 2 dc (inc), and repeat this pattern (1 dc, 2 dc in next) around. At the end of this round, you should have increased to 108 stitches (108 sts), creating a wider yoke that will fit comfortably.
Row 3: Continuing the Bodice
Ch 1 to start Row 3, then work 1 dc in each stitch around without increases. This row emphasizes the bodice shape, maintaining the 108 stitches (108 sts) while allowing your work to elongate. Your bodice should start to take a gentle curve as you move forward.
Row 4: Shaping the Armholes
To create the armholes, ch 1 and work 1 dc in the next 36 stitches. Then, ch 20, skip the next 36 stitches (this creates the armhole space), and continue with 1 dc in the remaining 36 stitches. This sets up the bodice for a lovely fit around the arms (72 sts).
Row 5: Fitting the Bodice
Ch 1 and begin Row 5 with 1 dc in the first 36 stitches. Next, work 20 dc into the chain created in the previous row (you’re essentially filling the armhole), then finish by working 1 dc in the last 36 stitches. You’ll still have 108 stitches (108 sts) overall, ensuring a fitted bodice shape.
Rows 6-8: Building the Bodice Height
For Rows 6 to 8, ch 1 at the beginning of each row and work 1 dc in each stitch around, continuing with 108 sts. These rounds help to build the bodice height and create structure, allowing your bodice to have a cozy, comfortable fit.
Row 9: Beginning the Skirt Tier
Ch 1 to start Row 9, then work 1 dc in each stitch around. After completing this round, start forming the skirt by changing colors. In the new color, work the next round with 1 shell stitch (5 dc in the same stitch) in every 6th stitch around, resulting in a beautiful scallop effect (18 shells).
Row 10: Second Skirt Tier
Ch 1 and begin Row 10 by working 1 shell stitch in each shell stitch from the previous round. Between each shell, work 1 dc, which adds fullness to the tier. By the end of this round, you will have an enchanting texture with 90 total stitches (90 sts).
Row 11: Eyelet Round
For Row 11, ch 4 to represent a chain space and work 1 dc in the next stitch. Continue alternating between a ch space and a dc around. This eyelet row will beautifully frame the skirt and prepare for the next scallop tier, totaling 90 stitches (90 sts).
Row 12: Final Scallop Tier
Ch 1 and work 1 shell stitch into each chain space from Row 11. Between each shell, make 1 dc to fill in any gaps, enhancing the overall appearance and flair of the skirt. Your work should now feature delicate and charming scallops (90 sts).
Step 1: Armhole Edging
Once the skirt tiers are complete, ch 1 and prepare for the armholes. Work 1 row of sc around the armhole edges, creating a soft finish with approximately 36 stitches on each side. This enhances the dress’s comfort and makes it easier for little ones to wear.
Step 2: Neckline Trim
Ch 1 to begin the neckline trim and work 1 sc around the neckline, adding a decorative touch while providing stability. Ensure this row lies flat against the bodice, creating a polished finish as you round out your beautiful Strawberry Cream Tiered Baby Dress.
Step 3: Final Touches
Complete your dress by weaving in loose ends with a tapestry needle. Add a decorative bow at the front just below the neckline to incorporate that charming vintage feel. Your enchanting tiered baby dress is now ready to be gifted and cherished, radiating warmth and love for any precious little one!
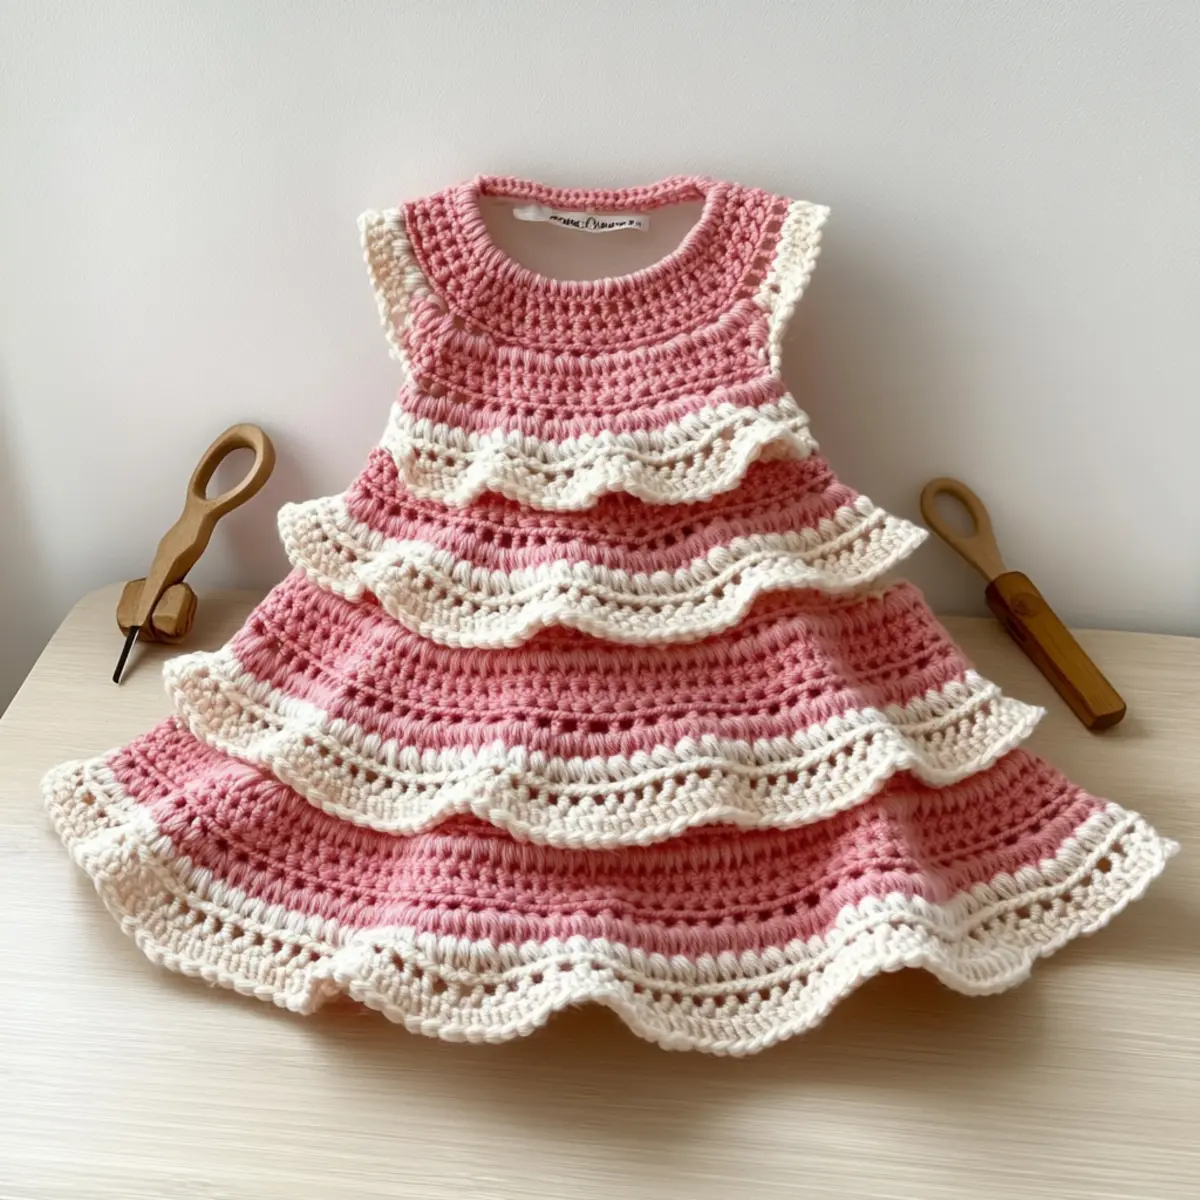
Expert Tips for the Strawberry Cream Dress
-
Check Your Gauge: Always measure your gauge before starting the dress. Aim for 18 stitches and 10 rows in double crochet over 4 inches to ensure the correct fit.
-
Count Those Stitches: Count your stitches at the end of every round to prevent losing shape in the bodice and tiers. It’s an easy mistake to make, but staying vigilant helps!
-
Block the Dress: Don’t skip blocking! It enhances the scallops and gives your dress a polished look. Lay it flat to dry after washing to maintain tier shape.
-
Join Tiers Carefully: When adding new tiers, always join them to the appropriate round of the previous tier to maintain that lovely layered effect.
-
Keep It Cozy: Use a soft cotton or cotton blend yarn for the best finished dress, ensuring it feels gentle against the little one’s skin.
-
Finishing Touches: Add a decorative bow on the neckline for an extra touch of whimsy. It’s these little details that bring your Strawberry Cream Tiered Baby Dress to life!
How to Wash and Care for Your Strawberry Cream Tiered Baby Dress
-
Machine Washing: Use a gentle cycle in cold water to preserve the delicate cotton blend. Avoid high agitation to prevent any felting or pilling of the yarn.
-
Drying/Blocking: Lay the dress flat to dry after washing to maintain the beautiful tier shape. Blocking is recommended before gifting to soften the cotton and enhance the scallops.
-
Storage: Store the dress in a cool, dry place away from direct sunlight. This helps retain its vintage charm and avoids any potential color fading over time.
-
General Care: Regularly inspect the dress for any loose threads or snags, especially after washing, to ensure it stays in perfect condition for your little one.
Strawberry Cream Dress Variations
Embrace your creativity and add a personal touch to your adorable Strawberry Cream Tiered Baby Dress with these fun variations!
- Yarn Substitutions: Opt for a cotton-acrylic blend for added warmth and stretch. You’ll still maintain that soft drape.
- Color Blocking: Use alternating tiers of pastel colors to bring a playful, seasonal vibe. Picture soft mint greens or buttery yellows!
- Longer Length: Add an extra tier or two following the same increase pattern to create a show-stopping dress perfect for a little one to twirl in.
- Texture Twist: Incorporate puff stitches in the tiered sections for added texture and a fun visual effect. It can really make the dress pop!
- Size Adjustments: For toddlers aged 12-18 months, increase the starting chain in multiples of the pattern repeat to ensure a perfect fit.
- Fringe Flare: Consider adding a fringe at the hem of the last tier for a trendy, bohemian touch that little ones will love.
- Embellished Edges: Create a scalloped border around the armholes and collar for an added whimsical flourish. It’s all in the details!
- Seasonal Themes: Make it festive by using holiday colors or motifs to create a one-of-a-kind piece, perfect for celebrating special moments.
As you explore these ideas, you might also enjoy learning more about how to create delightful baby crochet patterns or even experimenting with colorful crochet techniques to enhance your projects! Let your imagination run wild!
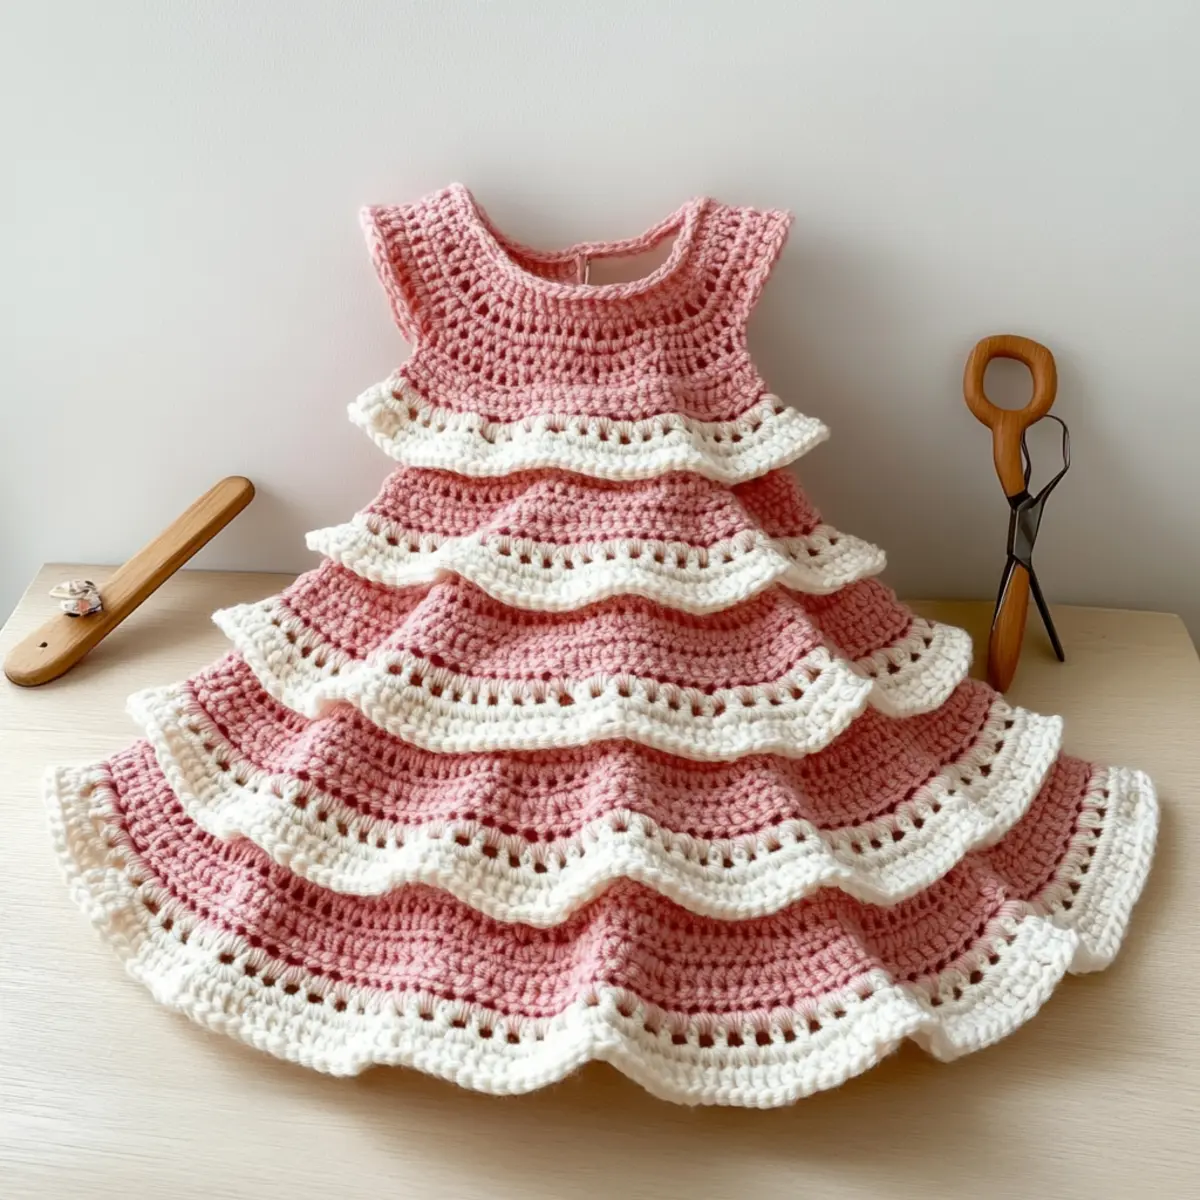
Strawberry Cream Tiered Baby Dress FAQs
Can I use a different yarn instead of DK weight cotton?
Absolutely! You can substitute a lighter worsted weight acrylic yarn if you prefer. Just keep in mind that this may alter the drape and feel of the dress slightly, so it’s a good idea to check your gauge to ensure the right sizing.
How can I adjust the size to fit a smaller or larger baby?
To modify the sizing, simply add or subtract starting chains in multiples of the pattern repeat. For this pattern, if you’re looking to fit a smaller baby, consider starting with 66 chains; for a slightly larger fit, 78 chains may work better. Always check your gauge for the best results!
Why is my work curling at the edges?
Don’t panic! Curling often happens with double crochet stitches if you’re not using the right tension. Make sure you’re not pulling your yarn too tightly and consider adding a few rows of single crochet to stabilize the edges. This can help flatten your piece out beautifully.
What if I dropped a stitch while crocheting?
It’s an easy fix! Take a deep breath and gently pull the yarn to unravel back to the dropped stitch. Use your hook to pick it back up, ensuring it’s placed in the right position in your work. If this happens often, consider using stitch markers to keep track of your stitches.
What size hook should I use for this dress?
For the Strawberry Cream Tiered Baby Dress, a 4 mm (G/6 US) crochet hook is recommended. This size helps create the perfect tension with the yarn and will make your work more enjoyable as you craft those charming tiers.
Can I make this dress longer for a special event?
Absolutely! To extend the length of the dress, simply add extra tiers while following the established increase pattern. Just remember, increase evenly and maintain the overall balance to keep the vintage feel intact. Happy crocheting!
Leave a Reply