
As I nestled into my favorite armchair with a soft skein of cotton yarn, I couldn’t help but think about the joy of crafting something special for a little one. This adorable baby rattle, shaped like a cuddly teddy bear teether, is the perfect project for anyone looking to create a heartfelt gift. Quick and easy to crochet, it’s ideal for those last-minute baby showers or to welcome a new arrival into the world. Plus, using non-toxic materials ensures it’s safe for tiny hands and gums. Imagine the thrill of gifting something handmade that brings comfort and smiles—let’s dive into this delightful pattern and start stitching our way to a sweet creation!
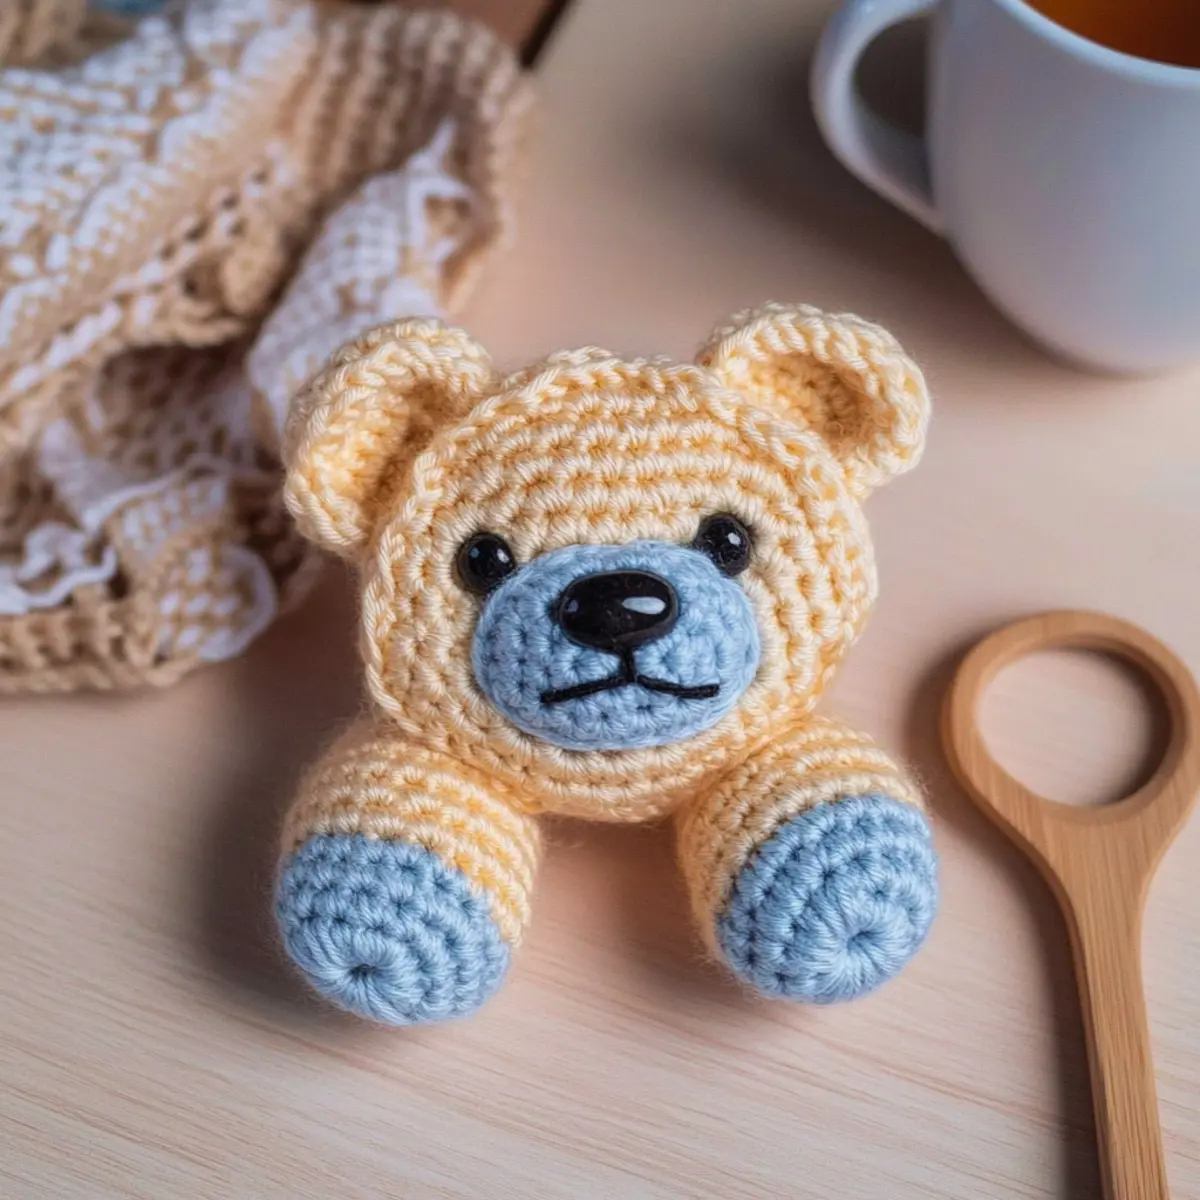
Baby Rattle Teether Materials & Tools
Note: Get ready to create a delightful teddy bear rattle with these baby-friendly, non-toxic materials!
Yarn
• Hobbii’s Rainbow Cotton 8/4 – 100% cotton yarn, perfect for the body; use approximately 50g for this project.
• Hobbii’s Rainbow Cotton 8/8 – Ideal for the nose and eyes for contrast; this thicker yarn is great for detailed features.
Tools & Notions
• 3.5 mm (E/4) Crochet Hook – Perfect size for achieving the desired tension in your stitches.
• Wooden Teething Ring – Ensure it’s unpainted and non-toxic for safe playtime.
• Stitch Markers – Use these to keep track of your rounds and avoid losing your place.
• Tapestry Needle – For weaving in ends and sewing pieces together.
• Polyester Filling – For stuffing the head, ensuring a soft, cuddly feel that’s still safe for babies.
Why Is This Baby Rattle Special?
Handcrafted Joy: Each Teddy Bear Rattle is made with love, offering a unique and personal touch for any baby.
Quick Project: You can whip this delightful toy up in no time, making it perfect for those last-minute gifting moments.
Baby-Safe Materials: Using non-toxic yarn and wooden rings ensures safety for babies who will be gnawing and teething.
Charming Aesthetic: The combination of cotton yarn and adorable teddy bear design makes this rattle a treasured keepsake that looks great in any nursery.
Perfect for Beginners: With straightforward stitches, this pattern is accessible to novice crocheters while providing a rewarding crafting experience.
Customizable Fun: Feel free to personalize the colors or add embroideries to reflect your creativity or match the recipient’s nursery theme. For more fun ideas, check out our tips on customizing crochet projects.
Gauge & Sizing Notes
Don’t skip the gauge swatch! Ensuring your tension is spot on is crucial for the perfect fit of your adorable teddy bear rattle teether. Your gauge should measure 4×4 inches (10×10 cm) and consist of 14 single crochets by 8 rows. If your swatch is bigger or smaller, don’t fret! To make your rattle larger, adjust your starting chain in multiples of 6. If your tension is too tight, simply try going up a hook size to achieve that cozy, squishy feel that makes this project so delightful. Remember, a little preparation goes a long way in creating a cherished keepsake!
Step‑by‑Step Pattern for Cozy Crochet Baby Rattle: Teddy Bear Teether
Row 1: Start the Head
Begin with a magic circle, ch 2 (does not count as a stitch) and work 6 sc into the circle. Pull the circle tight to close. This will form the foundation of your teddy bear’s head. Your work should begin to curl slightly as you create the first round (6 sts).
Row 2: Increase for Shape
In this round, make 2 sc in each stitch around to increase the size of the head. You’ll be diving into the cozy curves of your teddy bear. Count your stitches to ensure accuracy, and the round should end with 12 sts (12 sts).
Row 3: Continue Increasing
For this round, work 1 sc in the first stitch, 2 sc in the next stitch, repeating this pattern around. This will help build the form of the head while keeping it balanced. You should see your work puffing out nicely, finishing with 18 sts (18 sts).
Row 4: More Increases
Now work 1 sc in each of the first 2 stitches, 2 sc in the next stitch, continuing this way around. This brings your teddy bear’s head to a lovely fuller shape. At the end of the round, you’ll have 24 sts (24 sts).
Row 5: Steady Even Stitches
In this round, simply work 1 sc in each stitch around without increasing. This is where we stabilize the shape you’ve created, resulting in a round and sturdy form. Your head should feel pleasantly plump and cozy as you reach the finish with 24 sts (24 sts).
Row 6: Maintain Size
Continue crocheting 1 sc in each stitch around again, just like before, making sure your teddy bear remains consistent. This ensures the head has a nice depth and keeps it looking adorable. You should still have 24 sts at the end of this round (24 sts).
Row 7: Final Even Round
Keep the momentum going by working a 1 sc in each stitch around for another round. This final round helps round out the form before we shape the teddy bear’s head. You’re getting closer to that charming rattle, finishing with 24 sts (24 sts).
Row 8: Start Decreasing
Now we need to gently start decreasing to shape the head. Work 1 sc in each of the first 2 stitches, then 1 dec around. This will start to pull in the work as we create your teddy bear’s lovely head shape. Count your stitches carefully to wrap up with 18 sts (18 sts).
Row 9: Continue Decreasing
For this round, work 1 sc in the first stitch, then 1 dec around. This reduction helps bring the top of the head together, giving it your desired structure. Your work should start to feel a little tighter, culminating with 12 sts (12 sts).
Row 10: Final Decrease
In this round, simply work 1 dec for each stitch around. As you do this, start adding a small amount of polyester filling for shape and support. Your teddy bear’s head should begin to look more defined, ending the round with 6 sts (6 sts).
Row 11: Snout Creation
Using a magic circle, ch 1 and work 6 sc into the circle to create the snout. This smaller section will give depth and character to your teddy bear’s face. After pulling tight, your work should have a cozy shape (6 sts).
Row 12: Attach Snout to Head
Carefully position the snout on the front of the teddy bear’s head and crochet a few stitches to secure it in place. This will add a delightful detail that brings your cute teddy bear rattle to life, firmly securing it.
Row 13: Craft the Ears
Create each ear separately by making a magic circle, ch 1, and working 4 sc into the circle. Pull it tight, then fold and sew to the head between rounds 2 and 3 for a snug fit. The ears will bring your teddy bear an extra charm.
Row 14: Finalize Ears
Sew the ears in place, ensuring they sit evenly on either side of the teddy bear’s head. This small attention to detail will add to the sweetness of your cozy crochet baby rattle.
Row 15: Teething Ring Cover
For the teething ring cover, create a foundation chain that matches the circumference of the ring. Join with a sl st and crochet 1 sc in each st around, forming a snug cover. Your work should fit nicely around the wooden ring for a perfect finish.
Row 16: Complete Assembly
Finally, sew all the pieces securely, aligning everything properly to finish your cozy crochet baby rattle. Ensure the attachments are firm, as this delightful teether will bring smiles to little ones. You should admire your lovely handiwork now!
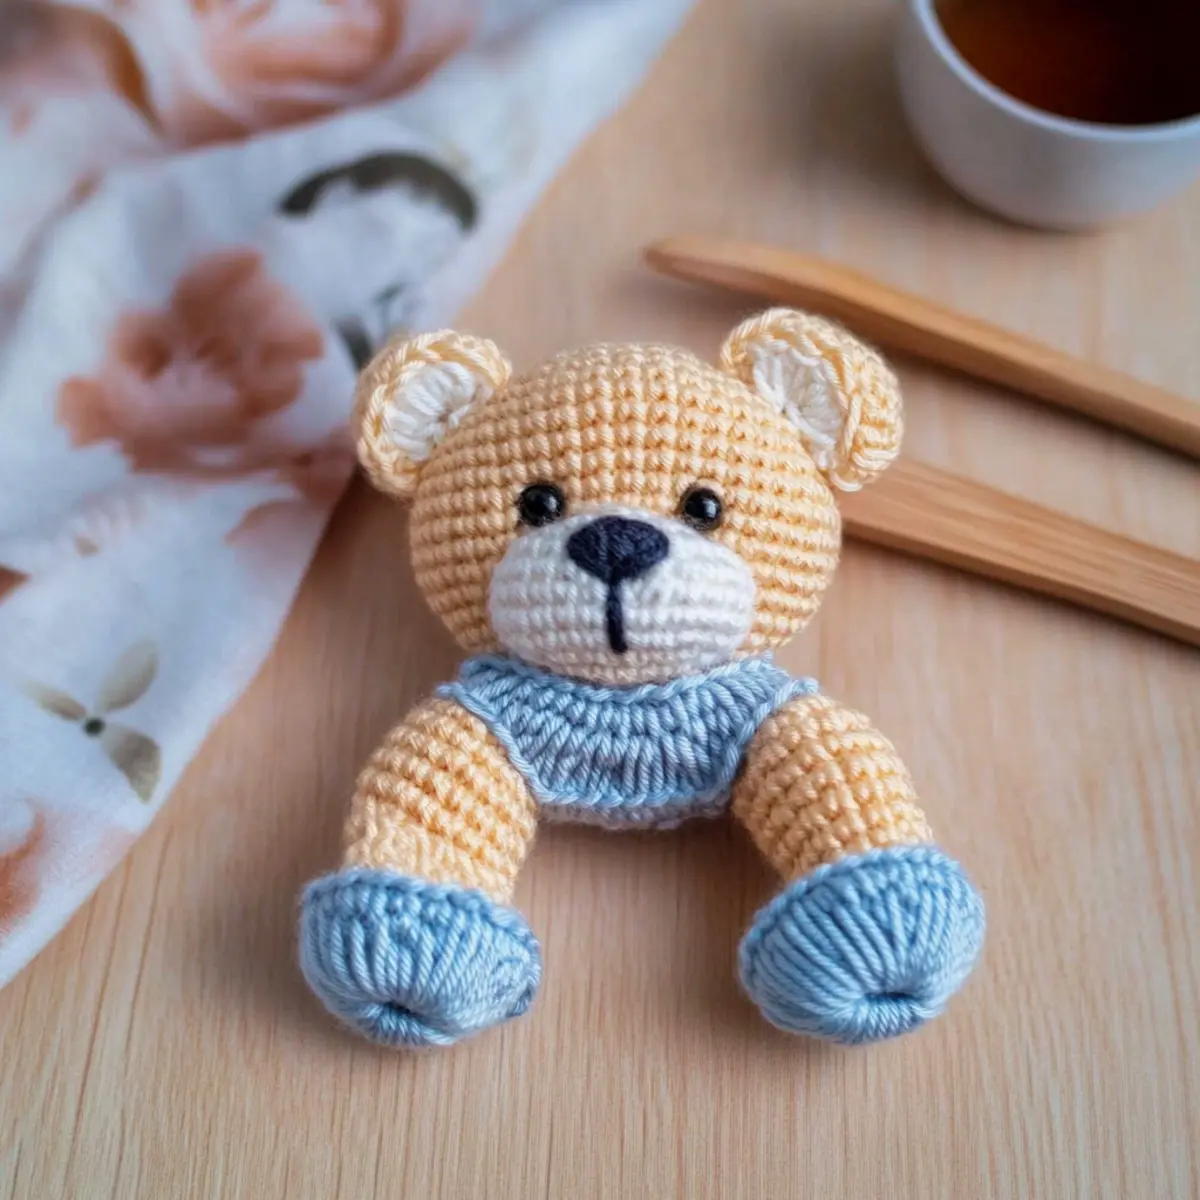
Teddy Bear Rattle Variations
Let your creativity run wild as you explore unique twists to this charming crochet pattern!
-
Yarn Weight Swaps: Use a thicker yarn for a more substantial rattle or a thinner one for a smaller version. Adjust the hook size accordingly for the best results.
-
Color Choices: Pick colors that match your nursery theme or the baby’s favorite hues. Dream up a lovely palette and watch your teddy bear come to life!
-
Natural Fiber Options: Experiment with bamboo or alpaca yarn for a softer, eco-friendly rattle. These fibers offer a delightful tactile experience on tiny hands and gums.
-
Personalized Embroidery: Add names or initials to the rattle for that personal touch. Just imagine the joy on a parent’s face when they see something made just for their little one!
-
Cute Accessories: Create matching accessories, such as booties or hats, to complement your teddy bear rattle. Adding a full set makes for an adorable gift that delights the senses!
-
Texture Modifications: Enhance your rattle by adding cute details like pom-poms or fringe. These playful textures can stimulate a baby’s curiosity while providing a soft feel.
-
Safe Sizing Adjustments: Consider larger dimensions if crochet for older babies. Just ensure to maintain the same overall design to keep that adorable teddy bear shape!
For additional techniques, explore our guide on texture modifications in crochet and keep your projects vibrant and engaging!
How to Wash and Care for Your Teddy Bear Rattle
Hand Washing: Use cool water and a mild soap to gently clean your teddy bear rattle. Avoid vigorous scrubbing to maintain the soft texture of the cotton yarn.
Drying: After washing, lay the rattle flat on a clean towel to dry. This helps preserve its shape and prevents any distortion.
Storage: Keep your rattle in a cool, dry place away from direct sunlight to prevent fading. This helps maintain the vibrant colors of your baby-friendly creation.
Regular Checks: Periodically inspect the rattle for any signs of wear and tear, especially on the wooden ring and sewn parts, ensuring it remains safe for little ones to enjoy.
Expert Tips for Crochet Rattles
Stay Tension Consistent: Make sure your tension remains even throughout your work. This will help maintain a uniform look and feel across the rattle.
Count Regularly: Keep an eye on your stitch count, especially during increases and decreases. It’s an easy way to avoid unintentional shape distortions.
Secure Finishing: When attaching the snout and ears, ensure they are sewn securely. This is crucial for durability, especially with a functional toy.
Use Contrast Wisely: For the facial features, use the thicker Rainbow Cotton 8/8. It not only enhances visibility but adds depth to your teddy’s adorable face.
Test Your Yarn: If you’re unsure about the yarn’s softness, crochet a small swatch. This will help you decide if it feels gentle enough for baby gums.
Embrace Personalization: Don’t hesitate to add initials or a special message via embroidery to make the rattle uniquely yours. It’ll be a cherished keepsake for years to come!
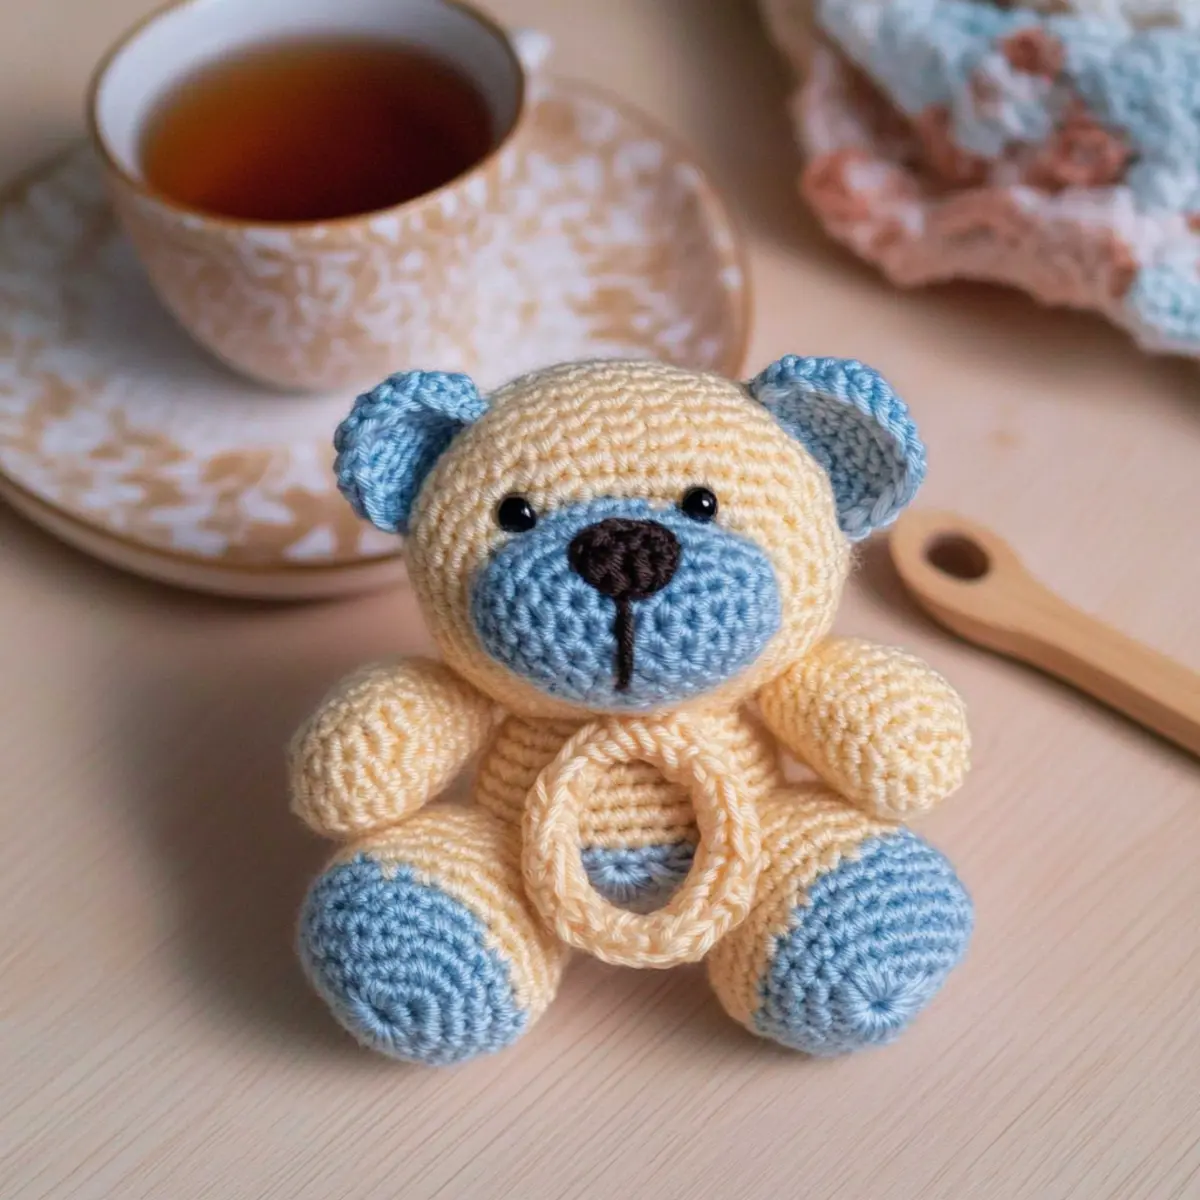
How to Crochet a Cute Teddy Bear Rattle Teether for Babies FAQs
Can I use a different type of yarn for this project?
Absolutely! While I recommend Hobbii’s Rainbow Cotton 8/4 for its softness and safety, you can substitute with another baby-friendly yarn. Just make sure it’s non-toxic and has a similar weight, such as acrylic or bamboo yarn, to maintain the rattle’s texture and feel.
How do I adjust the size of the teddy bear rattle?
If you want to make it bigger or smaller, you can alter the number of rounds in the head. For a larger rattle, add 2-4 rounds during the body section. Remember, if you change the yarn weight, adjust your stitches accordingly to keep it proportional!
Why is my teddy rattle curling at the edges?
Don’t panic! If your work is curling like a bowl, it’s likely due to tight stitches or incorrect tension. Ensure your tension is relaxed and consider using a larger hook size if necessary. You can also try blocking your work gently after completion to flatten any uneven areas.
What hook size should I use for this pattern?
Use a 3.5 mm (E/4) hook for this project. If you find that your stitches are too tight or too loose, feel free to adjust by going up or down a hook size. Just remember to keep your stitches consistent throughout the pattern!
How do I fix dropped stitches while crocheting?
It’s an easy fix! If you notice a dropped stitch, use your tapestry needle to pick up the yarn and pull it back through the stitch. If you’re well into your project, simply re-insert the hook in the correct place and continue crocheting. Don’t forget to check your stitch count regularly to catch issues early!
Can I make this rattle pattern more personalized?
Definitely! You can embroider the baby’s initials or a special date on the bear’s snout or body for a personal touch. Consider using contrasting colors for embroidery to make it really pop and give your rattle a unique charm!
Leave a Reply