
As I sat wrapped in my favorite blanket, the soft whispers of winter made me think of the perfect cozy project: the Crochet Baby Bear Beanie. This delightful pattern is not just about keeping little ones warm; it’s a gateway to creating treasured memories for both maker and recipient. Designed to be beginner-friendly, this beanie works up quickly in chunky yarn, making it an ideal gift for last-minute baby showers or chilly days. With irresistible bear ears and snug earflaps, it brings a sprinkle of whimsy that will melt hearts. Whether you’re a seasoned crafter or just starting out, I can’t wait for you to join me on this joyful stitching adventure!
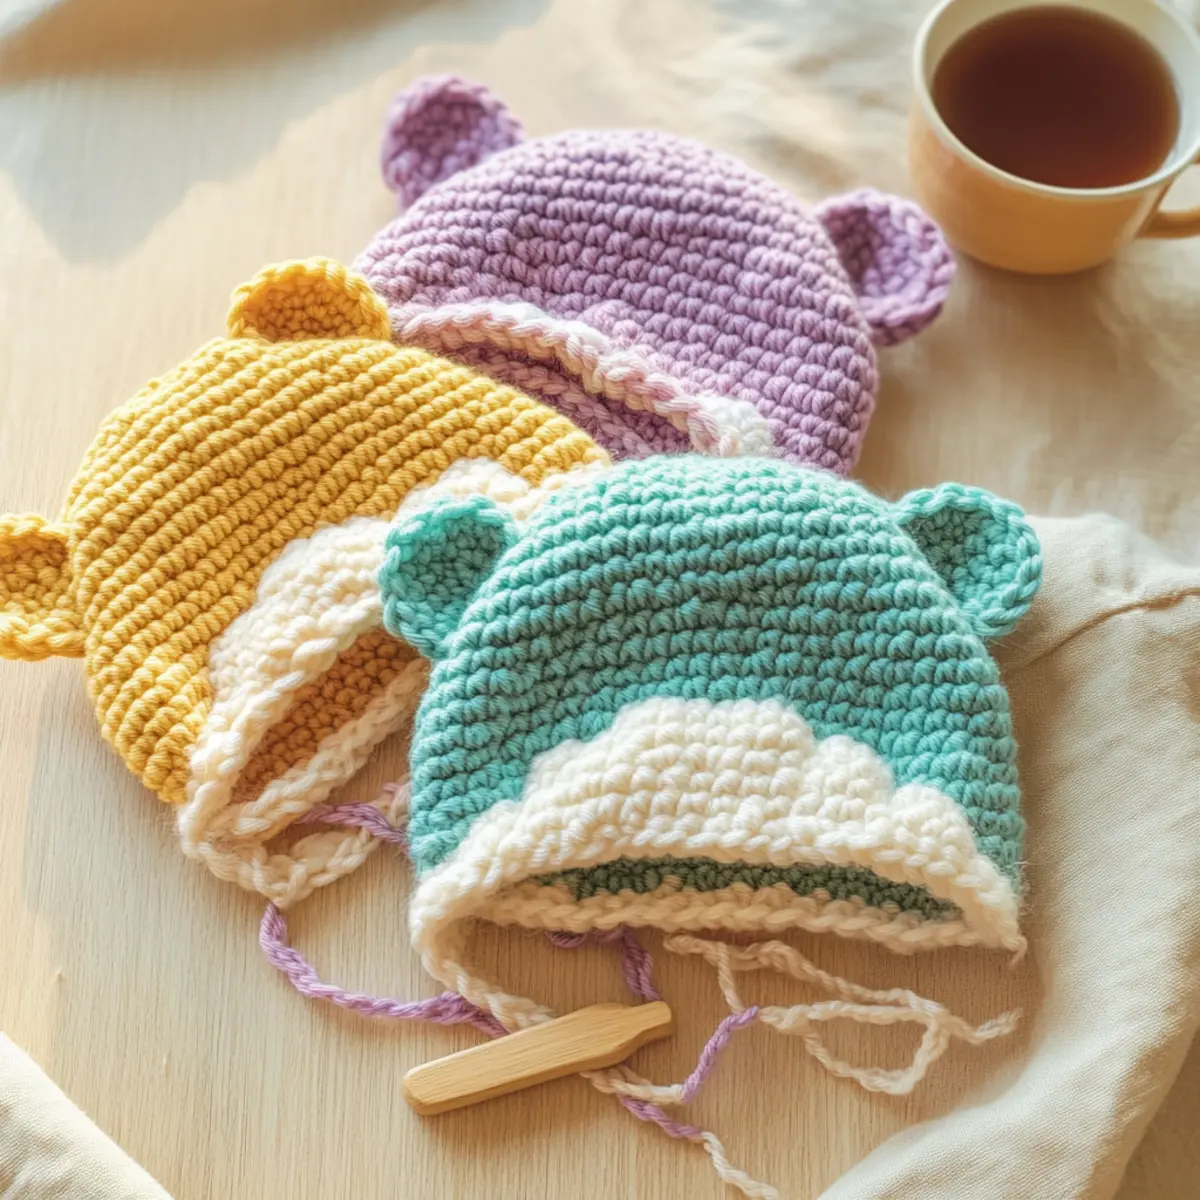
Cozy Chunky Baby Bear Beanie Materials & Tools
• Yarn
- James C. Brett Flutterby Chunky Yarn – This ultra-soft yarn (100% polyester, weight category 5) requires approximately 68 to 129 yards depending on the size you choose.
• Hook
- Size J (6mm) Crochet Hook – Ideal for achieving the plush texture in this beginner-friendly project.
• Notions
- Yarn Needle – Helps you weave in ends for a neat finish after completing your beanie.
- Stitch Markers – A must for tracking your rounds while working on this delightful pattern.
With this cozy collection of materials, you’re just steps away from creating your very own Crochet Baby Bear Beanie!
Why is the Baby Bear Beanie Perfect?
Cozy Construction: The beanie is crafted from super soft James C. Brett Flutterby Chunky yarn, providing a gentle touch perfect for little ones.
Quick Project: You’ll love how swiftly this pattern whips up, making it an ideal choice for those last-minute gifts or baby showers!
Adorable Design: With cute bear ears and snug earflaps, this beanie adds a whimsical charm that will melt hearts and keep little heads warm.
Sizing Options: Available in sizes ranging from newborn to 3–10 years, it caters to all ages, making it a versatile stash-buster.
Easy Customization: Want to play with colors? Mix and match yarns for seasonal themes, or adjust sizes for a personalized touch!
Memory-Making Craft: Creating this beanie will not only be fulfilling for you, but it also results in a treasured keepsake for family memories.
Gauge & Sizing Notes
Don’t skip the gauge swatch! Making sure your tension is just right is essential for the Cozy Chunky Baby Bear Beanie, ensuring it fits snugly and comfortably on little heads. To achieve the correct gauge, aim for a 4×4 inch (10×10 cm) square that equals approximately 10 half double crochets by 8 rows. If you wish to adjust the size, remember that the beanie can grow or shrink by altering your starting chain in multiples of 6 + 2 for width—this will allow for flexible sizing across a range of ages. If your swatch comes out too small, simply try a larger hook size to achieve that perfect cozy fit. Happy crocheting!
Step‑by‑Step Pattern for Cozy Cloud Baby Bear Beanie
Row 1: Start the Crown
Begin by creating a magic ring. In the ring, work 10 hdc (half double crochet) to form the base. Pull the tail to tighten the ring and join the last hdc with a sl st (slip stitch) to the first hdc, marking the end of your round. Your work should form a small circle (10 sts).
Round 2: Increase for Size
Ch 2 to start the next round. Work 2 hdc in each stitch around to increase your circle. Join with a sl st in the top of the first ch-2. You should now have a larger circle that begins to take shape (20 sts).
Round 3: Continue the Increases
Ch 2, hdc in the first stitch, then work 2 hdc in the next. Repeat this pattern around, alternating between 1 hdc and 2 hdc. Join with a sl st in the top of the first ch-2. Your circle will grow rounder and larger (30 sts).
Round 4: More Rounds to Height
Ch 2, hdc in each stitch around without any increases this time. Join with a sl st in the top of the first ch-2. Continue this step to add height to the beanie’s crown, and your work should feel slightly deeper (30 sts).
Round 5: Building the Body
Ch 2, work 1 hdc in the first stitch, then 1 hdc in each of the next 4 stitches. Then, work 2 hdc in the next stitch. Repeat this pattern around, keeping the beanie’s form lovely and evenly distributed. Join with a sl st (36 sts).
Round 6: Continue the Body
Ch 2, hdc in each stitch around, maintaining a consistent height. Join with a sl st to the top of the ch-2. This helps add coziness to the beanie’s body while keeping the round shape defined (36 sts).
Round 7: Start the Earflaps
Ch 2, hdc in the next 12 stitches. Turn your work, and in this row, work 1 hdc in each stitch back, making a flat piece for the earflap. This will add an adorable detail for snugness (12 sts).
Round 8: Heightening the Flap
Continue with the earflap by creating additional hdc rows. Ch 2, hdc in each stitch for 4 more rows. When done, your earflap will have a delightful drape. Remember to leave an opening at the base of your beanie (12 sts).
Round 9: Create the Second Earflap
Join your yarn to the other side. Repeat steps for the first earflap, working 12 hdc and turning for a total of 5 rows. This symmetry completes the bear beanie’s charming look and provides warmth on cold days (12 sts).
Round 10: Finishing the Ties
Ch 30 for long ties at each earflap. Once complete, sl st in the side of the beanie for stability. These ties will keep the cozy beanie secure and stylish for little ones. Your beanie will be brimming with character!
Step 11: Add the Bear Ears
For the ears, create 2 small circles using the same magic ring technique. Work 6 hdc in the ring, pull tight, and join with a sl st (6 sts). Finish by attaching them to the top of the beanie, positioned to give a delightful bear look.
Step 12: Final Touches
Weave in any loose yarn ends meticulously with a yarn needle. Ensure everything is snugly tucked to maintain the structure. Your finished Cozy Cloud Baby Bear Beanie should feel soft and plush, ready for gifting or keeping precious little heads warm!
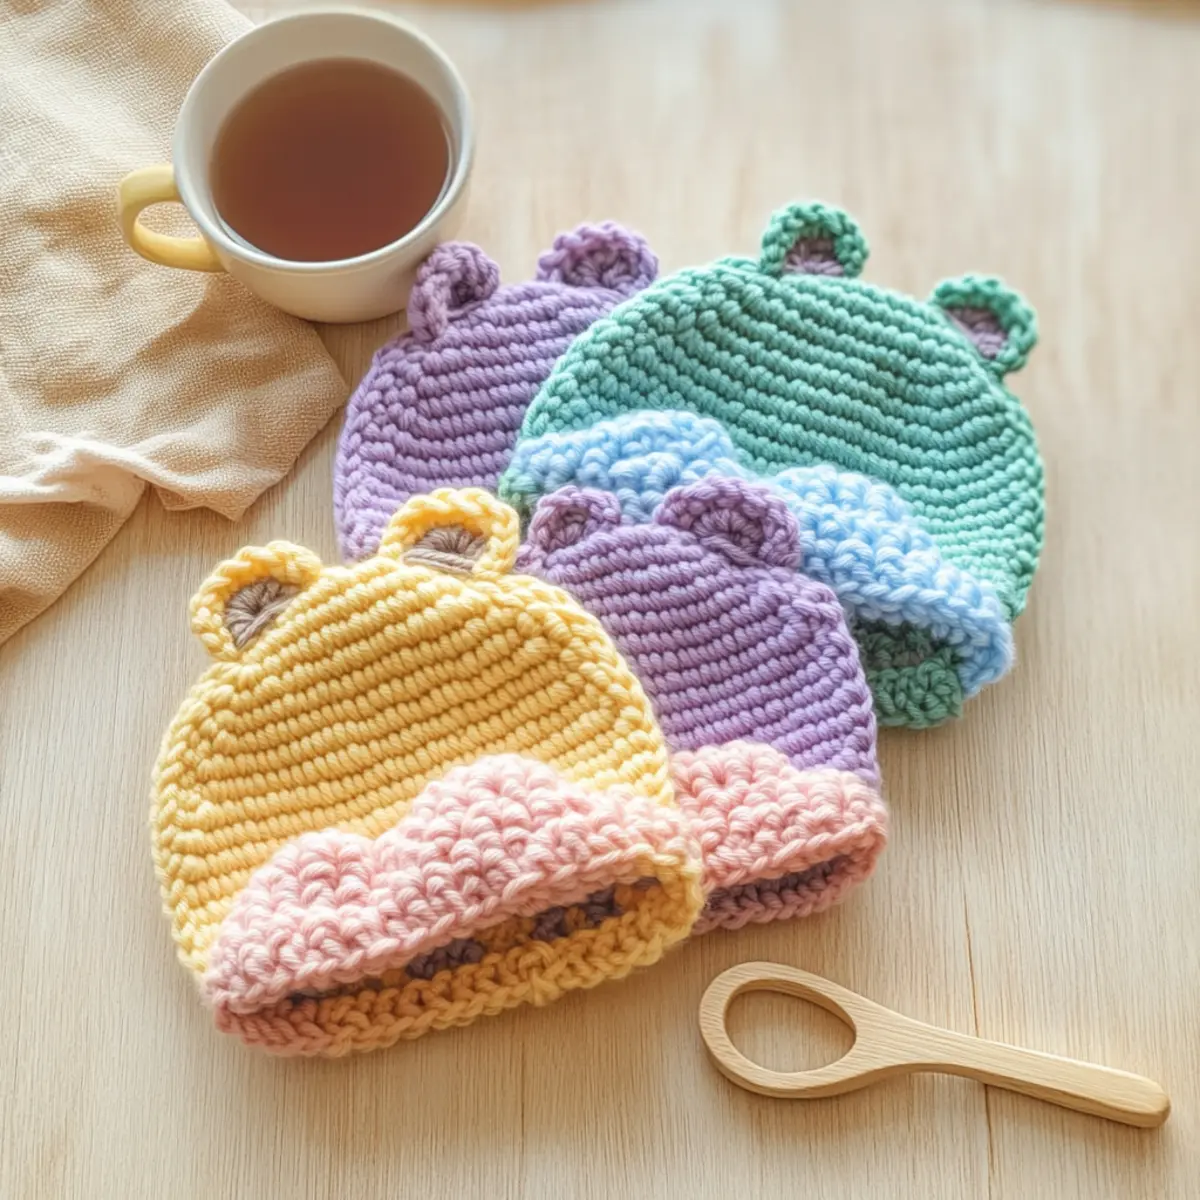
Washing & Care for Crochet Baby Bear Beanie
-
Hand Washing: Use cool water and a gentle detergent to preserve the plush texture of your baby bear beanie. Avoid wringing or twisting, as this can affect the shape.
-
Drying: Lay the beanie flat on a clean towel to dry, reshaping it as needed. This helps maintain its cozy form and prevents distortion.
-
Storage: Store in a cool, dry place, ideally in a breathable bag. This keeps your beanie fresh and ready for chilly days or joyful gifting!
Expert Tips for Baby Bear Beanie
-
Stitch Counting: Keep track of your stitches at the end of each round to maintain the beanie’s shape and prevent unevenness.
-
Test Your Gauge: Always check your gauge by crocheting a swatch beforehand. It’s crucial for ensuring the perfect fit for your baby bear beanie.
-
Adjust Hook Size: If your tension is too tight or loose, switch to a different hook size. This helps achieve the desired density with the chunky yarn.
-
Secure Ends: When finishing your work, weave in your yarn ends carefully for a polished look. This prevents unraveling and keeps the beanie snuggly.
-
Consistent Tension: Focus on keeping a consistent tension throughout your project. This creates a beautiful, cohesive texture, especially important for the plushness of the bear beanie.
-
Pre-Blocking: Consider lightly steaming your beanie after finishing. This helps to even out stitches and enhances the softness of the yarn, showcasing your beautiful crochet work!
Cozy Chunky Baby Bear Beanie Variations
Embrace your creativity and add your unique touch to this charming beanie!
- Yarn Substitutions: Try using a soft cotton blend for a lighter version that’s perfect for spring or summer.
- Color Combinations: Explore different color palettes by mixing complementary shades for the body and bear ears—think pastels for spring celebrations!
- Size Adjustments: For a snug fit, increase the number of rounds for larger sizes or customize earflaps based on preference.
- Texture Twists: Add playful pom-poms on the bear ears for an extra whimsical touch, bringing joy to every little wearer.
- Fringed Edges: Incorporate fringe along the edge of the earflaps for a trendy twist; it’s a fun way to customize!
- Bold Bordering: Crochet a contrasting border around the beanie’s base in a vibrant shade to create a striking finish and enhance the look.
- Washing Alternative: If you use a higher-maintenance yarn, consider researching washing techniques to ensure it stays fresh and fluffy—discussing yarn care methods can help with that!
- Storytelling Colors: Use colors that reflect the little one’s personality or favorite themes, transforming this beanie into a storytelling piece.
Let your imagination roam free, and don’t forget to enjoy the journey of creativity!
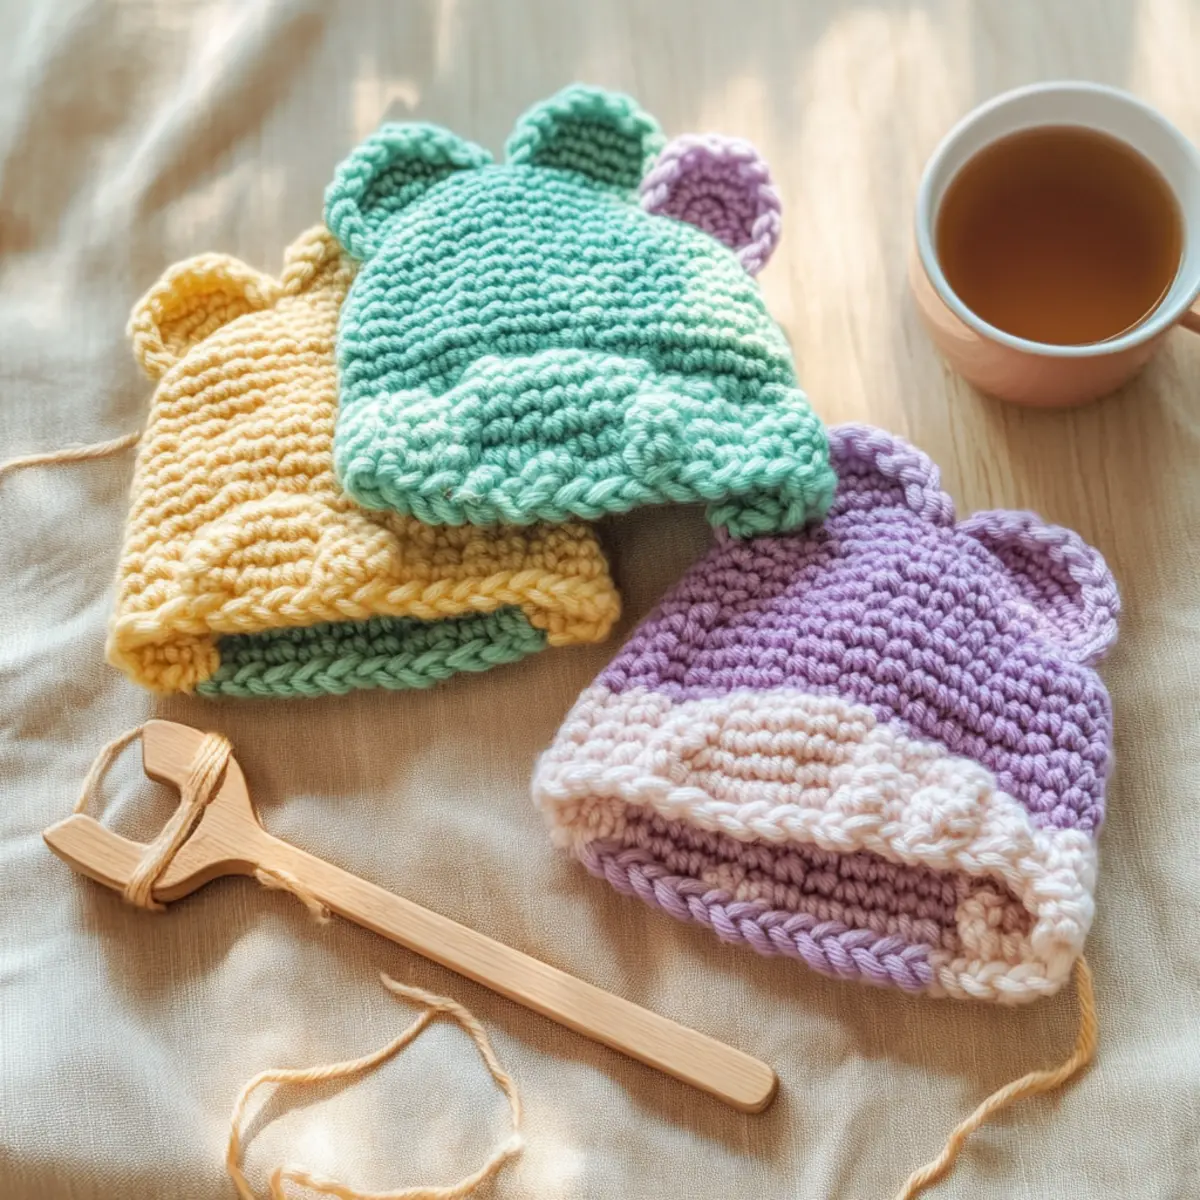
Cozy Cloud Baby Bear Beanie FAQs
Can I use a different yarn than James C. Brett Flutterby Chunky?
Absolutely! If you want to substitute yarn, look for a chunky yarn with a similar weight (category 5). Just make sure to check the recommended gauge to ensure your beanie turns out the right size!
How can I adjust the size of the Baby Bear Beanie?
It’s an easy fix! To make the beanie bigger or smaller, simply adjust the number of rounds you crochet. For a larger size, continue adding rounds until you reach the desired height, and for a smaller size, you can decrease the rounds based on the size chart included in the pattern.
Why is my work curling at the edges?
Don’t panic! Curling can happen if your tension is too tight or if you’re using a hook that’s too small. Try switching to a larger hook or loosening your tension a bit. It can also be helpful to check if you’re following the recommended stitch count each round.
What hook size should I use for this pattern?
The recommended hook size for the Baby Bear Beanie is a size J (6mm). If you notice your stitches are coming out too tight or loose, feel free to adjust to a hook that feels comfortable for your stitching.
How do I fix dropped stitches in my project?
If you encounter a dropped stitch, don’t worry! You can easily fix it by grabbing a yarn needle and carefully picking up the dropped loop, then crocheting it back into your work. It’s a good idea to secure that area with a couple of stitches to prevent it from happening again.
What should I do if my gauge is off?
If your gauge doesn’t match the 4×4 inches = approximately 10 hdc by 8 rows, take a moment to crochet another swatch until you get it just right. This is crucial for a perfect fit of your Baby Bear Beanie. Adjusting your hook size can also help achieve the correct tension!
Leave a Reply