
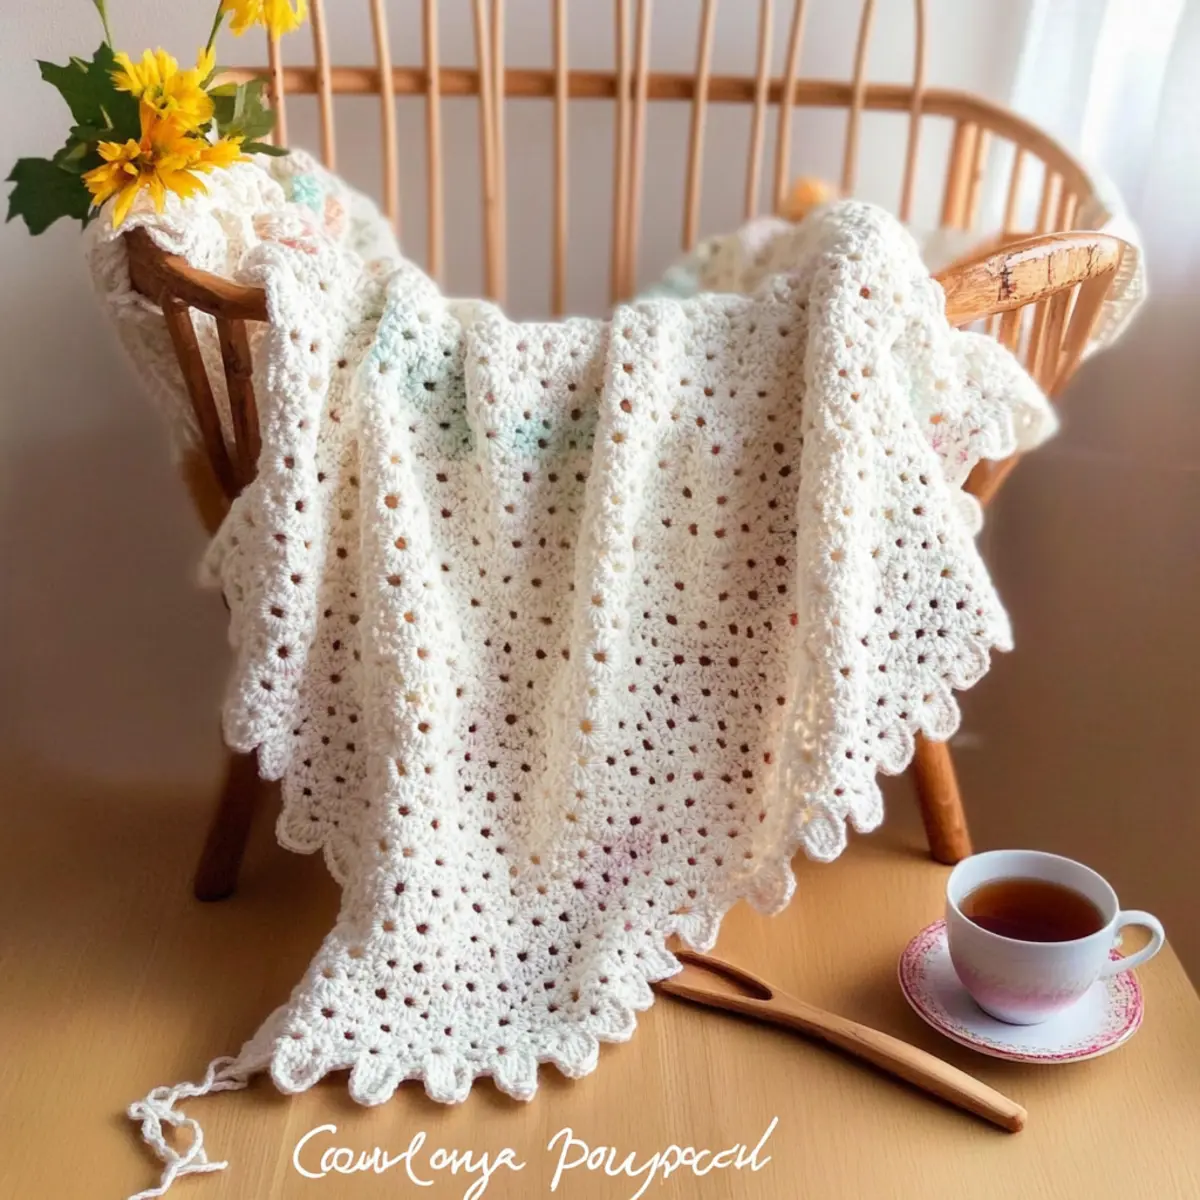
As I settled into my favorite nook, a warm cup of tea in hand, I reflected on the pure joy that comes with creating something special for a little one. This isn’t just any project; I’m excited to share my latest pattern, the “Bonnie Blanket.” It’s an elegant crochet baby blanket that combines a charming raised texture with the gentle touch of Paintbox Yarns Baby DK, perfect for cozying up babies in style. This design works up beautifully and makes a fantastic gift for new parents, all while being beginner-friendly and a great way to use up that yarn stash! With detailed instructions and photo guides, you’ll find this heirloom-worthy blanket easier to make than you might think. Let’s dive in and start stitching something heartwarming!
The Bonnie Blanket Materials & Tools
Get ready to create an elegant and cozy baby blanket that’s perfect for gifting!
Yarn
- Paintbox Yarns Baby DK – This soft acrylic/nylon blend is perfect for baby items, and you’ll need approximately 5 balls (3.5oz / 100g each).
Tools & Notions
- Size 7 / 4.5mm Hook – Using a larger hook than recommended will give the beautiful blanket a softer drape.
- Tapestry Needle – Essential for weaving in ends and finishing your blanket neatly.
- Stitch Markers – Helpful for marking your stitch count at the beginning of each row, ensuring your pattern stays in line.
Gather these materials to start your journey with the Bonnie Blanket, a timeless piece that’s sure to be cherished!
Why is the Bonnie Blanket a Must-Try?
Timeless Elegance: The Bonnie Blanket features a classic design that will never go out of style, making it the perfect gift for any new parent or baby shower. Textured Appeal: Its unique raised texture created with the Crochet Diamond Trellis Stitch adds visual interest and charm. Easy to Follow: With a detailed photo tutorial, even beginners will find this pattern straightforward and fun to whip up. Versatile Yarn Options: You can easily customize this piece by experimenting with different yarn colors or thicknesses, allowing each blanket to be uniquely yours. Plus, it’s a fantastic project for using up leftover yarn! If you want to explore more baby-friendly patterns, check out our collection of easy crochet baby gifts.
Gauge & Sizing Notes
Don’t skip the gauge swatch! Ensuring you achieve the right tension for The Bonnie Blanket is essential for a well-fitting and beautifully textured baby blanket. Aim for a gauge of 12 double crochets by 10 rows in a 4×4 inch (10×10 cm) square to keep your blanket cozy and proportional. If you want to make this blanket larger, adjust your starting chain in multiples of 8 + 5 for width, or increase your row count for added length. If your swatch ends up too small, simply switch to a larger hook size to help adjust your crochet gauge. With these adjustments, you can create the perfect size for your little one’s needs!
Step‑by‑Step Pattern for Elegant Crochet Baby Blanket: The Bonnie Blanket
Row 1: Foundation Chain and Initial Stitches
Begin by chaining 119 stitches, ensuring your chain is a multiple of 8 plus 5 for adjustment. In the 4th chain from the hook, make 1 double crochet (dc). Continue to work 1 dc into each chain across for a total of 116 dc in this row. Your work should lay flat and have a nice starting width.
Row 2: Beginning the Diamond Trellis Stitch
Ch 3 (counts as first dc), turn your work. Begin your diamond trellis pattern by working (1 dc, ch 1, 1 dc) into the next dc for your first V stitch. Skip the next 2 dc, then repeat the V stitch in the next dc. Work across the row, ending with a dc in the last stitch, totaling 38 V stitches (and 38 ch-1 spaces).
Row 3: Establishing the Raised Texture
Ch 3, turn your work. For this row, work (1 FPdc around the V stitch from Row 2, ch 1) across the row. Create a FPdc around each V stitch from the previous row and add a ch 1 after each FPdc. Your work should start to develop a lovely textured appearance, with 38 FPdc stitches and 37 ch-1 spaces.
Row 4: Continuing the Texture
Ch 3, turn your work. Work (1 dc, ch 1, 1 dc) into the first ch-1 space from Row 3, then skip to the next ch-1 space and repeat the V stitch sequence across the row. End with a dc in the last stitch, maintaining the count of V stitches at 38 and ch-1 spaces at 37. The pattern will start to show more depth and structure.
Row 5: Repeating the Pattern
Ch 3, turn your work. Continue the texture by inserting (1 FPdc, ch 1) around each V stitch of Row 4. Remember to place a ch 1 between FPdc stitches to enhance the raised pattern. Ensure 38 FPdc stitches for this row. Your project will start looking more like the Bonnie Blanket, showcasing its charming allure.
Rows 6-7: Finalizing Pattern Repeat
For Rows 6 and 7, repeat the steps of Rows 2 and 3 respectively to continue building the beautiful pattern of the Bonnie Blanket. You should establish the sequence with V stitches (Row 6) and FPdc stitches (Row 7). Alternate between these rows until reaching a total of 64 rows, making sure to finish after a Row 7 repeat.
Step 8: Adding a Beautiful Border
Ch 1 and turn your completed blanket. Work 1 sc in each stitch along the perimeter for the first round. For the second round, begin working 1 sc in each sc and 1 FPdc in the previous round’s FPdc. Alternate between sc and FPdc for the following two rounds to form the border that beautifully enhances the edges of your Bonnie Blanket.
Finishing Touches: Optional Ribbon
After completing the border rounds, weave in any loose ends using a tapestry needle. As an optional final touch, thread a decorative ribbon through the last round of stitches along the border for added charm. This delicate detail elevates your elegant crochet baby blanket, making it an heirloom treasure.
Bonnie Blanket Variations & Substitutions
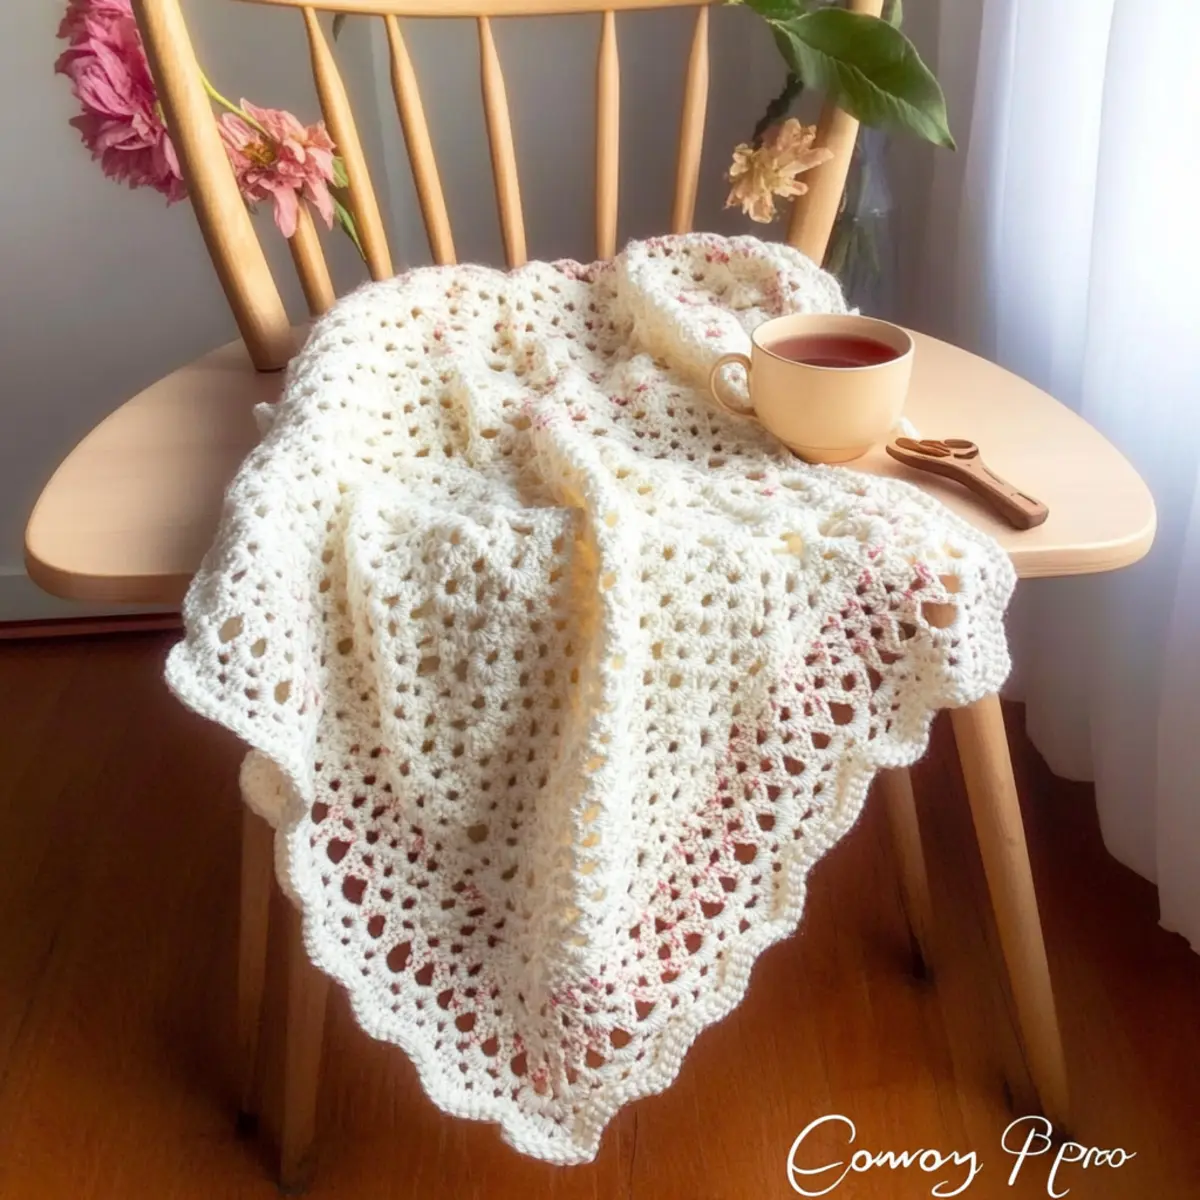
Customize your creation with these fun variations that add personality and warmth to your Bonnie Blanket!
-
Yarn Substitutions: Try using Sirdar Snuggly DK for a softer feel or King Cole Comfort DK for a cozy finish.
-
Color Blocking: Swap colors every few rows to create a fresh, vibrant look. Imagine a rainbow of pastels in your blanket!
-
Texture Addition: Add a pom-pom to each corner for an extra touch of playful charm, making it perfect for modern nurseries.
-
Size Adjustments: Modify the foundation chain to create a larger or smaller blanket, tailoring it to your specific needs or preferences.
-
Fringe Fun: Create a trendy fringe along the edges of the blanket to infuse a bohemian vibe; it’s a delightful twist for any nursery!
-
Luxe Yarn Choices: Experiment with blends of cotton and bamboo for a luxurious touch, ideal for warm-weather baby gifts.
-
Themed Patterns: Use a themed yarn palette, such as nautical or soft florals, to match the nursery decor beautifully. This personal touch makes the gift extra special!
-
Embellishments: Consider adding an elegant border or delicate ribbon for a classic finish. It not only enhances the blanket’s beauty but also showcases your creativity!
For more inspiration on colors and techniques, feel free to check out our guide on crochet color blocking to elevate your blanket project!
Care Instructions for The Bonnie Blanket
-
Washing: Always wash your Bonnie Blanket in cold water to prevent any potential damage to the fibers. The acrylic blend holds up beautifully even in the machine, making care a breeze.
-
Drying: After washing, lay the blanket flat to dry to maintain its elegant shape and prevent stretching. This method keeps the cozy finish intact and your blanket looking great.
-
Blocking: To enhance the raised texture and drape, gently block your finished blanket. This will give it that exquisite heirloom quality you’re striving for!
-
Storage: Store your blanket in a cool, dry place away from direct sunlight. This will help preserve the softness and vibrancy of your yarn, allowing it to be cherished for years to come.
Expert Tips for the Bonnie Blanket
-
Check Your Gauge: Always crochet a gauge swatch measuring 6.25 inches wide by 5 inches long before starting. This ensures the finished blanket has the correct dimensions.
-
Count Stitches Regularly: At the end of every row, take a moment to count your stitches. This helps maintain the blanket’s shape and prevents unexpected size changes.
-
Use Stitch Markers: Place stitch markers at the beginning of each row to keep track of your starting point, minimizing the risk of losing count or missing your repeat.
-
Block After Completion: Remember to block the blanket once finished. This technique enhances the drape and texture while giving it a polished look.
-
Avoid Foundation Mistakes: When starting the foundation chain, ensure it’s a multiple of 8 + 5. This keeps your blanket’s proportions correct and simplifies adjustments later.
Elegant Crochet Baby Blanket: The Bonnie Blanket FAQs
Can I substitute yarn for the Bonnie Blanket?
Absolutely! While this pattern calls for Paintbox Yarns Baby DK, you can substitute it with other DK weight yarns like Sirdar Snuggly DK or King Cole Comfort DK. Just be sure to check the yarn’s fiber content to maintain softness and durability for baby use!
How do I make the Bonnie Blanket bigger or smaller?
To adjust the size of your blanket, simply modify the foundation chain. Remember, it should be a multiple of 8 + 5. For example, if you want a wider blanket, increase the chain by adding more sets of 8 and 5. Alternatively, using bulkier yarn and a larger hook can also create a larger blanket.
Why is my blanket curling at the edges?
Don’t panic! Curling edges often happen due to tight tension or gauge issues. Ensure you’re maintaining consistent stitches throughout and consider checking your gauge swatch again. If curling persists, try blocking your blanket after completion to flatten the edges.
What hook size should I use for the Bonnie Blanket?
The pattern uses a Size 7 / 4.5mm hook, which works perfectly with this yarn to achieve that lovely drape. However, if you prefer a looser, softer blanket, feel free to choose a larger hook. Just make sure to check your gauge!
How can I fix dropped stitches in my blanket?
It’s an easy fix! If you notice a dropped stitch, grab a crochet hook to pull the yarn back through the stitch to mend it. If needed, you can unravel to the last completed row and redo it carefully. Patience is key!
What care instructions should I follow for the Bonnie Blanket?
To keep your blanket looking beautiful, wash it in cold water on a gentle cycle. Due to its acrylic blend, it holds up well in the washing machine, but I recommend laying it flat to dry for the best results!
Leave a Reply