
As I tucked the last stitch away, a feeling of warmth enveloped me, reminiscent of gentle baby snuggles. This Easy Crochet Baby Bonnet, affectionately known as the Sweet Pixie Hat, is more than just a pattern—it’s a cozy little treasure waiting to cradle the head of a newborn or toddler. Perfect for beginners, this adorable project works up quickly using simple crochet stitches, making it an ideal gift for those special little ones in your life. Customizable for any age, you can easily adjust the size, making it a fantastic stash-buster and creative outlet. Whether you’re adding a pop of color or playful pom poms, each bonnet can be uniquely yours. Are you ready to dive into this delightful crochet adventure and create something truly special?
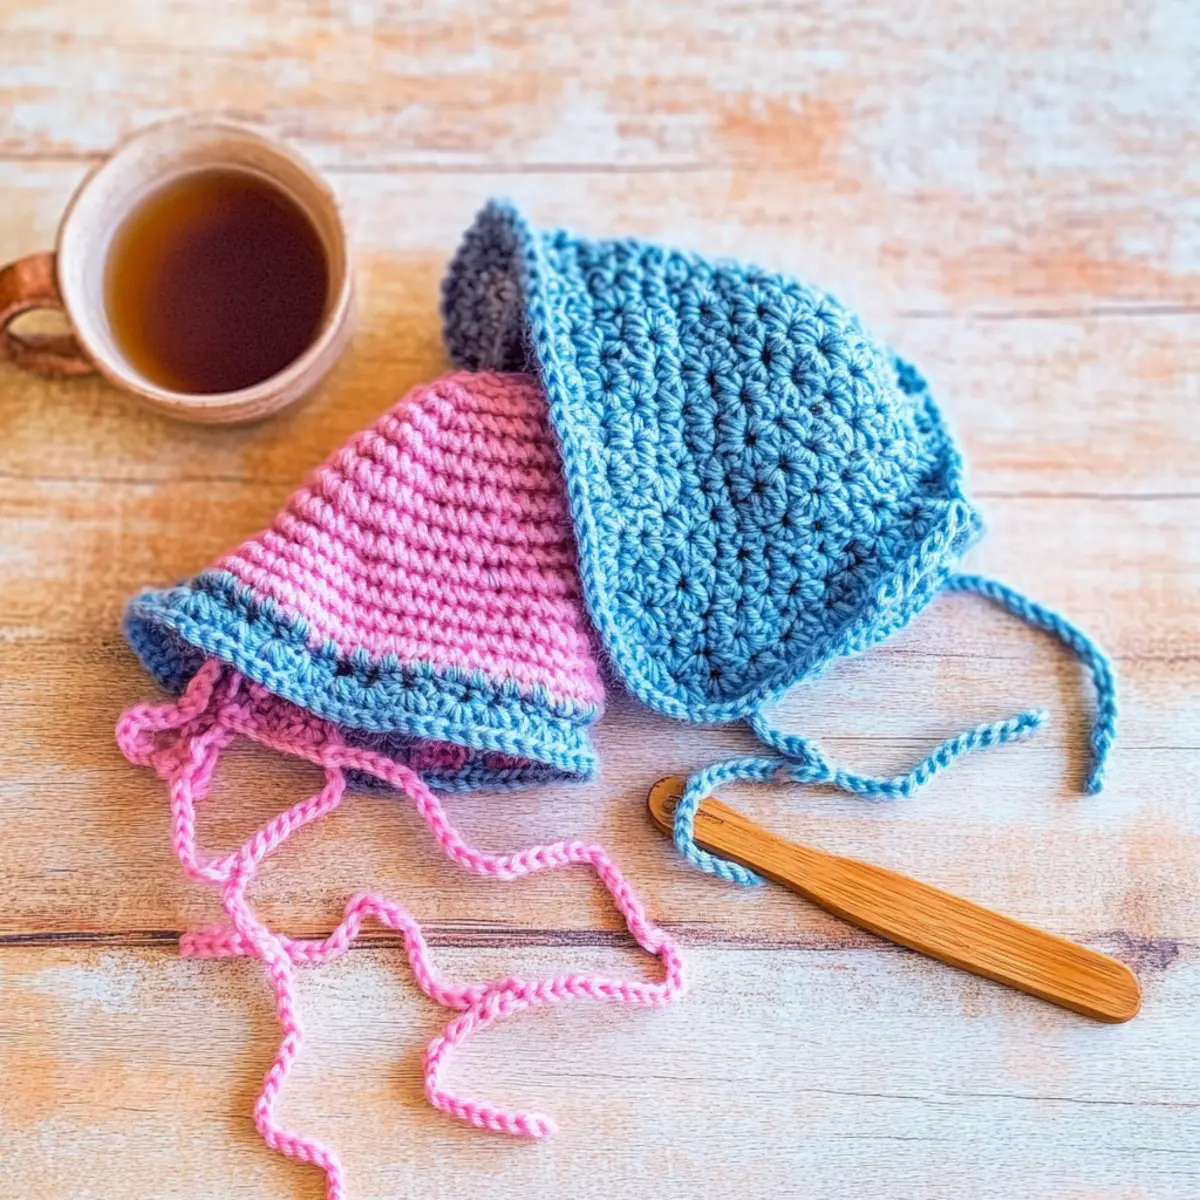
Easy Crochet Baby Bonnet Materials & Tools
-
Yarn
• Hobbii’s Rainbow Cotton 8/4 – This #2 sport weight, 100% cotton yarn ensures both softness and breathability for your finished bonnet. -
Hook
• 3.5 mm (E/4 US Hook) – The perfect size for achieving a lovely drape without compromising comfort. -
Notions
• Stitch Markers – Essential for keeping track of your rows and maintaining your stitch count.
• Tapestry Needle – Use this for weaving in the ends for a neat finish.
• Pom Pom Maker (Optional) – Add delightful pom poms for an adorable finish—great if you want to elevate your baby bonnet’s charm!
Whether you’re crafting for a special little one or looking for a cozy project, these materials will help you create the perfect Easy Crochet Baby Bonnet!
Why Is This Bonnet a Must-Make?
Adorable Design: This Easy Crochet Baby Bonnet features a charming pixie shape that adds a whimsical touch to any outfit.
Quick Project: As a beginner-friendly pattern, you’ll find it comes together in no time, making it perfect for last-minute gifts or cozy surprises.
Customizable Fit: Easily adjust the starting chain for various sizes, ensuring that every baby looks adorable, whether it’s for a newborn or a one-year-old.
Fun with Color: Feel free to experiment with vibrant hues or fun striped patterns, allowing you to personalize each bonnet to fit your style!
Tactile Comfort: Made with soft Hobbii’s Rainbow Cotton, the finished bonnet is gentle against baby skin, providing comfort and coziness they’ll appreciate.
Ready to get started on this delightful project? Check out our tips on how to customize your crochet for even more inspiration!
Gauge & Sizing Notes
Don’t skip the gauge swatch! Ensuring your tension is correct is vital for the Easy Crochet Baby Bonnet to fit perfectly. For this project, aim for a gauge of 18 stitches and 11 rows per 4×4 inches (10×10 cm) in double crochet. If you want to adjust the size of the bonnet, simply change the foundation chain length in multiples of 3—for instance, increase the chain for larger sizes or decrease it for snugger fits. If your swatch appears smaller than desired, consider using a larger hook size; conversely, if it’s too large, switch to a smaller hook. Happy crocheting!
Step‑by‑Step Pattern for Easy Crochet Baby Bonnet – Customizable Sweet Pixie Hat
Row 1: Foundation Chain
Begin by making a foundation chain of 30 (or desired length based on age). This chain will determine the size of the bonnet. Ensure that the chain is not too tight; it should lay flat when measured and have a comfortable stretch.
Row 2: Creating the Base
In the second row, turn your work and start by placing 2 dc in the 4th ch from the hook, then dc across the chain until you reach the end. This will create the initial width of the bonnet. Your stitch count should total 27 dc (27 sts) by the end of this row.
Row 3: Building Height
For this row, chain 3 (counts as 1st dc), then dc in each stitch across. This row adds to the height of your bonnet. At the end of this row, you should still have 27 dc. The work should start to shape slightly as you build the sides.
Row 4: Continuing the Body
Repeat Row 3, chaining 3 and dc in each st across. This will ensure a nice even height for the bonnet, creating a soft and cozy structure. The stitch count remains the same with 27 dc at the end of this row.
Row 5: Forming the Pixie Shape
To create the pixie shape, in Row 5, chain 3 and dc in each of the next 22 sts. Then, in the last 5 sts, work 2 dc in each st (inc) to shape the top of the bonnet. This will bring your stitch count to 32 dc (32 sts), enhancing the rounded design.
Row 6: Finalizing the Shape
In the next row, chain 3 and work a dc in each of the first 3 sts, then work 2 dc in the next st (inc), followed by dc in the next 5 sts. Finish the row with 2 dc in the last st. You should now have 36 dc (36 sts) total, with a nice rounded peak forming at the top.
Step 7: Folding and Seaming
Fold your rectangle in half lengthwise to shape the bonnet. With a sl st, seam along the back edge, securing it together. This will create the bonnets’ defining shape. Make sure your edges align neatly and your work starts to resemble a hat.
Step 8: Adding Ties
To create ties for your Easy Crochet Baby Bonnet, chain 30 and fasten off. Attach the ties to the corners of the bonnet using a sl st. Repeat this for the opposite side. The ties should be long enough for adjustable fitting on the baby.
Step 9: Optional Pom Poms
For an extra cute touch, use a pom pom maker to create two pom poms. Attach one to each tie at the end. This will give your customizable Sweet Pixie Hat a playful finish, making it even more adorable for little ones.
Step 10: Finishing Touches
Lastly, weave in any loose ends using a tapestry needle. Test the fit with a baby head (if possible) and ensure all stitches are secure. Your Easy Crochet Baby Bonnet is now complete, perfect for keeping babies cozy and stylish!
How to Wash and Care for Your Easy Crochet Baby Bonnet
-
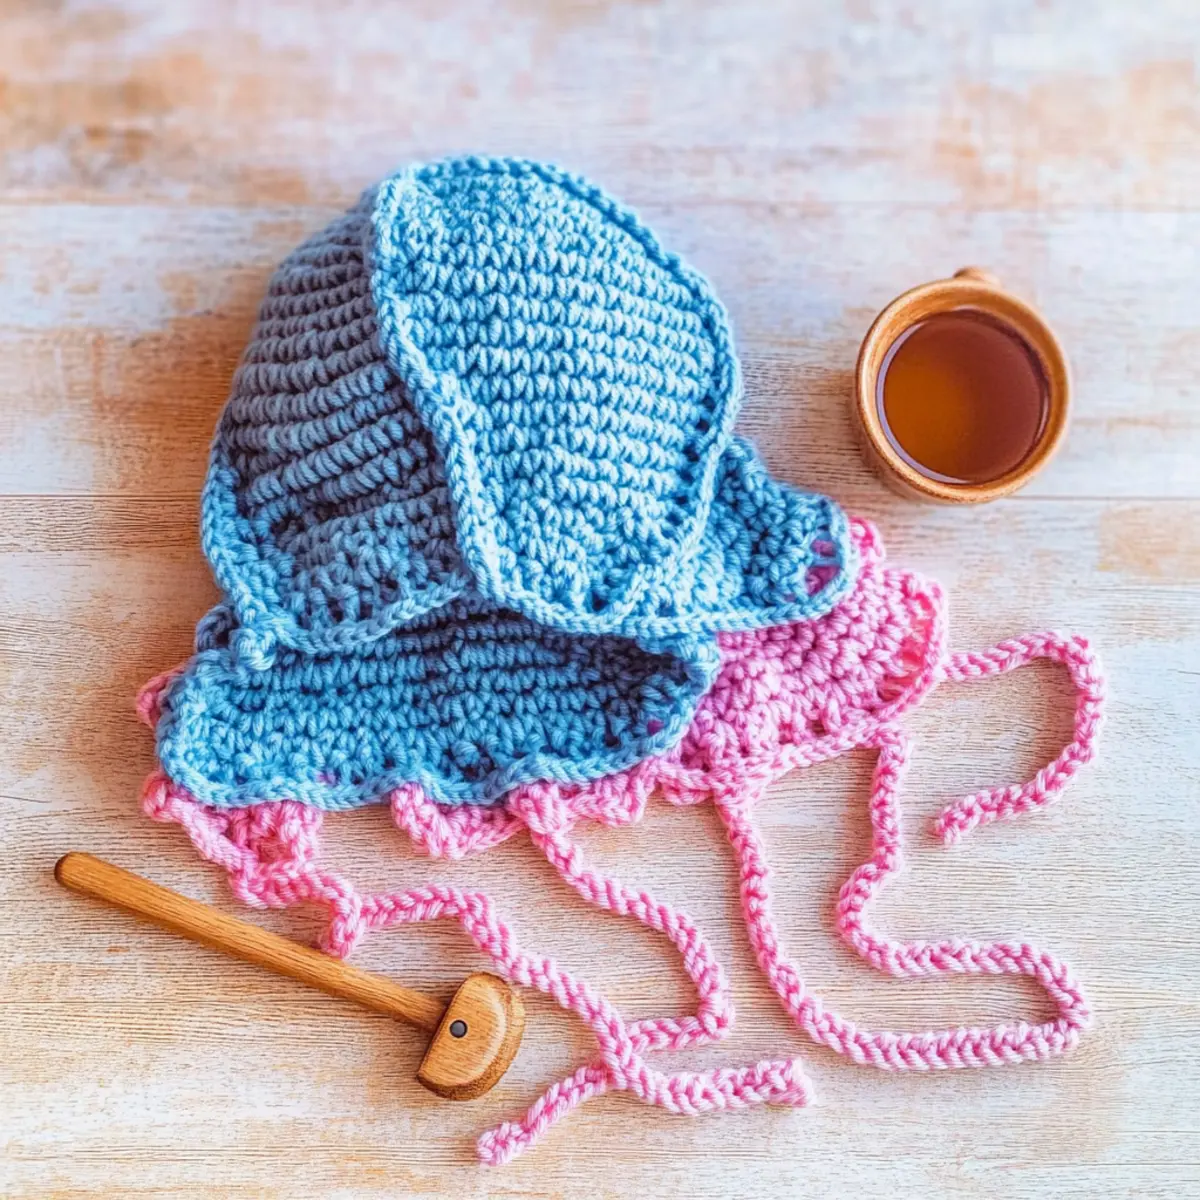
Hand Washing: Gently hand wash your Easy Crochet Baby Bonnet in cold water with a mild detergent. Avoid vigorous agitation to prevent distortion of the delicate stitches.
-
Drying/Blocking: Lay the bonnet flat on a clean towel and shape it to its original form. Avoid hanging to dry, which can cause stretching, and don’t use a dryer.
-
Storage: Store your bonnet in a cool, dry place, preferably in a breathable cotton bag. This helps maintain its shape and prevents any moisture buildup.
-
Proper Handling: Always handle the bonnet with care to avoid snagging any stitches. This will keep the charm and durability intact for those sweet little heads!
Easy Crochet Baby Bonnet Variations
Get ready to sprinkle some creativity into your crochet journey with these delightful customization ideas!
-
Yarn Substitutions: You can swap Hobbii’s cotton with another soft yarn. Try bamboo or acrylic for a different texture and warmth.
-
Color Blocking: Create a cheerful two-tone look by using contrasting colors. Simply change yarns every few rows for a playful twist!
-
Texture Tweak: Enhance your bonnet with textured stitches like bobbles or shells. This adds a gorgeous visual interest and makes each piece one-of-a-kind.
-
Size Adjustments: To craft a larger or smaller bonnet, simply modify the foundation chain length. A little adjustment goes a long way in fitting your loved ones!
-
Add a Pom-Pom: For a whimsical touch, finish off your bonnet with a cute pom-pom on top or on the ties. It’s the cherry on top of your crochet cake!
-
Fringe Fun: Incorporate fringe along the edges for a playful flair. This adds movement and a dash of fun to the classic design.
-
Embellished Details: Stitch on flowers or other embellishments. This personal touch transforms your bonnet into a cherished keepsake, perfect for special occasions.
-
Mixed Fiber: Explore mixing fibers, like adding a touch of sparkly yarn or a soft wool blend. It creates a unique finish that shines in any light.
For more insights on choosing the right materials, don’t forget to peek at our guide on yarn options to elevate your hat-making skills! Dive in and let your creativity flow—you’ll be amazed at what you can create!
Expert Tips for Your Bonnet
-
Test Your Gauge: Before starting, ensure your gauge is correct by crocheting a small swatch. This helps maintain the proper size and fit for your Easy Crochet Baby Bonnet.
-
Count Stitches Regularly: To avoid losing your place, count your stitches at the end of each row. This practice will keep your design consistent and beautifully shaped.
-
Secure Your Ends: When finishing your bonnet, make sure to tightly weave in all loose ends to prevent unraveling and ensure a polished look.
-
Mind the Chain: Take care when creating your foundation chain; avoid twisting it to maintain a smooth, even start for your project.
-
Tidy Up with Slip Stitches: Use slip stitches to seam your bonnet’s back smoothly, giving it a neat finish and ensuring durability for little ones.
Easy Crochet Baby Bonnet – Customizable Sweet Pixie Hat FAQs
Can I substitute the yarn for the Easy Crochet Baby Bonnet?
Absolutely! While I recommend Hobbii’s Rainbow Cotton 8/4 for its softness, you can substitute with any #2 sport-weight yarn. Just be sure to check that your substitute yarn has a similar fiber content and drape for the best results.
How can I adjust the size of the Easy Crochet Baby Bonnet?
Don’t panic! To customize the size, simply adjust your foundation chain to fit the baby’s head circumference. For instance, a chain length of 6.75” works great for a 6-month-old. If you’re making it for an older child, you might want to increase the chain length by a couple of inches based on their age.
Why is my Easy Crochet Baby Bonnet curling at the edges?
If your work is curling like a bowl, it might be due to too tight a tension or the wrong hook size. Try loosening your grip or opting for a bigger hook to correct this, and you should see those edges flatten out beautifully!
What hook size should I use for the Easy Crochet Baby Bonnet?
For this pattern, I recommend using a 3.5 mm (E/4 US) hook. If you’re finding your tension to be too tight or loose, feel free to adjust the hook size to meet the gauge of 18 stitches and 11 rows = 4 inches in double crochet!
I dropped a stitch while making the bonnet; how do I fix it?
It’s an easy fix! Just gently pull the yarn to unravel back to the dropped stitch. You can then pick it back up using your hook and continue crocheting. A trusty stitch marker can help prevent this next time by marking your rows!
What’s the best way to care for my Easy Crochet Baby Bonnet?
For the best longevity of your project, hand wash it gently in cold water and lay it flat to dry. This will help maintain the shape and avoid any shrinkage or damage to that charming pixie look!
Leave a Reply