
As I sat on the couch with a cozy cup of tea, I realized how the simplest touches can bring such joy to our handmade creations. That’s why I’m thrilled to share my latest pattern: the Cute & Easy Crochet Bear Applique. This fast and beginner-friendly project is perfect for adding a touch of whimsy to baby garments, blankets, or even accessories. You’ll find that it whips up quickly, making it a delightful stash-buster for all those vibrant cotton yarns waiting to be transformed. Plus, whether you’re a seasoned crocheter or just starting, you’ll love how charming this little bear looks once it’s complete. Ready to bring some cheer to your next crafting session? Let’s dive in and create something adorable together!
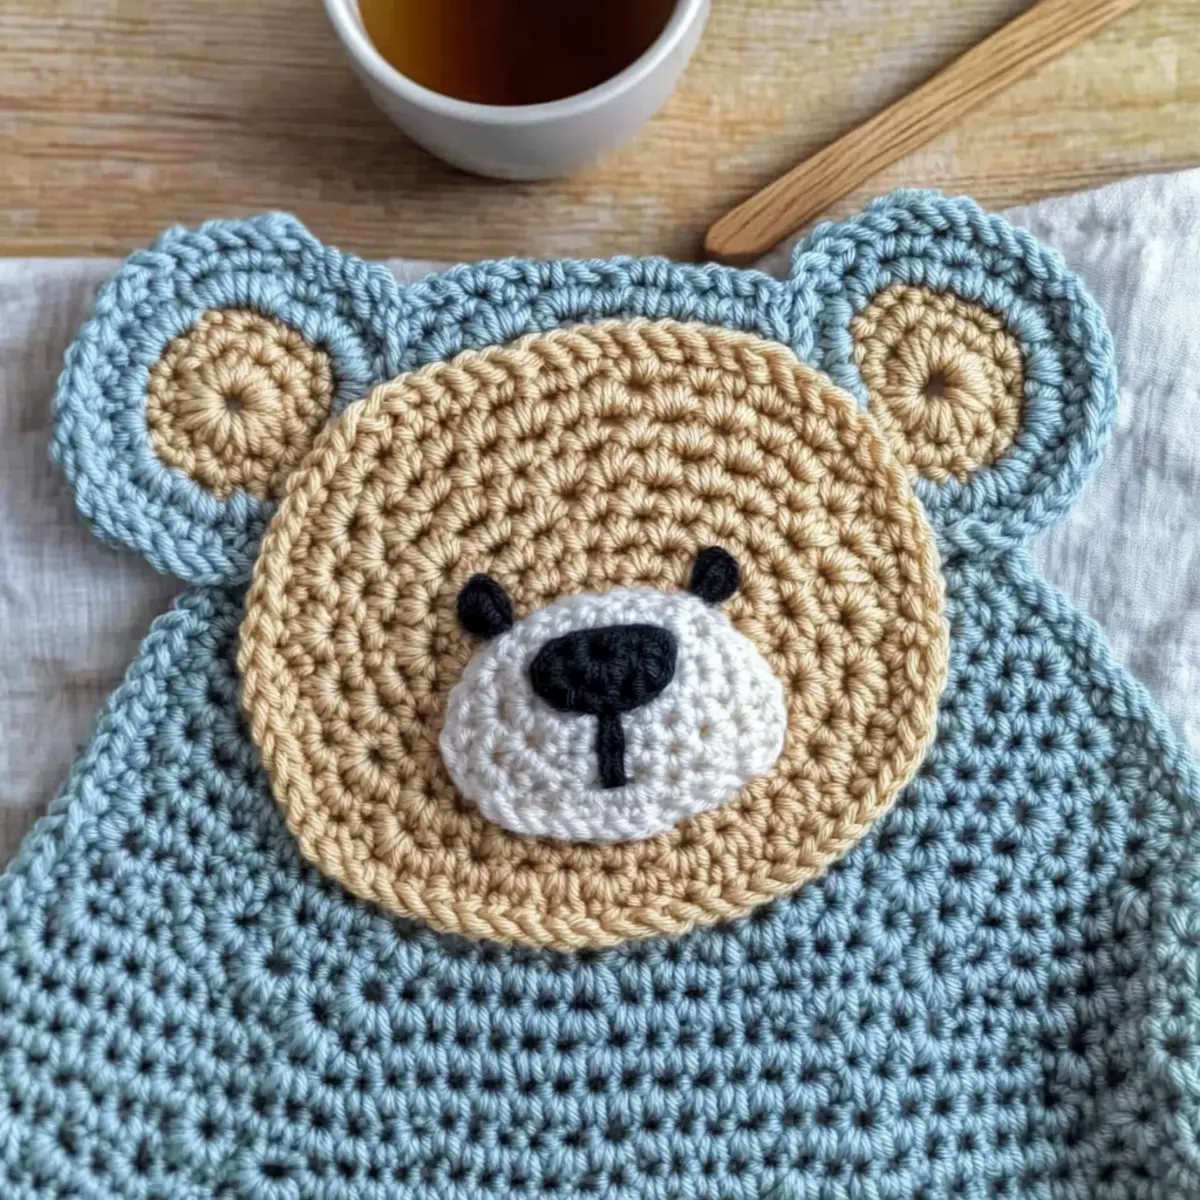
Cute Bear Applique Materials & Tools
Note: Gather your supplies and get ready to create this charming bear applique!
Yarn
• Hobbii Rainbow Cotton 8/4 – A lightweight #2 Sport yarn that is perfect for delicate designs.
• Hobbii Rainbow Cotton 8/8 – Use this #4 Worsted yarn for embroidering the details of your bear.
Yardage
• 50-100 meters – You’ll need this amount in each of the following colors:
– Colour A: Beige
– Colour B: White
– Colour C: Black
Hook
• 3.5 mm (E/4) Hook – This size ensures a nice tight stitch for your cute bear applique.
Notions
• Tapestry Needle – Essential for weaving in ends, making your project neat and tidy.
• Stitch Markers (optional) – Useful for keeping track of your rounds as you crochet.
• Safety Eyes (optional) – Add these for cute and whimsical detail to bring your bear to life!
Why is This Bear Applique So Special?
Fast & Fun: This bear applique comes together in no time, making it a perfect choice for quick gifting or last-minute embellishments on baby items.
Beginner-Friendly: If you’re new to crochet, you’ll appreciate how this pattern uses basic stitches, ensuring you can easily create this adorable design.
Versatile Decoration: Use it to spruce up baby blankets, garments, or accessories. It adds a whimsical touch that’s bound to make any item special!
Stash-Busting Project: This design requires minimal yarn, making it a delightful way to utilize leftover cotton skeins. Don’t forget to check out our stash-buster patterns for more ideas!
Charming Texture: The unique stitch definition achieved with high-quality cotton yarn leads to a soft, cuddly texture that’s perfect for little ones.
Customization Options: Get creative! Change colors or add embellishments like bows to make this bear applique uniquely yours! This flexibility is what crafting is all about!
Gauge & Sizing Notes
Don’t skip the gauge swatch! Checking your tension is crucial for the Cute & Easy Crochet Bear Applique to ensure your finished piece maintains its adorable shape. A standard gauge measurement for this project is a 4×4 inch (10×10 cm) square, which should equal approximately 12 double crochets by 8 rows. If you want to create a larger or smaller bear, simply adjust your starting chain by adding or subtracting in multiples of 12. If your tension swatch is too small, don’t worry—just try going up a hook size to achieve that perfect fit. Remember, your creative journey is as beautiful as the bear you’re making!
Step‑by‑Step Pattern for Cute & Easy Crochet Bear Applique
Round 1: Begin with the Head
Start your bear applique with a magic circle, then work 12 double crochet (dc) into the circle. Pull the magic circle tight to secure and close. Join with a slip stitch (sl st) to the top of the first dc to complete the round. Your work should resemble a small, tight circle (12 sts).
Round 2: Increase for Volume
Chain 2 (this counts as your first dc), then work 2 dc in each stitch around, increasing the size of your bear’s head. Count as you go to ensure proper shaping. Join with a sl st to the top of the chain 2 to close the round. Your circle should now have nice volume (24 sts).
Round 3: More Increases
Chain 2 again and work 1 dc in the first stitch, followed by 2 dc in the next stitch; repeat this pattern around the entire round. This row begins to shape the bear’s head and gives it a pleasant curvature. Join with a sl st to the chain 2 at the end of the round. You should have a total of 36 stitches (36 sts).
Round 4: Final Increases
Chain 2, then work 1 dc in the first two stitches, followed by 2 dc in the next stitch. Continue this pattern all around the circle to create a fuller head for your cute bear applique. Join with a sl st to the chain 2. Your head should now have lots of volume and ample sizing (48 sts).
Round 5: Shape the Features
Change to Colour B for the bear’s inner ears. Chain 2 and work in the first stitch 1 dc, then 1 half double crochet (hdc) in the next two stitches, followed by 2 dc in the next stitch. Repeat this to create the bear’s features. Join the round with a sl st, and you may notice your work slightly bulging as the shape progresses (48 sts).
Round 6: Adding Details
Switch to Colour C for the bear’s mouth. Chain 1 and sc in the next two stitches, chain 2 and then skip one stitch. Continue with sc in the next four stitches. This will create a lovely expression on your bear’s face. Join with sl st at the end; your bear should start to show personality (48 sts).
Finishing: Weave in Ends
To complete your bear appliqué, cut the yarn, leaving a long tail. Use a tapestry needle to weave in the ends neatly at the back of your work. If desired, attach safety eyes or embroidery for added detail. You should now have an adorable bear appliqué ready to embellish any baby project!
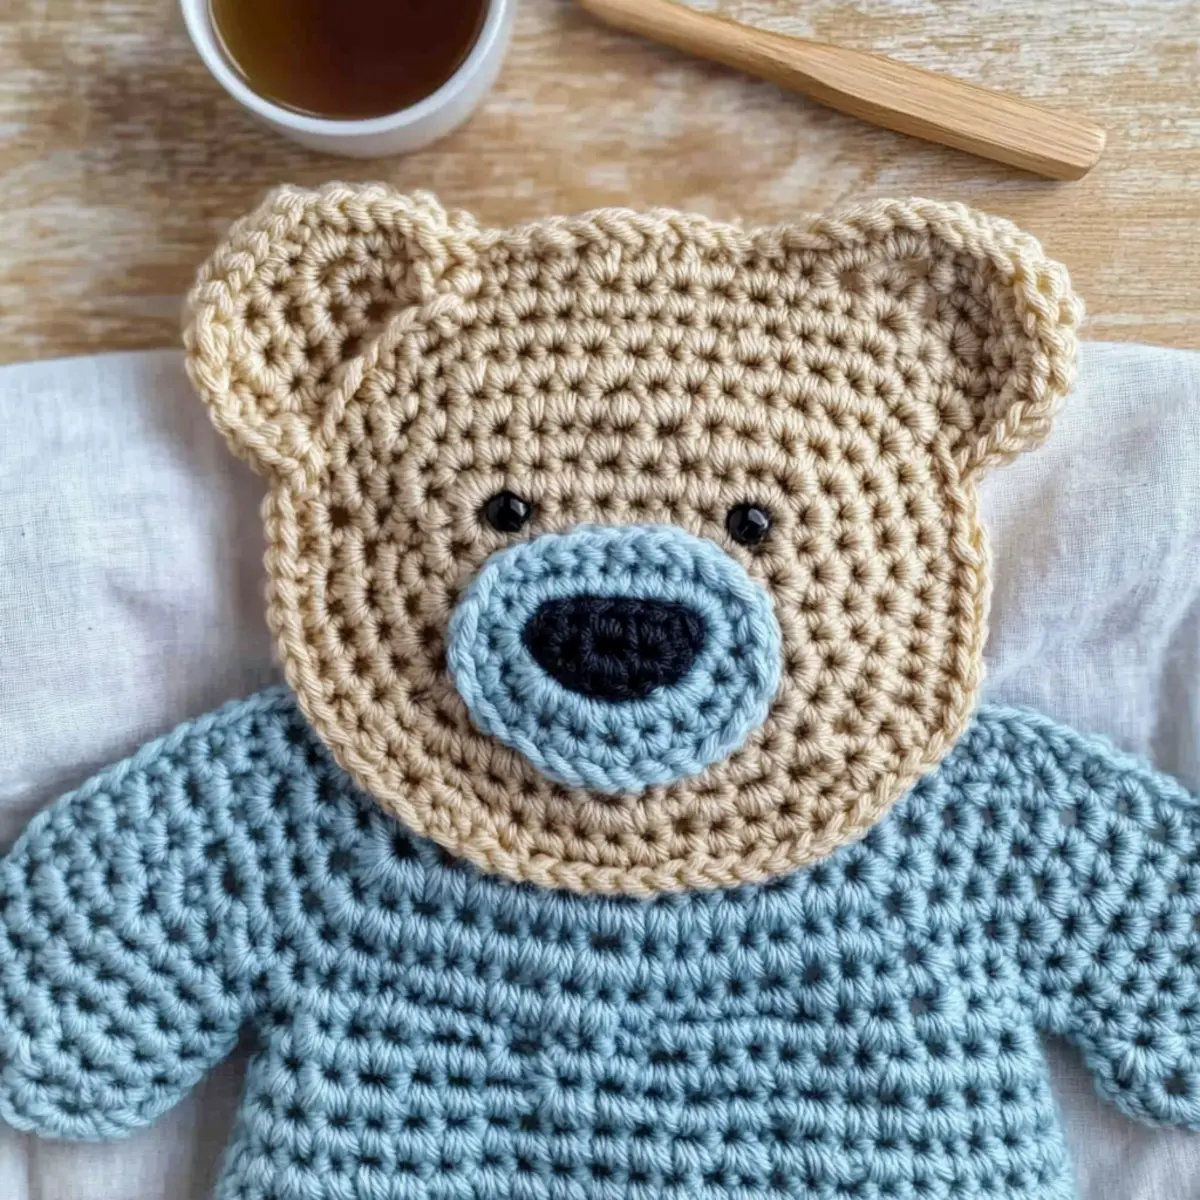
How to Wash and Care for Your Bear Applique
Machine Washing: Use cold water and a gentle cycle to protect your adorable bear applique. High temperatures and agitation can lead to felting or pilling, spoiling its charm.
Hand Washing: If you prefer a more delicate approach, hand wash the applique in cold water with a mild detergent. Gently squeeze to remove dirt without stretching the fibers.
Drying/Blocking: Lay the bear applique flat on a clean towel to dry, reshaping it gently to maintain its original form. Avoid hanging to prevent stretching.
Storage: Store your bear applique in a cool, dry place away from direct sunlight. Keeping it in a breathable bag helps retain its color and shape for future use.
Cute Bear Applique Variations & Substitutions
Embrace your creativity and make this charming bear applique truly yours with these delightful variations!
-
Yarn Weight Swaps: Use a thicker yarn like worsted to create a larger applique. Adjust the hook size accordingly for the best results.
Imagine a plush bear that doubles as a whimsical doorstop! -
Color Blocking: Mix and match colors for a playful, unique look. Combine pastel colors for a soft, baby-friendly design.
This approach lets you craft bears that suit any nursery decor! -
Fiber Alternatives: Try a soft acrylic blend for a cozy but allergy-friendly piece. It’s great for gifting to little ones with sensitivities.
The acrylic will keep its shape beautifully, ensuring longevity through all those cuddles. -
Add a Bow: Create a perfect gift by attaching a small bow around the bear’s neck. Use contrasting colors for a standout embellishment.
This tiny detail is sure to add character and charm to your project! -
Fringe Fun: For a whimsical touch, add fringes to the bear’s arms or ears. This gives a playful look your little ones will adore!
The texture also enhances the soft aesthetic of your finished piece. -
Sizing Adjustments: Want a mini bear? Simply reduce your yarn weight and hook size for a lovely pocket-sized companion.
This also makes for adorable motifs on hats and booties! -
Textured Border: Add a decorative border around the bear for a finished look. A simple scalloped stitch can do wonders!
It creates a delightful frame that makes your bear stand out even more. -
Safety Eyes Substitution: If you prefer a simpler finish, consider embroidering the eyes instead of using safety eyes. This adds a softer touch, ideal for baby items.
It’s an easy switch, preserving that sweet, innocent appeal!
Let your creativity flourish, and don’t hesitate to explore more projects inspired by your favorite yarns! For additional inspiration, consider browsing our collection of crochet project ideas that celebrate personal flair and functionality!
Expert Tips for Bear Applique
-
Count Carefully: Keep track of your stitches at the end of each round to maintain the bear’s shape and prevent any mishaps.
-
Check Your Tension: Consistent tension is key! Experiment with your yarn and hook to find a gauge that produces a cozy, cuddly texture for your bear applique.
-
Invisible Join: Use an invisible join at the end of rounds for a clean finish that seamlessly connects your work. This adds a professional touch!
-
Secure Ends: Weave in your yarn ends securely to avoid any unraveling, especially since this cute applique will likely be washed and handled by little ones.
-
Yarn Quality Matters: Selecting high-quality cotton yarn for the applique enhances durability and stitch definition, making your finished project truly special.
-
Stay Organized: Consider using stitch markers to keep track of your rounds; this is especially helpful when working on a detailed piece like the bear’s face.
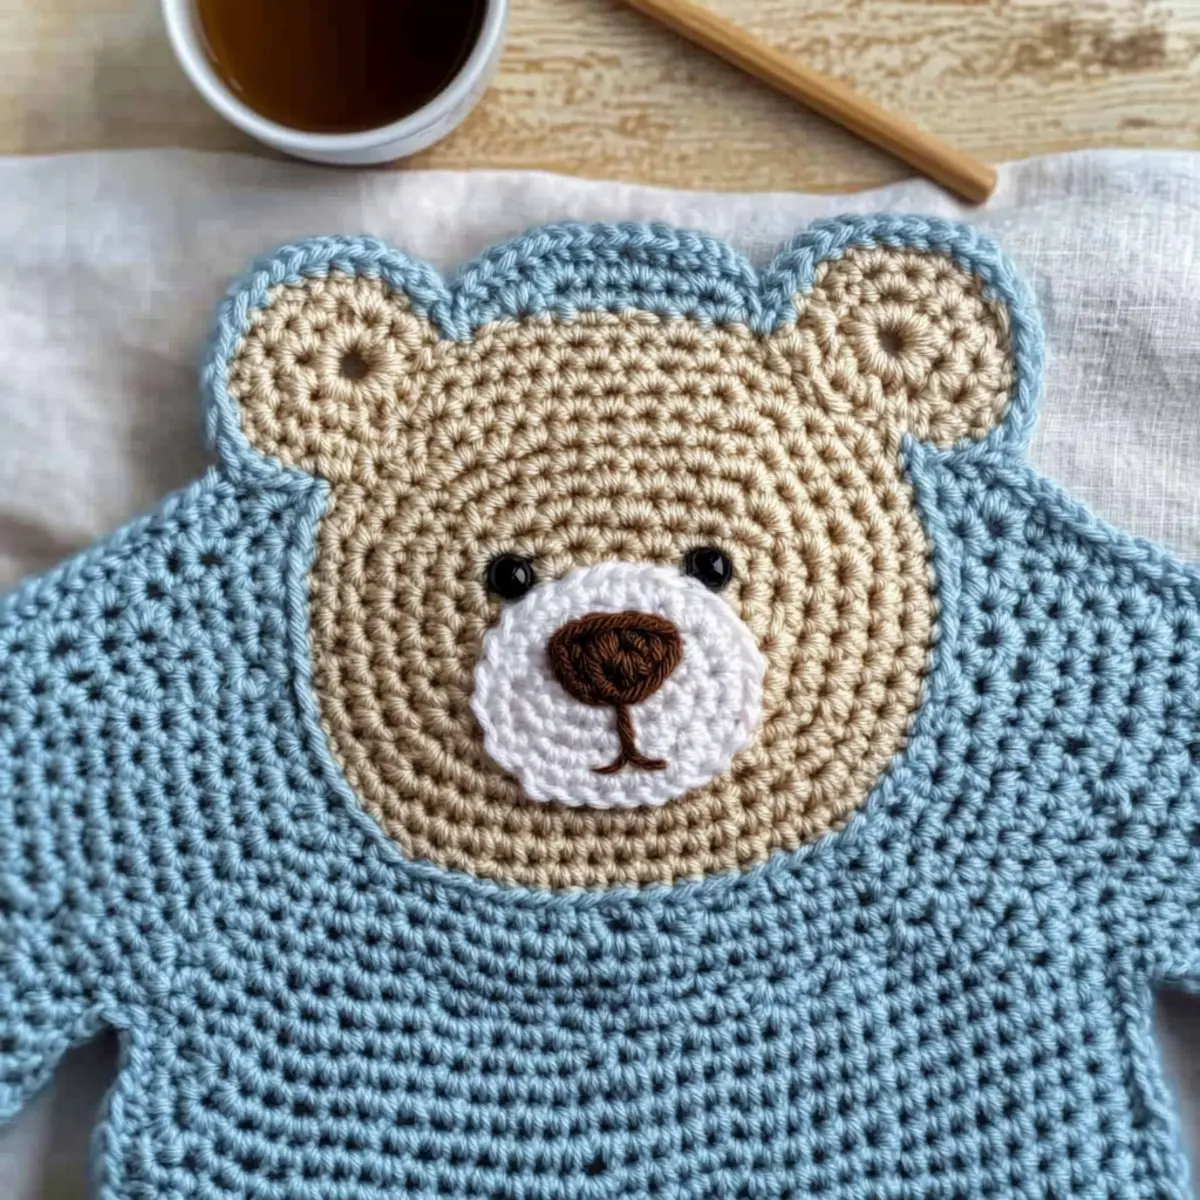
Cute & Easy Crochet Bear Applique FAQs
Can I use a different type of yarn for the bear applique?
Absolutely! While I recommend using Hobbii Rainbow Cotton for its durability and texture, you can try a heavier yarn like worsted weight if you want a larger bear. Just remember to adjust your hook size accordingly!
How can I make the bear applique larger or smaller?
You’re in for a fun little math exercise! To increase the size, simply add more rounds of stitches, making sure to maintain the increases in a consistent pattern. For a smaller bear, use a lighter weight yarn and a smaller hook, and adjust the stitch count accordingly.
Why is my bear applique curling at the edges?
Don’t panic! If your edges are curling like a bowl, it’s likely due to tension. Ensure you’re not crocheting too tightly. You can also try blocking your finished applique to relax the stitches and help the shape settle.
What hook size should I use for the bear applique?
For the Cute & Easy Crochet Bear Applique, I suggest a 3.5 mm (E/4) hook. This size balances the stitch definition beautifully with the recommended cotton yarn. If you’re changing yarn weights, adjust your hook size accordingly—larger yarns need larger hooks.
How do I fix dropped stitches in my work?
It’s an easy fix! Simply pull the working yarn through the dropped stitch, and then using a crochet hook, re-insert it into the last completed stitch. You can also reinforce the area by crocheting a couple of stitches in that local section to secure it.
What do I do if my safety eyes don’t stay in place?
If your safety eyes are wobbly or feel loose, try applying a bit of fabric glue to the back before securing. This helps keep them in place, especially in projects meant for little ones who love to play and tug!
Leave a Reply