
There’s a unique joy in crafting for the littlest members of our families, especially when they get to wear something we’ve lovingly made. The Sweet and Adorable Crochet Madeline Baby Dress is not just a pattern; it’s a wonderful opportunity for you to create a charming design that will grace any baby’s wardrobe from casual playdates to special occasions. This beginner-friendly dress allows you to flex your creativity with its delightful stitches and a flowing skirt that drapes beautifully. Plus, it’s a perfect stash-buster, using only 150-200 yards of soft yarn! Whether you’re a seasoned crocheter or just starting, crocheting this little piece will fill your heart with warmth and accomplishment. Let’s dive into the world of cute crochet and make something special together!
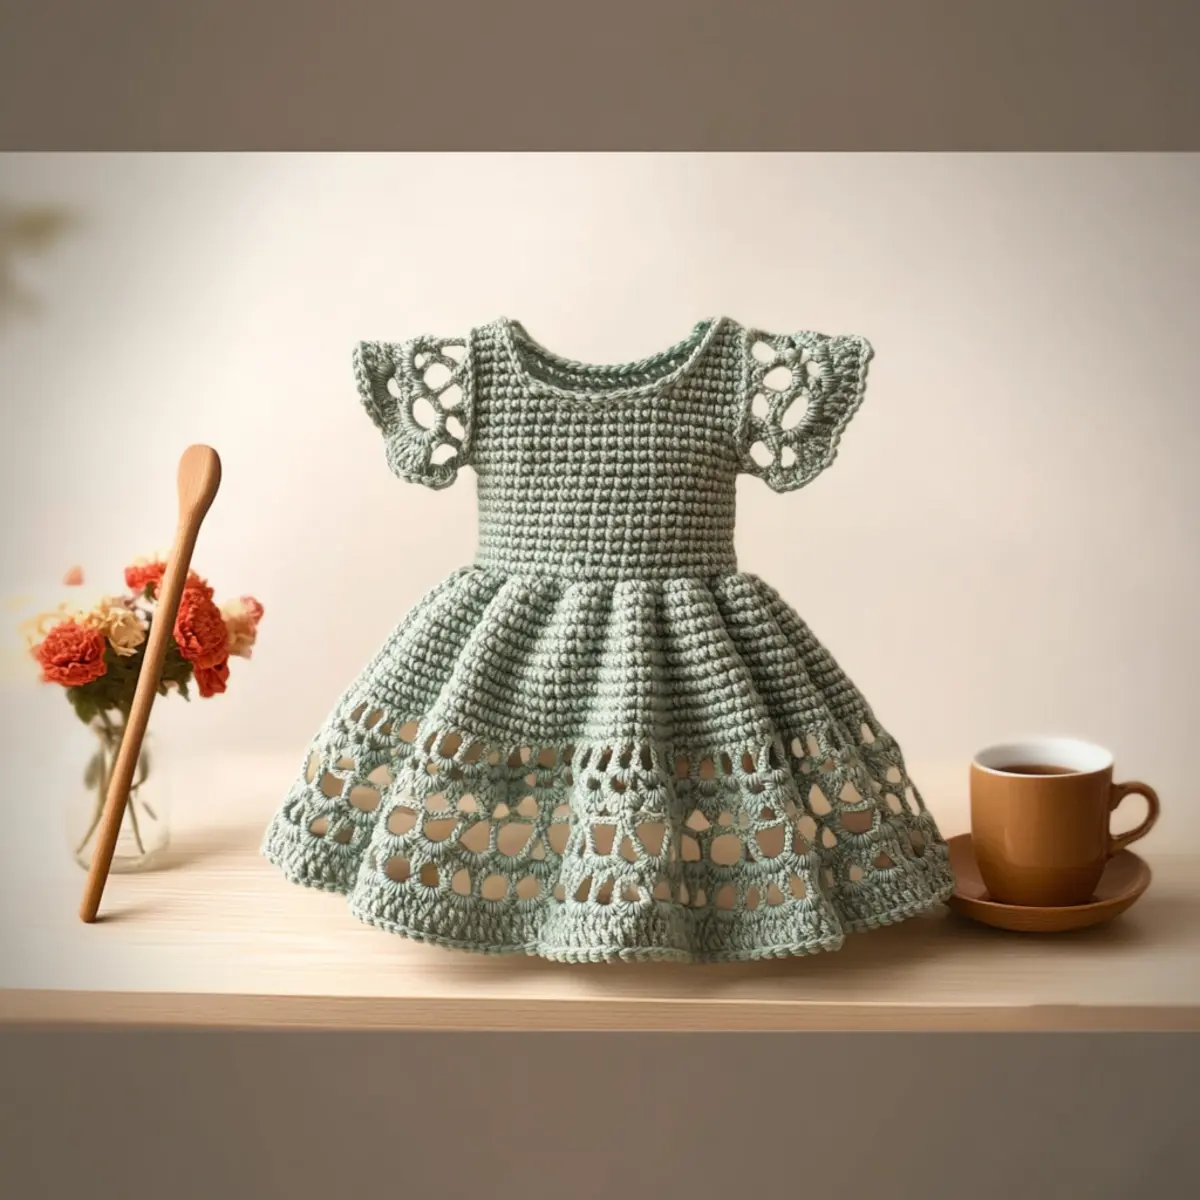
Madeline Baby Dress Materials & Tools
Get ready to create a charming piece for the tiniest fashionista!
-
Yarn
-
Lana Aran Yarn – This worsted weight (4) acrylic/wool blend requires approximately 150-200 yards for a soft and cozy finish.
-
Tools & Notions
-
5 mm (US H-8) Crochet Hook – The perfect size to help you achieve a lovely drape while maintaining comfort.
-
1 Flat Button – Essential for fastening the bodice to finish your Madeline Baby Dress elegantly.
-
Tapestry Needle – Use this for weaving in those pesky ends for a polished look.
-
Stitch Markers (optional) – Helpful to keep track of your rows, especially when you’re in the groove of this beginner-friendly design!
Why Is the Madeline Baby Dress Special?
Beginner-Friendly: This pattern is designed specifically for those new to crocheting, allowing you to practice essential stitches while creating something beautiful.
Charming Design: With its elegant bodice and flowing skirt, the Madeline Baby Dress is perfect for any occasion, ensuring your little one stands out.
Time-Saving Craft: Made with just 150-200 yards of yarn, this quick project will have you finishing in no time, leaving you with a satisfying sense of accomplishment.
Adorable Customization: Experiment with various soft colors or add contrasting buttons to personalize the dress. The possibilities are endless!
Cozy and Comfortable: The blend of acrylic and wool provides a soft texture against your baby’s skin, keeping them comfortable while looking stylish.
This delightful crochet piece is sure to become a treasured creation; discover more tips on how to personalize your project in our guide to Crochet Color Combinations!
Gauge & Sizing Notes
Don’t skip the gauge swatch! Checking your tension is essential for ensuring your Sweet and Adorable Crochet Madeline Baby Dress turns out just right. For this project, aim for a gauge of 4×4 inches (10×10 cm) = 12 double crochet stitches by 10 rows. If you’d like to create a slightly larger dress, you can adjust the starting chain in multiples of 12. Conversely, if your tension swatch is smaller than noted, try going up a hook size to achieve the desired fit. Remember, achieving the right crochet gauge ensures that this charming dress will be just as lovely on your little one as it is in your imagination!
Step‑by‑Step Pattern for Sweet and Adorable Crochet Madeline Baby Dress
Row 1: Foundation Chain
Begin by making a foundation chain of 42 stitches. This chain will form the bodice of the Madeline baby dress. Ensure your chain is not too tight, as it will need to stretch slightly over the baby’s head. The foundation chain should sit comfortably in a straight line without twisting.
Row 2: Bodice Setup
Turn your work and make 1 double crochet (dc) into the 4th chain from the hook. Continue with 1 dc in each chain across for a total of 40 dc. This creates the first row of the bodice. Your work should lay flat, forming a firm and structured base for the dress.
Row 3: Bodice Increase
Chain 3 and turn. To create the second row, work 1 dc in the first stitch, then inc (increase) by making 2 dc in the next stitches, repeating this for the entire row. You should have 48 dc at the end of this row. The bodice will start to curve, creating a gentle shape for the little one.
Row 4: Continue Bodice
For this row, chain 3 and turn. Work 1 dc in each of the next 48 stitches, maintaining the 48 dc count. This steady row supports the bodice’s structure while allowing it to begin defining its delicate shape. The bodice should feel comfortable and secure as you progress.
Row 5: Prepare for Skirt
Chain 3 and turn your work. This time, for the fifth row, work 1 dc in each stitch across, and at the end, inc in the last stitch to add volume for the skirt. You should now have 49 dc after this round. The bodice should seamlessly blend into where the flowing skirt will begin.
Row 6: Start the Skirt
Chain 3 and turn. In this round, begin the skirt by working a 1 dc in each of the first 10 stitches, then inc in the next stitch. Repeat this pattern for the remainder of the row. At the end, you should have 58 dc, and the skirt will start to create a gentle, flared effect.
Row 7: Skirt Expansion
Continue to build the skirt by chaining 3 and turning. Work 1 dc into the first 11 stitches, followed by an inc in the next. Repeat this until the row ends, resulting in 67 dc. You will notice the fabric draping beautifully as the skirt widens – a key feature of the Madeline baby dress.
Row 8: Skirt Texture
For this row, chain 3 and turn. Work 1 dc in each stitch across. Continue this for two more rows to maintain a smooth and soft drape of the skirt, finishing with 67 dc. Your work should feel full and flowing, creating that charming silhouette that makes this dress so special.
Row 9: Ruffle Effect
Begin the ruffle by chaining 3 and turning. Work 1 dc in the first 10 stitches, then make an inc in the next stitch, and repeat this pattern across the row. You should have 76 dc at the end of this row. The ruffle creates a delightful appearance, further enhancing the overall charm of the dress.
Row 10: Finishing the Skirt
To finalize the skirt, chain 3 and turn. Work 1 dc in each stitch across for another two rows, finishing with 76 dc. Your dress should now have a lovely flow and be ready for a button attachment. Take a moment to admire the beautiful skirt you’ve just created!
Step 1: Attach the Button
To complete your Madeline baby dress, choose a flat button and sew it onto the bodice for fastening. Use yarn or a tapestry needle to attach it securely. Ensure that it is positioned in a way that’s easy to snap while keeping the dress comfortable for the baby wearing it.
Step 2: Weave in the Ends
Finally, use a tapestry needle to weave in all loose ends from your Madeline baby dress. This step helps clean up the appearance of your work and ensures that there are no loose strands, making it perfect for wearing. Your adorable creation is now ready to be cherished!
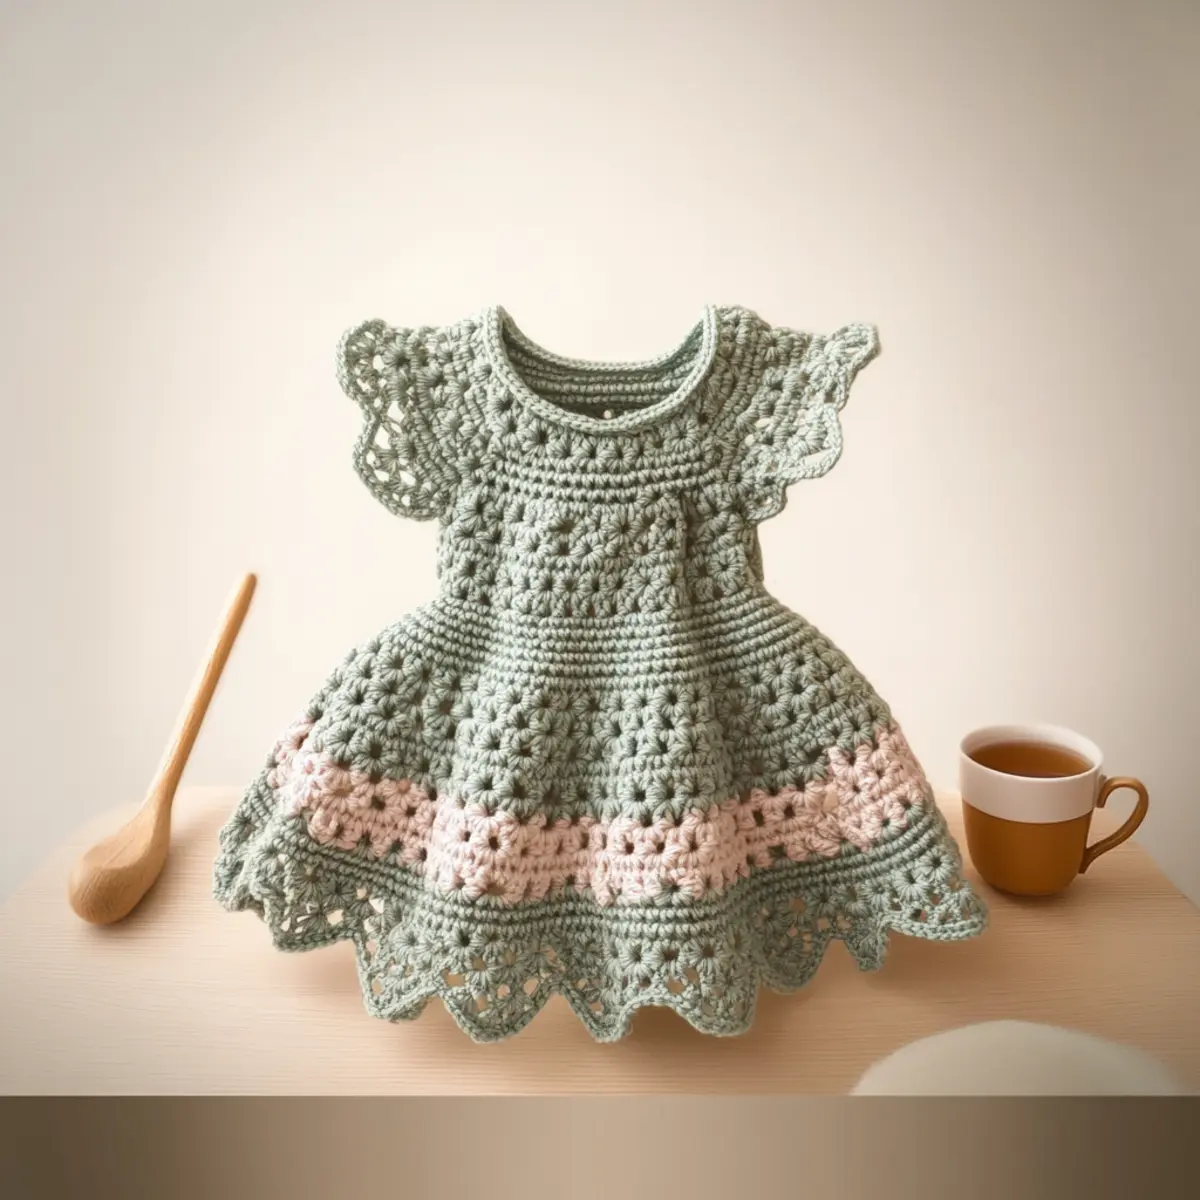
Madeline Baby Dress Variations
Unlock your creativity by exploring delightful twists and turns in the Madeline Baby Dress pattern!
-
Yarn Substitutions: Opt for a lighter cotton yarn for warmer weather wear, too. It adds breathability while keeping the design charming.
-
Color Play: Try a soft pastel gradient for an ethereal look. This adds warmth and a touch of whimsy to the ensemble.
-
Skirt Length: Add 2-4 extra rows to the skirt for a longer dress that grows with your little one. It creates an enchanting flow perfect for twirling!
-
Contrasting Buttons: Use a bright button for a fun pop of color against your yarn choice. This simple change elevates the dress’s charm.
-
Texture Modifications: Add sweet fringes to the hem of the skirt. This playful detail brings a delightful movement that’s perfect for little ones.
-
Sizing Adjustments: For a snug version, simply adjust your starting chains to make it smaller without altering the overall pattern. Perfect for newborn photos!
-
Embellishments: Consider adding a delicate crochet flower to the bodice for an extra dose of cuteness. It personalizes the dress, making it truly one-of-a-kind.
-
Seasonal Styles: Layer the dress over a long-sleeve onesie for chilly days. This way, your baby remains stylish and cozy, perfect for any season!
Explore more options to get creative with your crochet projects by diving into our guide on Colorful Crochet Techniques and enjoy the burst of inspiration!
How to Wash and Care for Your Madeline Baby Dress
Hand Washing: Gently hand wash your Madeline baby dress in cold water using a mild detergent. Avoid twisting or wringing to maintain the delicate fabric’s integrity.
Drying/Blocking: Lay the dress flat on a clean, dry towel to dry completely. This preserves its shape and lovely drape while avoiding distortion from hanging.
Storage: Keep your dress in a cool, dry place, folded gently to prevent creasing. Avoid hanging, as this might stretch out the design over time.
Pilling Prevention: To keep your dress looking fresh and new, avoid friction with rough surfaces and store it away from any potential snagging hazards.
Expert Tips for the Madeline Baby Dress
-
Stay Tensioned: Ensure consistency: Maintain an even tension throughout your stitches for a smooth finish, preventing any areas from being too tight or loose.
-
Count Wisely: Keep track: Regularly count your stitches, especially at the end of each round, to avoid misalignment that can throw off your charming design.
-
Blocking Matters: Shape it right: After completing the dress, don’t forget to block it! This will help it maintain that delightful drape, enhancing the overall look.
-
Stitch Marker Use: Avoid confusion: Use stitch markers to clearly mark key points in the pattern, especially during increases and decreases, making it easier to follow along.
-
Soft Yarn Choice: Comfort first: Remember to choose a gentle yarn blend, like the acrylic/wool for the Madeline Baby Dress, ensuring it’s comfortable against the baby’s delicate skin.
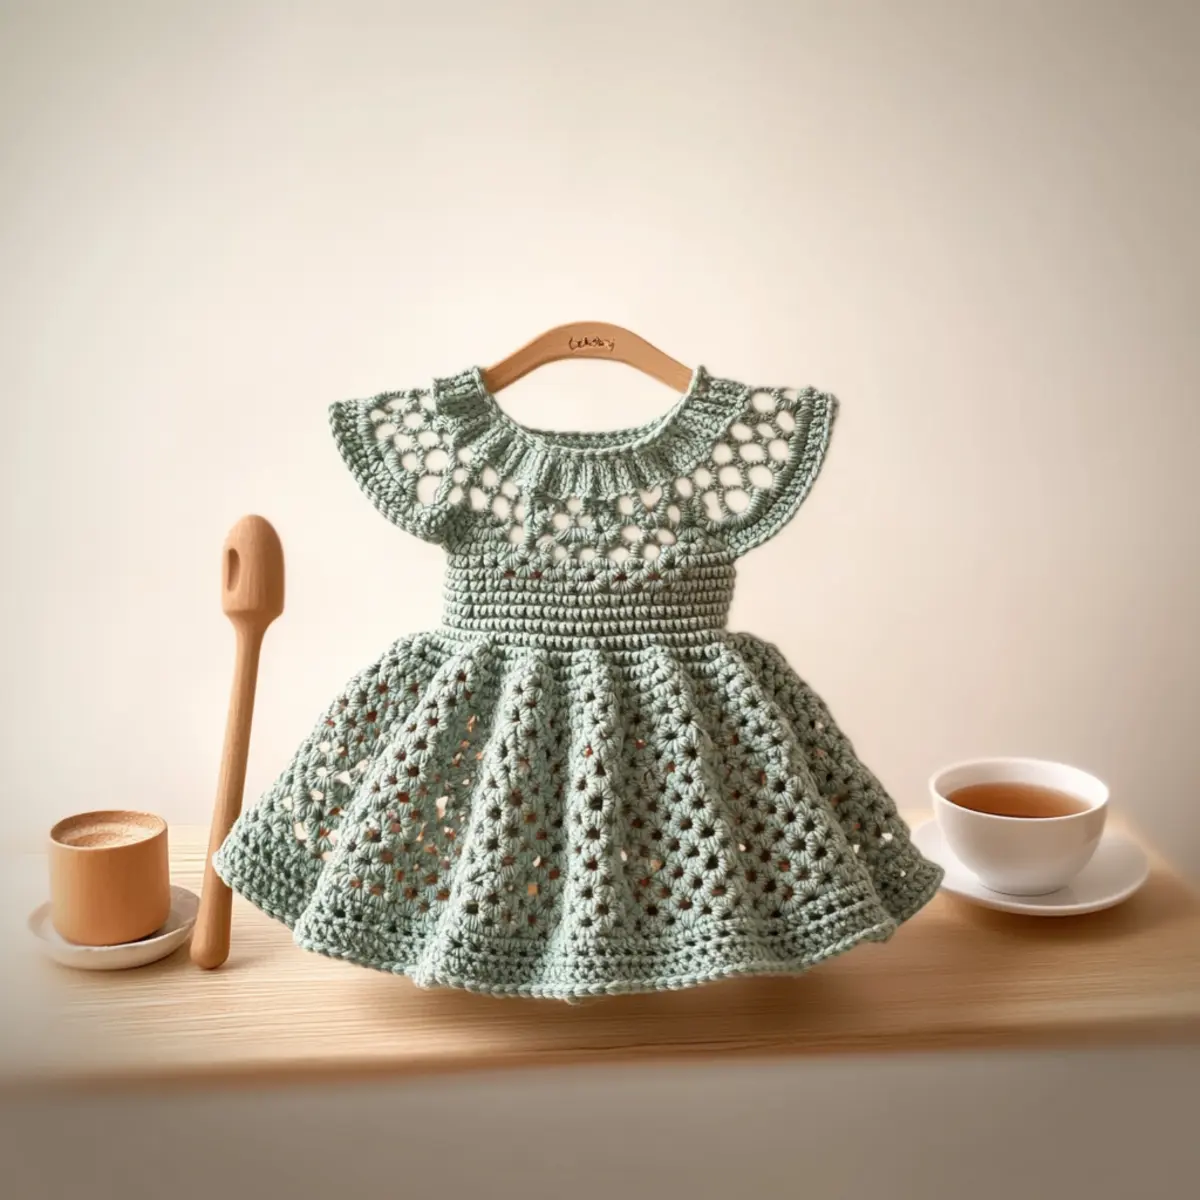
Madeline Baby Dress FAQs
Can I use a different type of yarn for the Madeline Baby Dress?
Absolutely! While the original pattern calls for an acrylic/wool blend, you can substitute it with cotton or bamboo yarn for a lighter feel. Just ensure that the weight category remains worsted (4) to achieve the same drape and finish.
How can I adjust the size of the Madeline Baby Dress?
If you need to resize the dress, you can easily add or reduce rows in both the bodice and skirt sections. For a larger fit, consider increasing the overall stitch count by multiples of your original row guidelines, and for a smaller size, decrease by the same rules!
Why is my work curling up at the edges?
Don’t panic! If your edges are curling like a bowl, this usually indicates that your stitches are too tight. Try using a larger hook size or consciously easing the tension in your stitches as you work through the pattern.
What size crochet hook should I use for this dress?
The Madeline Baby Dress is designed with a 5 mm (US H-8) crochet hook, which is perfect for the yarn weight recommended. However, if you notice your stitches are too tight or loose, adjusting to a hook one size larger or smaller can help achieve your desired tension.
How do I fix dropped stitches in my crochet work?
It’s an easy fix! To correct a dropped stitch, gently pull the yarn to unravel back to where the drop occurred, then reintroduce it into the previous rows using a crochet hook, ensuring it’s securely stitched in place. If you’re unsure, you can always consult a quick video tutorial for a visual guide!
How do I care for the finished Madeline Baby Dress?
For the best longevity of your lovely creation, hand wash it in cold water and lay it flat to dry. This method preserves the shape and softness of the yarn, ensuring your little one’s dress remains beautiful for years to come.
Leave a Reply