
As I sat on my cozy couch, the allure of soft black and white yarn beckoned me to dive into a project that so easily captivates the soul. Enter the Classic Black and White Granny Square pattern, a beginner-friendly design that marries timeless elegance with effortless charm. This quick project is perfect for those who want to explore the beauty of crochet without the stress of complicated stitches. Imagine transforming your living space with these versatile squares—perfect for blankets, chic bags, or even wall art. With minimal yarn needed, it’s a great stash-buster that offers a delightful sense of accomplishment after just a few rounds. Are you ready to create something stunning? Let’s get stitching!
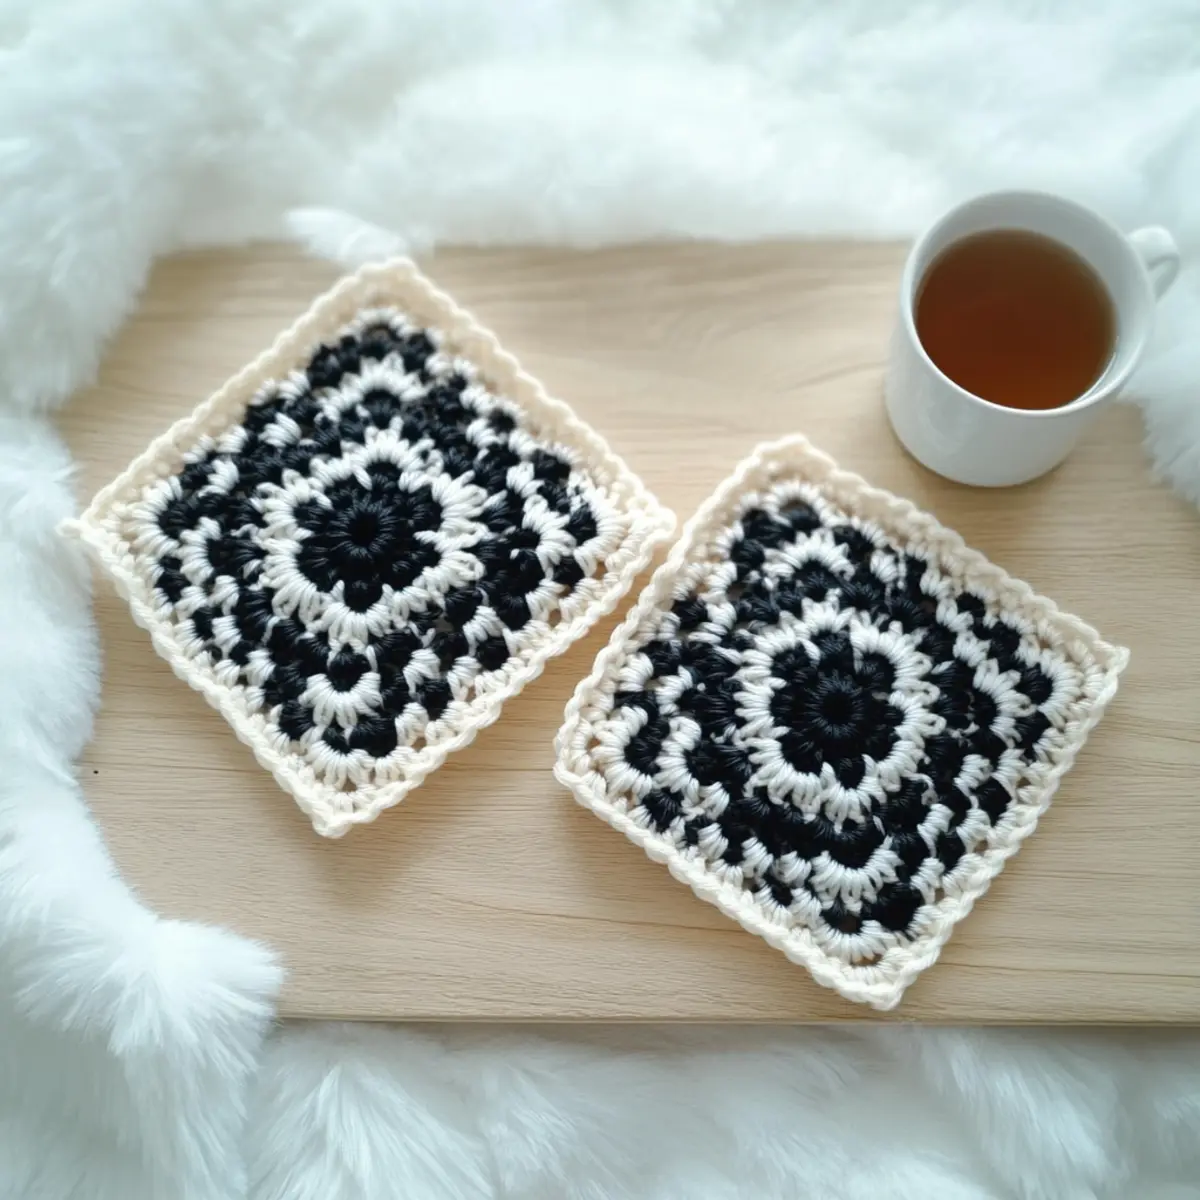
Black and White Granny Square Materials & Tools
Note: Gather your supplies for this delightful beginner-friendly project!
Yarn
• Loopara Milk Cotton, 4-ply Yarn – You’ll need one skein each of black and white (approx. 50g each) for the classic contrast.
Tools & Notions
• 2.3 mm (US B-1) Crochet Hook – A perfect size to create those lovely, tight stitches.
• Stitch Markers – Helpful for keeping track of your rounds and maintaining the perfect shape.
• Tapestry Needle – For weaving in those ends and finishing your squares neatly.
• Scissors – Keep these handy for snipping yarn when you’re done!
Why Choose the Black and White Granny Square?
Versatile Canvas: These granny squares are not just a project; they’re a foundation for endless creativity, suitable for anything from cozy blankets to trendy wall decor.
Beginner-Friendly: With only basic stitches involved, beginners can easily tackle this pattern and gain confidence while enhancing their skills.
Quick to Crochet: Perfect for those short on time, you can whip up a square in no time, making it great for last-minute gifts or quick home decor updates.
Timeless Aesthetic: The classic black and white color scheme adds a sophisticated touch that complements any decor style, ensuring your project remains in vogue for years to come.
Stash-Busting Potential: With minimal yarn required, you can utilize those leftover skeins and decrease your stash while creating something beautiful. If you’re looking for more stash-buster ideas, check out our compilation of creative crochet projects.
Get ready to enjoy the gratifying experience of crocheting these delightful squares!
Gauge & Sizing Notes
Don’t skip the gauge swatch! Ensuring that your crochet tension is spot on is essential for making perfect Classic Black and White Granny Squares that measure 4×4 inches (10×10 cm), which equals 14 double crochets by 8 rows. If you want to make your squares larger or smaller, adjust your starting chain in multiples of 3—for instance, adding extra chains for a wider square. If your swatch is too small, simply go up a hook size to loosen your tension. Remember, checking your crochet gauge not only helps achieve uniformity but also enhances the overall beauty of your project!
Step-by-Step Pattern for Classic Black and White Granny Square
Row 1: Starting the Foundation
Begin by making a slip knot and chaining 4. Join with a slip stitch (sl st) to form a ring. Inside the ring, chain 3 (this counts as your first double crochet). Work 2 double crochets (dc) into the ring, chain 2 for a corner space. Repeat this sequence two more times, ending with 3 dc and 2 chain spaces. Join with a sl st to the top of the initial chain 3. Your work should form a small round with 12 dc and 3 chain spaces (12 sts).
Round 2: Expanding the Squares
For the second round, start by chaining 3 (counts as dc), then make 2 dc into the first chain-2 space. Chain 2 for the corner. In the next corner space, work 3 dc, chain 2, and repeat this for each corner until you have 4 sets of 3 dc and 4 chain spaces. Finally, join your round with a sl st to the top of the initial chain 3. Your square will begin to take shape, with a total of 24 dc and 4 chain spaces (24 sts).
Round 3: Continuing the Pattern
In this round, start with a chain 3, and then make 2 dc into the first chain-2 corner space. For the next corner, repeat 3 dc and 2 chain, followed by 3 dc in the next chain-2 space. Continue this pattern until you complete the round, ensuring each corner has a chain space. Connect with a sl st to the top of the starting chain. At this stage, your square should have a total of 36 dc and 4 chain spaces (36 sts).
Round 4: Building More Depth
Begin Round 4 with a chain 3. Work 2 dc into the first chain-2 corner space, and then repeat the pattern of 3 dc, chain 2 in each corner. Between the corners, continue placing 3 dc into each chain space from the previous round. After completing the round, join with a sl st to the top of the initial chain 3. Your classic black and white granny square should now include 48 dc and 4 chain spaces (48 sts).
Round 5: Finalizing the Square
Start this round by chaining 3. Work 3 dc into the first corner chain-2 space. For every corner, continue the pattern of 3 dc, chain 2. In between the corners, place 3 dc in each chain space. Complete this round by joining with a sl st to the top of the initial chain 3. Your work should be about 4 inches square by now, with a total of 60 dc and 4 chain spaces (60 sts).
Round 6: Finishing Touches
To finish, chain 1 and work a single crochet (sc) into each dc and chain-2 space around the entire square. This will add a neat edge and help smooth out any uneven edges. Make sure to sc in each corner chain space to maintain the rounded corners. Join with a sl st to the first sc. The edges should look tidy, and your classic black and white granny square is ready to be used in any project!
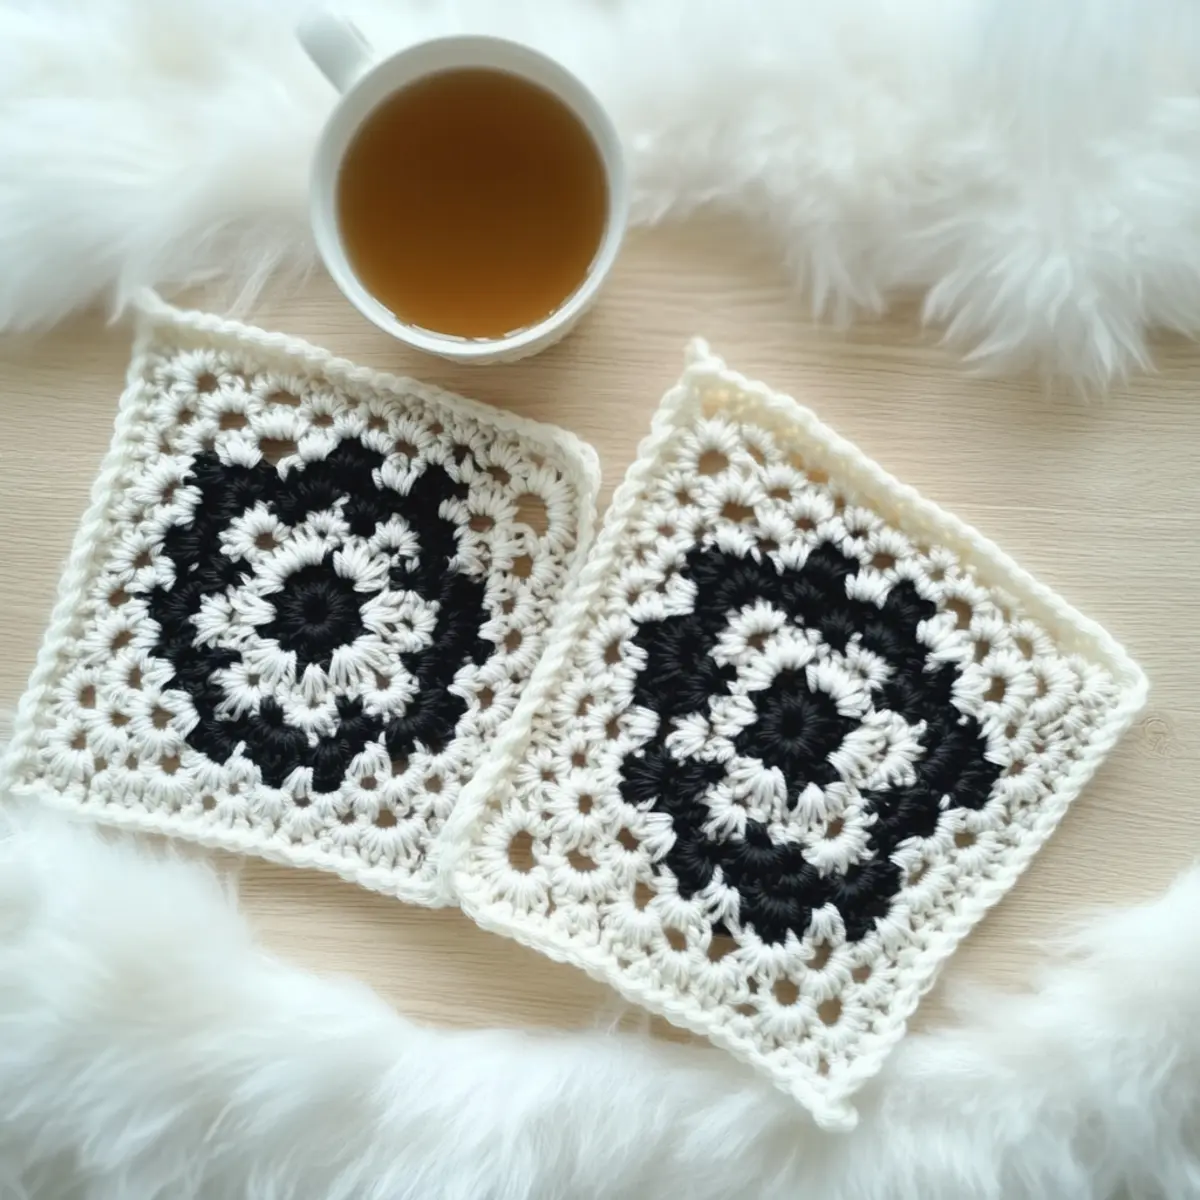
How to Wash and Care for Your Granny Squares
Hand Washing: Use cool water and a mild detergent to gently hand wash your granny squares, preserving their beautiful shape and texture. Avoid agitating them to prevent any felting.
Drying/Blocking: Lay your squares flat on a clean towel or blocking board to dry. This helps maintain their size and prevents stretching, ensuring they’re perfect for your projects.
Storage: Store your completed granny squares in a cool, dry place. Use acid-free tissue paper or cotton covers to keep moths at bay and protect your lovely creations.
Preventing Pilling: To keep your black and white granny squares looking fresh, steer clear of rough surfaces that might cause pilling over time. This will keep them chic and elegant!
Expert Tips for the Classic Granny Square
-
Tension Matters: Keep your tension even to ensure each granny square maintains that perfect shape. Loose stitches can result in uneven edges, so adjust your grip as needed.
-
Count Regularly: Make it a habit to count your stitches after each round. It’s easy to lose track, especially with cluster stitches. This will help you maintain your pattern.
-
Corner Precautions: Be mindful of your chain-2 spaces in each round—they’re what shape the corners. If misplaced, your squares may become misshapen.
-
Ending Threads Neatly: When finishing your granny squares, take the time to weave in your ends securely. This step not only tidies your work but ensures durability for your projects.
-
Experiment Boldly: Don’t hesitate to try different colors or variations! The classic black and white granny square is a great base for customizing to your taste.
Embrace the joy of creating your chic black and white granny squares with these helpful tips!
Black and White Granny Square Variations
Invite your creativity to flourish with personalized twists on this classic crochet project!
-
Color Combinations: Experiment with vibrant colors or pastels to create a stunning contrast with the black and white. Imagine a square featuring a soft pink amidst bold black!
-
Yarn Substitutions: Swap the milk cotton for acrylic yarn for a budget-friendly option that comes in an array of colors. This change can add a unique texture and durability to your squares.
-
Larger Hook: Using a 3.5 mm hook, switch to a looser stitch for a more relaxed drape. This airy texture enhances the modern aesthetic of your projects.
-
Additional Rounds: Add two or three more rounds to create larger squares perfect for a cozy throw blanket. It’s an ideal way to snuggle up on chilly evenings with a piece you created!
-
Fringe Finish: Attach fringe along the edges for a playful twist on your squares. This fun detail can bring an unexpected texture and takes your design to another level.
-
Textured Borders: Try a shell stitch or scalloped edge for a decorative border that elevates your granny square. It’s simple, yet it adds a luxurious touch.
-
Bags and Accessories: Combine squares in varying sizes to create stylish bags, or incorporate them into headbands and beanies for chic accessory sets. Imagine gifting a fashionable crochet bag featuring your very own squares!
-
Sensitive Washing Tips: Remember to wash your finished pieces in cool water and lay them flat to dry. This ensures they maintain their lovely shape and vibrant colors, ready to showcase your handmade art.
These variations can truly breathe new life into your crochet projects! Explore more ideas with our guide on customizing crochet patterns to continue your crafting journey.
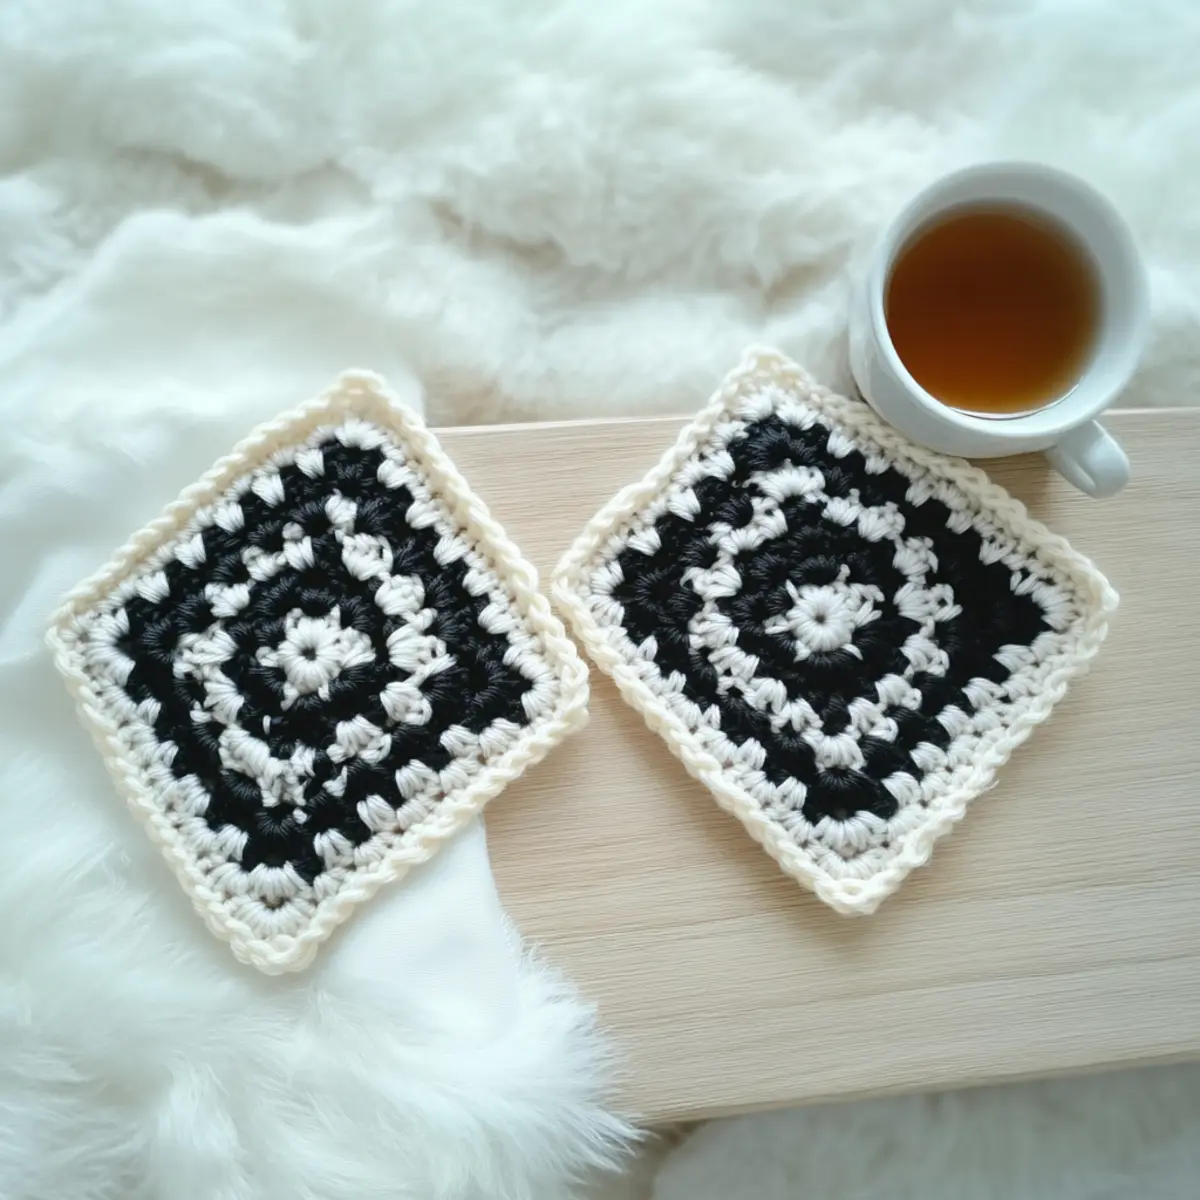
Classic Black and White Granny Square FAQs
Can I substitute the yarn?
Absolutely! While the pattern recommends Loopara Milk Cotton, you can use any 4-ply yarn. Acrylic or wool would also work well, just be mindful that the final texture may differ slightly.
How can I adjust the size of my granny squares?
If you’d like your squares bigger or smaller, simply modify the number of rounds you work. For larger squares, add additional rounds; for smaller ones, skip a round or two. Just remember to keep your stitch count consistent!
Why is my work curling up?
Don’t panic! Curling can sometimes happen if your tension is too tight. Ensure that you’re working with even tension. Alternatively, try using a larger hook size to give your squares more flexibility.
What hook size should I use?
For this pattern, a 2.3 mm (US B-1) crochet hook is recommended. However, if you’re using a different yarn weight, adjust your hook size accordingly. A good rule of thumb is to check your gauge if you’re exploring substitutions.
How do I fix dropped stitches?
It’s an easy fix! Simply use a tapestry needle to pull the yarn from the dropped stitch back through your last worked stitches, ensuring everything is snug. Count your stitches afterward to make sure you’ve restored order!
What if my squares don’t look perfectly even?
No worries at all! The beauty of granny squares lies in their charm. Keep practicing your stitch count and tension. The more you crochet, the more consistent your tension will become. Remember, handmade is beautiful!
Leave a Reply