
There’s nothing quite like the joy of crafting a tiny companion that can brighten your day! Today, I’m excited to share my “Charming Crochet Chicken Chef Hat Keychain” pattern, a delightful amigurumi project that’s as quick as it is charming. Perfect for beginners and seasoned crocheters alike, this stash-busting creation transforms leftover yarn into a cute keychain or zipper charm. Beyond its adorable appearance, this pattern offers the bonus of being a fantastic last-minute gift or a playful addition to your craft fair offerings. So, let’s dive in and start stitching this joyful little chef, because I can’t wait to see the unique characters you’ll create!
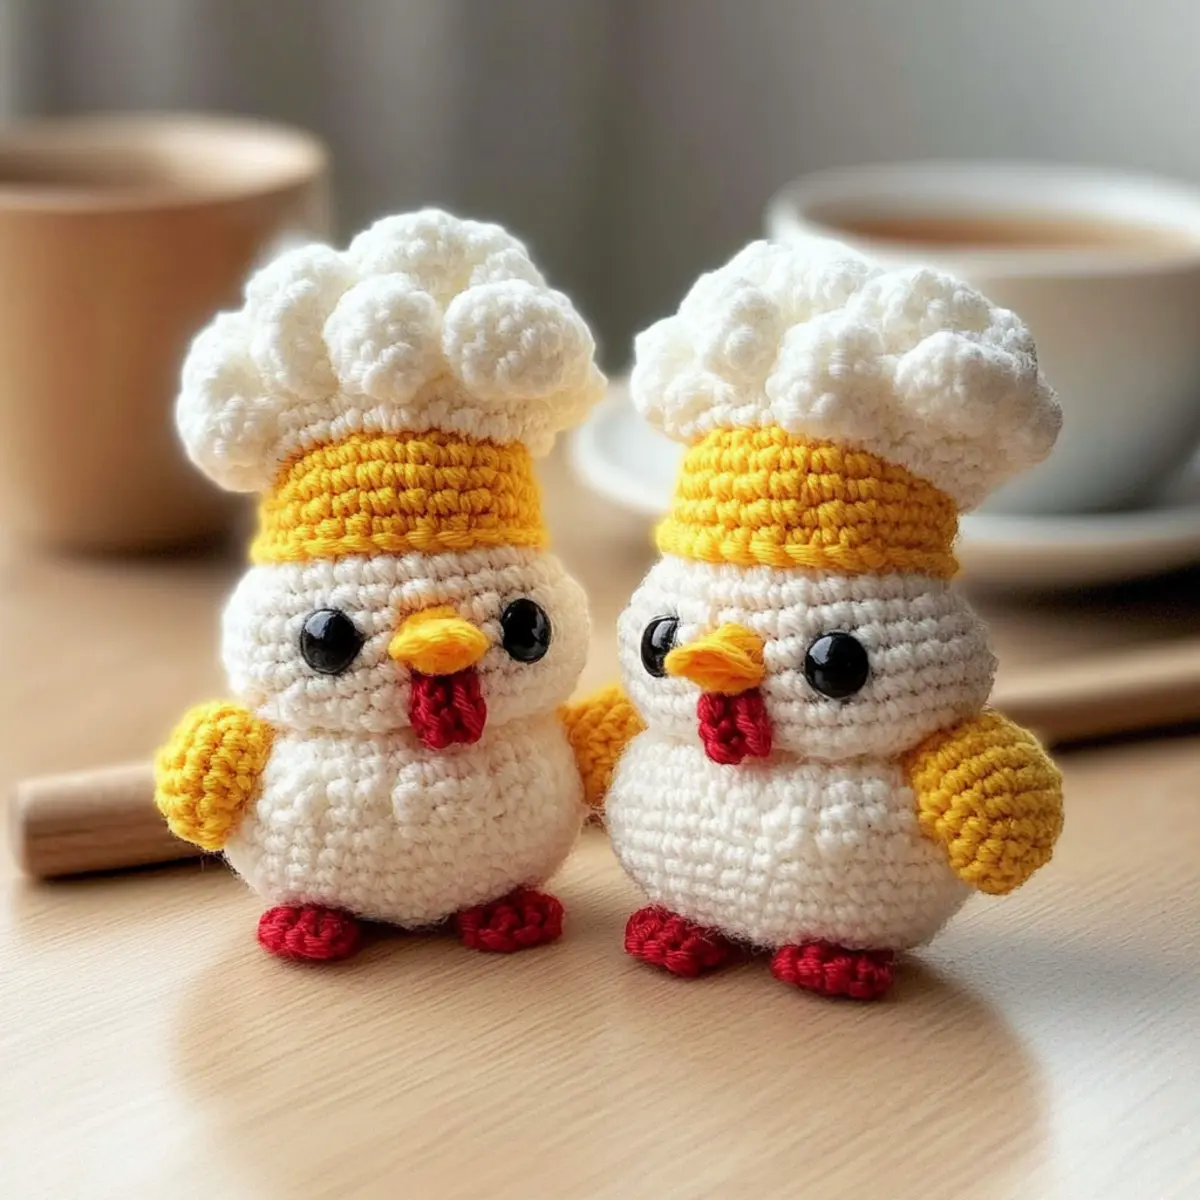
Crochet Chicken Chef Hat Keychain Materials & Tools
-
Yarn
-
DK/Category 3 Cotton Yarn – Use cotton for crisp stitches and durability; great for amigurumi.
-
White – 20 g (40-45 m) for the body and hat.
-
Yellow/Mustard – 2 g (4-5 m) for the beak and optional feet.
-
Red – 2 g (4-5 m) for the wattle and optional comb.
-
Optional Pink/Blush – 1 g (2-3 m) for cheeks.
-
Hook
-
2.75 mm (US C/2) Hook – Perfect for creating tight stitches; switch to a 3.0 mm if your tension runs tight.
-
Notions
-
Safety Eyes (6 mm) – One pair or substitute with black embroidery floss for stitched eyes.
-
Tapestry Needle – Essential for assembling your cute creation.
-
Stitch Marker – Keep track of your rounds with ease; a must-have for every crocheter!
-
Scissors – Always handy for trimming ends and adjusting yarn.
-
Keychain Hardware
- 25 mm Split Ring – For attaching the charm.
- 10-12 mm Swivel Lobster Clasp – Adds versatility to your keychain.
- 6-8 cm Chain or Jump Rings – Secure all elements efficiently.
Dive into your stash today with this playful, beginner-friendly project that’ll not only add a dash of charm to your collection but also make for perfect gifts!
Why is This Amigurumi Pattern Perfect?
Uniqueness: This Crochet Chicken Chef Hat Keychain is not just another amigurumi project; it’s a whimsical delight that adds charm to your daily essentials.
Beginner-Friendly: With simple stitches and clear instructions, anyone can easily bring this adorable chef to life, making it a perfect starting point for crochet newbies.
Quick & Efficient: Need a last-minute gift? This quick project can be completed in no time, turning leftover yarn into a delightful treasure that’s sure to bring smiles.
Stash-Busting: Utilize small amounts of yarn, allowing you to clear out your stash while creating something fun and functional that’s also a conversation starter!
Customizable: Get creative! Play with colors, add unique facial expressions, or even incorporate mini utensils. Every Chicken Chef can reflect its creator’s personality.
Aesthetic Appeal: Finished in vibrant colors, this project looks fantastic as a keychain or zipper charm, decorating your everyday items with a touch of crafty charm! Whether you’re looking for inspiration or a quick, adorable project, check out our tips for stash-busting crochet projects.
Gauge & Sizing Notes
Don’t skip the gauge swatch! Checking your tension is essential for ensuring your Crochet Chicken Chef Hat Keychain comes out just right. To achieve the perfect fit, create a gauge swatch measuring 4×4 inches (10×10 cm) that results in 24-26 single crochets and 26-28 rows. If you find your swatch is smaller than this, simply move up a hook size to loosen your stitches. Conversely, if it’s too large, try going down a hook size. To adjust the overall size of your keychain, you can modify your starting chain in multiples of 6 to make it wider. This way, your adorable chicken chef will be the perfect size for all your crafting needs!
Step‑by‑Step Pattern for Crochet Chicken Chef Hat Keychain
Row 1: Create the Magic Ring
Start your Crochet Chicken Chef Hat Keychain by creating a magic ring (MR). Into the MR, work 6 single crochets (sc). Pull the tail tight to close the ring. As you proceed, your work should look like a small circle. Remember to use a stitch marker to keep track of your first stitch in each round (6 sts).
Row 2: Increase Rounds
In this round, make 2 single crochets (sc) in each stitch, which means you’ll be increasing your stitch count. You should now have a total of 12 stitches. Your work will start to expand. Place your stitch marker again to denote the beginning of each round (12 sts).
Row 3: Continue Increasing
For this round, work 1 sc in the first stitch, followed by 2 sc in the next stitch; repeat this pattern around. When completed, you should have a total of 18 stitches. Your piece should begin to take on a slight bowl-like shape (18 sts).
Row 4: More Increases
Continue to increase by working 1 sc in the first 2 stitches, then 2 sc in the next stitch. Repeat this pattern around, totaling 24 stitches. Your work will feel fuller and more defined at this stage (24 sts).
Row 5: Final Increase Round
In this round, crochet 1 sc in the first 3 stitches, then 2 sc in the next stitch. Repeat this around to achieve 30 stitches. Your work should look like a rounded base, preparing for the body of your chicken chef (30 sts).
Row 6: Back Loop Only (BLO) Round
Now to create the ridge for the chef hat, work 1 sc in the back loop only (BLO) around, maintaining your stitch count of 30. This will create defined edges for the chef hat to sit on, and your work will have a pronounced lip (30 sts).
Row 7: Start Decreasing
Begin to shape the top by working 1 sc in the first 4 stitches, then 1 dec. Repeat around. Your piece will start to close at the top, forming the head of your Chicken Chef. Count to ensure you have 24 stitches (24 sts).
Row 8: More Decreases
In this round, work 1 sc in the first 3 stitches, followed by 1 dec. Repeat this pattern, leaving you with 18 stitches as you continue to shape the top of your Chicken Chef. The top should pull together nicely (18 sts).
Row 9: Continue to Close
Crochet 1 sc in the first 2 stitches, then 1 dec. Repeat this around until you reach 12 stitches. Your work should feel firm as you prepare to stuff the head. Remember to take a moment to stuff gently before securing (12 sts).
Row 10: Final Decrease and Closure
For the last round, work 1 sc in the first stitch and then 1 dec. Repeat once more to end up with 6 stitches. Use the tapestry needle to weave in the yarn and close up the top tightly, ensuring a rounded finish. Your head should be fully formed and secure (6 sts).
Step 1: Making the Wings (Make 2)
For the wings, start with a magic ring (MR); work 4 sc into the ring. Pull tight to close and join with a slip stitch to the first sc. For wings, simple shapes work best; you can increase or leave it as is. Fasten off and leave a long tail for sewing later (4 sts each).
Step 2: Creating the Beak
Using yellow or mustard yarn, chain 4. Starting from the second chain from the hook, work 1 sc in each chain until you reach the last. Fasten off leaving a tail for sewing onto the chicken’s face. Your beak should appear as a small triangle shape.
Step 3: Constructing the Wattle
With red yarn, chain 2 and work 1 sc into the second chain from the hook. Then chain 2 again, slip stitch into the base, and pull tight. The wattle will make the chicken chef’s face truly come alive. Set aside for later.
Step 4: Creating the Chef Hat
For the chef hat, chain 2, then work 6 sc into the first chain. In the following round, increase evenly until you have 24 stitches. Continue building the hat in rounds, working half double crochets (hdc) and adding texture as desired until the hat has a desired puffiness.
Step 5: Assembly Time
Now it’s time to assemble your Crochet Chicken Chef Hat Keychain! Attach the safety eyes, wings, beak, and wattle to the head. Use a tapestry needle to secure everything in place, ensuring all parts are aligned before taking the final steps.
Step 6: Adding Keychain Hardware
Lastly, secure the keychain hardware to the top of your chicken chef. Use the long tail from your last round to thread through a jump ring or directly to the split ring. Your adorable Chicken Chef will be ready to adorn your bags or zippers!
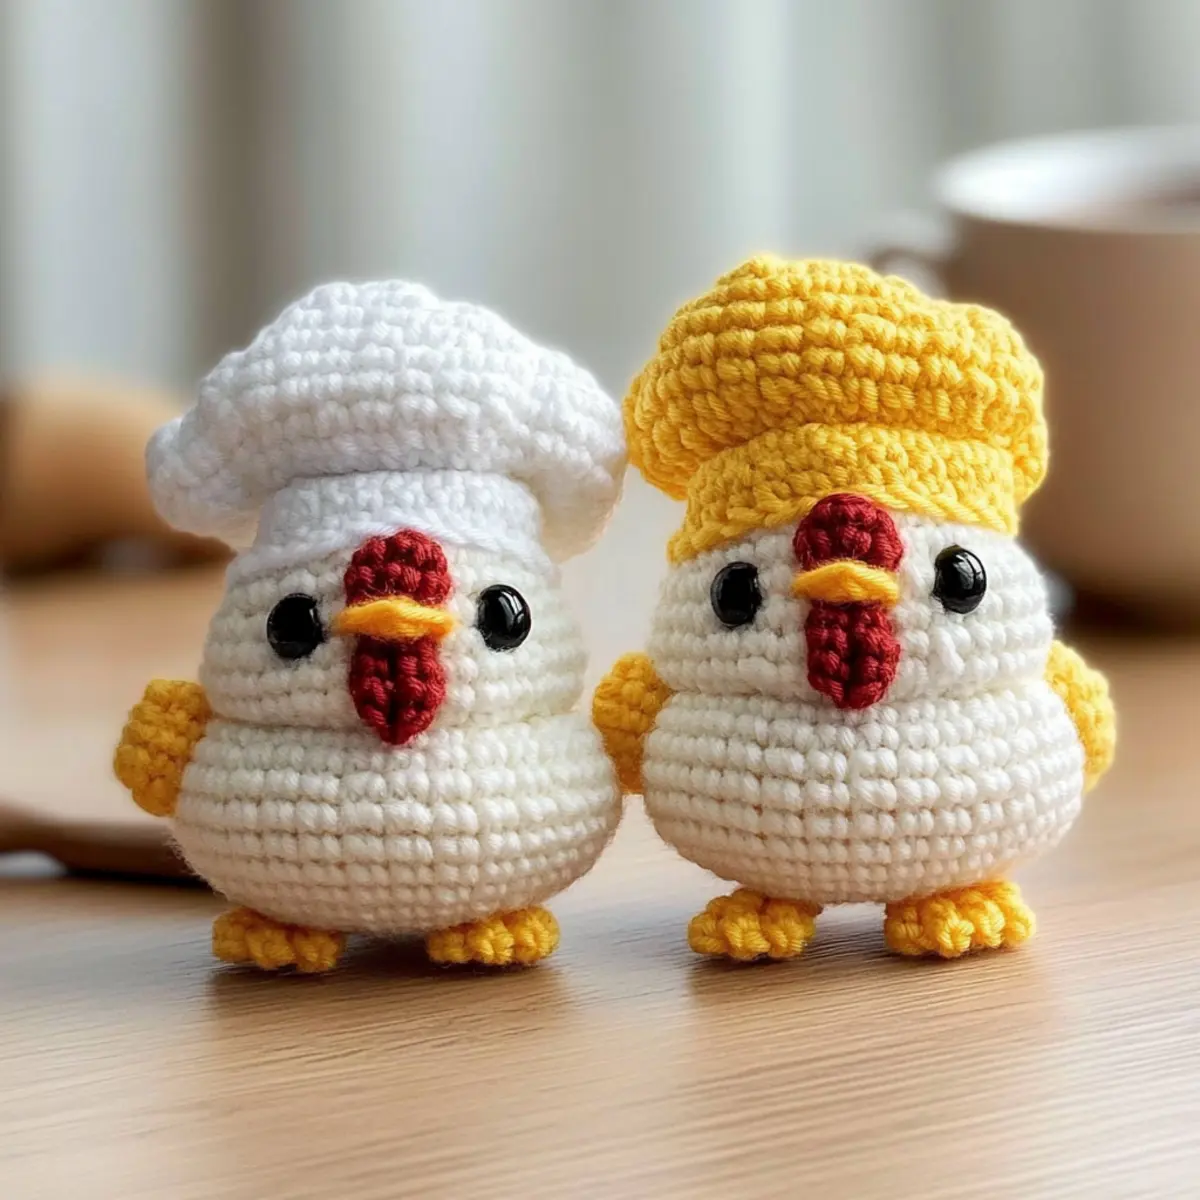
Expert Tips for Amigurumi Success
-
Tension Matters: Maintain consistent tension throughout your work to ensure your Crochet Chicken Chef Hat Keychain looks polished and professional. A loose tension could lead to stuffing peeking through.
-
Count Stitches Regularly: At the end of each round, count your stitches to avoid losing your place and to keep the shape of your project consistent. It’s easy to slip up, especially when you’re crocheting quickly!
-
Use a Stitch Marker: Place a stitch marker in your first stitch of each round. This practice is essential to help track your progress when crocheting in the round.
-
Pin Before Sewing: When attaching features like wings, eyes, and beak, pin them in place before sewing. This not only allows for better alignment but also gives you a chance to adjust before securing.
-
Secure Finishing: Be sure to weave in the ends securely after finishing your Chicken Chef to prevent any unsightly unraveling. A tight knot followed by weaving can help keep everything in place.
-
Customize with Confidence: Don’t be afraid to play with colors and expressions! Adding personal touches enhances the charm of your keychain and makes it uniquely yours.
How to Wash and Care for Your Crochet Chicken Chef Hat Keychain
-
Spot Cleaning: Use cool water and a mild soap to gently spot clean your keychain. Avoid soaking, as it may compromise the shape and stitches of your chicken chef.
-
Drying: Air dry completely after cleaning. Lay your Crochet Chicken Chef flat on a clean towel to maintain its structure and prevent any stretching.
-
Storage: When not in use, store your keychain in a cool, dry place, away from direct sunlight to preserve its vibrant colors and overall appearance.
-
Avoid Heat: Keep your keychain away from high heat sources to prevent any warping or damage to the crochet fabric, ensuring its adorable look lasts.
Crochet Variations & Substitutions
Feel free to let your creativity run wild as you tailor your crochet pattern to make it uniquely yours!
-
Yarn Weight Swaps:
Experiment with different yarn weights for a chunky or delicate version of your Chicken Chef. Just adjust your hook size accordingly for the best results. -
Fiber Alternatives:
While cotton provides a crisp finish, try using acrylic for a softer touch. This gives your chicken a snuggly feel, perfect for cozy gifts or personal keepsakes. -
Color-Blocking Ideas:
Get playful with color! Create a rainbow chicken or a seasonal version by alternating colors in the body and hat for a vibrant twist. -
Sizing Adjustments:
To alter the size, simply use heavier yarn or a larger hook. This can transform your tiny chef into a bigger, statement piece for a unique look. -
Texture Modifications:
Add a whimsical pom-pom to the top of the hat for some flair! This extra touch can bring the Crochet Chicken Chef to life with a playful vibe. -
Facial Expressions:
Customize your chicken’s personality by stitching different expressions, like happy or cheeky eyebrows. Each version will showcase your unique style! -
Additional Accessories:
Consider adding a mini spatula charm or a tiny apron for a truly adorable chef. These fun details can create a delightful story behind each little chicken.
Embrace the world of customization and let your imagination soar! You can even learn more about maximizing creativity with our inspiring stash-busting crochet projects to keep the joy of crafting alive!
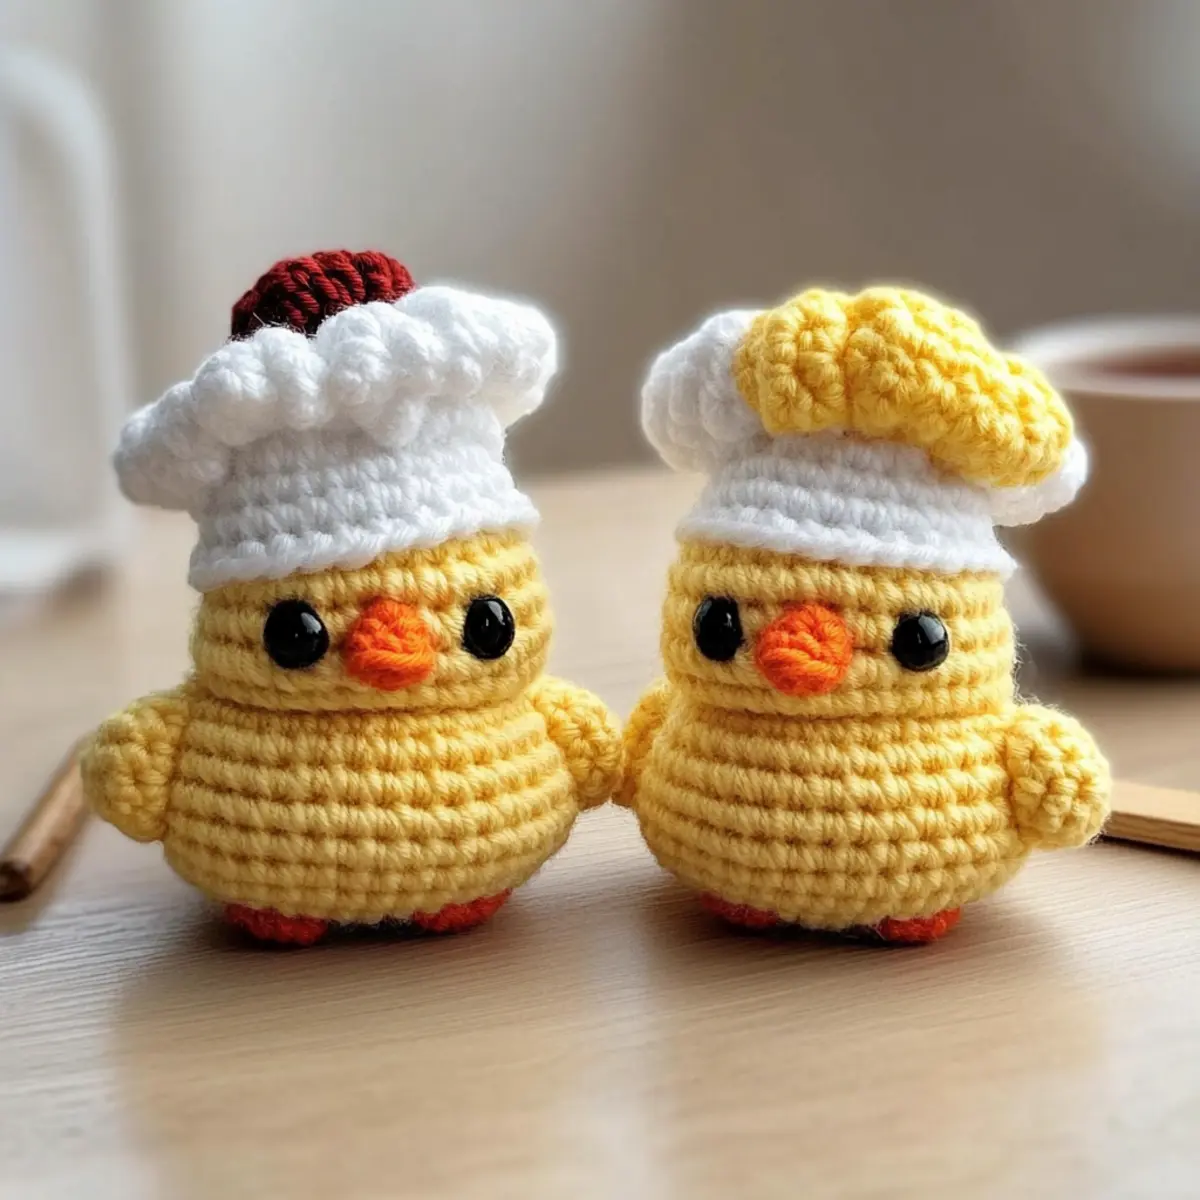
Crochet Chicken Chef Hat Keychain FAQs
Can I use a different yarn instead of cotton?
Absolutely! While cotton yarn is recommended for crisp stitches and durability, you can opt for acrylic or wool yarn if you prefer. Just keep in mind that the finished texture may differ slightly, so it’s wise to adjust your hook size and gauge accordingly.
How do I make my Chicken Chef larger or smaller?
To adjust the size of your Crochet Chicken Chef, change the yarn weight and hook size. For a larger amigurumi, use a bulkier yarn and a corresponding larger hook. Alternatively, if you want a smaller chef, switch to a finer yarn and a smaller hook. Just remember to adjust your stitch counts accordingly!
Why is my chicken chef curling at the edges?
Don’t panic! If your crochet is curling, it could be due to overly tight stitches. Make sure to maintain consistent tension throughout your project. If you notice your edges buckling like a bowl, try loosening your grip slightly or switching to a larger hook for a more relaxed fit.
What hook size should I use for this pattern?
The recommended hook size for the Crochet Chicken Chef Hat Keychain is 2.75 mm (US C/2). However, if you find your tension is a bit tight, feel free to use a 3.0 mm hook instead. It’s important to find a hook that allows you to work comfortably and achieve the desired finish!
How can I fix dropped stitches while crocheting?
It’s an easy fix! If you drop a stitch, simply insert your hook back into the last worked stitch and pull the yarn through to restore it. For extra security, you might want to use a piece of scrap yarn to hold your stitches while you’re working. Remember to keep an eye on your stitch count regularly to catch any on-the-go mishaps!
What’s the best way to secure the keychain hardware to my finished project?
For a secure attachment, make sure to sew the keychain hardware onto the top of your Chicken Chef after you’ve completed the assembly of features. Use a strong tapestry needle threaded with the same yarn, and go through the top stitches several times to ensure it’s firmly secured. This way, your adorable creation will be ready to accompany you everywhere!
Leave a Reply