
As I gathered my crochet creations, I noticed something missing—a touch of finesse that could elevate them from charming handmade pieces to polished works of art. Enter the magic of crochet blocking! In “Mastering Crochet: 3 Essential Blocking Techniques for a Perfect Finish,” I’m excited to share three straightforward methods that will transform your projects with crisp edges and defined shapes. Whether your most prized yarn is cotton, wool, or sturdy acrylic, these techniques are your ticket to achieving that professional finish. Not only will blocking enhance the drape and appearance of your finished piece, but it’s also a fantastic way to tackle those pesky wobbly edges. With a little time and patience, you can bring new life to your creations. Ready to create beautifully finished projects? Let’s dive in!
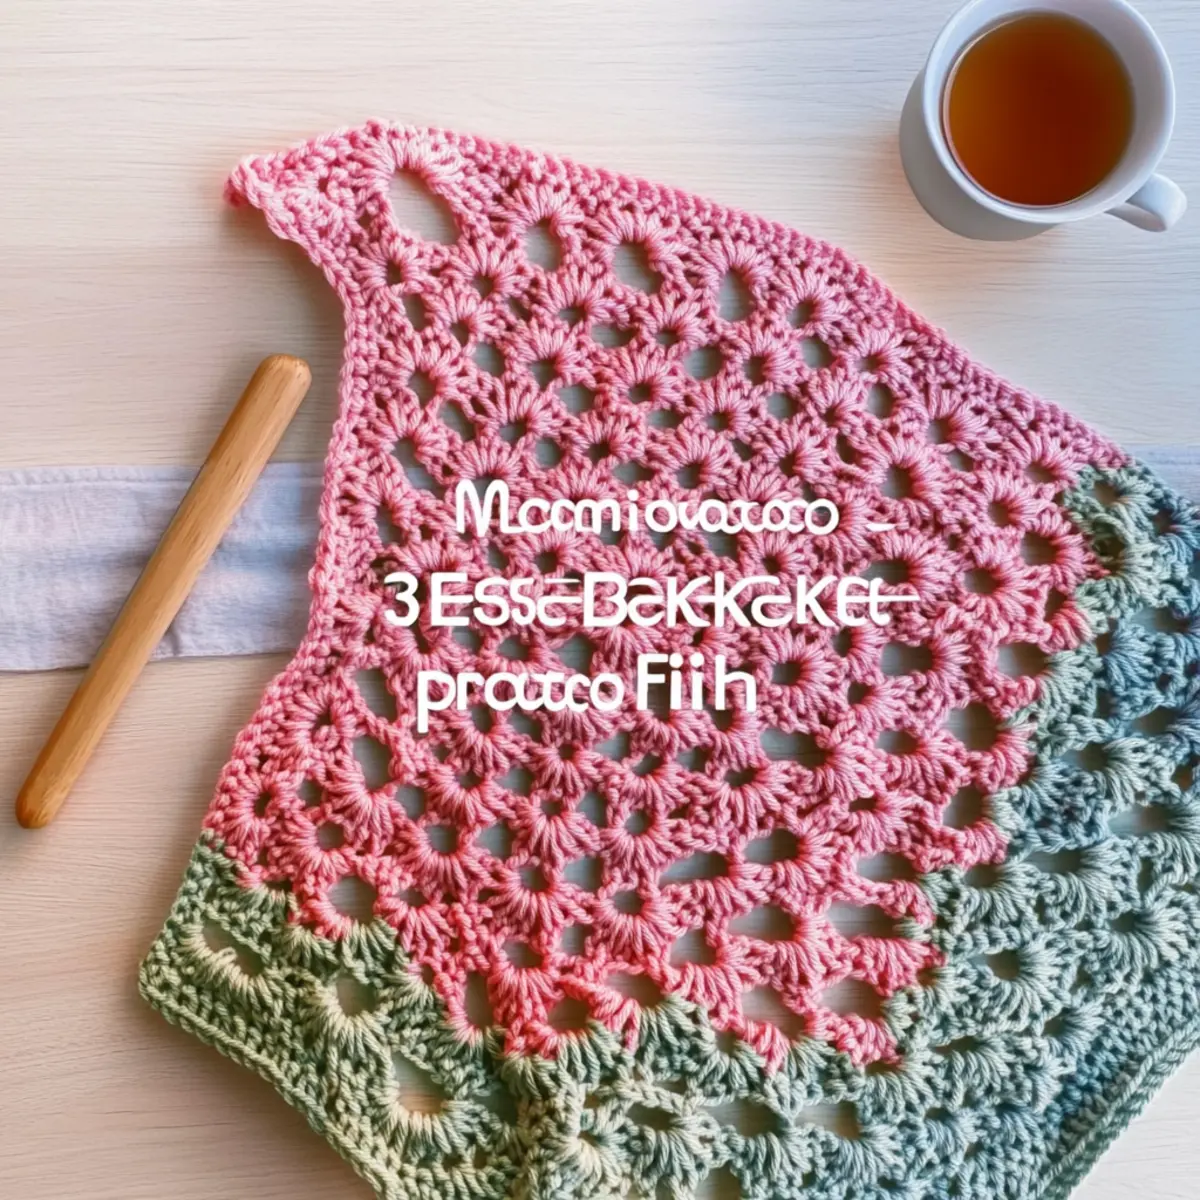
Crochet Blocking Materials & Tools
Get ready to elevate your crochet creations with these essential blocking supplies!
Yarn
- Any Yarn Type – Choose cotton, wool, or acrylic based on your project needs; remember that some methods may not suit all fibers.
Tools & Notions
- T-Pins or Straight Pins – Use these to secure your project while blocking, ensuring precise shapes.
- Spray Bottle – A handy tool for evenly dampening your crochet piece during spray blocking.
- Iron or Steamer – Great for steam blocking; just be cautious not to melt any synthetic fibers.
- Measuring Tape – Useful for checking accurate sizing and shaping while blocking.
With these materials in hand, you’re all set to transform your crochet projects with the magic of blocking techniques!
Why Are Blocking Techniques Essential?
Unleash your creativity: Mastering blocking techniques enhances the beauty of your crochet projects, giving them a professional touch that impresses.
Simple to execute: Each method—pin, steam, and spray—requires minimal tools, making it perfect for beginners and seasoned crafters alike.
Versatile application: Whether working with cotton, wool, or acrylic, these techniques adapt seamlessly to your yarn choice, ensuring stunning results every time.
Impressive finish: Enjoy crisp edges and defined shapes that elevate the overall aesthetic, transforming your handmade items into true works of art.
Boosted drape: Blocking not only improves appearance but also alters the way your finished piece falls, providing a polished look you’ll love showcasing.
Gauge & Sizing Notes
Don’t skip the gauge swatch! Ensuring your crochet tension is spot-on is essential for achieving the best results in your projects, especially when utilizing these blocking techniques for crochet. Aim for a standard gauge of 4×4 inches (10×10 cm), which should measure approximately 14 double crochets by 8 rows. To adjust the size of your project, simply modify your starting chain or rounds in multiples of 4. If you find that your swatch is smaller than the specified gauge, consider going up a hook size to loosen your tension. Remember, a well-checked gauge will lead to a beautifully finished piece that looks professional and polished!
Step-by-Step Pattern for Blocking Techniques for Crochet
Step 1: Prepare Your Work for Pin Blocking
Begin by laying your crochet piece flat on a clean, smooth surface. Use T-pins to start pinning the center of the top edge to ensure even tension. Gradually work your way to the corners and then pin down the bottom edge. Your piece should be spread out where the fibers can relax; this will help create well-defined shapes and edges (complete pinning around 20–30 inches).
Step 2: Pin Down the Sides
Next, continue pinning the sides of your crochet project. Pin approximately every inch, adjusting the fabric to maintain the desired shape and tension. Pinning closer together will generate more definition; your work should begin to take on a neatly structured appearance. Aim for a clear outline of your design, ensuring all edges are taut yet not overstretched (total pins should number around 30–50).
Step 3: Steam Blocking Your Crochet Piece
For steam blocking, hold your steamer or iron at least 6 inches away from your piece to avoid direct contact. Lightly steam the entire surface, allowing the heat to relax the fibers without risking melting. As the fibers warm, gently reshape any areas that need definition. Your project should respond to the steam and begin to drape beautifully with defined edges.
Step 4: Spray Blocking for Fiber Relaxation
Utilize a spray bottle filled with water to dampen your crochet project evenly, ensuring that all stitches are slightly moistened but not soaked. After dampening, gently adjust your piece to the desired shape, stretching where needed. Lay it flat to dry in this position; this will set the fibers, helping your work achieve that polished, professional finish (let dry for several hours).
Step 5: Final Adjustments Post-Blocking
Once your piece is dry, carefully remove the pins if you used pin blocking. Inspect your work for any areas needing further adjustment; use steam or spray methods as necessary to enhance the final drape. Touch up any areas that may need reshaping gently, giving your crochet project the crisp edges and refined look it’s meant to have.
Step 6: Showcase Your Finished Work
Now that you’ve mastered these crochet blocking techniques, take a moment to admire your beautifully finished piece. The crisp edges and defined stitches truly highlight your craftsmanship and elevate your project. Whether you’ve used cotton, wool, or acrylic, these methods ensure that your hard work transforms into a stunning, professional-looking item you’ll be proud to showcase.
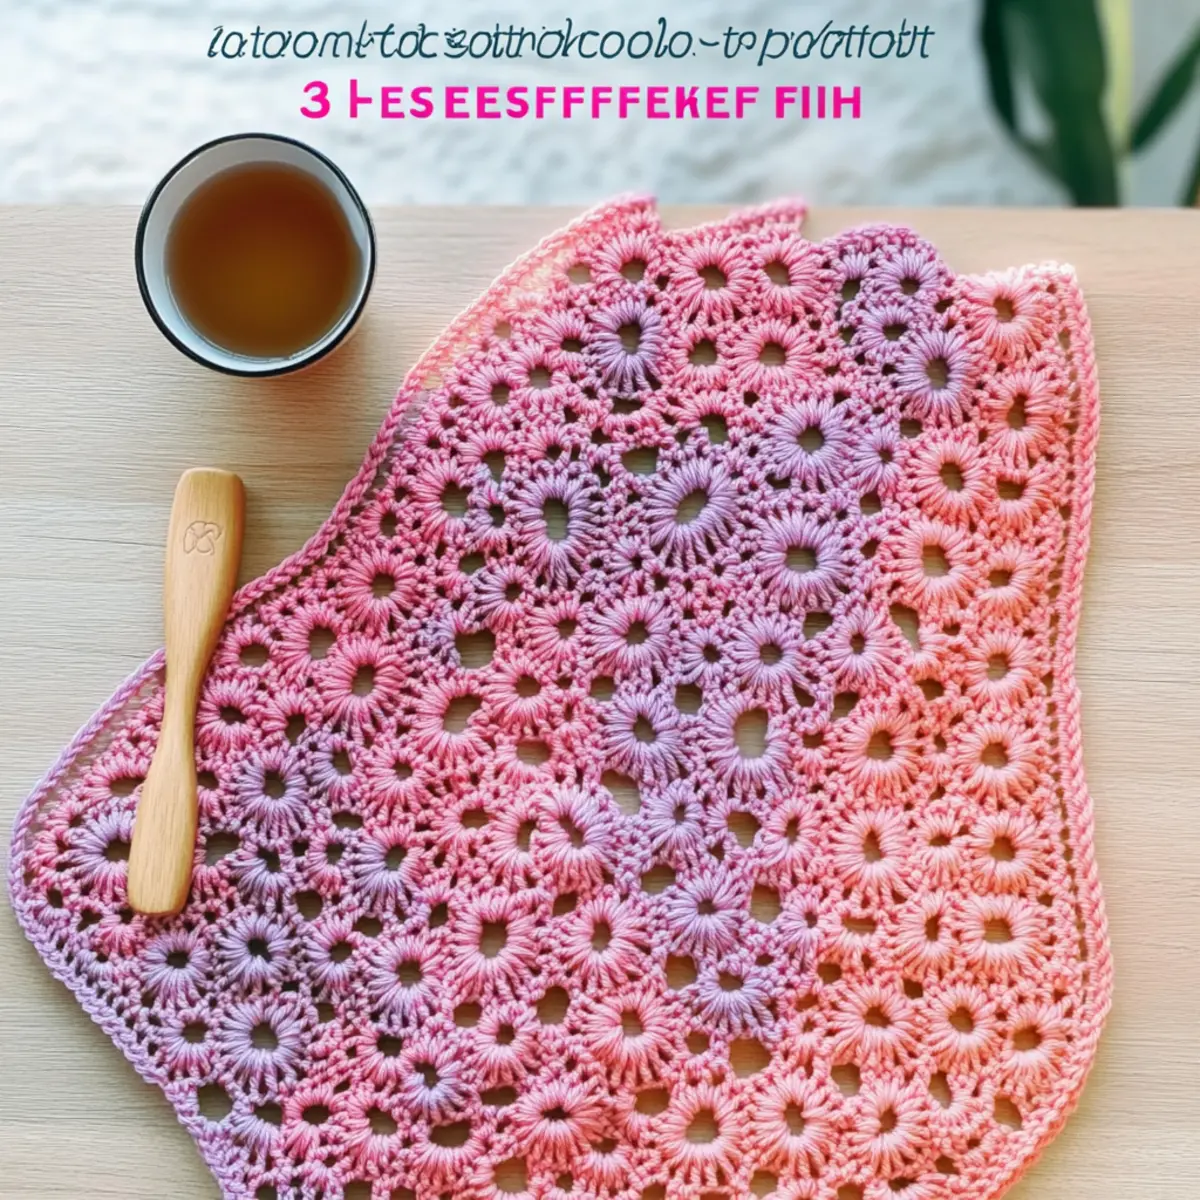
Blocking Techniques for Crochet: Easy Variations
Explore the delightful world of crochet as you personalize your projects with these creative variations.
-
Yarn Swaps: Experiment with different yarn weights to see how they affect texture and drape. A thicker yarn can create a cozy, plush finish, while a lighter weight adds delicacy.
-
Color-Blocking: Use multiple yarn colors when pinning to create stunning patterns and designs. Play with color combinations to express your unique style and passion for fiber arts.
-
Fiber Alternatives: Substitute cotton with bamboo for a softer drape, or try merino wool for warmth and elasticity. Each fiber brings its own personality to the finished piece.
-
Sizing Adjustments: Adjust your blocking method for different sizes; larger pieces may require extra pins to maintain their defined shape. This makes it easy to adapt any pattern to your needs!
-
Textured Additions: Add flair with fringe or pom-poms for playful designs. Attach a contrasting border for a polished finish that showcases your creativity and skill.
-
Lace Enhancements: For lacework projects, focus on precise pinning to enhance stitch definition. The beauty of intricate designs can truly shine with the right blocking technique.
-
Steam Variation: For a bouncier finish, use a steaming technique on wool blends that can reshape beautifully under steam, giving you the perfect finish every time.
-
Finishing Touches: After blocking, consider embellishing your project further with beads or appliqués. These little details can transform a simple crochet piece into a stunning centerpiece.
Remember, each tweak opens up new avenues for creativity. As you explore these options, don’t forget that practice on swatches like this can build confidence before you jump into your treasured projects. Happy crafting!
Washing & Care for Your Crochet Projects
- Hand Washing: Gently hand wash your crochet creations in cold water using a mild detergent; avoid agitation to prevent felting and pilling.
- Drying: After rinsing, lay your piece flat on a clean towel to dry; avoid hanging, which can stretch the fibers and distort the shape.
- Storage: Store your finished items in a cool, dry place away from direct sunlight; this maintains the quality of your yarn and prevents fading.
- Specific Yarn Care: Always check the yarn label for specific washing instructions; this ensures your blocking efforts yield lasting, beautiful results.
Expert Tips for Blocking Crochet Projects
- Yarn Selection: Choose the right yarn for blocking; delicate fibers like cotton block beautifully, while certain acrylics may resist shaping.
- Precision Pinning: Maintain even tension by pinning every inch; avoid pulling the edges too tightly, which can distort the shape.
- Steam Caution: When steam blocking, keep a safe distance; touching the fabric can melt synthetic fibers, ruining your project.
- Test Swatches: Before tackling larger pieces, practice blocking on swatches to perfect your technique without the pressure of a finished item.
- Proper Drying: Allow your item to dry completely in its blocked shape to retain the beautiful finish; this ensures a polished look for future use.
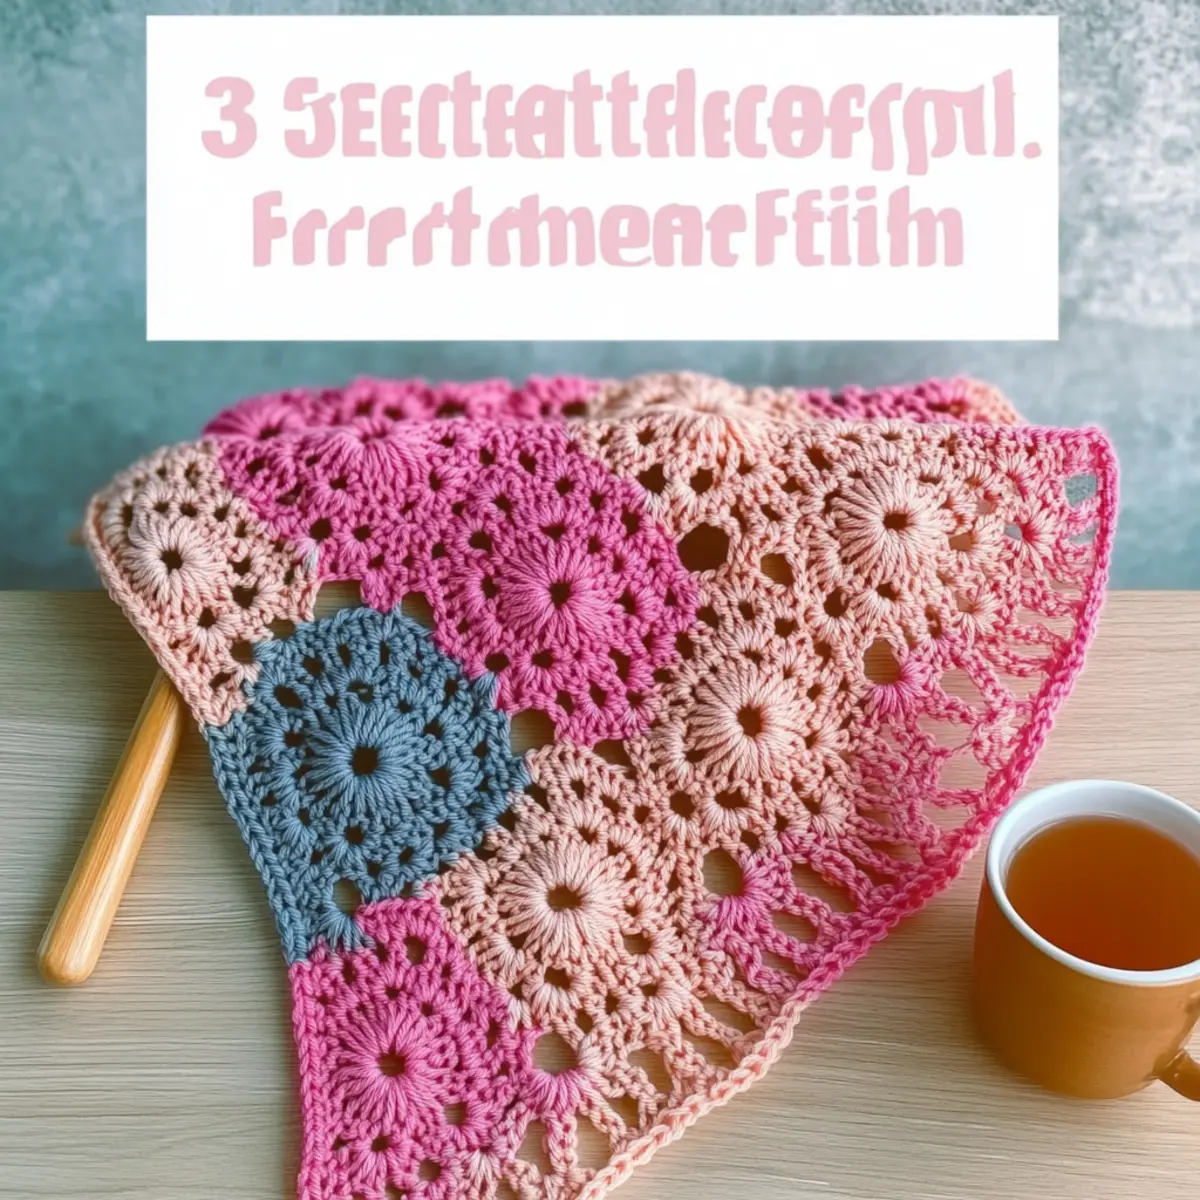
Blocking Techniques for Crochet: 3 Easy Ways to Elevate Your Work FAQs
What can I substitute for yarn when blocking?
Absolutely! You can use any yarn suitable for your project when blocking. If you’re using delicate fibers like cotton, those block beautifully. However, be cautious with certain acrylics that may not respond as well to moisture or heat during the blocking process.
How do I adjust my blocked piece to make it larger or smaller?
Don’t panic! When adjusting the size of your crochet project post-blocking, you can try re-blocking using more or fewer pins. For a larger size, gently stretch the crochet piece while pinning to the desired dimensions. Conversely, to make it smaller, simply pin it without stretching too much and keep a close eye on the measurements.
Why is my crochet work curling after blocking?
If your piece is curling like a bowl, it could be due to uneven tension in your stitches or not enough blocking. Make sure to pin every inch and avoid pulling too tightly! You may also want to try steam blocking, which gently relaxes the fibers and helps them to lay flat.
What hook size should I use for blocking?
The great news is, hook size doesn’t directly affect blocking since these techniques don’t require additional crocheting. Just focus on the methods you choose, whether it’s pinning, steaming, or spraying your work!
How do I fix dropped stitches after blocking?
It’s an easy fix! After blocking, if you notice dropped stitches, carefully pull the yarn from behind the stitch back up to the top, adjusting it gently as you go. If it’s a big issue, consider using a tapestry needle to weave in any loose ends once your project is entirely dry.
How should I care for my blocked crochet items?
For best results, follow the care instructions specific to your yarn. In general, hand washing and laying flat to dry works wonders for garments, while larger items might need a gentler cleaning method appropriate to their fiber type.
Leave a Reply