
As the chill of winter settles in, there’s nothing quite like wrapping yourself in the scrumptious coziness of a handmade crochet cowl. The Caitlin Chunky Cowl is designed for quick and enjoyable crafting, making it a perfect choice for those last-minute gift needs—or simply to treat yourself to a soft, warm accessory. With its textured ribbing and super bulky yarn, you’ll find this beginner-friendly pattern is both satisfying to work up and delightful to wear. Not only will you create a beautiful piece that elevates your winter wardrobe, but you’ll also enjoy the swift gratification that comes from finishing a project in no time. Ready to stitch your way to warmth? Let’s dive into this cozy creation together!
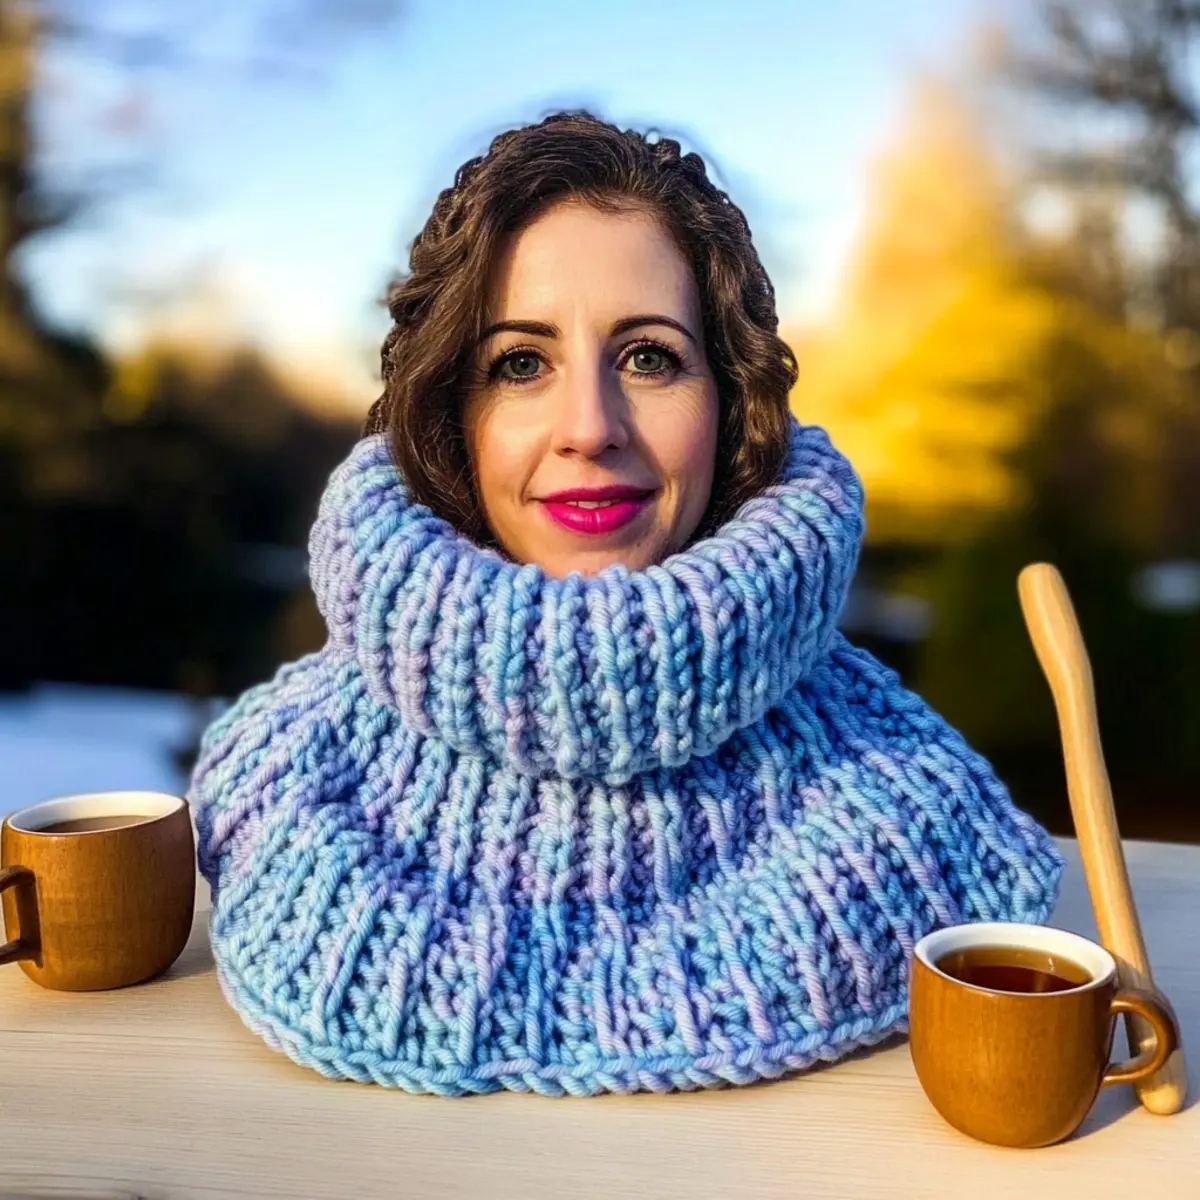
Caitlin Chunky Cowl Materials & Tools
Get ready to cozy up with this delightful project!
Yarn
- Crazy Sexy Wool – Super Bulky (Weight Category 6); you’ll need approximately 90 yards (82 meters) for this beginner-friendly cowl.
Tools & Notions
- Size O (12mm) Crochet Hook – This large hook makes crocheting with super bulky yarn quick and enjoyable.
- Stitch Marker (optional) – Handy for marking the start of rounds or keeping track of your stitches.
- Tapestry Needle – Essential for weaving in your ends once your cowl is complete!
Why is the Caitlin Chunky Cowl irresistible?
Beginner-Friendly: Even if you’re new to crochet, you’ll find this pattern approachable and fun! It requires just chain stitches and slip stitches, allowing you to develop your skills with ease.
Super Bulky Yarn: Using Crazy Sexy Wool means you’ll create a thick, warm accessory quickly—perfect for winter!
Squishy Texture: The ribbed design not only looks stylish but feels plush against your skin, bringing extra comfort during chilly days.
Quick Project: Ideal for those who love instant gratification, this cowl works up in no time, making it an excellent last-minute gift.
Customizable: Want a longer cowl? Just add stitches! You can also explore different colors in the beautiful Crazy Sexy Wool palette to make it uniquely yours. Ready to try your hand at this delightful project? Check out our expert tips for a smooth crocheting experience!
Gauge & Sizing Notes
Don’t skip the gauge swatch! Checking your tension is crucial for achieving the perfect fit with the Caitlin Chunky Cowl. You’ll want to aim for a gauge of 8 stitches and 7 rows in a 4×4 inch (10×10 cm) square. If you find your swatch doesn’t match this measurement, don’t worry! To adjust the size, you can increase your starting chain in multiples of 4 to make the cowl wider, or decrease it for a snugger fit. If your swatch is smaller than the measurement, simply go up a hook size to achieve the desired tension. Happy crocheting!
Step‑by‑Step Pattern for The Caitlin Chunky Cowl
Row 1: Starting Your Cowl
Chain 28. Yo, insert your hook into the BLO of the 2nd ch from the hook and make a slip stitch. Continue to yo and slip stitch in the BLO of each remaining ch until the end of the row. Your work should feel flat and smooth. Turn your work to prepare for the next row. (27 sts)
Row 2: Ribbing Begins
Ch 1 (this does not count as the first stitch). Yo, slip stitch in the BLO of the same stitch, and then yo and slip stitch in the BLO of each stitch across the row, maintaining a loose tension. The fabric should start to develop a nice ribbed texture that is both cozy and stylish. Turn your work. (27 sts)
Row 3: Continuation of Ribbing
Repeat Row 2 until your rectangle measures 23.5 inches (60 cm) unstretched. Continue to check your stitch count at the end of each row to ensure an even edge and consistent ribbing. As you work, your piece should start to show a lovely textured pattern that makes the Caitlin Chunky Cowl so inviting. (27 sts)
Step 4: Finishing the Cowl
Once the desired length is achieved, fold your work in half with the right sides together. Use a slip stitch to seam the ends together, ensuring that your stitches align neatly for a seamless finish. Cut the yarn and fasten off securely, leaving a small tail for weaving in. The cowl should now look like a cozy tube.
Step 5: Final Touches
Weave in any loose ends using a tapestry needle, making sure to hide the yarn tails within the cowl for a clean finish. Turn the cowl inside out to conceal the seam. Your Caitlin Chunky Cowl is now complete, ready to keep you warm and stylish throughout the winter.
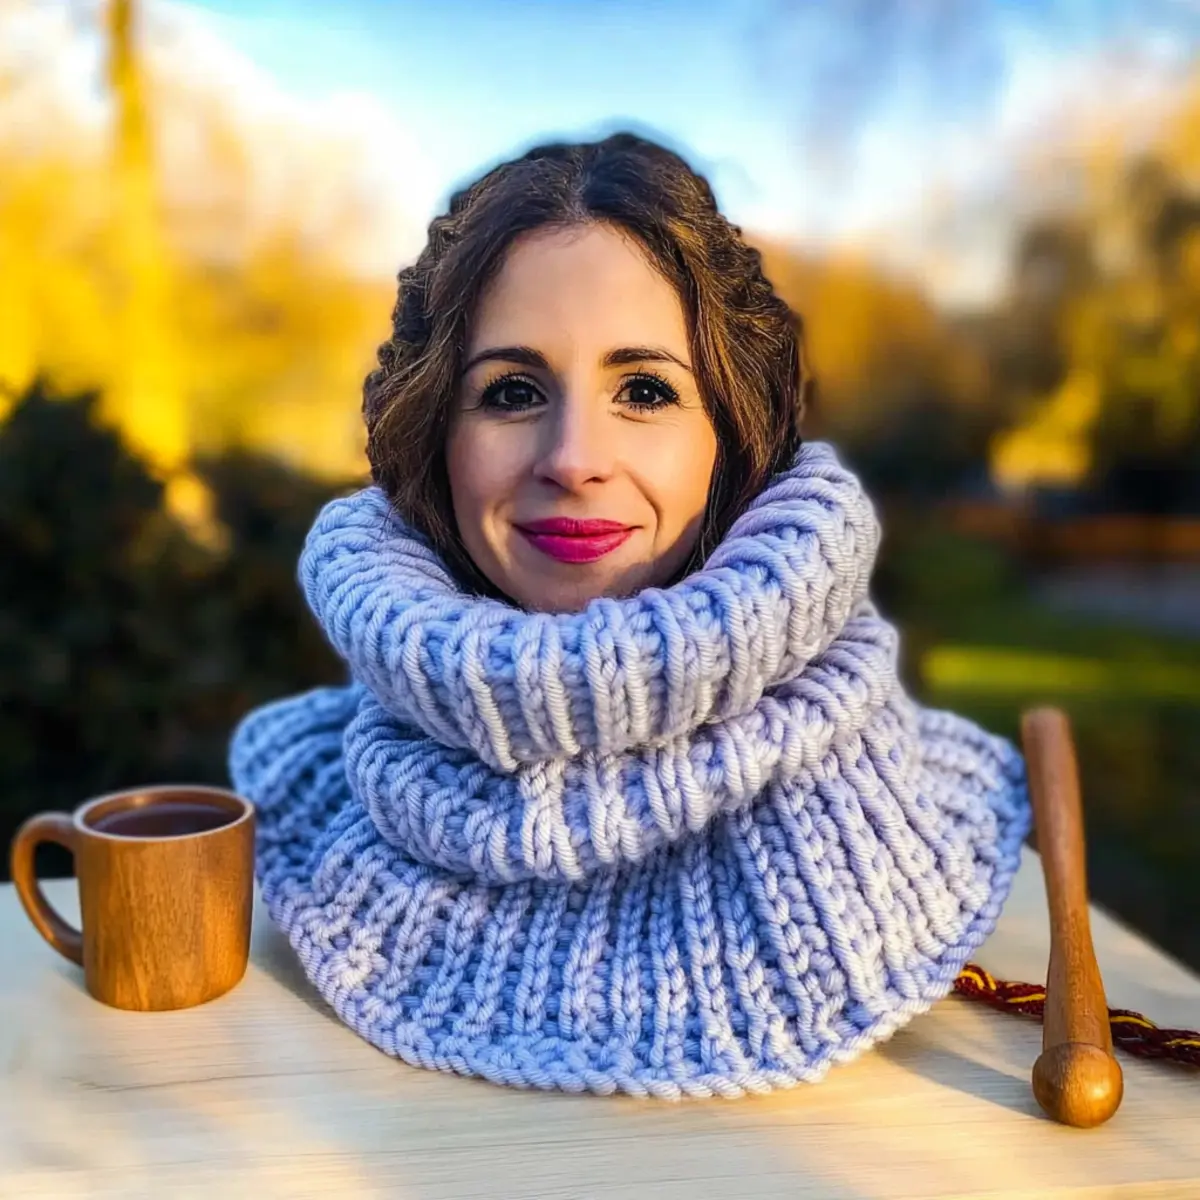
Caitlin Chunky Cowl Variations
Feel free to personalize your cozy creation with these fun variations that add your unique touch.
-
Yarn Substitutions: Try a different super bulky yarn to explore varying textures and warmth. Just keep the yardage and gauge in mind!
-
Color-Blocking Ideas: Use two or more colors to create a vibrant color-blocked look. Alternate between rows to make your cowl pop!
-
Adding Texture: Incorporate a textured border or a decorative fringe to elevate the cowl’s design. This simple addition can enhance its visual appeal.
-
Sizing Adjustments: Add stitches to lengthen the cowl for a more dramatic wrap. Alternatively, reduce stitches for a snug fit around your neck.
-
Fiber Alternatives: Explore using cotton yarn for a lighter, breathable cowl perfect for transitional weather. It feels great and brings a different vibe!
-
Pattern Pairing: Why not create a matching set? Use the same yarn to make a Caitlin Chunky Beanie to complete your winter look.
-
Pom-Pom Addition: Attach a playful pom-pom at the end for a whimsical touch. It’s an easy way to make your cowl feel extra special!
-
Softening Techniques: After your cowl is finished, gently wash it to enhance softness. This step will ensure it feels luxurious against your skin.
Enjoy crafting your unique cowl today, and don’t forget to check out our tips on exploring yarn weights for more inspiration!
Expert Tips for Your Cowl
-
Check Your Tension: Ensure to crochet a gauge swatch to confirm you’re using the right tension, so your cowl turns out as expected.
-
Count Your Stitches: Regularly count your stitches at the end of each row to keep your edges neat and straight, preventing any accidental drop stitches.
-
Avoid Twists: Before seaming your cowl, make sure that the rectangle is lying flat to avoid twisting it when you form the final tube.
-
Secure Your Ends: When finishing, weave in your ends carefully using your tapestry needle for a polished look; this helps maintain the overall beauty of your cowl.
-
Experiment with Fit: Feel free to adjust the starting chains for a looser fit or add extra stitches for a longer cowl, making this beginner-friendly pattern truly adaptable!
How to Wash and Care for Your Caitlin Chunky Cowl
-
Hand Washing: Gently hand wash your cowl in cold water with mild detergent to avoid felting and preserve the plush ribbed texture.
-
Drying: Lay the cowl flat on a clean towel to dry. Avoid hanging, as this can distort its shape and compromise that cozy feel.
-
Storage: Store your cowl in a cool, dry place. Avoid compression to keep the squishiness intact, allowing the chunky design to thrive.
-
Spot Cleaning: For any small stains, spot clean gently with a damp cloth. Treating stains quickly helps maintain the beauty of your handmade cowl.
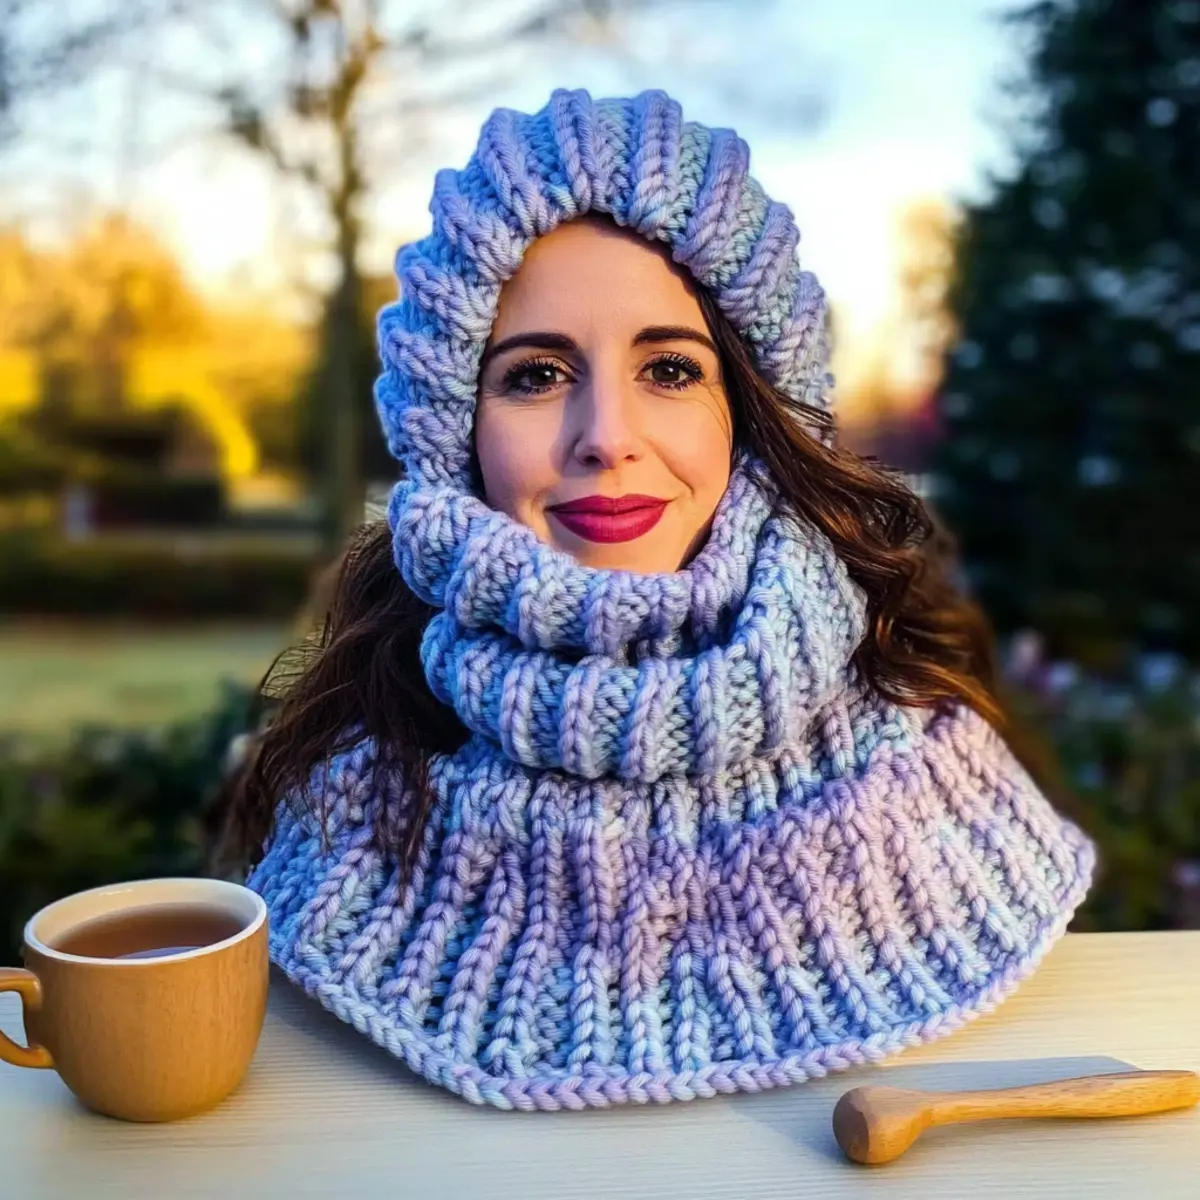
Caitlin Chunky Cowl FAQs
Can I use a different yarn instead of Crazy Sexy Wool?
Absolutely! While Crazy Sexy Wool is a fantastic choice for its super bulky feel, you can substitute it with any yarn that matches the weight category 6. Just keep in mind that if you switch to a different fiber, the texture and drape may vary slightly.
How do I make the cowl larger or smaller?
To adjust the size, you have a couple of options! For a larger cowl, increase the starting chains in multiples of 3 until you achieve the desired width. Conversely, if you’re looking for something smaller, reduce the starting chains while ensuring you maintain the ribbing effect by sticking to the chain multiple.
Why is my cowl curling at the edges?
Don’t panic! Curling is often a common issue with ribbed stitches. To fix this, ensure you’re working with consistent tension, and try blocking your finished cowl to help shape it. Lay it flat and mist the edges lightly with water before allowing it to dry.
What size crochet hook should I use for this pattern?
For the Caitlin Chunky Cowl, you’ll want to use a size O (12mm) hook. If you find your stitches are too tight, don’t hesitate to switch to a larger size hook to create a fluffier, more relaxed fabric.
How do I fix dropped stitches?
It’s an easy fix! If you notice a dropped stitch, simply pick it back up using your crochet hook and work it back up to the correct row. You can use a tapestry needle to weave in any loose ends afterward for a neat finish.
What should I do if I want to change the color of my cowl?
Go wild with colors! To change colors, simply switch at the beginning of a row. Make sure to secure your yarn ends properly when you finish each color section to avoid unraveling. Enjoy playing with the vast palette available for Crazy Sexy Wool!
Leave a Reply