
There’s something undeniably delightful about the sight of a perfectly fluffy pom pom bouncing gently on a cozy hat or a whimsical blanket. With the Clover pom pom maker, creating these charming accents is not only effortless but can be a therapeutic escape from the everyday hustle. In this quick tutorial, we’ll learn how to make adorable pom poms that can transform even the simplest crochet projects into something truly special. This beginner-friendly pattern offers two amazing perks: it saves you time, allowing for quick finishes, and it’s a fantastic way to use up leftover yarn in your stash. So grab your favorite yarn and join me in adding a playful touch to your crafts—let’s get those stitches rolling!
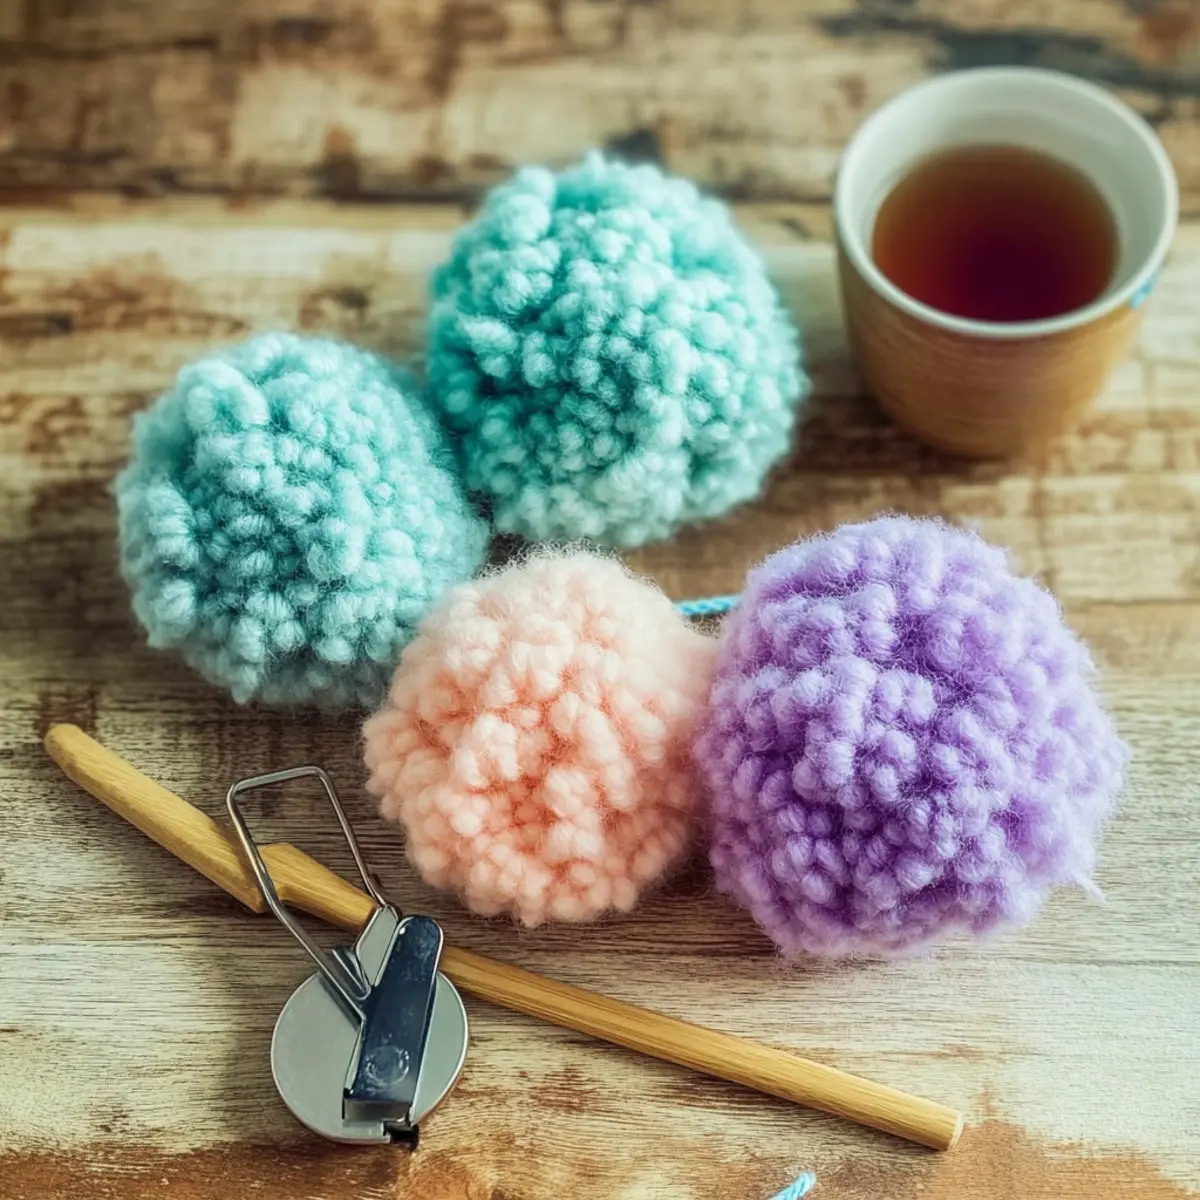
Easy Fluffy Pom Poms Materials & Tools
-
Yarn
• 100% Acrylic Yarn – Ideal for plush, fluffy pom poms that hold their shape.
• Worsted Weight Yarn (Category 4) – Varies in yardage based on the size of your pom pom; any color combination is delightful! -
Tools & Notions
• Clover Pom Pom Maker – The star tool that simplifies the pom pom-making process effortlessly.
• Scissors – Sharp scissors are essential for cutting through yarn cleanly.
• Tapestry Needle – Perfect for weaving in ends and tying off your pom pom securely.
Get ready to create beautiful pom poms with this beginner-friendly project that’s sure to add a playful touch to your crochet masterpieces!
Why will you love making pom poms?
Easy Process: Creating pom poms is a breeze with the Clover pom pom maker—no complicated stitches or techniques are required!
Fluffy Result: The final product is a delightfully plush pom pom, perfect for adding character to hats, scarves, or home decor.
Quick Tutorial: In just a few simple steps, you’ll have beautifully crafted pom poms in no time, allowing you to complete your projects swiftly.
Crafty Customization: Feel free to get creative! Mix and match yarn colors and textures for a unique flair that suits your style.
Budget-Friendly: Use up your leftover yarn scraps to make delightful pom poms, making this both an economical and satisfying project.
Whether you’re a beginner or looking for a relaxing way to unwind, this quick tutorial will guide you to make pom poms that are sure to become your new favorite embellishment!
Gauge & Sizing Notes
Don’t skip the gauge swatch! While making fluffy pom poms with the Clover pom pom maker doesn’t require a specific crochet gauge, ensuring your yarn tension is consistent will help you achieve the desired fullness and look. For a 4×4 inch (10×10 cm) square of wrapped yarn, you should aim for approximately 50 wraps per side to achieve that perfect, fluffy texture. To create larger pom poms, increase your yarn wraps in multiples of 10, and for smaller ones, reduce accordingly. If your pom pom seems less full than you envision, simply wrap tighter or double the layers for added fluffiness. Happy crafting!
Step‑by‑Step Pattern for Perfectly Fluffy Pom Poms Made Easy with Clover Maker
Step 1: Open the Pom Pom Maker
Begin by choosing the size of your Clover pom pom maker and open the arms fully. This step creates space for wrapping yarn securely around both sides. Ensure the two halves of the maker are aligned properly, ready to hold the yarn snugly. Your focus is on creating a solid base for your fluffy pom pom that will form beautifully.
Step 2: Wrap the Yarn
Wrap your 100% acrylic yarn around each arm of the pom pom maker evenly, making sure to distribute the layers consistently. Aim for about 50-80 wraps, depending on the fluffiness you desire. A tighter wrap leads to a fuller pom pom! Take your time and ensure your wraps cover the arms completely to create a plush and vibrant end result.
Step 3: Close the Pom Pom Maker
Once you’re satisfied with the yarn wraps, close the arms of the Clover pom pom maker securely. You should feel some resistance as the arms lock into place. This step will hold the yarn in the right position while you cut through it in the next stage. Ensure that your yarn is still tightly wrapped to maintain fullness once the pom pom is finished.
Step 4: Cut the Yarn
Using sharp scissors, carefully cut through each side of the yarn at the center of the pom pom maker. Make sure your scissors get into the groove between the two halves to separate the yarn, creating the signature pom pom shape. This is where you’ll start to see your hard work pay off as the fluffy pom pom begins to form!
Step 5: Secure the Pom Pom
Take a separate length of yarn and tie it tightly around the center of the yarn bunch that you just cut. Secure it with a double knot to keep your pom pom together. This step is crucial to maintain the shape of your perfectly fluffy pom pom. Take a moment to admire how lovely it looks!
Step 6: Trim for Uniformity
Lastly, trim any uneven edges of the pom pom to achieve a uniform shape. Everyone loves a perfectly round pom pom! Snip away any long or stray strands to create a clean, fluffy finish. Your pom pom is now ready to add a playful touch to hats, scarves, or any crochet project you wish to enhance, showcasing your crafty talents!
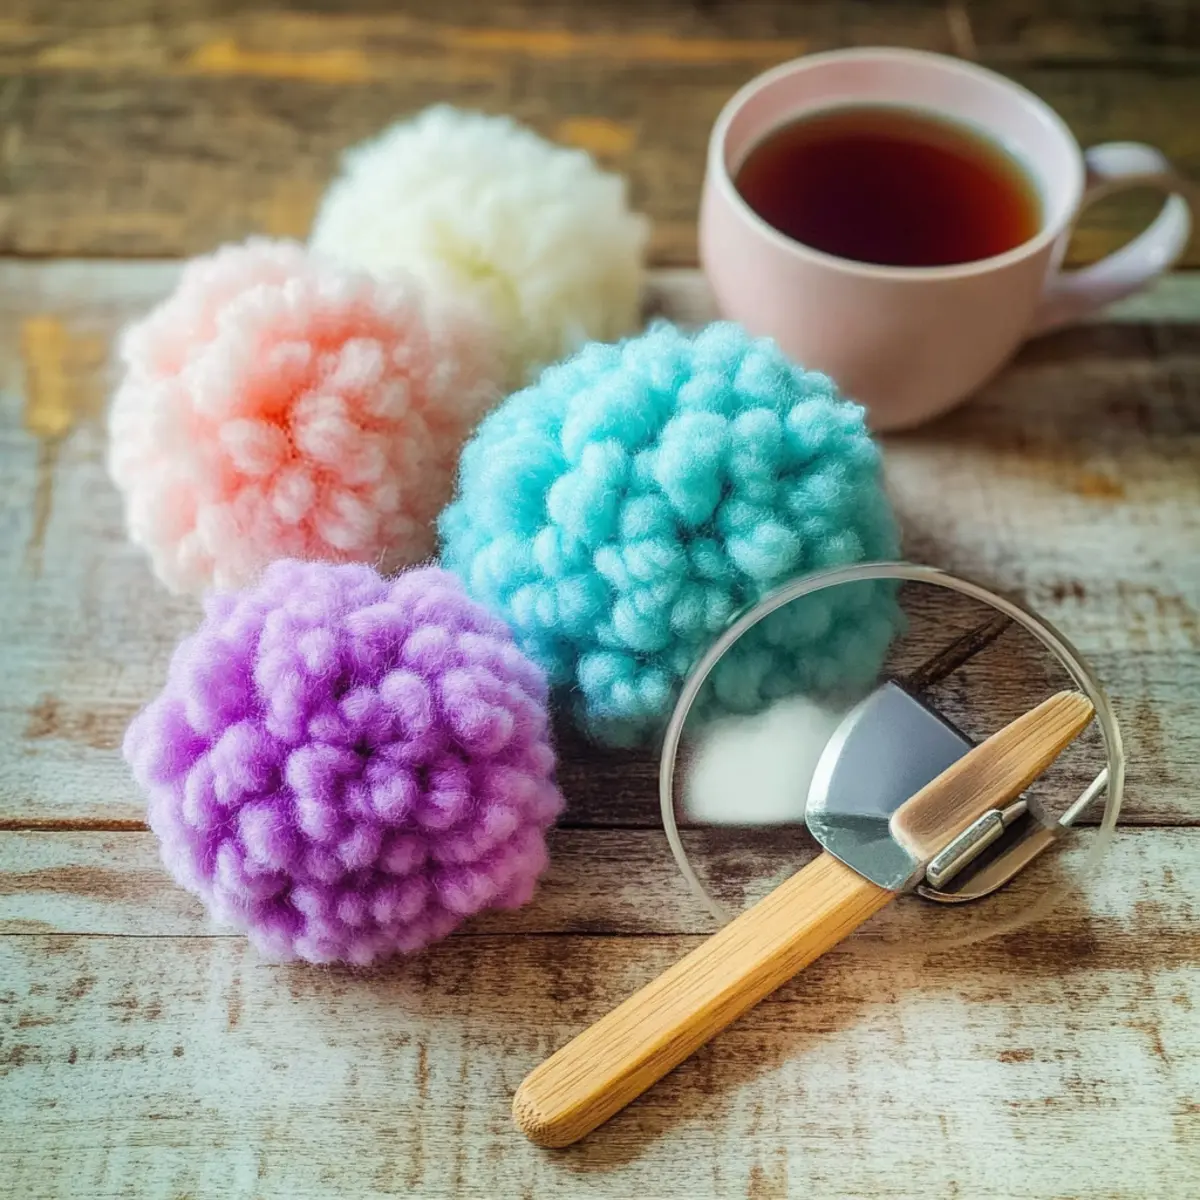
Expert Tips for Perfect Pom Poms
-
Wrap Tightly: Ensure you wrap the yarn tightly around the Clover pom pom maker for fluffy pom poms that hold their shape beautifully.
-
Count Your Layers: Keep track of the number of yarn layers you wrap around each side to achieve an even fullness, avoiding lopsided puffs.
-
Secure Knots: When tying the pom pom together, use a secure knot to prevent it from falling apart—double knot for added security.
-
Trimming Tips: After cutting through the yarn, take your time trimming the edges to ensure a uniform shape; it’s the key to a polished look.
-
Mix Yarn Fibers: Experimenting with different yarn fibers can enhance texture and create unique pom poms, so don’t hesitate to get creative!
Easy Fluffy Pom Poms Variations
Customize your pom pom creations with these exciting ideas that will ignite your creativity and elevate your projects!
-
Yarn Weight Swaps: Use thinner yarn for petite pom poms or chunky yarn for oversized, statement pieces. Tailor your pom pom to your project’s needs.
-
Color Combinations: Mix multiple colors within the same pom pom for a vibrant, eye-catching effect. Try alternating colors for a stunning visual impact that pops!
-
Fiber Alternatives: Switch to cotton yarn for a sturdier pom pom or use wool for a rustic texture. Each fiber brings its charm, so play around!
-
Texture Modifications: Add fringes or a decorative border to your pom pom for extra flair. This simple addition can take your craft from cute to truly exceptional.
-
Size Adjustments: Vary the size of your pom poms based on your Clover maker settings. Larger pom poms can make a bold statement, while smaller ones add delicate detail.
-
Quick DIY Accessories: Transform your pom poms into fun accessories by adding them to hair clips or keychains. This is an easy way to craft unique gifts!
-
Seasonal Themes: Create themed pom poms for holidays by choosing colors that reflect the season—think pastel shades for spring or warm tones for fall.
-
Embroidery Flair: Embellish your pom poms with small stitches or beads for an extra touch of customization. These details can personalize your project beautifully.
Each variation allows you to explore your creativity fully, leading to pom poms that are not just fluffy, but also uniquely yours! If you’re looking for more in-depth tips on choosing yarn, check out our guide on yarn types, or explore fun techniques in our collection of crochet patterns. Let your imagination soar!
Care Instructions for Your Fluffy Pom Poms
-
Hand Washing: Gently hand wash your pom poms in cold water with mild detergent to maintain their fluffy texture without causing damage.
-
Reshaping: While still damp, reshape your pom poms by gently squeezing them into the desired form to preserve their round, plush appearance.
-
Drying: Lay your pom poms flat to air dry, avoiding direct sunlight, which can cause fading or alteration of colors in your acrylic yarn.
-
Storage: Store your pom poms in a breathable bag away from moisture to keep them fluffy and free of dust, ensuring they stay ready for any project!
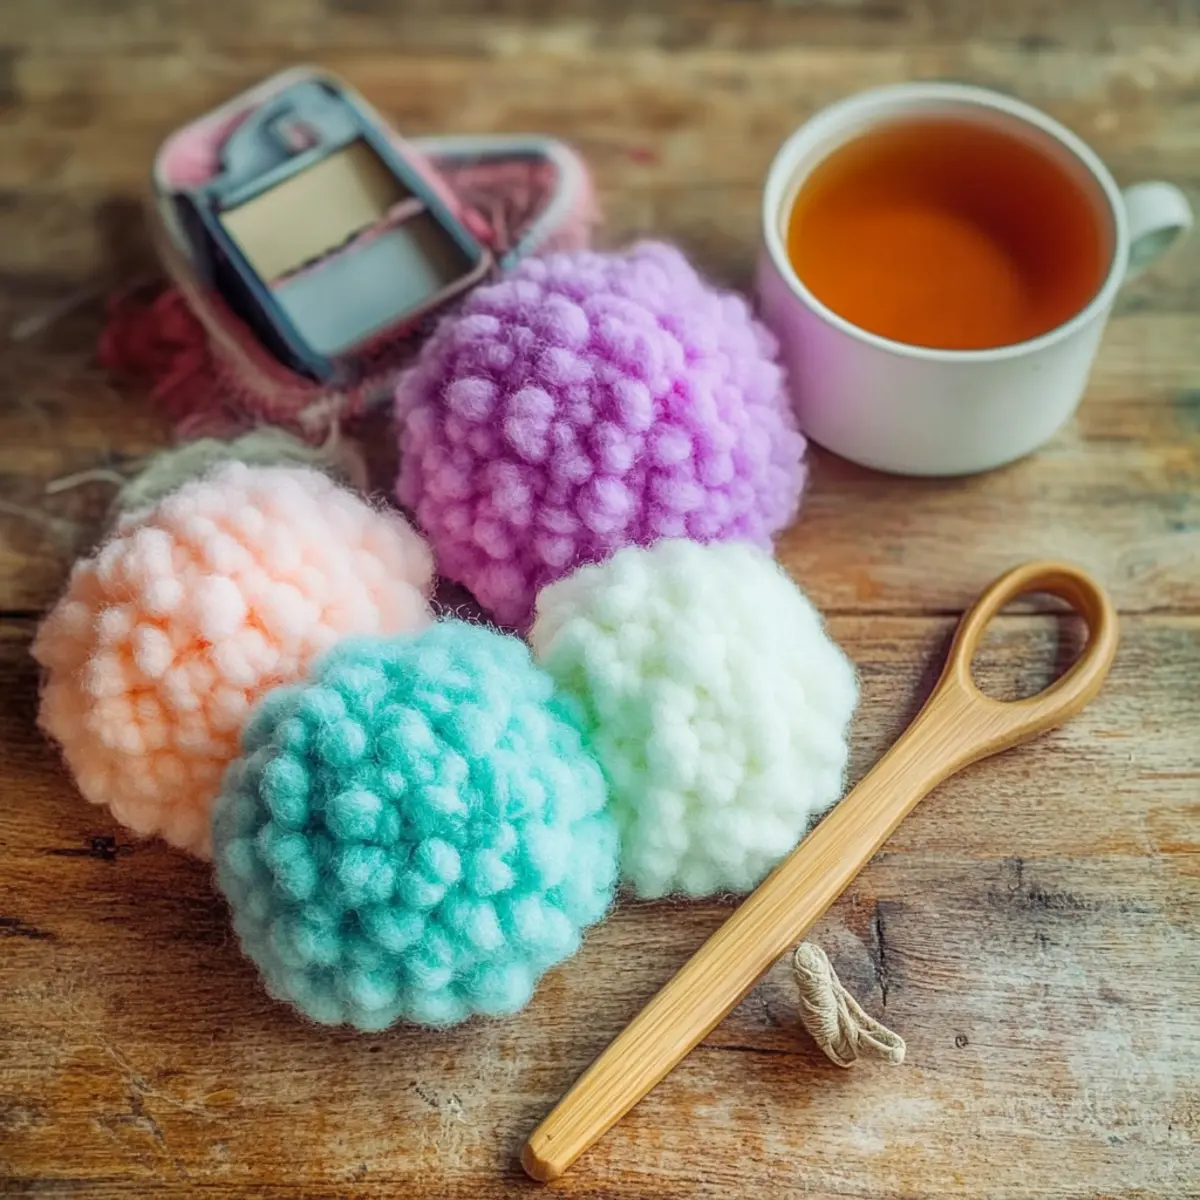
Perfectly Fluffy Pom Poms Made Easy with Clover Maker FAQs
Can I use different types of yarn to make pom poms?
Absolutely! While 100% acrylic yarn is ideal for fluffy pom poms, you can experiment with various fibers like wool or chunky yarns for unique textures. Just keep in mind that different yarn weights may affect the final size and fluffiness of your pom pom.
How can I adjust the size of my pom pom?
If you want a bigger or smaller pom pom, choose a Clover pom pom maker that corresponds to the desired size. Remember, the amount of yarn you wrap around each side contributes to fullness, so feel free to adjust your layers accordingly!
Why is my pom pom not staying fluffy?
Don’t panic! If your pom pom is falling flat, it’s often due to insufficient wrapping or loose yarn. Ensure you’re wrapping the yarn tightly around the maker and counting your layers for even fullness on each side.
What hook size should I use for this project?
For this tutorial, you won’t need a hook since the Clover pom pom maker does all the work! However, having a tapestry needle handy is helpful for weaving in your ends when you finish the pom pom.
How do I fix a dropped stitch when using the Clover pom pom maker?
While dropped stitches are common in knitting or crocheting, they shouldn’t occur when making pom poms. If you notice a gap, double-check the tightness of your yarn wraps and adjust as necessary before cutting to separate the pom pom.
Can I wash my pom pom creations?
Yes! To clean your pom pom, hand wash it gently with mild detergent and reshape it while still damp. Air dry it flat to maintain that fluffy appearance!
Leave a Reply