
As I settled into my favorite chair, surrounded by vibrant skeins of yarn and the soft glow of afternoon light, I couldn’t help but think about the endless potential of crochet blankets. Whether you’re creating a cozy throw for chilly movie nights or a generous bedspread for a serene sleep sanctuary, knowing how to resize your crochet blanket patterns is essential. In this guide, I’ll share the best techniques for achieving that perfect fit, ensuring your project is not only beautiful but also functional. This approach is beginner-friendly and allows for easy adjustments, making it a fantastic stash-buster that meets your specific needs. So grab your measuring tape, and let’s dive into the world of crochet, where comfort and creativity come together!
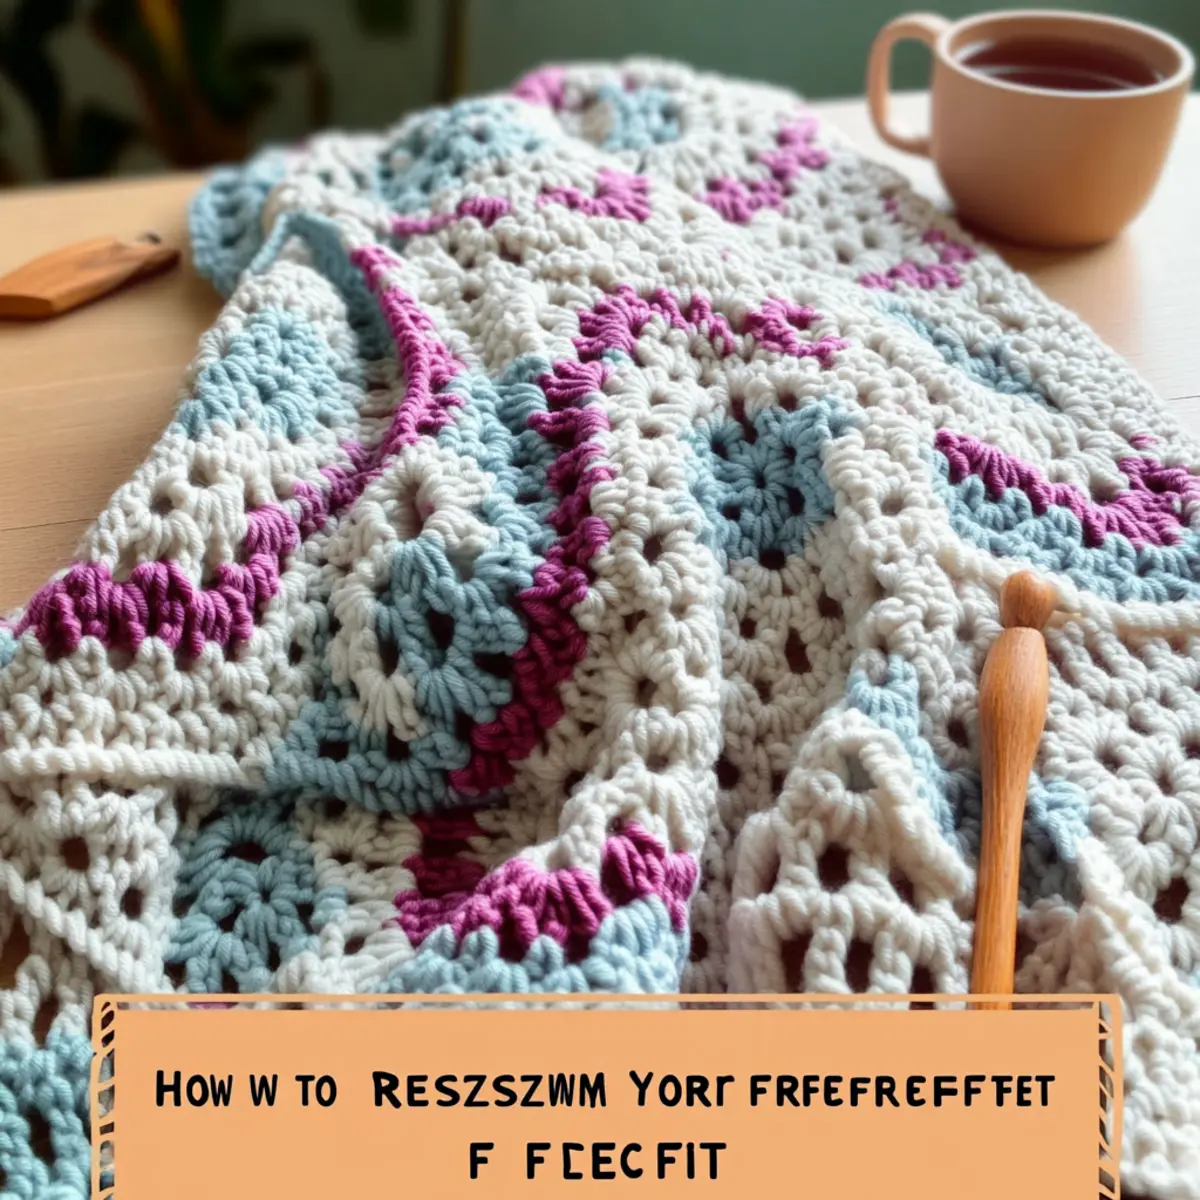
Resizing Crochet Blanket Materials & Tools
-
Yarn
• Weight-Specific Yarn – Select light, medium, or bulky yarn based on your desired blanket size; for most blankets, aim for 100-200 yards/meters. -
Hook
• Hook Size – Choose a 5.0mm (H) hook for lighter yarns and up to an 8.0mm (L) hook for bulkier strands according to your yarn label. -
Notions
• Tapestry Needle – Essential for weaving in ends cleanly, giving your blanket a polished finish.
• Stitch Markers – Perfect for tracking pattern repeats or keeping count of adjustments in your resizing process.
• Measuring Tape – Use it to measure your desired blanket dimensions accurately, ensuring a perfect drape in your final piece.
Why Resize Your Crochet Blanket?
Perfection Awaits: Mastering the art of resizing ensures your blanket is the ideal size for your space, whether it’s for a bed or a couch.
Simple Adjustments: You don’t need to overhaul your entire project—just tweak a few stitches or rows to get that perfect drape.
Versatile Options: From snug throws to sprawling bedspreads, this technique seamlessly caters to various dimensions and personal styles.
Creative Freedom: Experiment with different yarns and patterns, knowing that you can always resize to match your vision.
Beginner-Friendly: With easy-to-follow instructions, even novice crocheters can confidently resize, creating cozy pieces they’ll be proud of. Dive into our expert tips for the best results!
Gauge & Sizing Notes
Don’t skip the gauge swatch! Ensuring your tension is just right is crucial for resizing crochet blanket patterns, as it directly affects the final size and drape. Aim for a gauge of 12 stitches by 10 rows in a 4×4 inch (10×10 cm) square. If your swatch measures smaller than this, consider going up a hook size for a looser tension. To make your blanket wider, adjust your starting chain in multiples of 6 + 3; for taller blankets, you can add additional rows while keeping the same pattern. By checking your gauge, you’ll not only achieve the perfect fit but also create a stunning piece that you’ll be proud of!
Step‑by‑Step Pattern for Resizing Crochet Blanket Patterns
Row 1: Foundation Chain
Begin by making a foundation chain that matches the desired width of your crochet blanket. Ensure you have a stitch count that aligns with your chosen stitch multiple; for example, if your pattern requires multiples of 6, chain until you reach your target length. Periodically measure against your mattress to guarantee the appropriate width (e.g., a total of 60 chains).
Row 2: Establishing the Base Row
Starting from the second chain from your hook, work a row of single crochets (sc) across your foundation chain. This foundational row sets the stage for your blanket. Make sure to keep your tension consistent; your work should lay flat, and there should be no curling at the edges. Complete this row with your final stitch count (number of sc equals the foundation chain count minus one).
Row 3: Working in Double Crochet
For this row, turn your work and chain 3 (counts as the first double crochet, dc), then double crochet in each stitch across the row. This will build height and texture for your blanket. Remember to keep your yarn pulled snugly as you work; your blanket should start to puff up softly. Finish this row ensuring you have the same stitch count as the previous row (e.g., 59 dc).
Row 4: Incorporating Color Changes
If you choose to add a new color, simply yarn over and pull through at the last pull of your previous stitch. Continue with double crochet across the row in your selected new color. This will create a lovely stripe effect, adding visual interest to your blanket. Complete the row, making sure your dcs remain consistent in height and spacing (59 dc).
Row 5: Drape Adjustment
To ensure the proper drape, you may want to work in half double crochet (hdc) for this row. Chain 2, then hdc in each stitch across, this stitch will provide a slightly tighter look but still retain flexibility. Monitor your work as you go—your blanket should feel soft yet structured. Your final hdc count will mirror the previous row (e.g., 59 hdc).
Row 6: Finalizing the Body
Continue the body of your blanket by alternating between dc and hdc rows, based on your preferred design and drape. Aim to achieve a repetitive pattern that flows nicely. Make sure to regularly measure and adjust your row counts to ensure you’re on track with your final dimensions. Continue building up rows until you reach your desired height, maintaining the same stitch counts.
Step 7: Edging Your Blanket
Once your blanket reaches your preferred length, it’s time to add a finishing touch with an edge. Work a round of slip stitches (sl st) around the perimeter for a clean, polished finish. This will stabilize the edges and prevent curling. Keep your sl st evenly spaced as you go around each side, verifying that your corner turns stay sharp without pulling (total edge count may vary based on blanket size).
Step 8: Weaving in Ends
Lastly, using a tapestry needle, weave in any loose ends from your yarn changes or where you began and ended your rows. This step is vital for a finished look and preserves the integrity of your resizing crochet blanket pattern. Be sure to tuck in ends securely to avoid any unraveling, allowing your cozy blanket to be enjoyed for years to come!
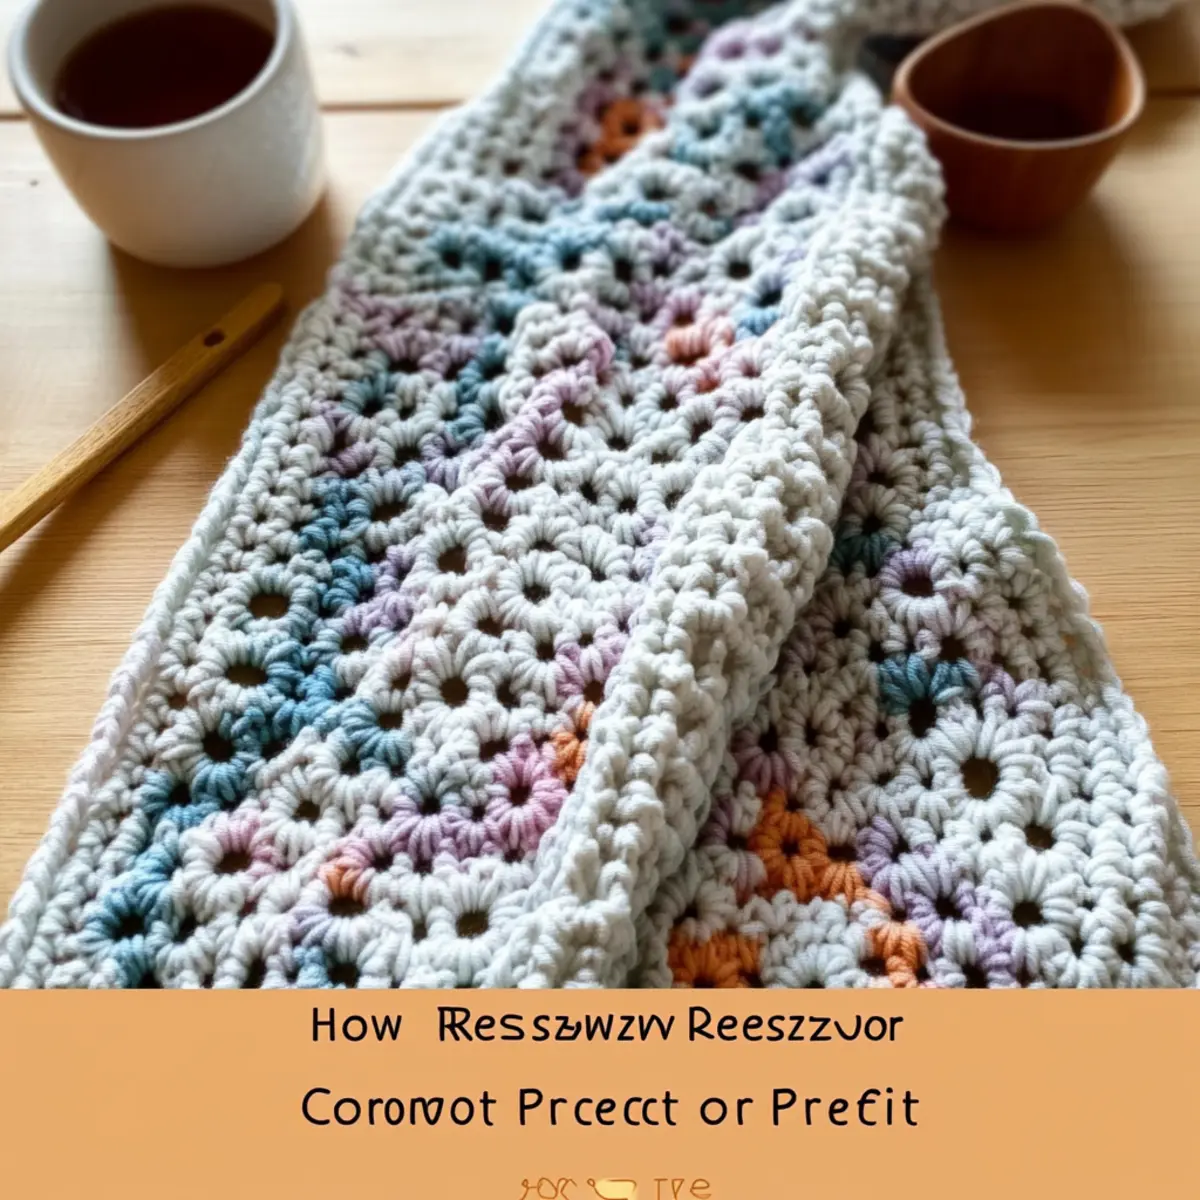
Expert Tips for Resizing Blankets
-
Consistent Tension: Maintain an even tension throughout; this helps prevent uneven sizes and ensures your crochet blanket has a consistent look.
-
Count Stitches Often: Regularly count your stitches as you go to avoid losing track, particularly when working with stitch multiples for resizing accurately.
-
Use a Reference Size: Keep a reference blanket handy while crocheting; this visual guide will help you maintain the correct dimensions throughout the process.
-
Mark Your Rows: Use stitch markers to track your rows, which is especially helpful when resizing larger blankets to prevent misalignment.
-
Final Finishing Touches: Don’t rush the finishing; weave in ends neatly and block your blanket to help it achieve the intended drape and appearance.
-
Test Swatches: Before starting your main project, create a swatch to check gauge and tension; this will impact the final size of your crochet blanket immensely.
Washing & Care for Your Crochet Blanket
-
Hand Washing: Use cold water and a gentle detergent to preserve the texture and color of your crochet blanket. Avoid harsh chemicals that could damage the fibers.
-
Drying/Blocking: Lay your blanket flat on a clean, dry surface to maintain its shape. Reshape as needed while it dries to ensure the perfect drape.
-
Storage: When not in use, store your crochet blanket in a cool, dry place. Avoid cramped spaces to prevent unwanted creases or deformation.
-
Maintenance: Regularly check for loose threads or wear. Address any issues promptly to keep your crochet blanket looking its best for years to come.
Resizing Crochet Blanket Patterns
Embrace the joy of customizing your crochet blanket with creative twists and cozy options tailored just for you!
-
Yarn Weight Swaps: Choose a different yarn weight for a texture surprise—lighter weights can create a delicate look, while bulkier yarn makes for warmth.
-
Color Block Brilliance: Experiment with color-blocking by alternating different shades to add vibrancy and personality to your blanket. It’s a fun way to showcase your favorite tones!
-
Cotton vs. Acrylic: Swap out acrylic yarn for cotton for a breathable option—perfect for warmer months and ensuring a soft touch.
-
Adjustable Sizes: If you’re making a blanket for a specific bed size, refer to a size chart and add or reduce chains accordingly, always keeping drape in mind.
-
Textured Borders: Consider adding a textured border, such as shells or picots. This will give your blanket a polished finish and enhance its beauty.
-
Sizing Modifications: Add additional rows for extra length or width without starting over. Add a row or two of double crochet for a plush, comfy feel.
-
Play with Patterns: Mix different stitch patterns (like shells or popcorn stitches) within your blanket; each texture brings a unique depth to your design!
-
Pompom Play: Top off your blanket with playful pom-poms at the corners! Not only do they offer a whimsical touch, but they also lend a fun character to your cozy creation.
Remember to check gauge by making a test swatch, as adjusting size and yarn can impact the final drape of your blanket. Enjoy crafting a piece that is uniquely yours!
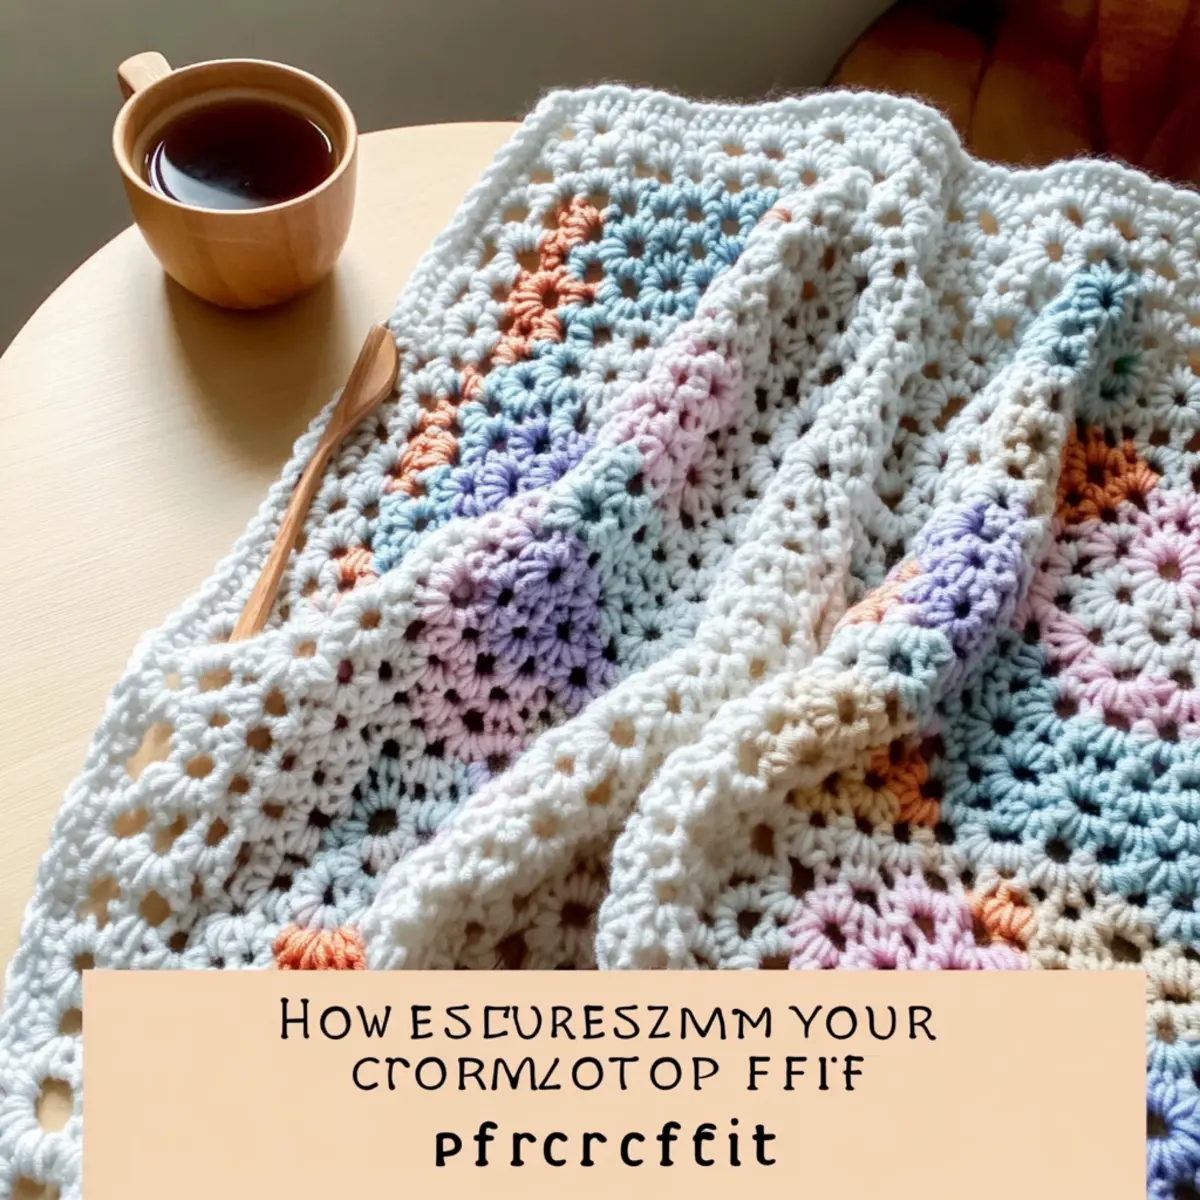
Resizing Crochet Blanket Patterns FAQs
Can I substitute different yarns for my blanket?
Absolutely! You can swap between yarn weights (like acrylic for cotton) as long as you adjust for gauge and pattern specifics. Just keep in mind that heavier yarns will yield larger blankets, so you might need to recalculate your stitch count based on the new yarn.
How do I make my crochet blanket bigger or smaller?
To adjust the size, simply modify your foundation chain and stitch counts. For example, if you’re working a pattern that uses stitch multiples, keep in mind to chain in multiples of the base count plus any additional stitches needed for your edges or design. If you want it bigger, add more rows or increase the width; to make it smaller, reduce your foundation chains and rows accordingly.
Why does my crochet blanket curl at the edges?
Don’t panic! This issue often arises from inconsistent tension or too tight stitches. To fix it, try a larger hook size or check your stitch count. Blocking the finished blanket can also help flatten edges—just lay it flat, wet it, and pin it to shape.
What size hook should I use for my yarn?
The hook size varies with your yarn choice, but a good rule of thumb is to refer to the yarn label for recommendations. Generally, lighter weights use hooks around 5mm (H) while bulkier yarns may require hooks up to 8mm (L). Remember to check your gauge too—it’s crucial for getting the right drape!
How can I fix dropped stitches in my crochet blanket?
It’s an easy fix! Gently pull the working yarn to create a loop, then use your crochet hook to catch the loose yarn and pull it through. Make sure to secure the stitch by working into it again. Don’t forget to check your tension; tension plays a big role in preventing future droppings!
What adjustments do I need to make for different bed sizes?
Great question! Refer to standard size charts for bed dimensions. For example, a Twin blanket usually measures about 66×90 inches, while a Queen is approximately 90×90 inches. Use these dimensions as a guide, but feel free to add or remove rows or stitches for your personal touch—after all, it’s your cozy creation!
Leave a Reply