
As I sat in my cozy nook, surrounded by colorful skeins, I found myself contemplating the magic of crochet. One technique that truly stands out is the double crochet two together (dc2tog) stitch, a beginner-friendly method that not only narrows your work but adds a delightful texture to any project. Whether you’re crafting a stunning garment or a chic accessory, mastering this stitch is like unlocking a treasure chest of creativity. It allows you to achieve intricate designs with speed and ease, making your crochet journey all the more enjoyable. Are you ready to learn a skill that will elevate your yarn creations and inspire your next masterpiece? Let’s dive into the world of dc2tog together!
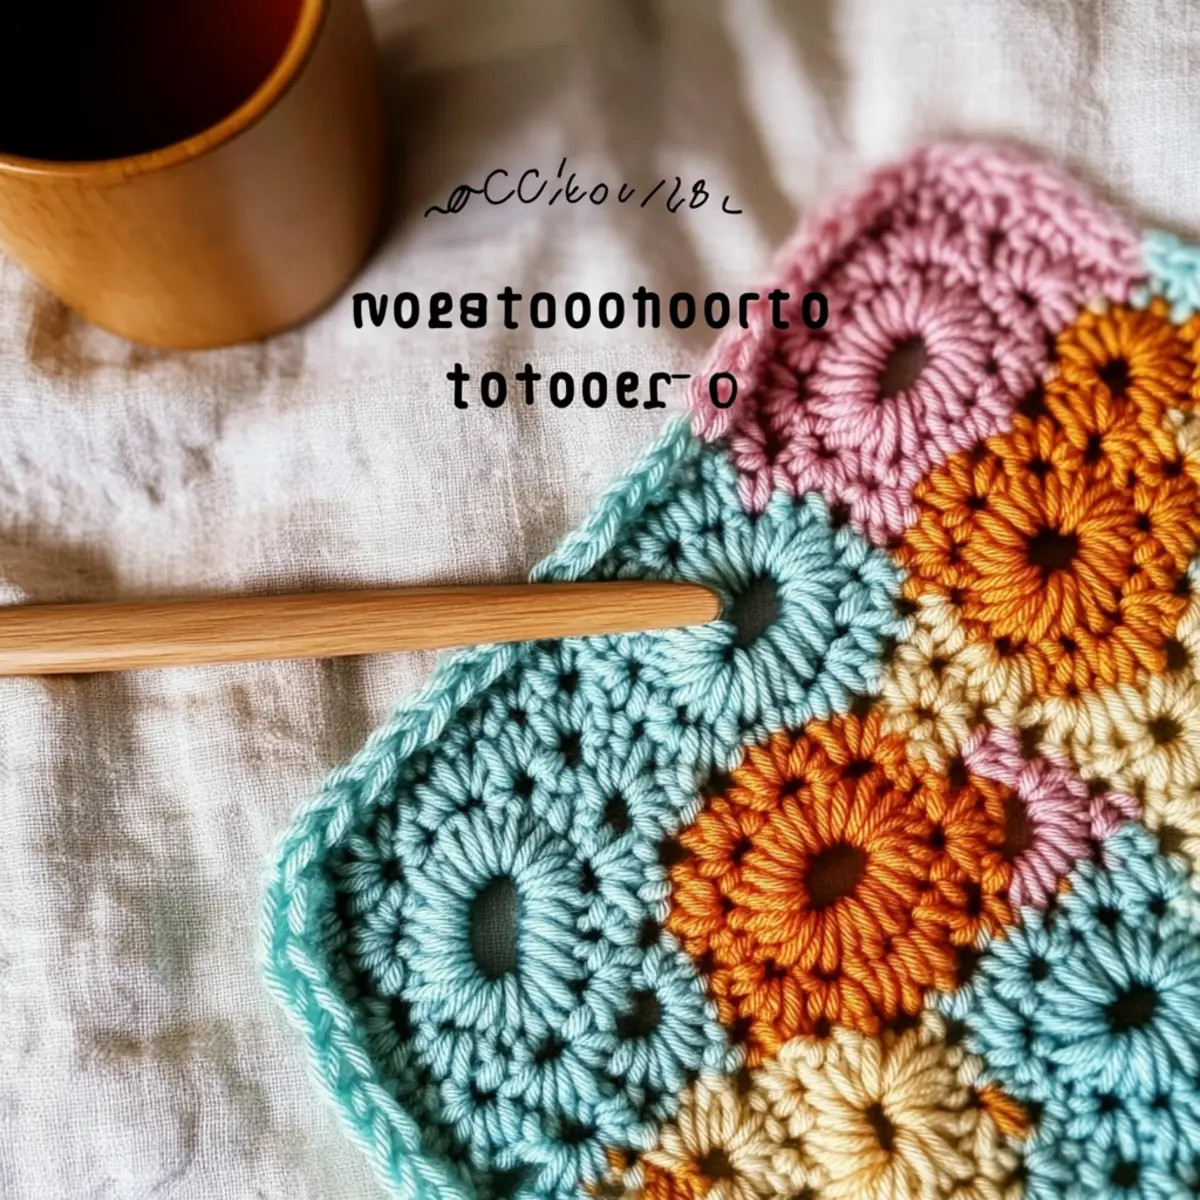
Double Crochet Two Together Materials & Tools
Get ready to embark on your crochet adventure with the essential items you’ll need to master the dc2tog stitch!
Yarn
• Worsted Weight Yarn – This is the recommended yarn type for achieving a lovely texture; you can use any preferred fiber such as acrylic or cotton.
• Additional Yarn Types – Feel free to experiment with lighter or heavier yarns for unique aesthetics in your projects.
Tools & Notions
• 4.00 mm (G-6) Hook – Use this size to create the perfect tension for your double crochet two together stitch; adjust if you’re using a different yarn weight.
• Tapestry Needle – Essential for weaving in ends and giving your project a polished finish.
• Stitch Markers (optional) – Helpful for tracking rounds, especially if you’re working on larger projects.
With these materials and tools at your side, you’ll be well on your way to mastering the beginner-friendly double crochet two together technique! Happy crocheting!
Why Master the dc2tog Stitch?
Versatile Technique: The dc2tog stitch is incredibly adaptable, perfect for creating decreases in various projects from garments to home decor. Beginner-Friendly: Simple to learn, this stitch is an essential building block for new crocheters eager to enhance their skill set. Lovely Texture: Achieve a beautiful, polished finish that adds depth and interest to your designs. Quick Results: With practice, you’ll be able to complete decreases swiftly, freeing up time for other creative endeavors. So grab your yarn and hook, and explore more techniques to enrich your crocheting journey!
Gauge & Sizing Notes
Don’t skip the gauge swatch! Checking your tension is crucial for ensuring that your double crochet two together (dc2tog) technique will yield the right size and look for your project. A standard gauge measurement is 4×4 inches (10×10 cm), which should equal approximately 14 double crochets by 8 rows. If you’re looking to adjust sizing, simply increase your starting chain in multiples of 2 for every additional decrease you wish to incorporate. If your swatch is larger than this, consider going down a hook size, and if it’s smaller, try increasing the hook size. Getting your crochet gauge right will help your finished piece shine beautifully!
Step‑by‑Step Pattern for Mastering the Double Crochet Two Together (dc2tog) Stitch
Row 1: Foundation Chain
Start by making a foundation chain of 12 stitches, or any multiple of 2 to continue with your desired project. Ensure the chain is loosely made to allow for easier movement of your hook in the following rows. Your chain should sit flat and comfortably; give it a gentle tug to check for evenness.
Row 2: Initial Double Crochet
Yarn over and insert your hook into the fourth chain from the hook. Yarn over, pull up a loop, and you will have three loops on your hook. Yarn over again and pull through the first two loops, leaving two loops remaining. This begins your journey into mastering the dc2tog technique while helping form the base for your crochet project.
Row 3: First Decrease (dc2tog)
To create your first double crochet two together (dc2tog), yarn over and insert your hook into the next chain stitch. Yarn over and pull up a loop (four loops on your hook). Yarn over and pull through the first two loops, leaving three loops on the hook. Then, yarn over again, insert into the next chain, yarn over, and pull up another loop (now you have five loops).
Row 4: Complete the First dc2tog
From the five loops on your hook, yarn over and pull through the first two loops once more, leading to four loops remaining. Finally, yarn over and pull through all remaining loops at once. This completes your first dc2tog and marks a decrease, perfect for reducing the width of your project while adding beautiful texture.
Row 5: Repeat Decrease Across
Continue to repeat the dc2tog across the row, inserting your hook into each subsequent chain as demonstrated previously. By the end of this row, you will have had a lovely decrease that shapes your work beautifully. Count your stitches along the way to ensure precision; you should finish with six stitches for a neatly decreased edge.
Row 6: Final Touches
To finish this row, simply yarn over and complete one final double crochet into the last chain. This will ensure a solid finish to your row, while transitioning smoothly for further rows or projects. Aim for a tightly formed edge that provides stability and confidence in your crochet mastery, as you walk away from the dc2tog stitch.
Washing & Care for Your Crochet Projects
-
Hand Washing: Gently wash your crochet pieces in cold water with a mild detergent. Avoid scrubbing; this helps retain the integrity of the dc2tog stitches and prevents pilling.
-
Drying: Lay flat on a clean, dry towel to dry. Avoid hanging, as this can stretch your crochet project out of shape. This method helps preserve the lovely texture created by dc2tog.
-
Storage: Store your finished items in a cool, dry place. Use breathable storage solutions to prevent moisture and mold, which can damage your yarn.
-
Avoiding Heat: Keep your crochet items away from direct sunlight and heat sources, as these can fade colors and weaken fibers over time.
Helpful Tricks for dc2tog Technique
-
Check Your Tension: Consistently maintain an even tension throughout your project to avoid warping the shape of your work with the dc2tog stitch.
-
Count Your Stitches: Always count your stitches at the end of each round. This habit will help ensure you stay on track with your decreases and maintain proper structure.
-
Use Stitch Markers: If you’re prone to losing your place, consider using stitch markers to track the beginning of your rounds, making it easier to spot any mistakes.
-
Stay Focused: Try to minimize distractions when performing the dc2tog stitch. Losing your concentration can lead to missing stitches or creating uneven tension.
-
Practice Makes Perfect: Before incorporating the dc2tog into a larger project, practice on a small swatch. This will help you gain confidence and ensure a tidy finish when you’re ready to use it in your designs.
Variations & Substitutions for dc2tog
Explore the wonderful possibilities of customizing your crochet experience with the dc2tog stitch!
-
Yarn Weight Changes: Switch to a lighter or heavier yarn to see how it transforms the drape and look of your project. Experimenting with different weights can redefine your creation.
-
Fiber Alternatives: Use cotton yarn for a breathable finish, perfect for summer projects, or opt for plush acrylic for cozy winter accessories. Each fiber type offers a unique aesthetic!
-
Color Block Magic: Incorporate different colors into your decreases for a fun, vibrant effect. Try alternating colors every few stitches to create eye-catching designs.
-
Size Modifications: Adjust your hook size to create larger or tighter decreases. This small change in equipment can have a delightful impact on your project’s final appearance.
-
Textured Edges: Add a simple border or fringe around your work for a fresh finish. These extra touches will elevate your creation and give it a polished look.
-
Pom-Pom Fun: Attach a pom-pom to your finished piece for an adorable, playful vibe. This easy addition can transform an ordinary design into something truly special.
-
Marled Technique: Combine two different yarns of similar weight for a marled effect. This technique will give your dc2tog stitch a unique blend of colors and textures.
-
Mixing Techniques: Pair the dc2tog stitch with other techniques like a shell stitch for added depth and dimension in your projects. This creative combination will broaden your crochet repertoire!
Feel free to explore these variations and take your dc2tog journey further! If you’re interested, check out our guide on color choices or dive into the world of texture modifications for even more inspiration. Your creativity is the limit!
Mastering the Double Crochet Two Together (dc2tog) Stitch FAQs
Can I substitute different types of yarn for this project?
Absolutely! You can use any yarn weight suitable for your project. While worsted weight is recommended, feel free to experiment with lighter or heavier yarns. Just remember, using a different fiber type, whether acrylic or cotton, may affect the drape and texture of your finished item.
How can I adjust the size of my project using dc2tog?
Since the dc2tog is a technique rather than a specific pattern, you won’t adjust size directly through it. However, you can influence the overall size of your project by adding or reducing the number of stitches on each row. Just keep your decreases consistent across the rows for the best results!
Why is my work curling when I use the dc2tog stitch?
Don’t panic! Curling often happens when working with taller stitches or if your tension is too tight. To fix this, try loosening your grip on your yarn as you crochet, and make sure to check your tension. A change in hook size can also help; a slightly larger hook might ease this issue.
What hook size should I use for the dc2tog stitch?
For a standard approach, a 4.00 mm (G-6) hook works well with worsted weight yarn. However, you may want to adjust your hook size based on the yarn you choose. Always check your gauge; if your fabric feels too tight or loose, that’s the key to determining your hook size.
How do I fix a dropped stitch when using the dc2tog technique?
Fixing a dropped stitch is an easy fix! First, don’t panic. Use a hook to catch the dropped stitch and gently pull it back up through the last completed stitches. Be sure to keep an eye on your tension as you do this to ensure a clean, polished look when completed.
Do I need to use a specific pattern with the dc2tog stitch?
Not at all! The dc2tog stitch is versatile and can be used in various crochet projects like hats, blankets, or garments. Feel free to incorporate it wherever you’d like to create a decrease or add texture. Just apply the technique in the appropriate spots based on your project design!
Leave a Reply